はじめに
この記事は 1日1CTF Advent Calendar 2024 の 11 日目の記事です。
概要
Ethernaut という BlockChain の常設 CTF で遊ぼうとしたら、いろいろハマったのでどうすればいいかのメモです。あとおまけでチュートリアル問題を解きます。
環境
- Windows 11
- Firefox 133.0.3 (記事執筆時点での最新版)
Chrome でも同じ感じのことをすれば動くと思います。
準備
まずは チュートリアル問題のページ の指示に従っていきます。
- Set up MetaMask
If you don't have it already, install the MetaMask browser extension (in Chrome, Firefox, Brave or Opera on your desktop machine). Set up the extension's wallet and use the network selector to point to the preferred network in the top left of the extension's interface. Alternatively you can use the UI button to switch between networks. If you select an unsupported network, the game will notify you and bring you to the default Sepolia testnet.
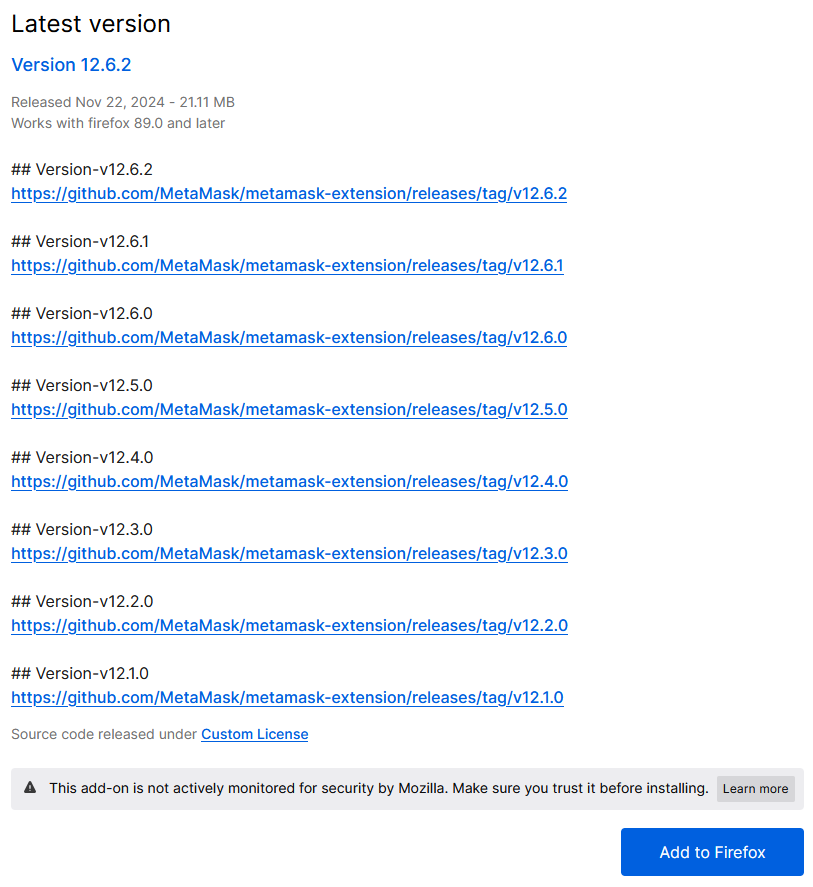
MetaMask をインストールすれば良さそうですが、最新の MetaMask だと動きません (GitHub とかを見る限り、破壊的な仕様変更があったっぽい)。 このページ から古いバージョンを落としてこれるので、それをインストールしましょう。記事執筆時点では、この画像の下にある「Add to Firefox」を押せばインストールできました。
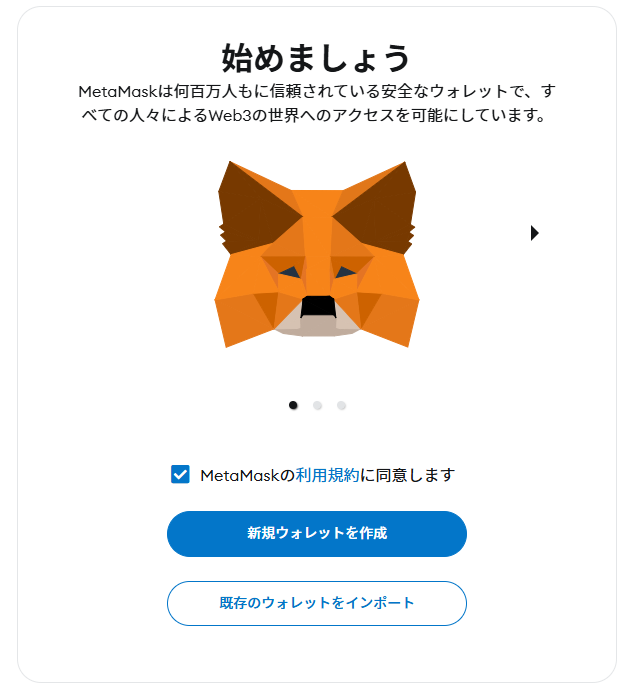
規約に同意します。始めてなら「新規ウォレットを作成」です。
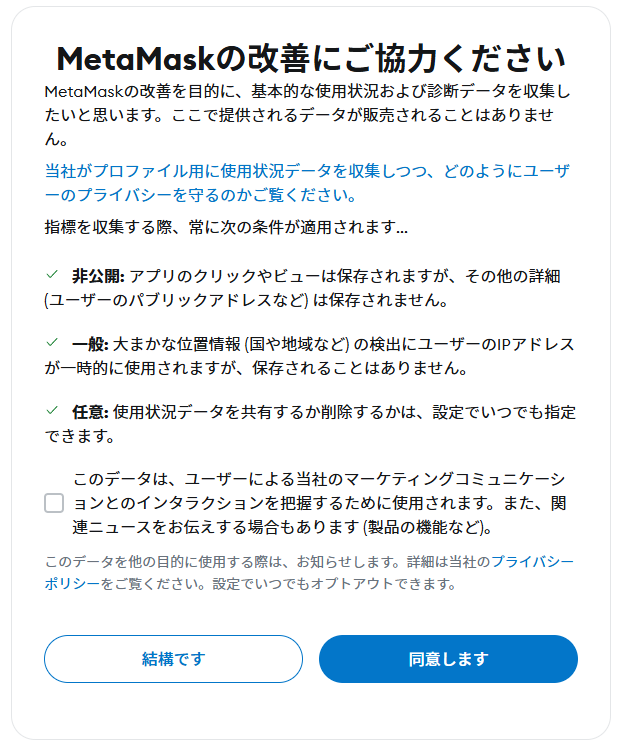
改善に協力するかを答えます。好きな方を選びましょう。
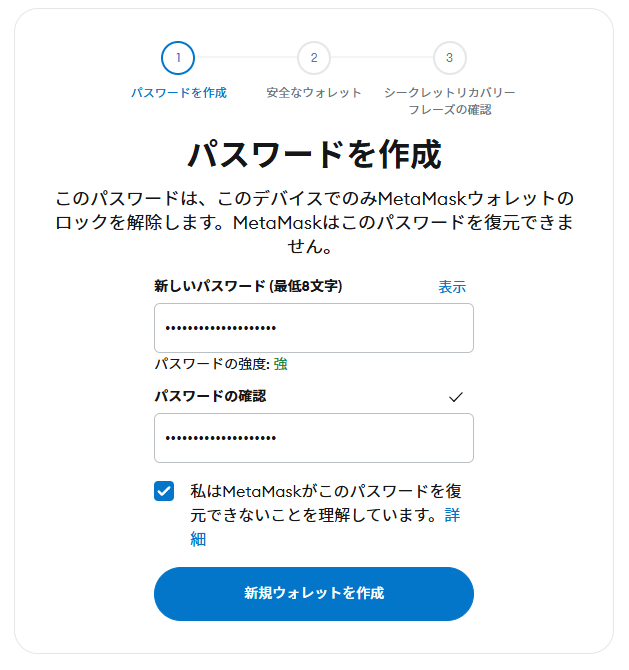
パスワードを設定します。
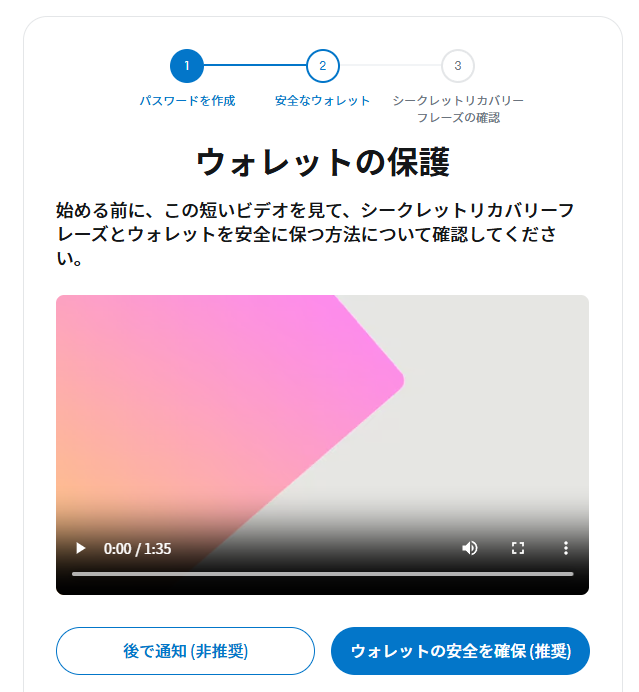
ウォレットの保護について聞かれます。Ethernaut で遊ぶためだけにアカウントを使う場合は「後で通知(非推奨)」で大丈夫だと思います。
できたら チュートリアル問題のページ に戻り、browser console を開きます。Firefox の場合 右クリック→「調査」→「コンソール」(新しく出てきた画面にあります) でいけます。画像のように Level Address が表示されていれば大丈夫そうです。

6. Get test ether
To play the game, you will need test ether. The easiest way to get some testnet ether is via a valid faucet for your chosen network.
ということで、次に faucet からテスト用の ether を貰う必要があります。しかしググって出てくるほとんどの faucet には「Ethereum Mainnet で XX eth 以上持っていないとダメです」という制限があり、何も持っていない状態から貰うのは難しいです (お金持ちの方は普通に Mainnet で ether を買うと良いです)。
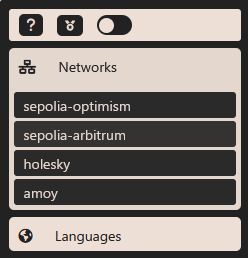
ここで、一旦 Ethernaut の画面の右上にあるメニューを開き、「Networks」の「holesky」を選択して、ネットワークを切り替えておきます。(sepolia ネットワークよりも holesky ネットワークの方が新しく、またなぜかガス代が安いっぽいです。)
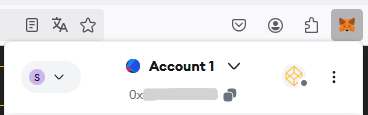
頑張って探すと、このサイト の faucet はそういう制限がない (ただし 1 日で払い出せる ether の量に全員共通の制限があり、制限を超えた場合その日はもう誰も貰えなくなる) っぽいです。自分のアドレス (画像の通り、拡張機能を開いて「Account 1」の下に出てくるやつです) を入力して受け取りましょう。
これで問題を解く準備ができました。
問題
Hello Ethernaut (問題出典: Ethernaut)
This level walks you through the very basics of how to play the game.
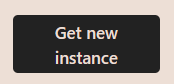
まずは 「Get new instance」を押してインスタンスを建てます。
インスタンスが建ったら、まずは問題文の通り以下のコマンドを実行してみましょう。
await contract.info()

次は info1() を実行すればよさそうです。
await contract.info1()

次は info2() を hello を引数として実行すればよさそうです。盥回し されてる気がする。
await contract.info2("hello")

次は infoNum() を実行すれば、次に実行すべき関数の名前が分かるみたいです。
await contract.infoNum()
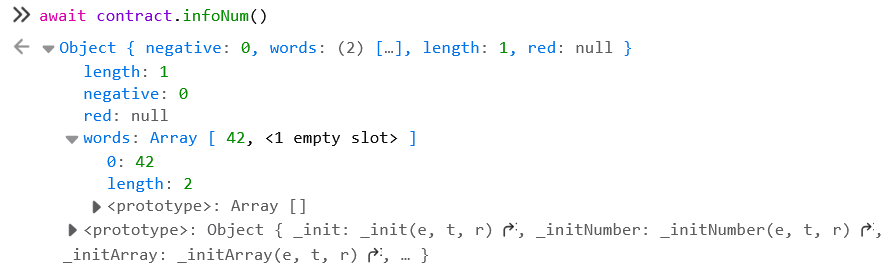
ちょっと変なオブジェクトが帰ってきたけど、開いてみると 42 っぽい。ということで次は info42() ですね。
await contract.info42()

次は theMethodName() っぽいです。
await contract.theMethodName()

次は method7123949() ですね。
await contract.method7123949()

パスワードを authenticate() 関数に送信しろ、と言われたがパスワードがわかりません。
詰んでしまったので、ここで問題文の
Tip: don't forget that you can always look in the contract's ABI!
という言葉を思い出し、ABI を見てみることにします。
contract.abi
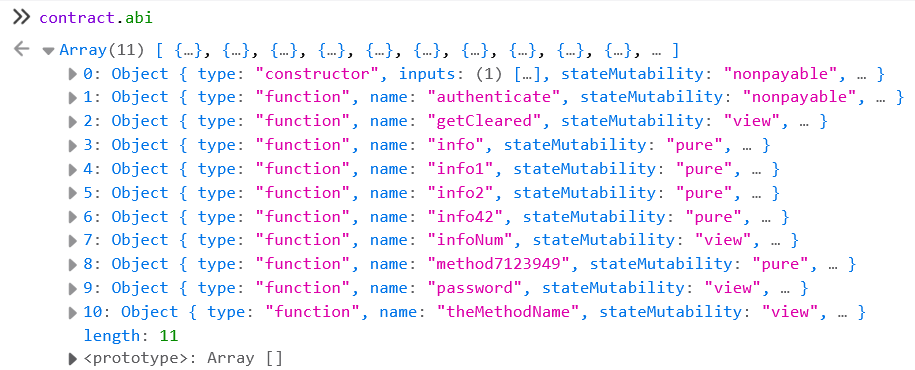
関数の一覧を見ることができました。名前からして password() を呼びだせばよさそうです。
await contract.password()
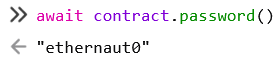
パスワードは ethernaut0 っぽい。あとはさっきの指示通り authenticate() にパスワードを送信すればよさそう。
await contract.authenticate("ethernaut0")

ちょっと時間がかかったが、うまくいってそう。
最後に、 getCleared() が true になっていることを確認する。
await contract.getCleared()
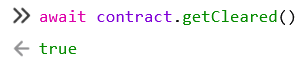
ということでクリアできてそうです。
最後に 「Submit instance」を押せばクリアです。
なぜか白い文字でクリアしたことを伝えてくる。なんで白文字なんだろう…?

ということで、クリアできました。お疲れ様でした。