はじめに
当記事は、Bitbucket登録からSourcetree連携までを画像付きでシンプルに紹介しております。
MacOS向けとなっております。
Windowsだとだいぶ手順が違うようなので注意。
前提条件
- Gitの基礎知識があること(本記事では説明しません)、以下記事を参照してみてください。
【絶対理解できる】Gitとは?特徴やできることまとめ! | 侍エンジニア塾ブログ | プログラミング入門者向け学習情報サイト
Gitのインストール
まずは、Homebrewをインストールしてください。
https://brew.sh/index_ja
Homebrewをインストールしたら、以下のコマンドでインストールします。
$ brew install git
以下のコマンドでバージョンが表示されたらOKです。
$ git --version
git version 2.22.0
Homebrewでは、以下の場所にインストールされます。
$ which git
/usr/local/bin/git
Bitbucketへの登録
Bitbucketの公式サイトにアクセスし、「Get started for free」をクリックします。

メールアドレスを入力し、「Continue」をクリックします。

名前とパスワードを入力し、「Continue」をクリックします。
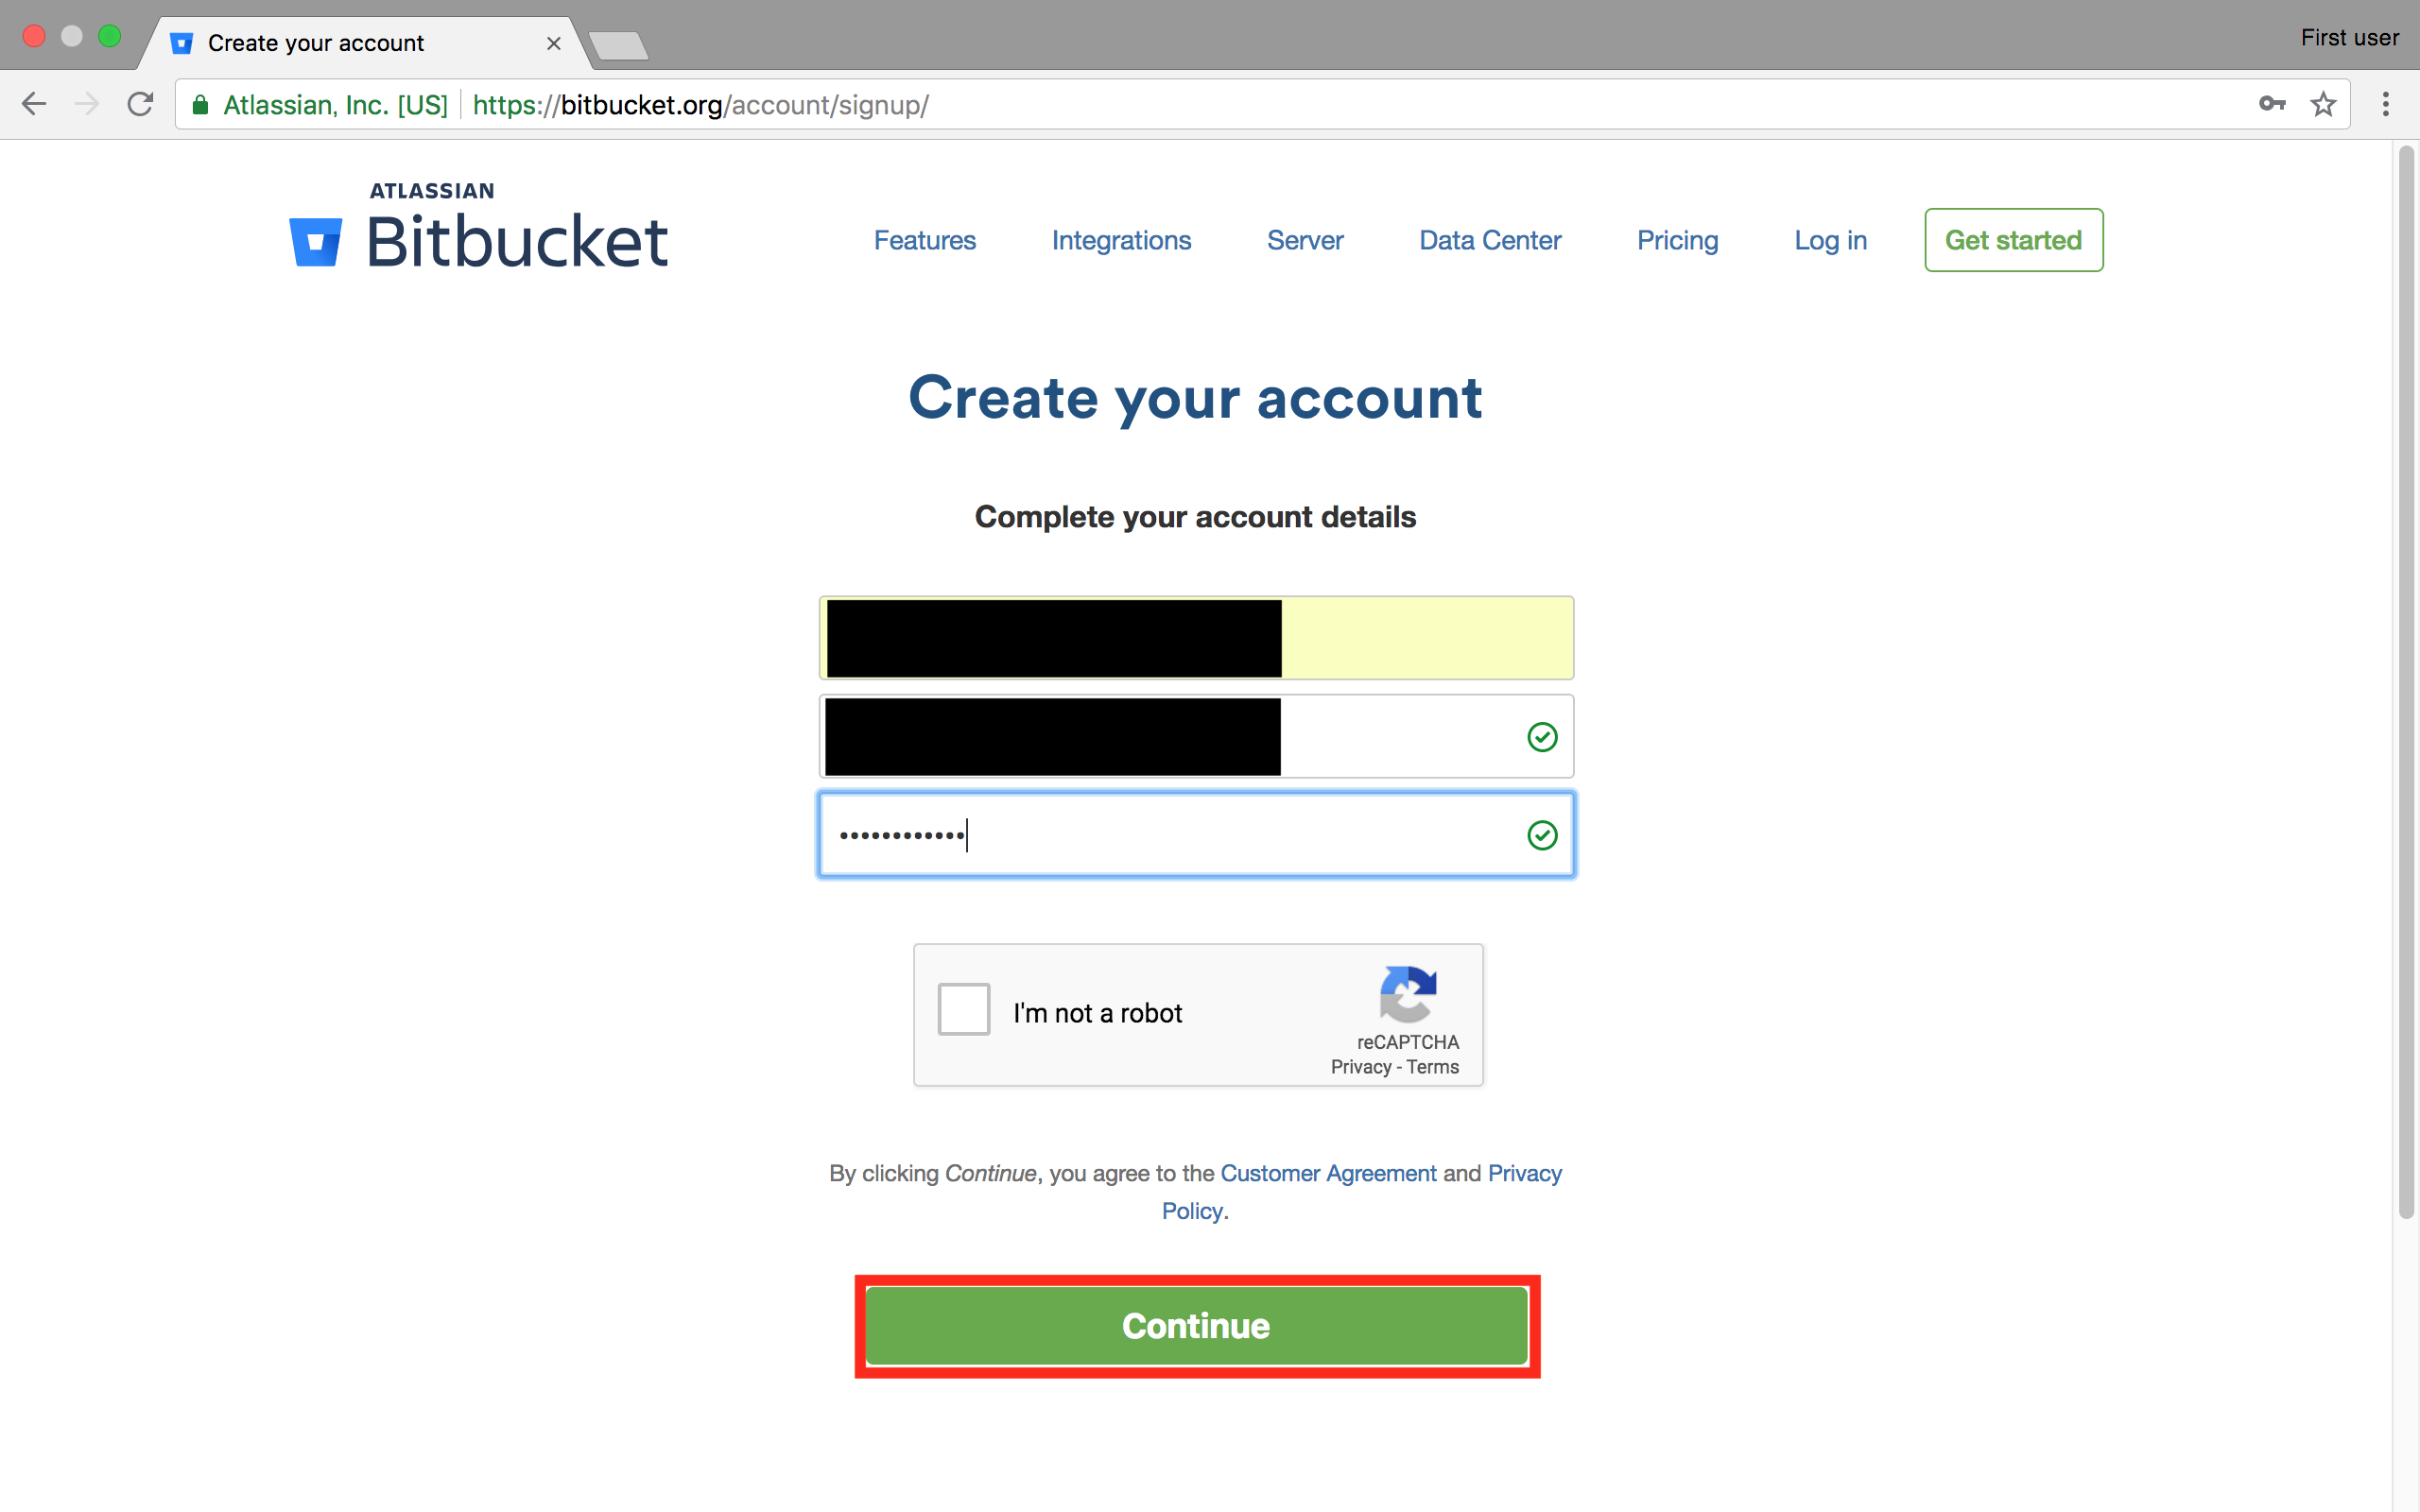
入力したメールアドレスにメールが送信されます。
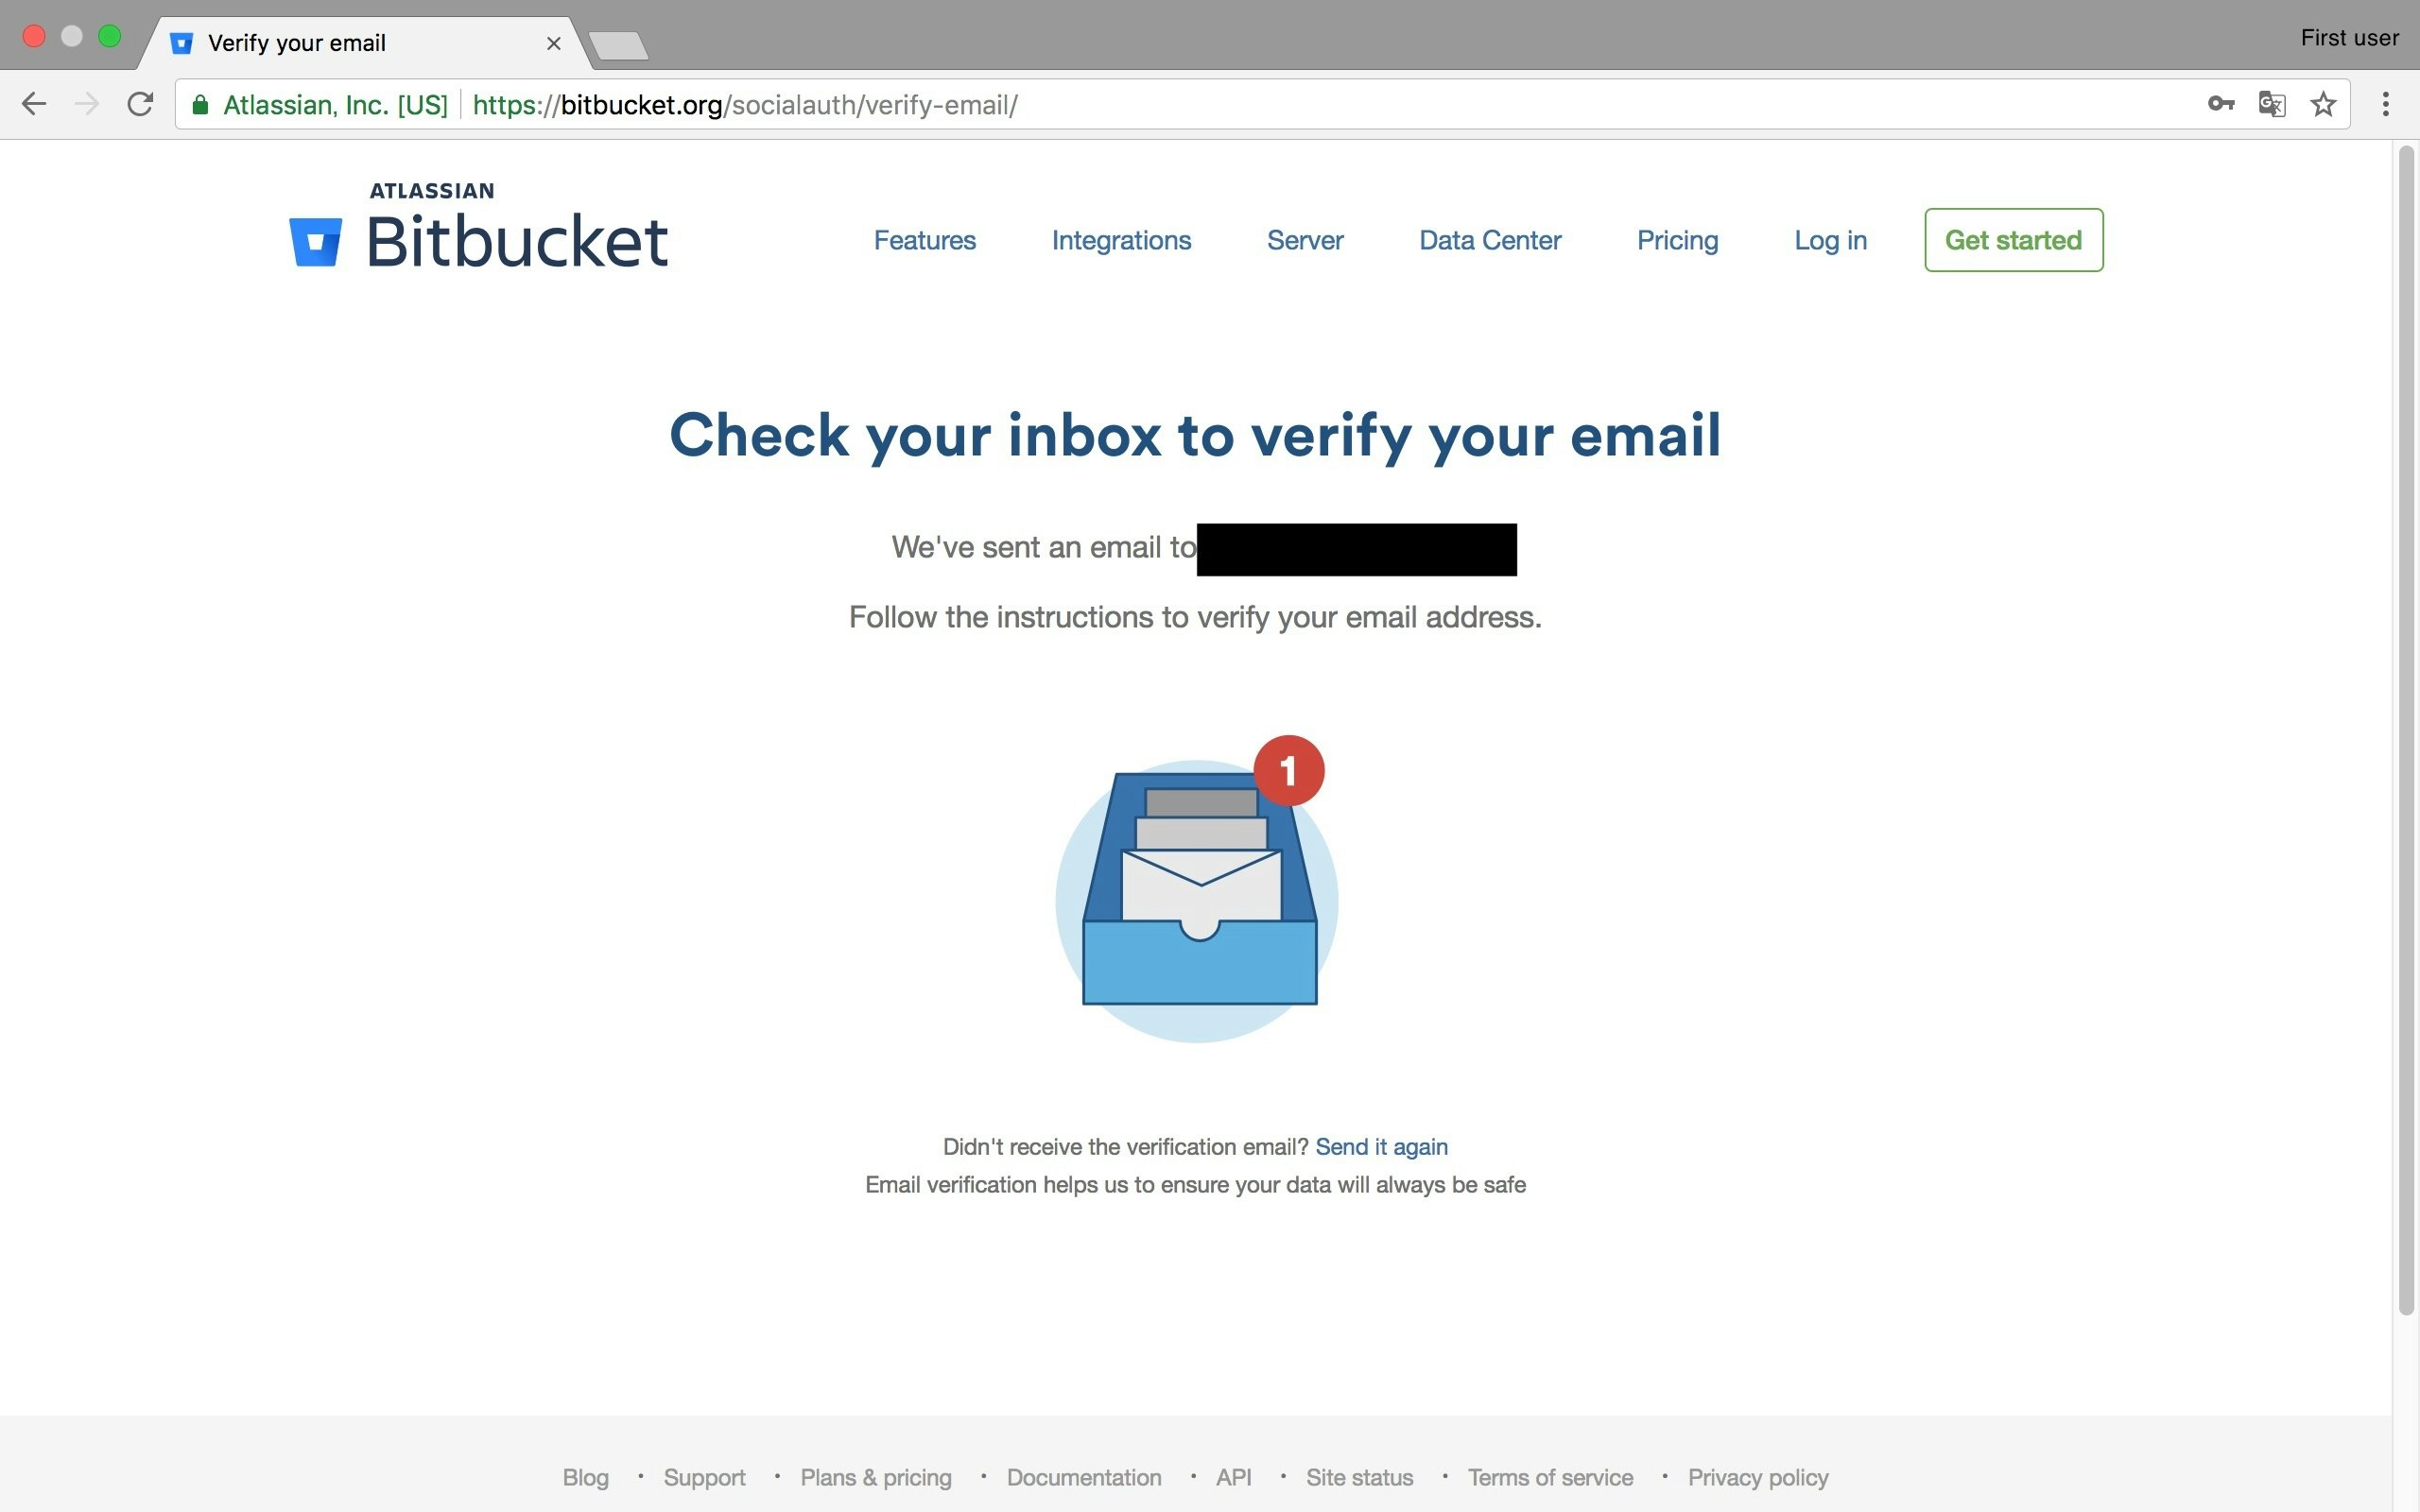
メールを開いて「Verify my email address」をクリックします。

Bitbucketのユーザ名を入力し、「Continue」をクリックします。

これでBitbucket登録は完了です。
Bitbucketでリポジトリの作成
Bitbucketにログインし、画面左側の「+」ボタンをクリックします。
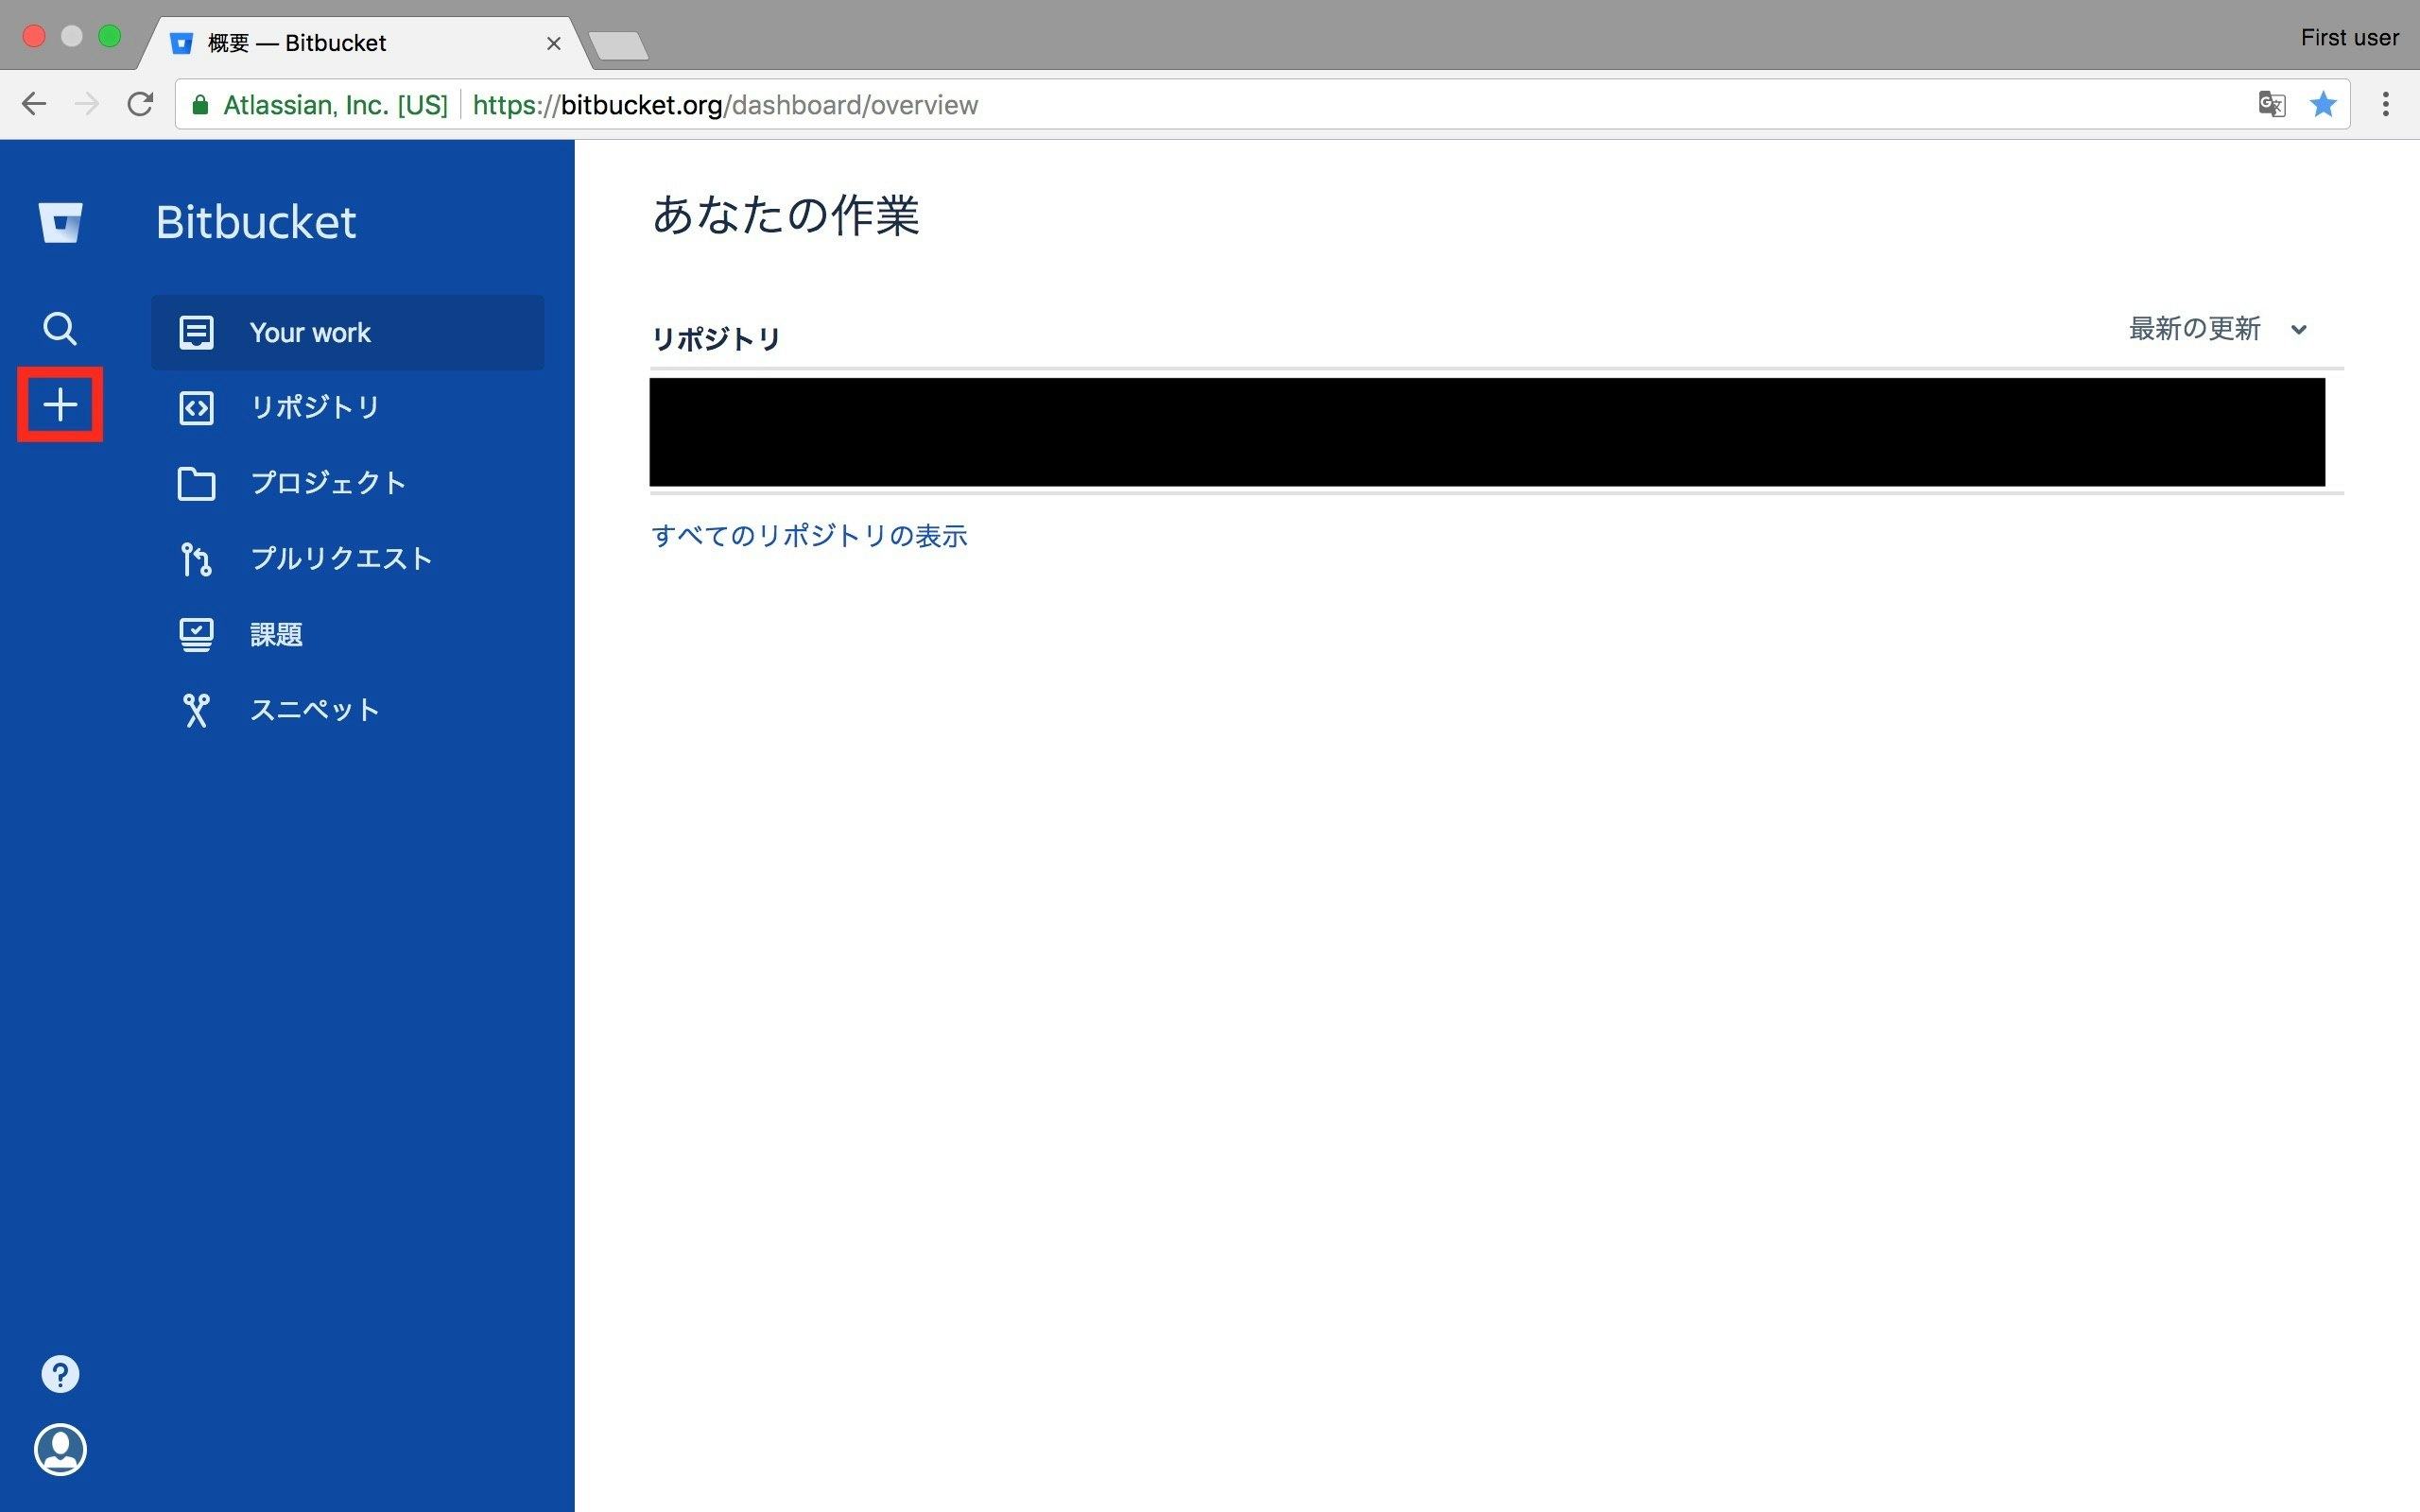
メニューがスライドしてくるので、「Repository」をクリックします。
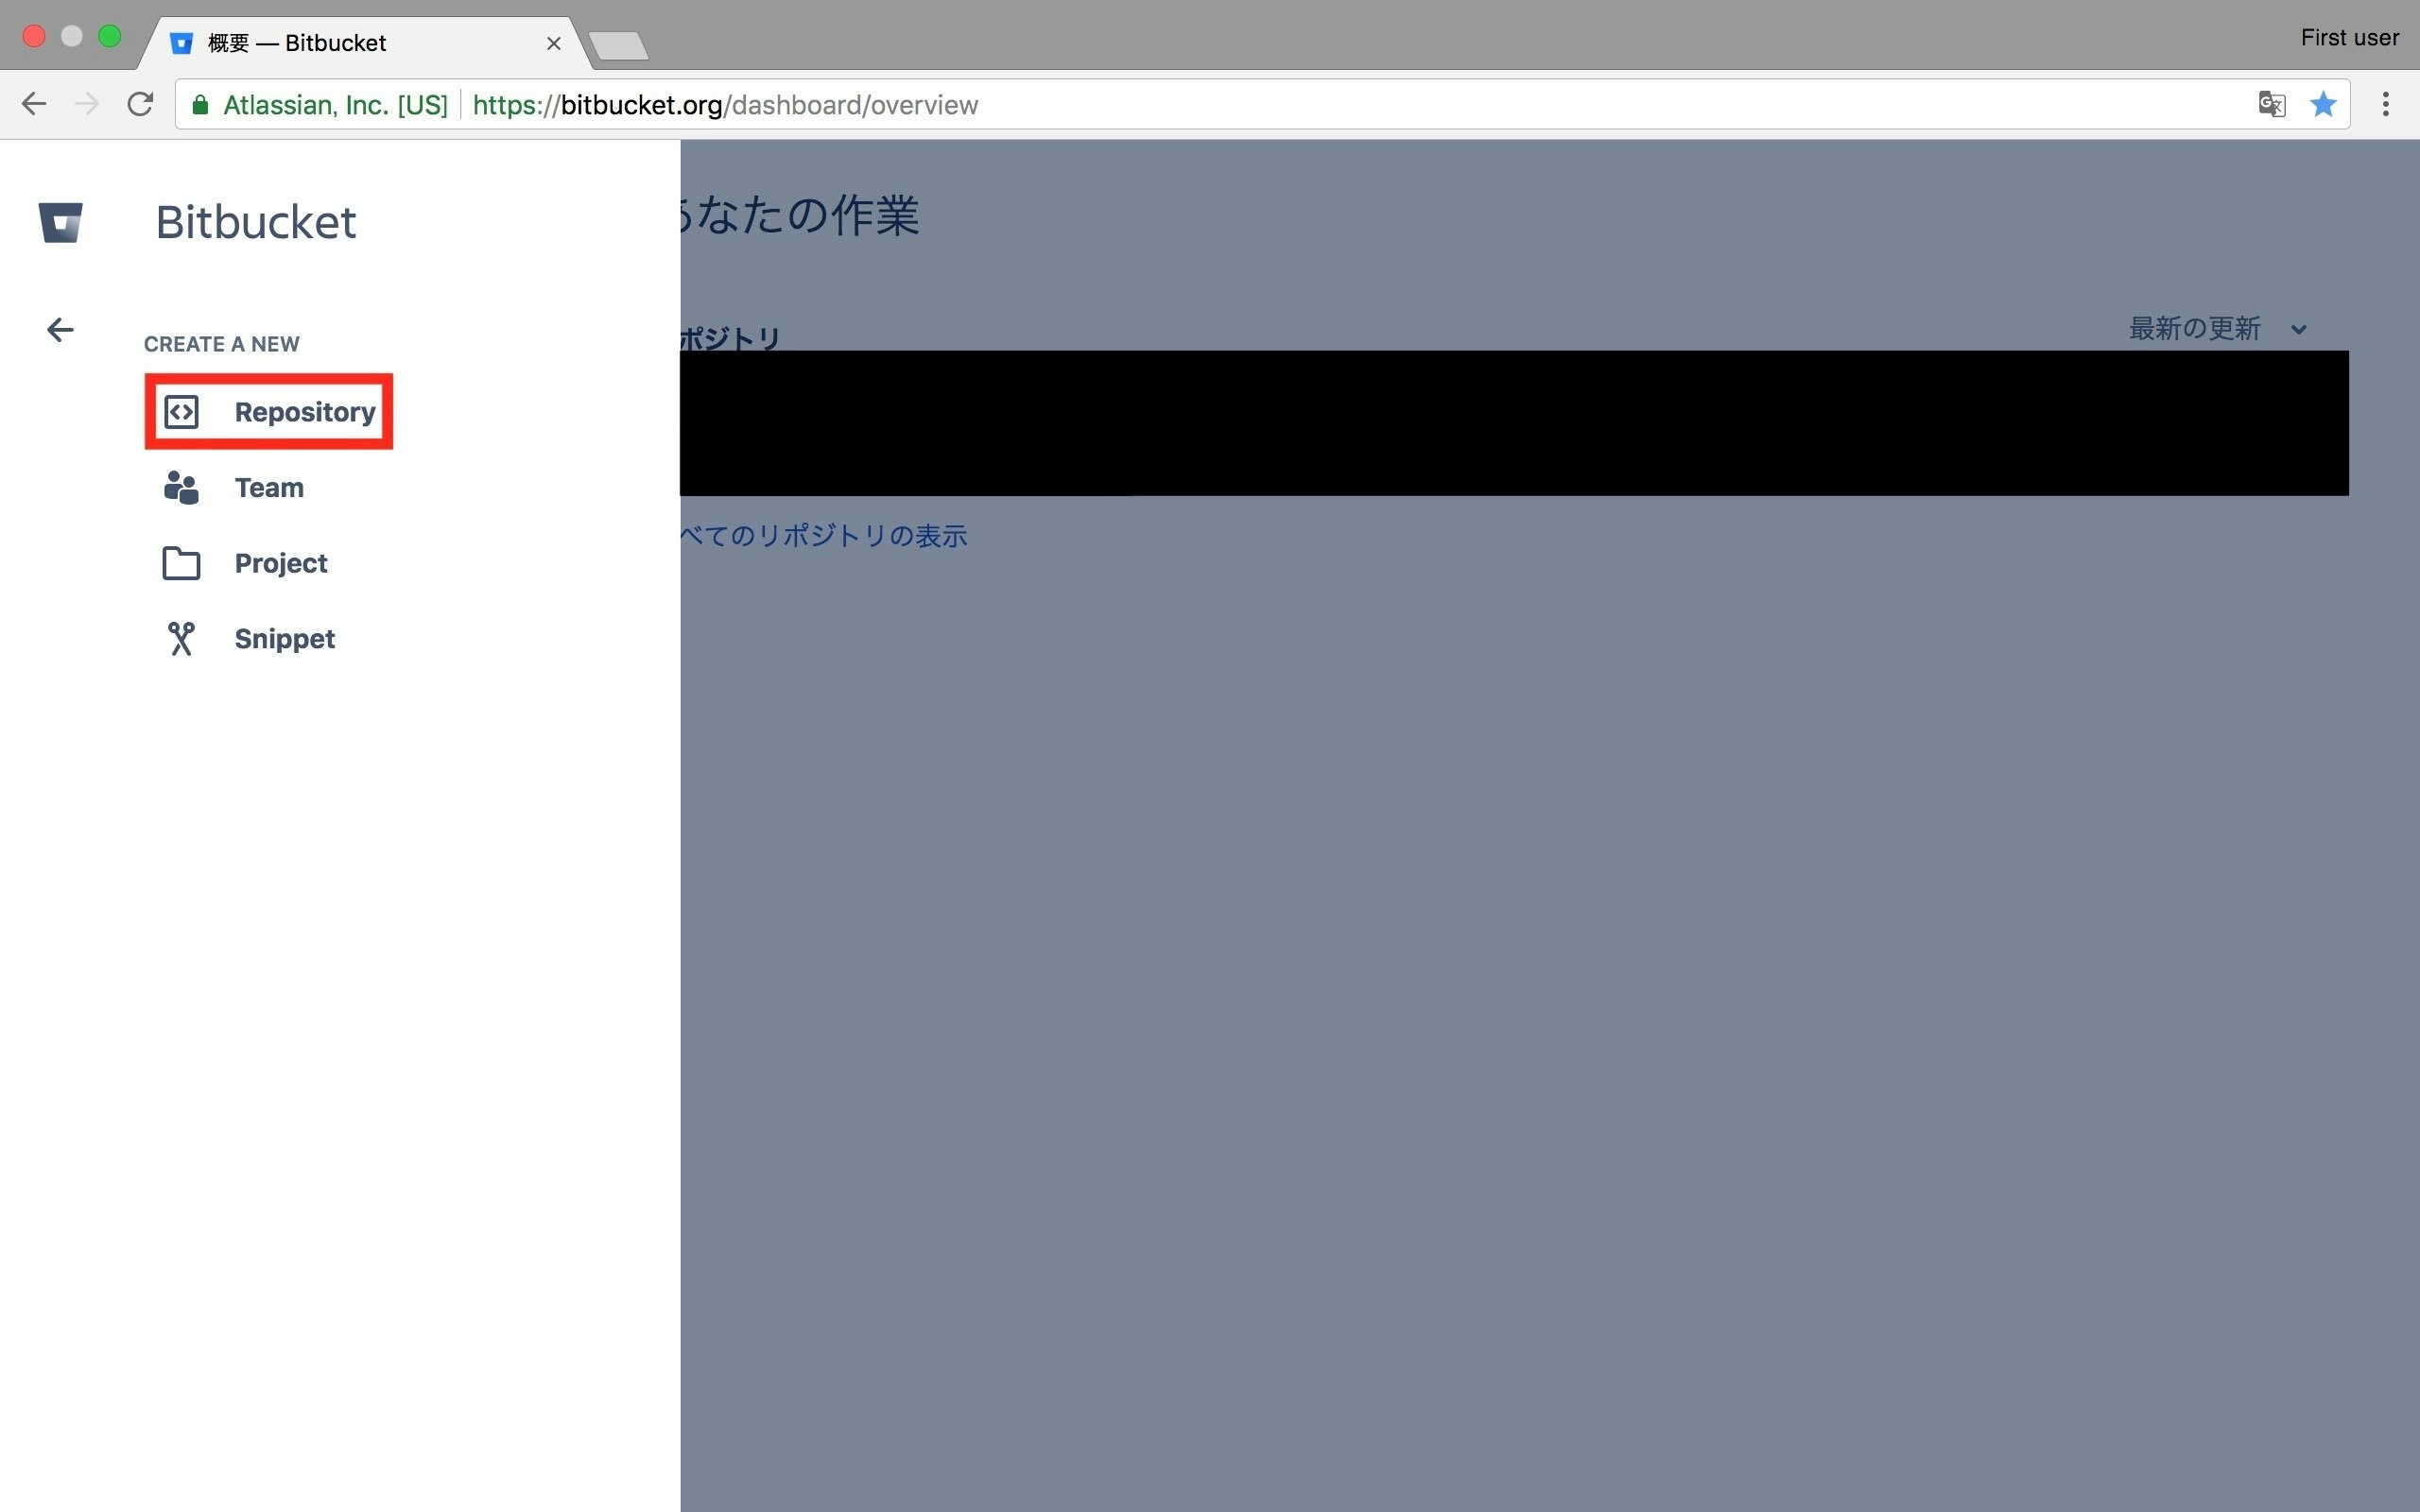
リポジトリ名を入力し、「リポジトリの作成」をクリックします。
とりあえず「Include a README?」もYesとしておきます。(任意)

これでリポジトリの作成は完了です。
BitbucketとSourcetreeの連携
Sourcetreeの公式サイトにアクセスし、「Mac OS X向けダウンロード」をクリックします。

ダウンロードしたzipファイルを解凍し、「アプリケーション」に移動します。

「Sourcetree.app」を開き、以下のダイアログが表示されたら、「開く」をクリックします。

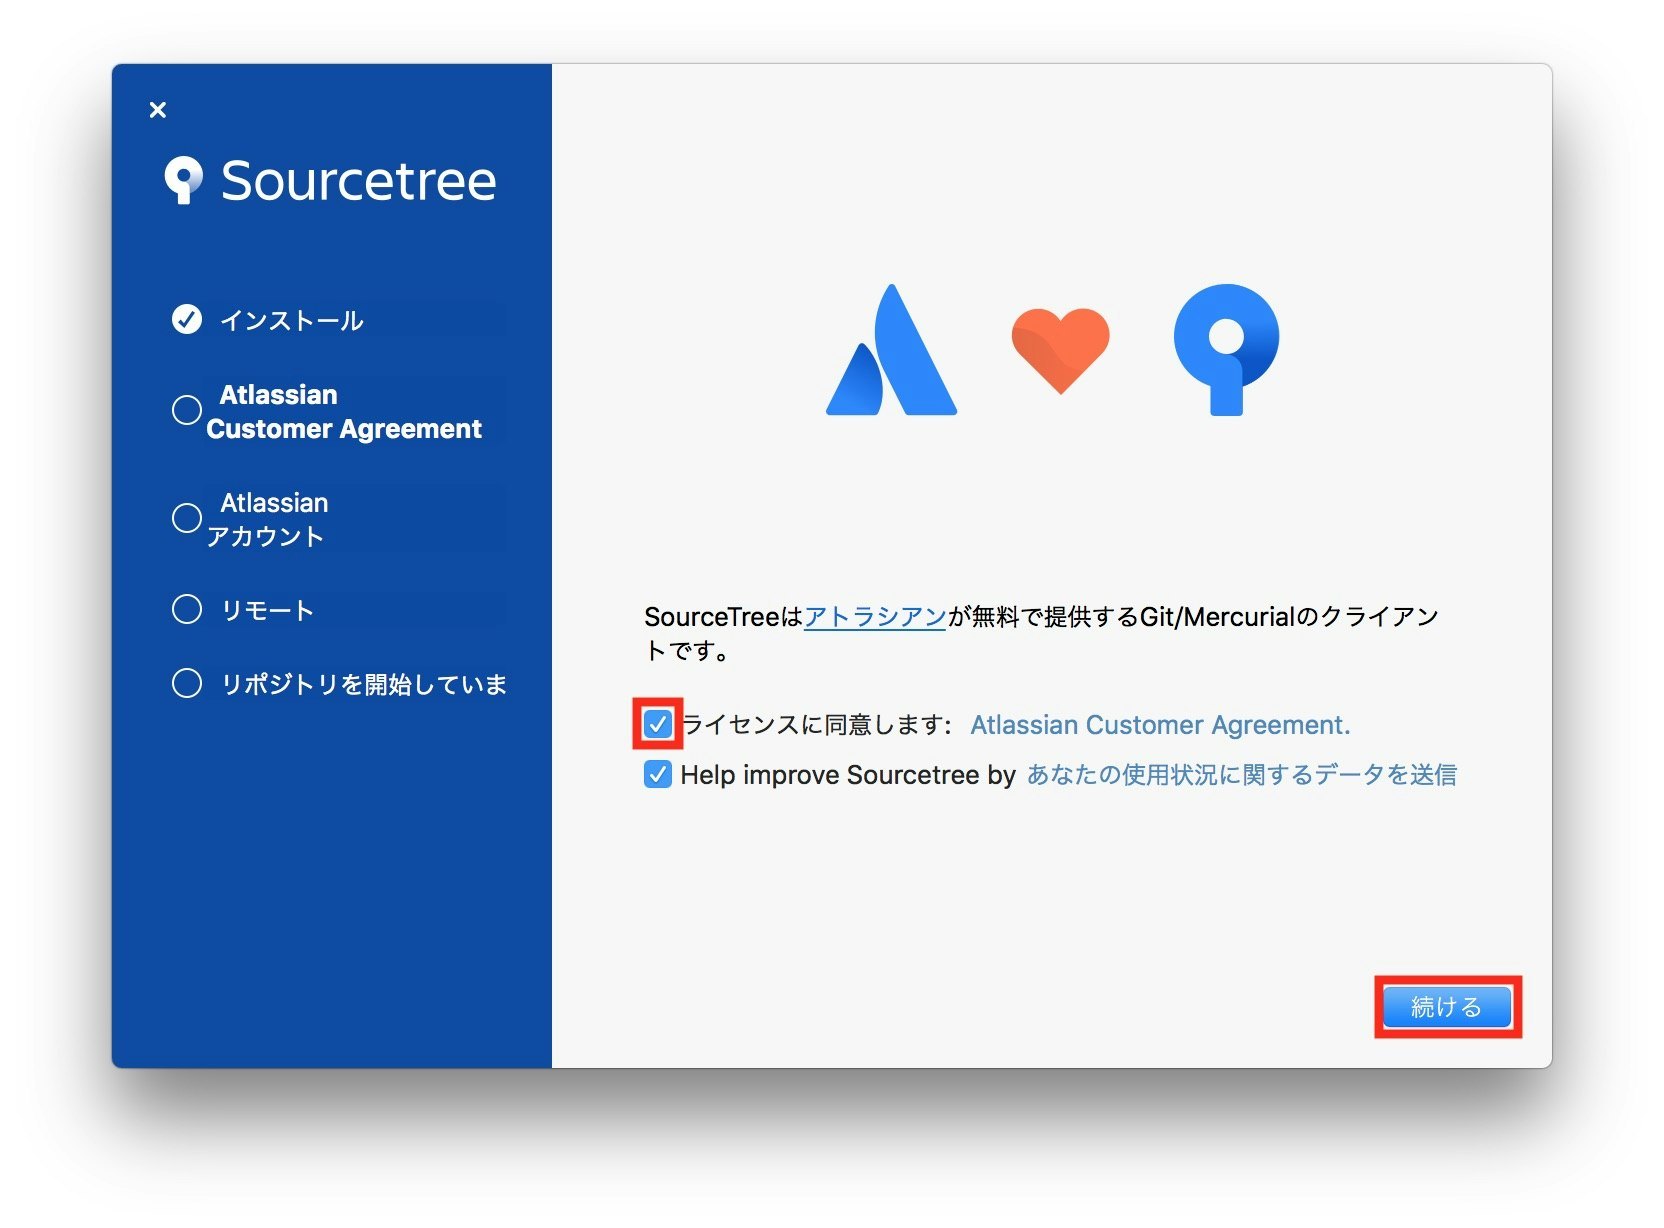
「ライセンスに同意します」にチェックを入れ、「続ける」をクリックします。
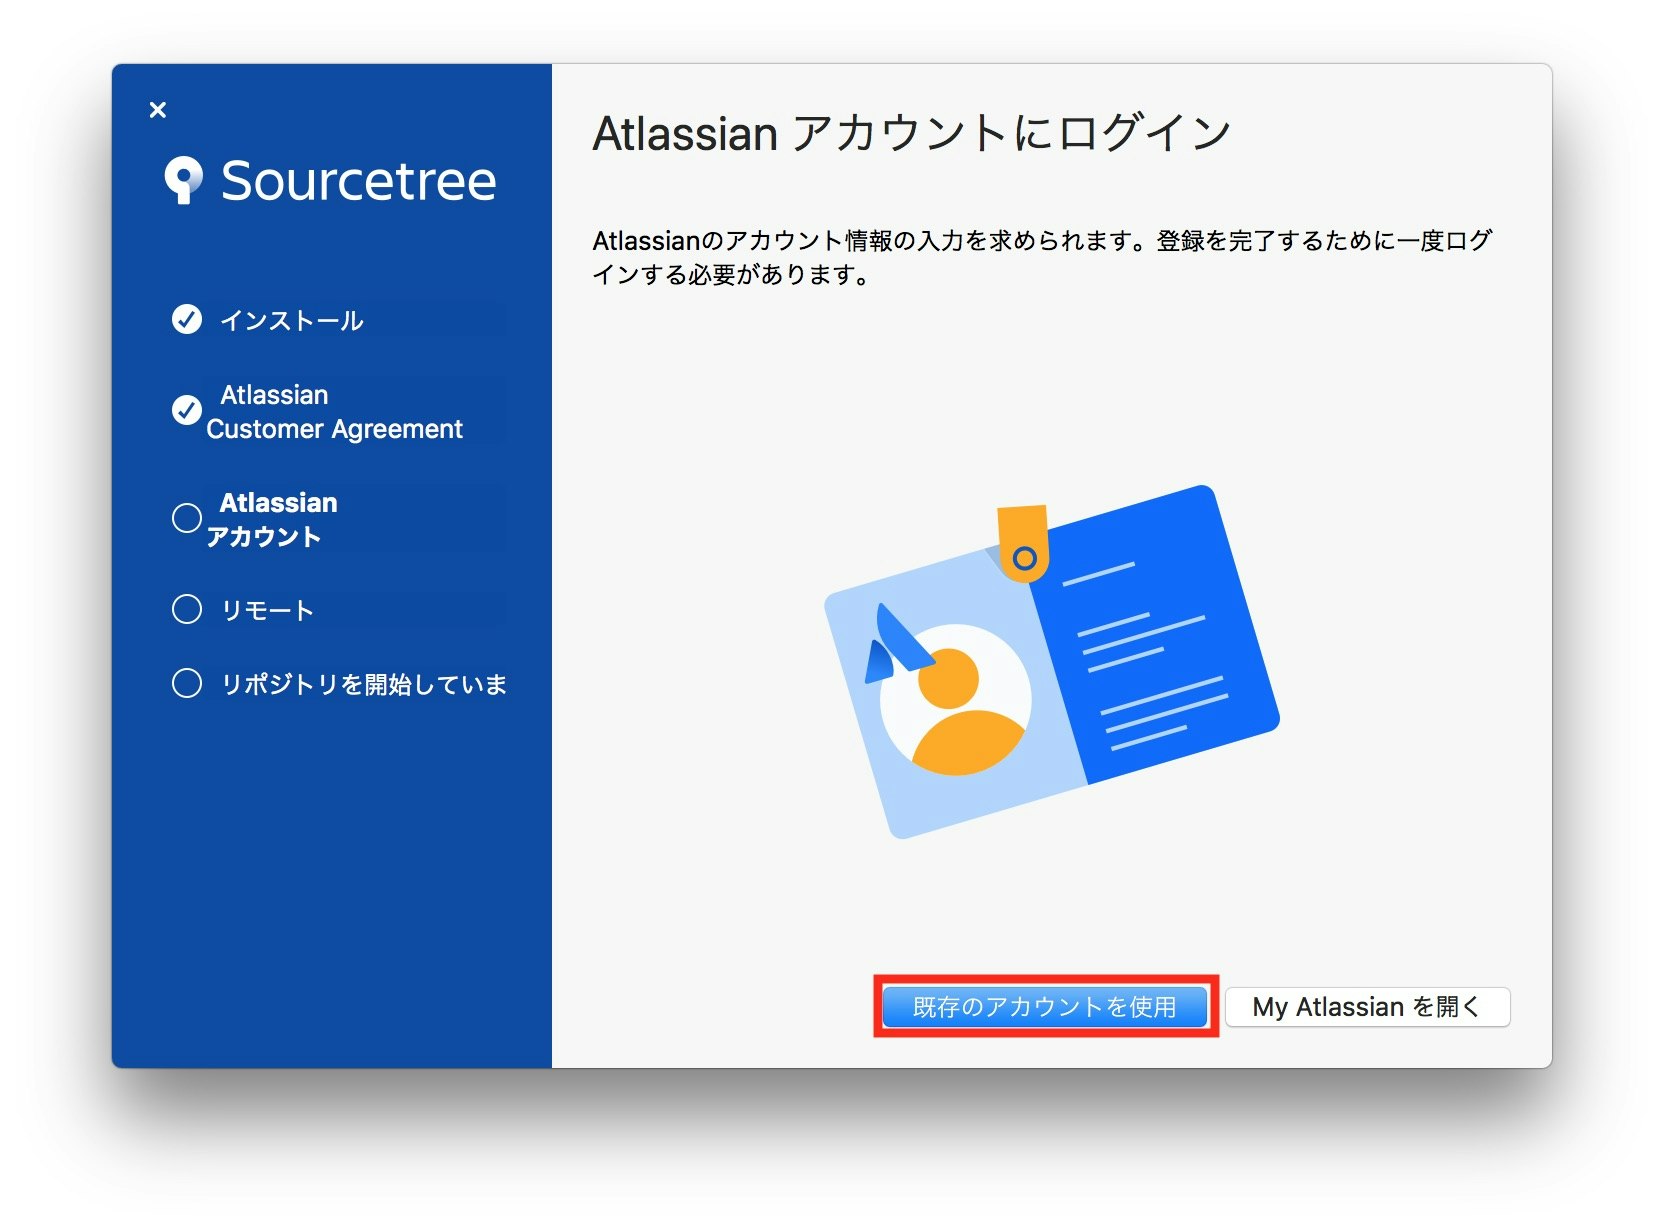
「既存のアカウントを使用」をクリックします。
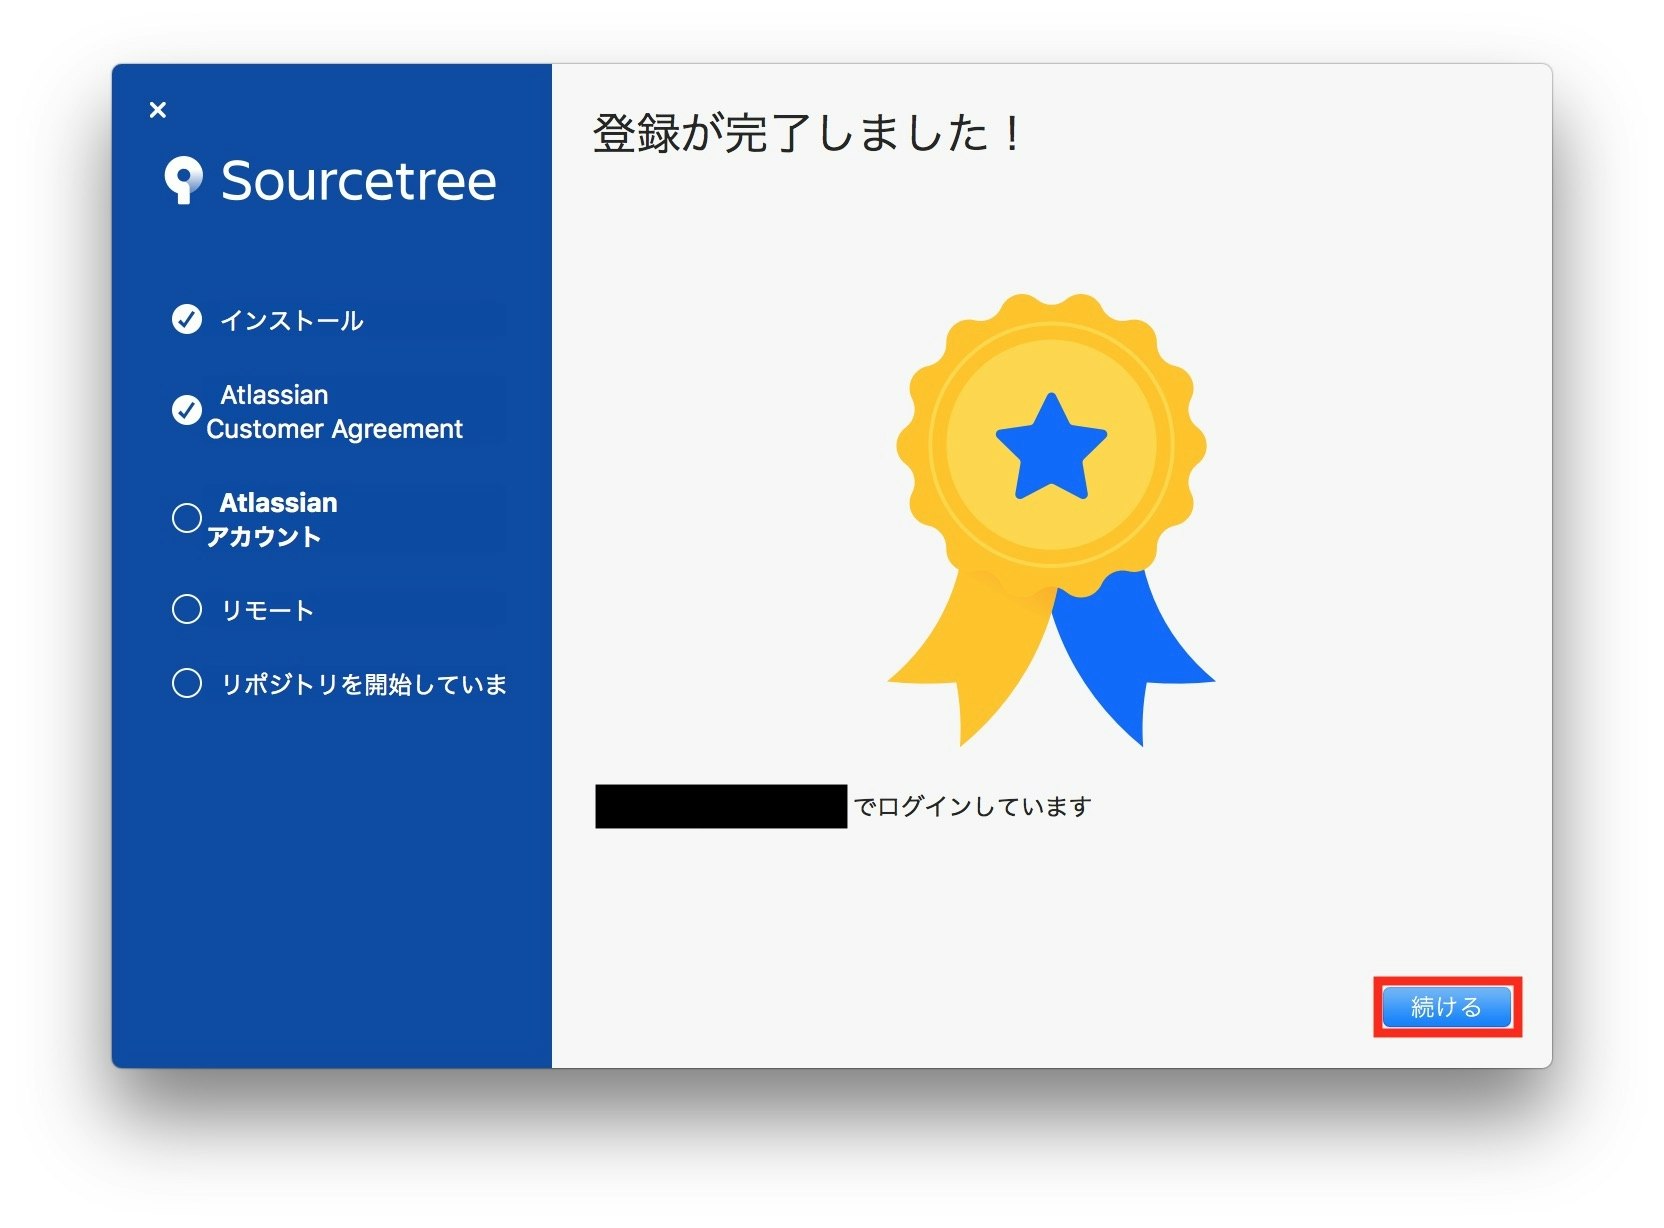
すると、ログインのダイアログが表示されるので、登録したEメールとパスワードを入力します。


「続ける」をクリックします。
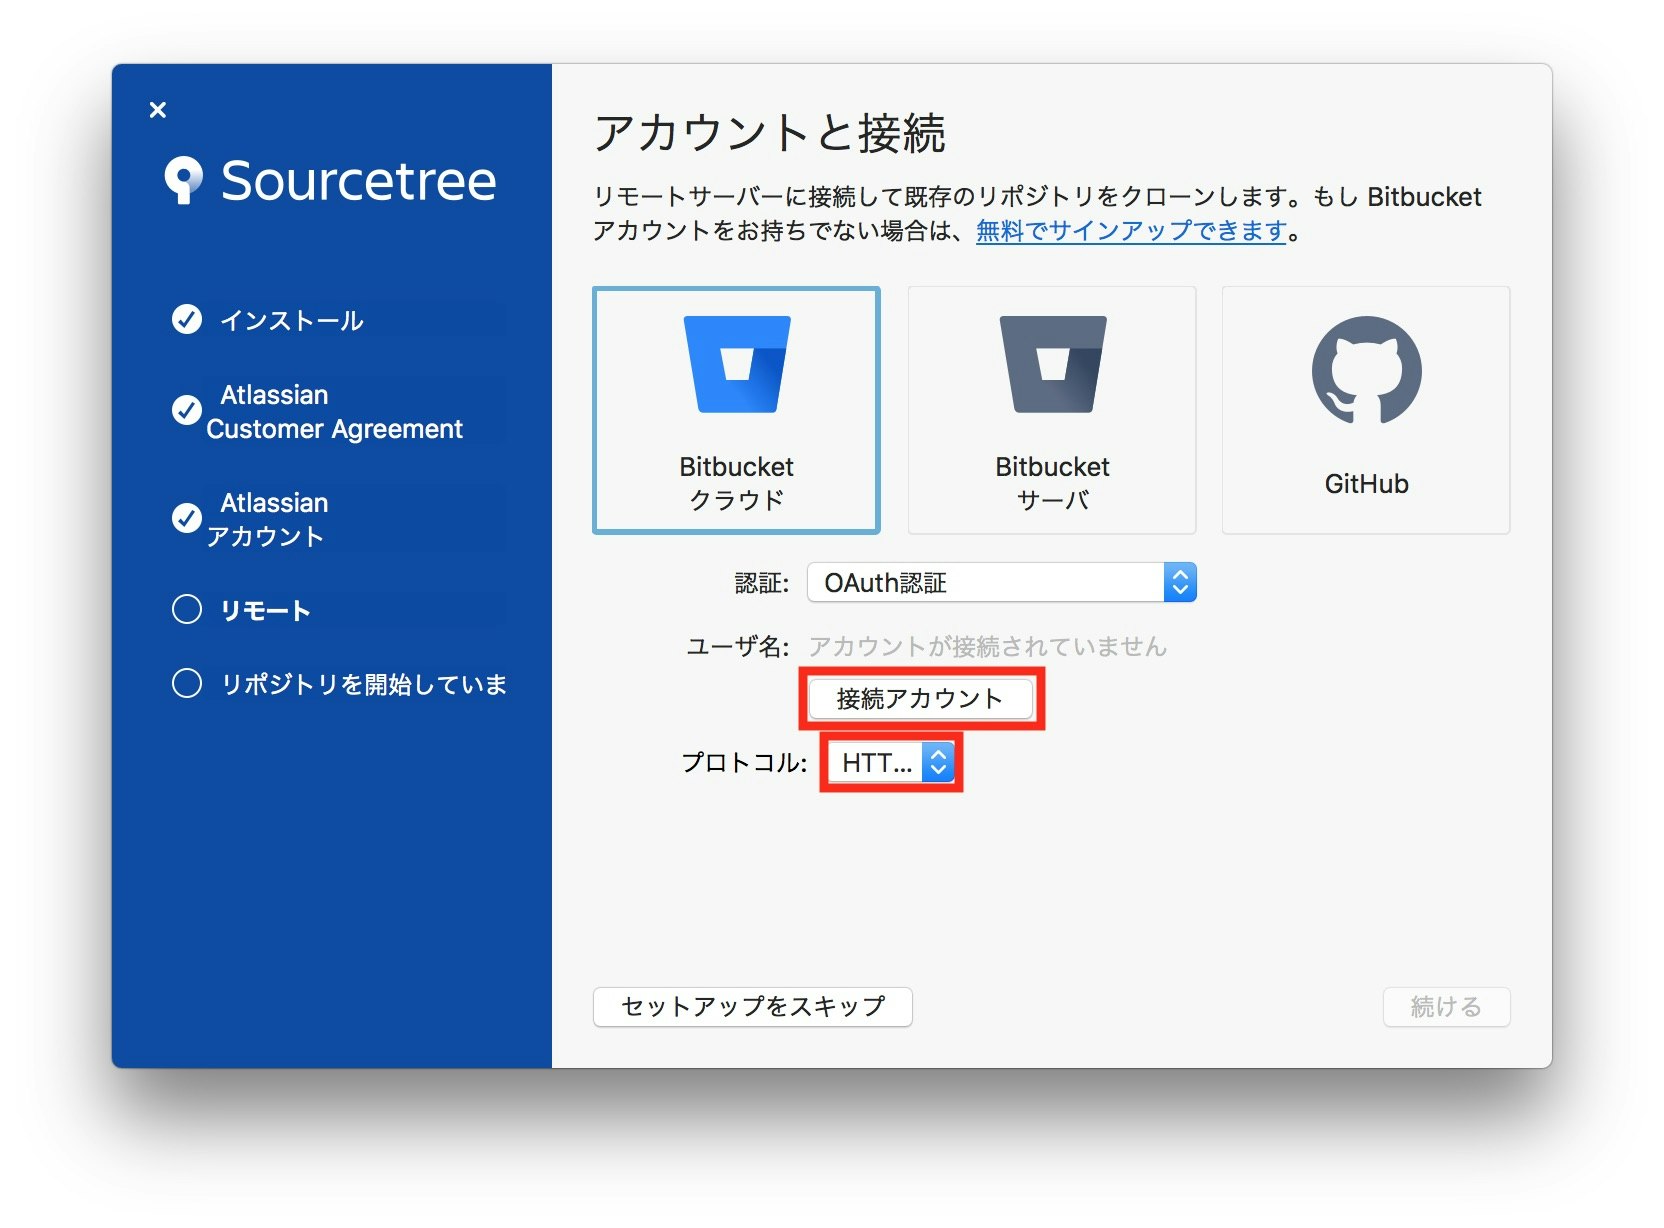
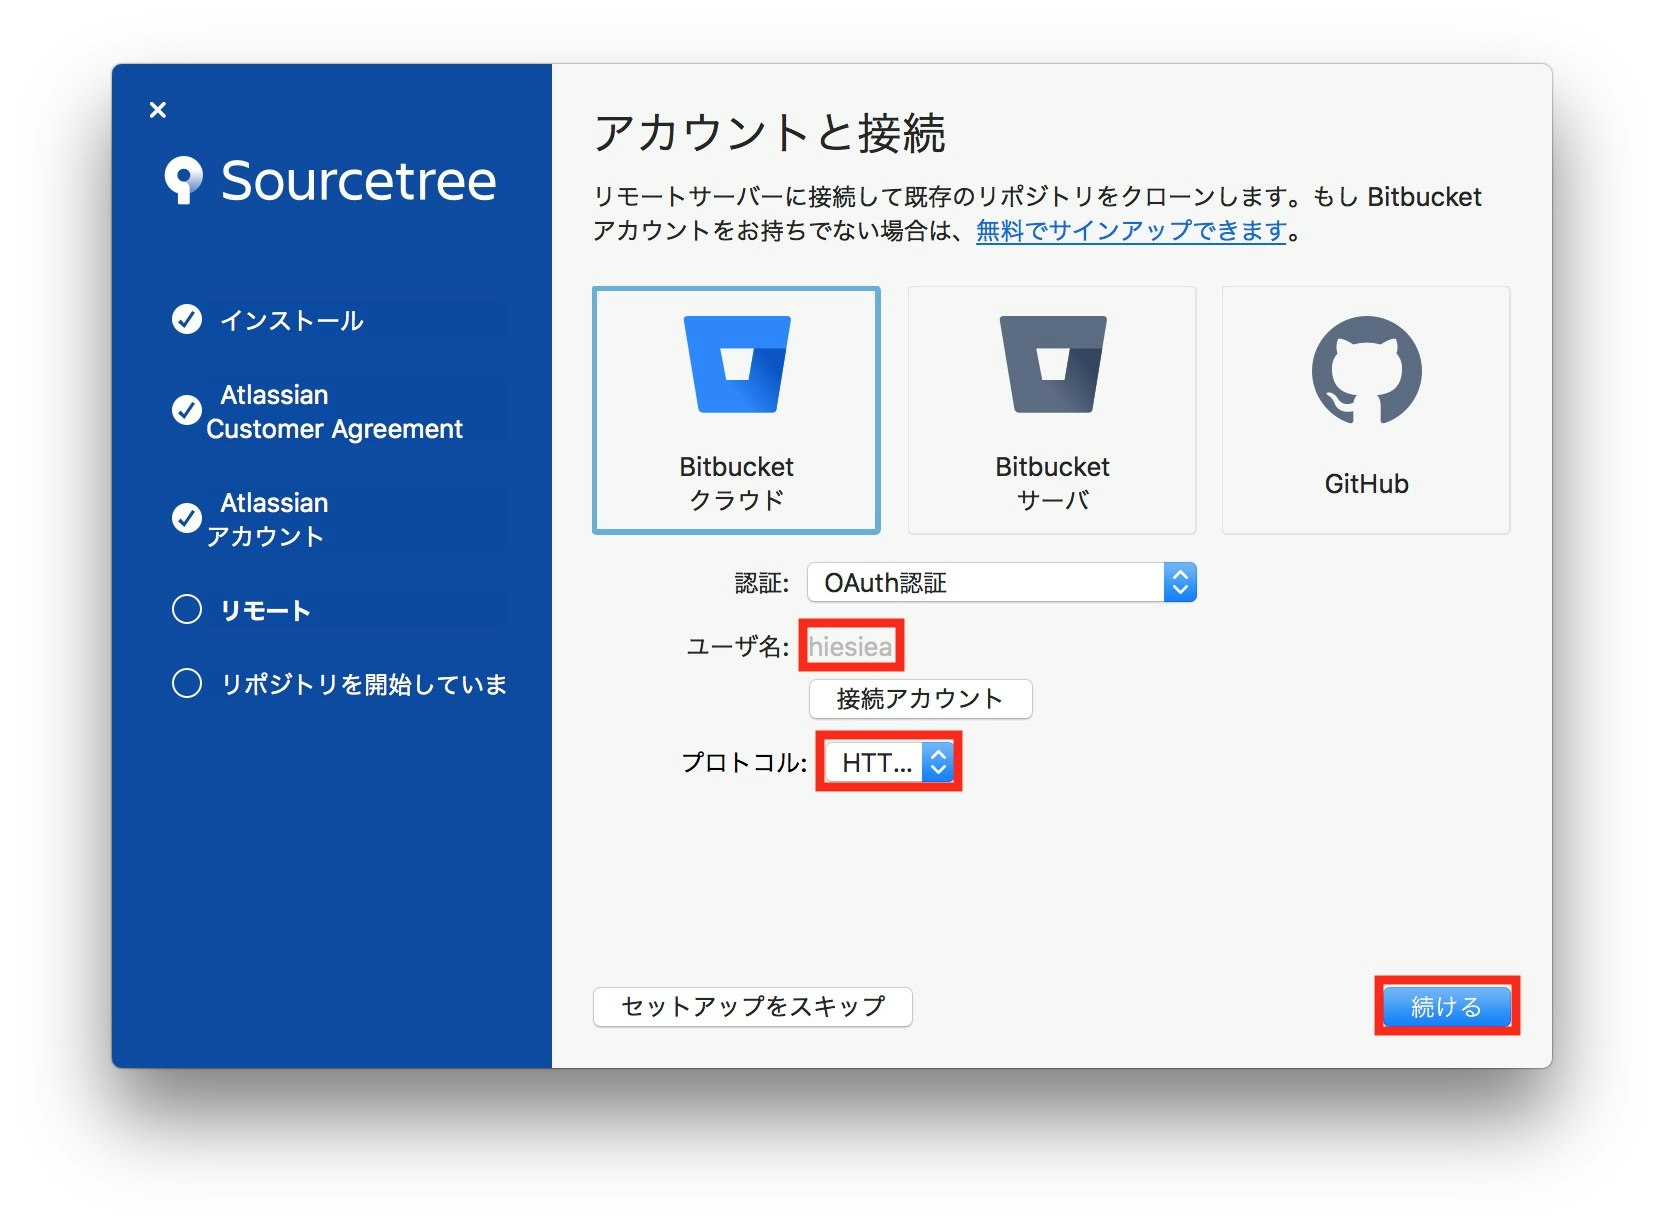
「Bitbucketクラウド」を選択し、プロトコルを「HTTPS」にしてから、「接続アカウント」をクリックします。
またログインのダイアログが表示されるので、先ほどと同様にEメールとパスワードを入力し、「ログイン」をクリックします。

ユーザ名のところにユーザ名が表示されるので、プロトコルが「HTTPS」であるのを確認した上で「続ける」をクリックします。
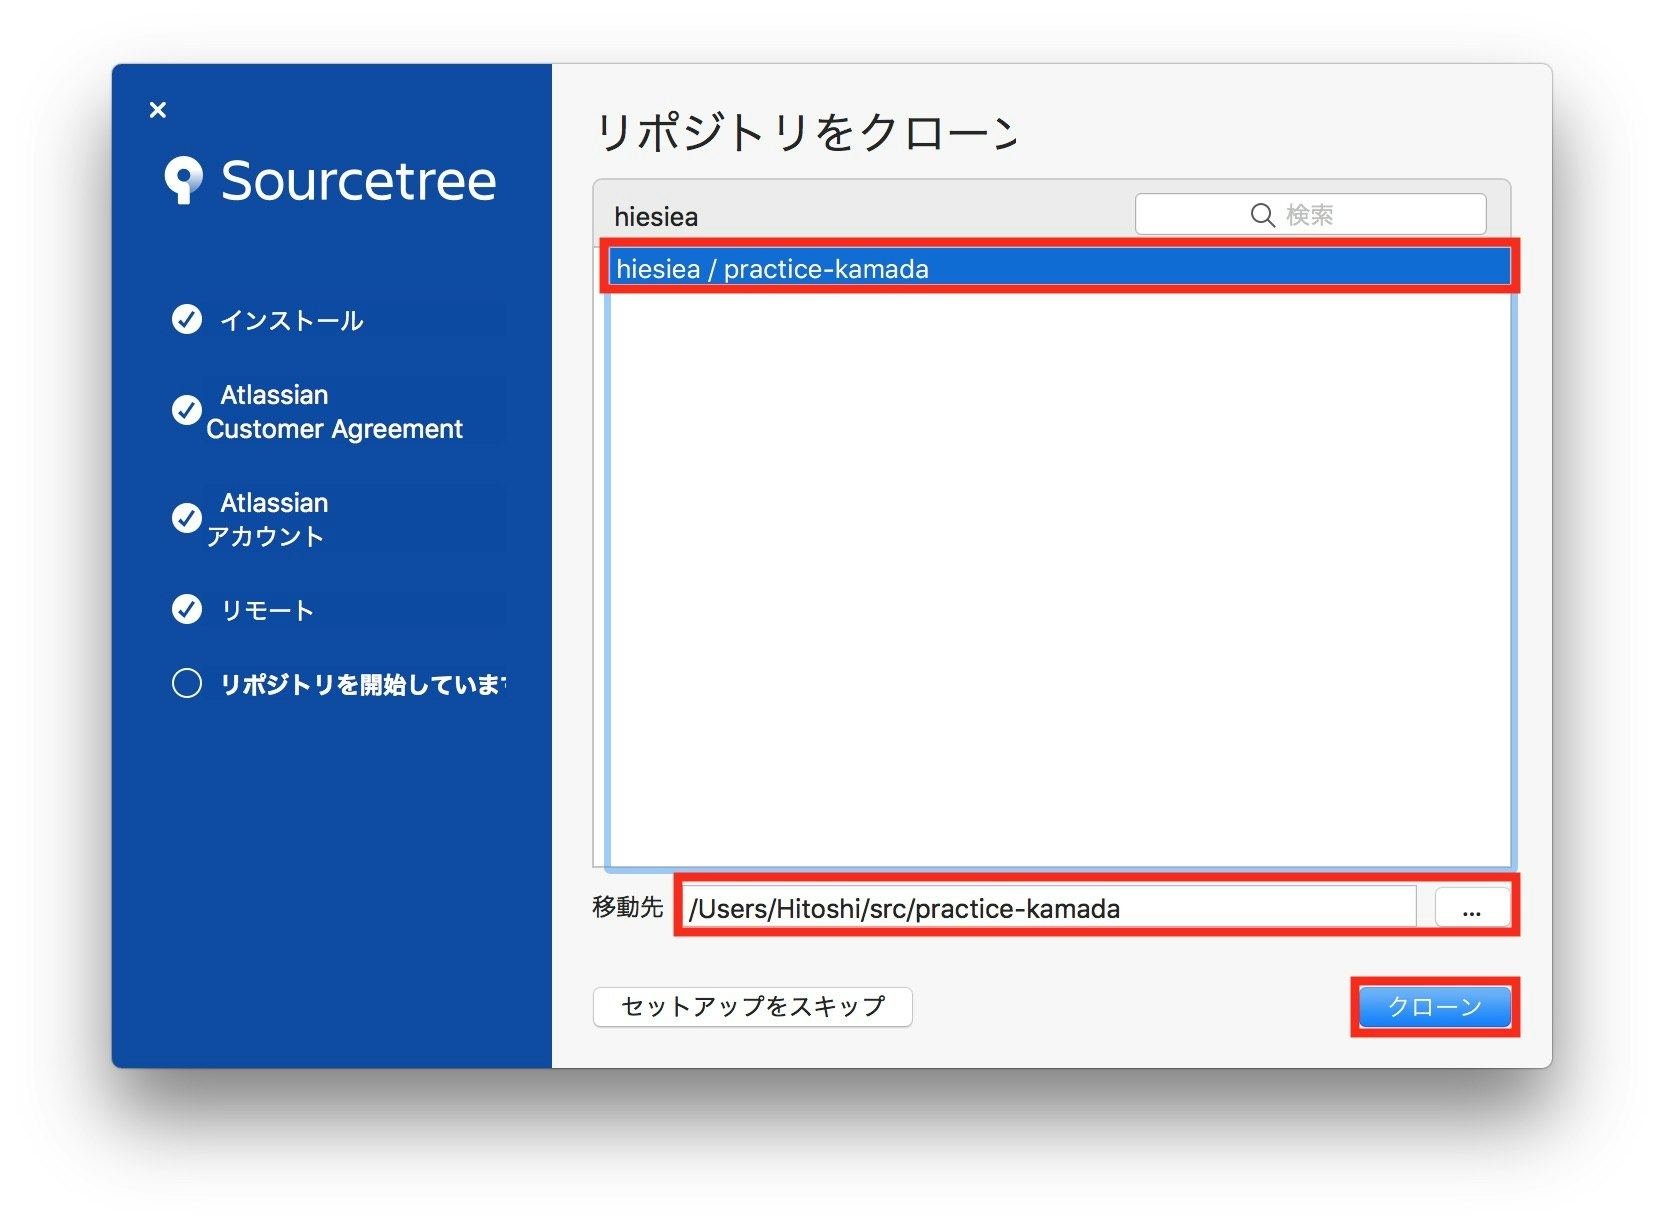
作成したリポジトリを選択し、移動先を指定して、「クローン」をクリックします。
ただし、移動先は空フォルダである必要があります。
これで、BitbucketとSourcetreeの連携は完了です。