はじめに
Peek、Popを実装した時のメモです。
PeekとPop
Peekとは?
弱く押し込んだ時のイベントです。

Popとは?
Peekからさらに強く押し込んだ時のイベントです。
実装方法
1、registerForPreviewing
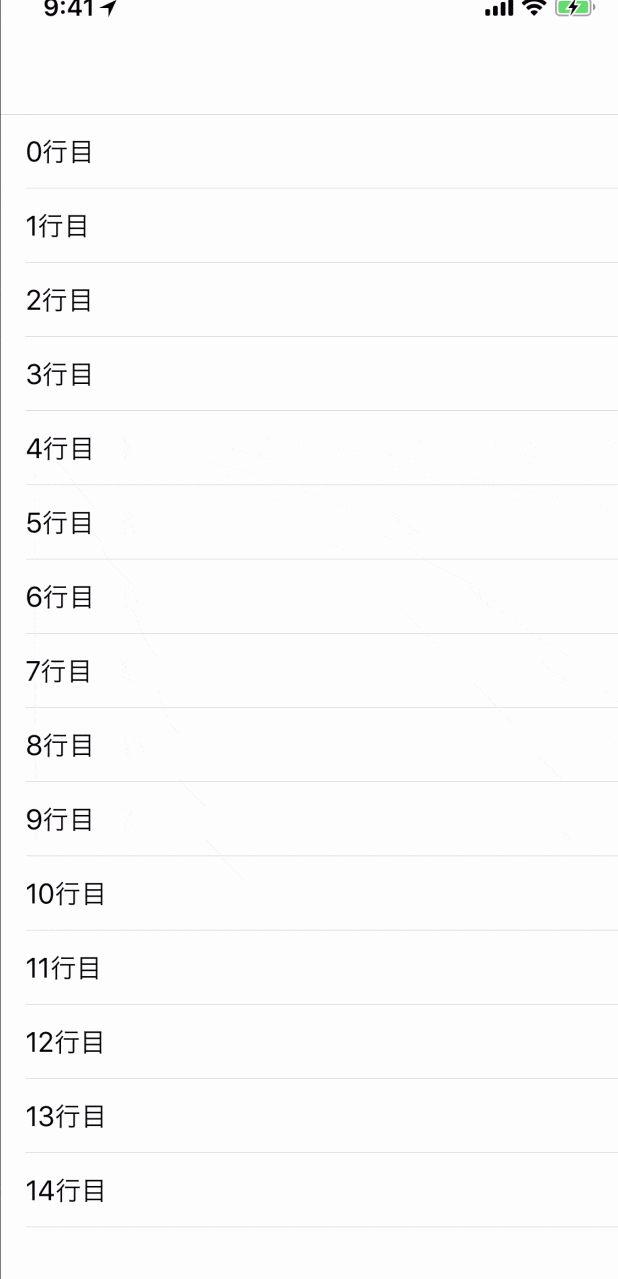
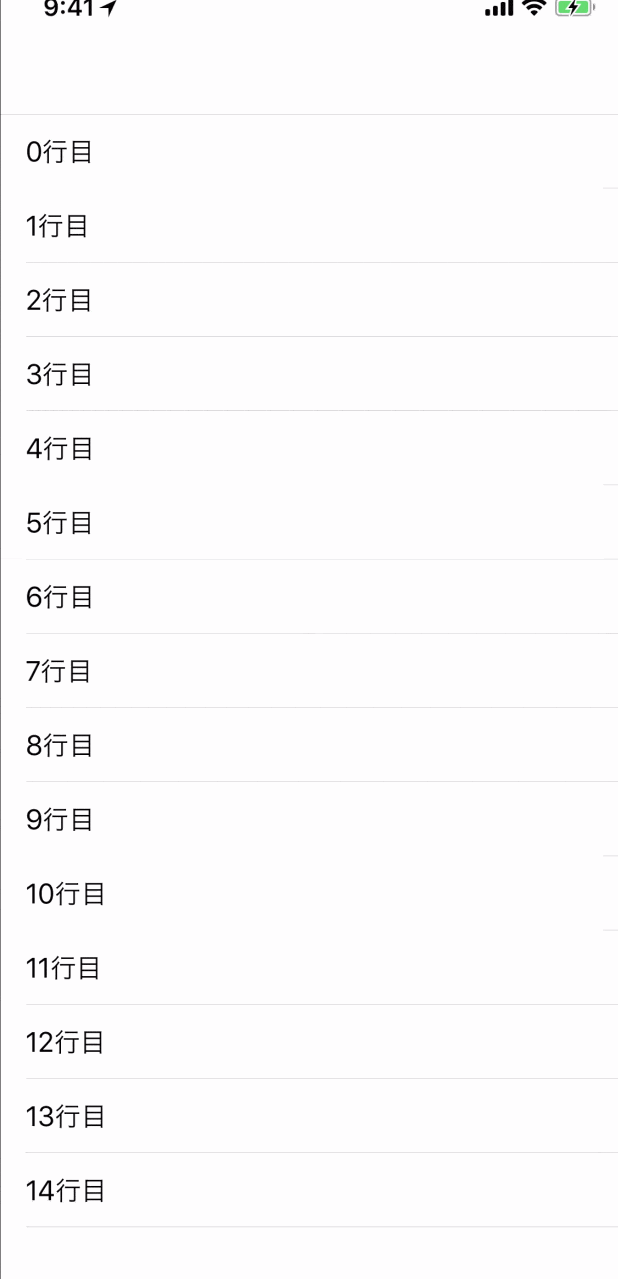
PeekとPopするviewをregisterForPreviewing で有効にします。
Swift
registerForPreviewing(with: self, sourceView: tableView)
2、UIViewControllerPreviewingDelegate
Peekした時にpreviewingContext(_ previewingContext: UIViewControllerPreviewing, viewControllerForLocation location: CGPoint)が呼ばれます。
Peekで表示するViewControllerをここで返します。
Popした時にpreviewingContext(_ previewingContext: UIViewControllerPreviewing, commit viewControllerToCommit: UIViewController)が呼ばれます。
Peekしていた時のViewControllerがviewControllerToCommitになります。
Swift
extension ViewController: UIViewControllerPreviewingDelegate {
    // Peek
    func previewingContext(_ previewingContext: UIViewControllerPreviewing, viewControllerForLocation location: CGPoint) -> UIViewController? {
        guard let indexPath = tableView.indexPathForRow(at: location) else {
            return nil
        }

        return SecondViewController(indexPath: indexPath)
    }

    // Pop
    func previewingContext(_ previewingContext: UIViewControllerPreviewing, commit viewControllerToCommit: UIViewController) {
        self.navigationController?.pushViewController(viewControllerToCommit, animated: true)
    }
}
Peek quick actions
Peek quick actionsとは?
Peekして上にスワイプすると出てくるショートカットメニューです。
実装方法
遷移後のViewControllerのpreviewActionItemsをoverrideして実装します。
Swift
    override var previewActionItems: [UIPreviewActionItem] {
        let edit = UIPreviewAction(title: "編集", style: .default) { _, _ in
            print("編集をタップ")
        }

        let delete = UIPreviewAction(title: "削除", style: .destructive) { _, _ in
            print("削除をタップ")
        }

        return [edit, delete]
    }
GitHub
参考