はじめに
FaceIDについて調べたのでメモです。
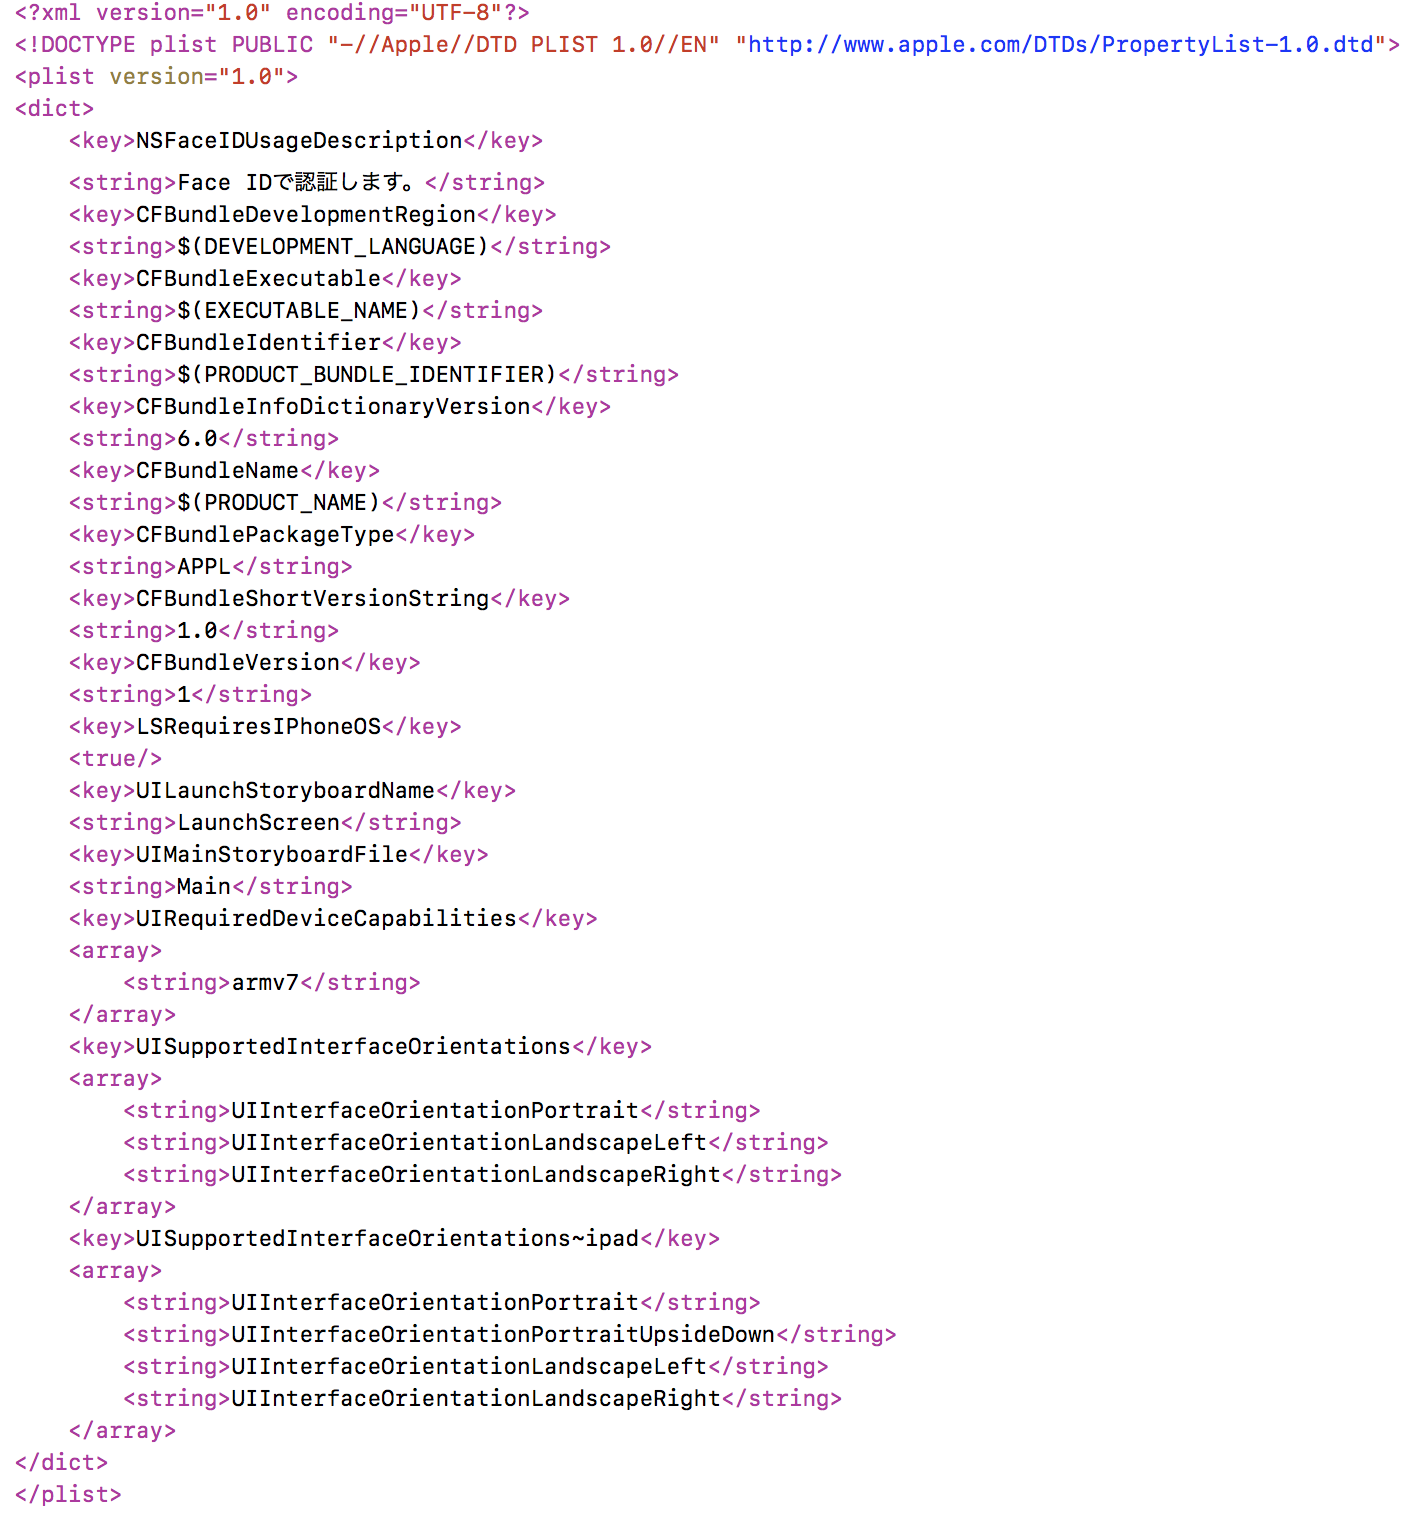
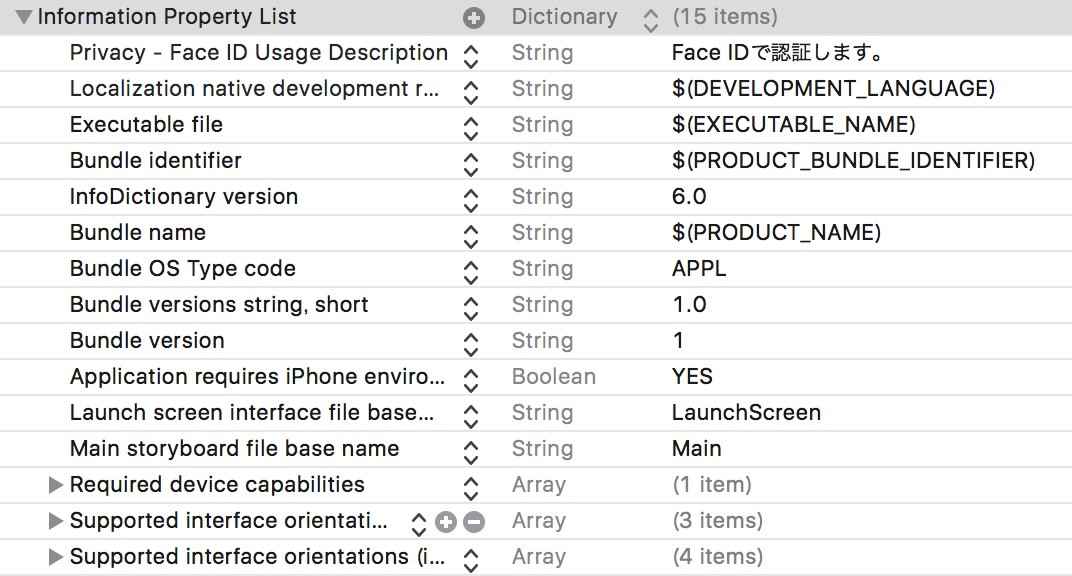
Info.plistにNSFaceIDUsageDescriptionを追加
NSFaceIDUsageDescriptionで許可を求めるようにします。
	<key>NSFaceIDUsageDescription</key>
	<string>Face IDで認証します。</string>
注意
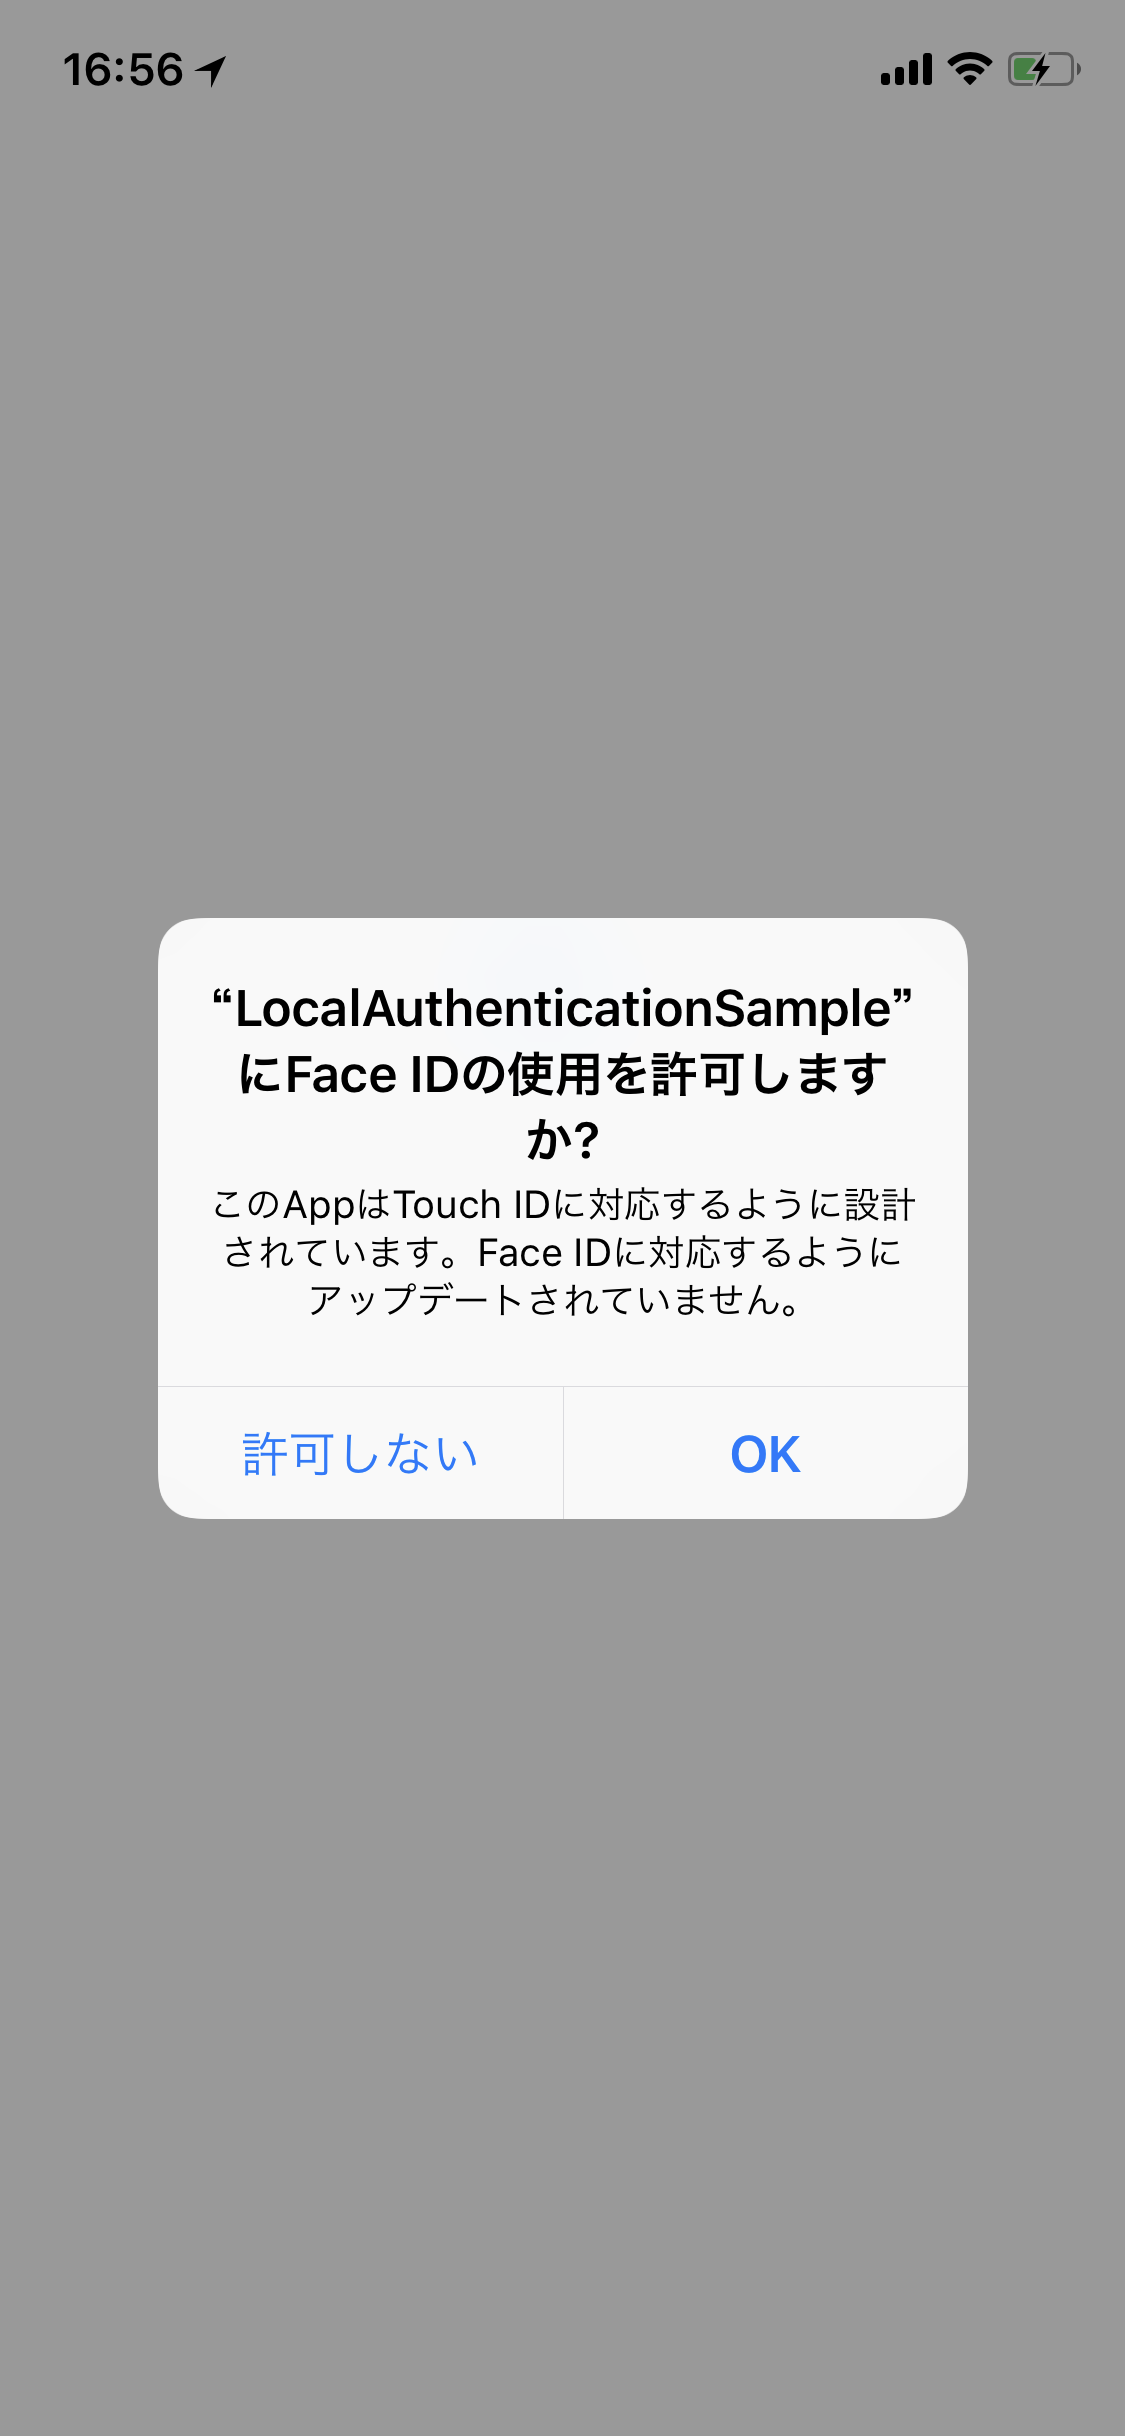
許可を求めないと下記のようなアラートが出てきます。
Face IDに対応していないと言われます。(Face ID認証はされます)

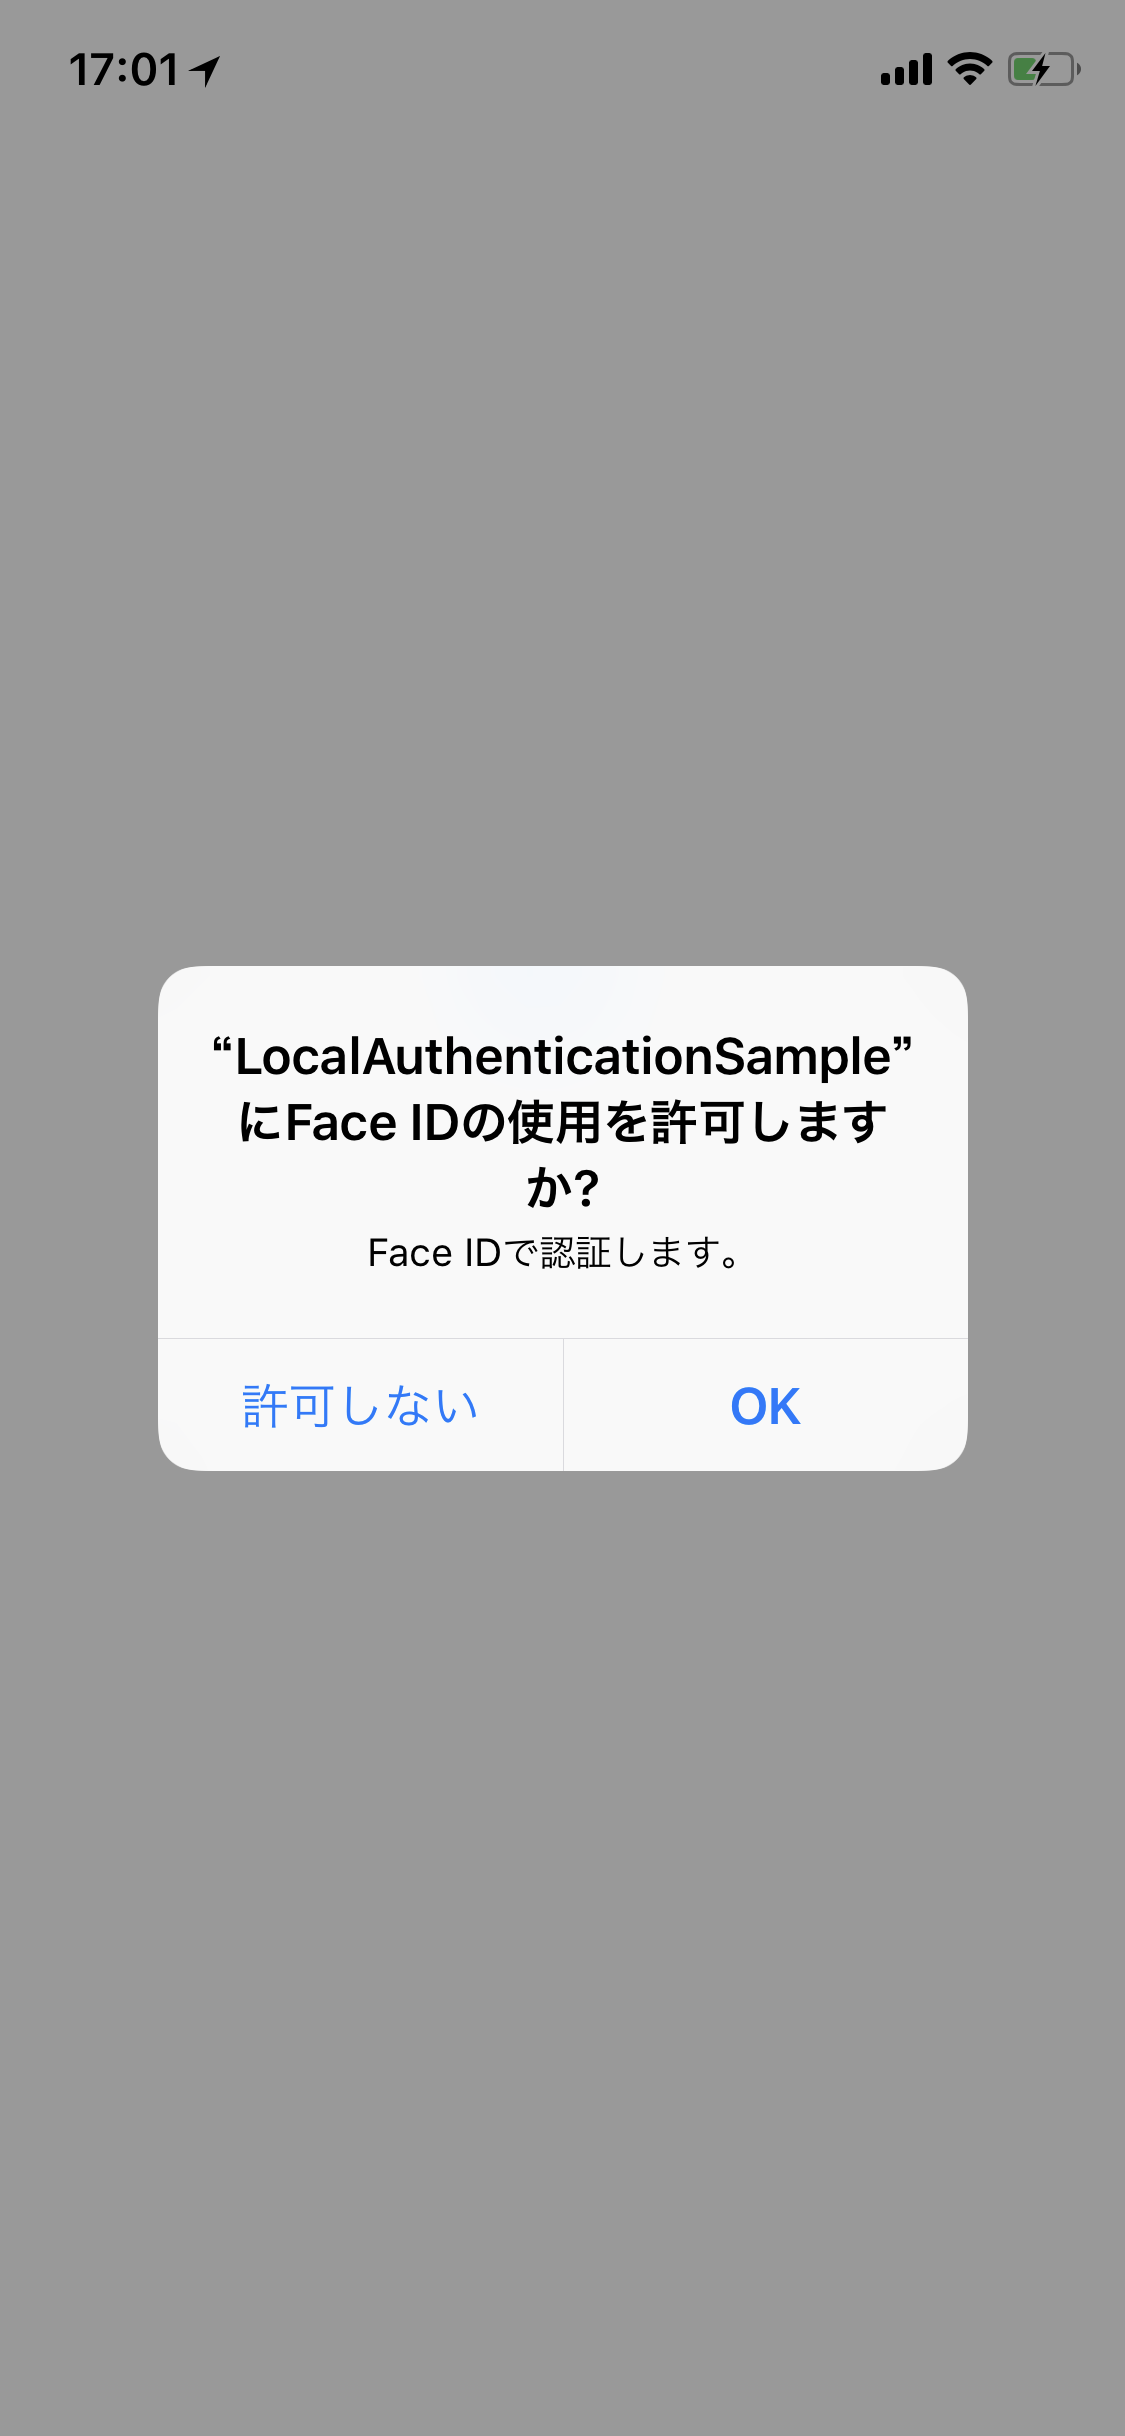
NSFaceIDUsageDescription を追加すると下記のようなアラートに変わります。

コード
下記のようなコードでiPhone XならFace ID、Touch IDデバイスならToutch IDで認証します。
認証するためのアラートやアニメーションは勝手に出てきます。
        let context = LAContext()
        if context.canEvaluatePolicy(.deviceOwnerAuthenticationWithBiometrics, error: nil) {
            let localizedReason = "指紋認証を行なってください。"
            context.evaluatePolicy(.deviceOwnerAuthenticationWithBiometrics, localizedReason: localizedReason, reply: { success, error in
                if let error = error {
                    switch LAError(_nsError: error as NSError) {
                    case LAError.userCancel:
                        // キャンセル
                        reply(.cancel)
                    case LAError.userFallback:
                        // パスコードを入力
                        reply(.userFallback)
                    case LAError.authenticationFailed:
                        reply(.error(.authenticationFailed))
                    case LAError.passcodeNotSet:
                        reply(.error(.passcodeNotSet))
                    case LAError.systemCancel:
                        reply(.error(.systemCancel))
                    default:
                        reply(.error(.unknownError))
                    }
                } else if success {
                    reply(.success)
                } else {
                    reply(.error(.unknownError))
                }
            })
        } else {
            reply(.error(.notSupport))
        }
Face IDかTouch IDかを判断
認証するためのボタンをFace IDとTouch IDで分けたい場合は、どちらで認証されるのかを知る必要があります。
その場合、biometryTypeを使います。
iOS11から使用できるメソッドなのでif #available(iOS 11.0, *) {とする必要があり、context.canEvaluatePolicyがtrueでiOS10の場合はTouch IDだと判断できます。
        let context = LAContext()
        if context.canEvaluatePolicy(.deviceOwnerAuthenticationWithBiometrics, error: nil) {
            if #available(iOS 11.0, *) {
                switch context.biometryType {
                case .typeTouchID:
                    return .touchId
                case .typeFaceID:
                    return .faceId
                case .none:
                    return .none
                }
            } else {
                return .touchId
            }
        } else {
            return .none
        }
GitHub
LocalAuthenticationManagerというクラスで処理を書いています。
https://github.com/hideyukitone/LocalAuthenticationSample
最後に
意外と簡単でした。
少ない工数で最新の技術を取り入れているように見えるのでオススメです!

