この記事は、React Advent Calendar 2022 14日目の記事です。
Stripeでは、Checkout / Payment Linksなどのリダイレクト型の決済フォームとは別に、埋め込み型の決済フォーム「Elements」を提供しています。
Stripe.jsやiOS/Android SDKを利用してElementsをサイトやアプリに埋め込むことで、提供するサービスの中で決済体験を完結させることができます。
Elements組み込みの前準備(サーバー側でのPayment Intent作成)
Stripe Elementsでの決済フォーム組み込みには、サーバー側の処理が必要です。
    const stripe = new Stripe(STRIPE_SECRET_KEY, {
        apiVersion: '2022-11-15'
    });
    const paymentIntent = await stripe.paymentIntents.create({
        amount: 200,
        currency: 'jpy',
    })
このため、JavaScriptでアプリを構築する場合は、Next.js(React)やNuxt(Vue)、SvelteKit(Svelte)などのサーバー側の処理をサポートするフレームワークを利用するか、Express・NestJSなどで別途APIを用意する必要があります。
Express.jsの場合、次のようなAPIを用意しましょう。
const express = require("express");
const app = express();
const stripe = require("stripe")('sk_testから始まるStripeシークレットAPIキー(テスト環境用)');

app.use(express.static("public"));
app.use(express.json());

app.post("/create-payment-intent", async (req, res) => {
  const paymentIntent = await stripe.paymentIntents.create({
    amount: 1400,
    currency: "jpy",
    automatic_payment_methods: {
      enabled: true,
    },
  });

  res.send({
    clientSecret: paymentIntent.client_secret,
  });
});

app.listen(4242, () => console.log("Node server listening on port 4242!"));
生成したclientSecretを利用して、Elementsを描画します。
Elementsで複数決済に対応した決済フォームを用意する
ReactでElementsを利用するには、2つのnpmモジュールを利用します。
$ npm i @stripe/stripe-js @stripe/react-stripe-js
前のステップで作成したAPIからclientSecretを取得し、インストールしたモジュールのセットアップを行います。
import { loadStripe } from '@stripe/stripe-js'
import { Elements } from '@stripe/react-stripe-js'
import { useEffect, useRef, useState } from 'react'

export function StripePaymentElements() {
  const hasAPICalledRef = useRef(false)
  const [piClientSecret, setPiClientSecret] = useState('')

  useEffect(() => {
    if (hasAPICalledRef.current) return
    hasAPICalledRef.current = true
    // APIのURLに適宜変更する
    fetch('http://localhost:3000/create-payment-intent', {
      method: 'post'
    }).then(data => data.json())
      .then(response => setPiClientSecret(response.clientSecret))
  }, [])

  if (!piClientSecret) return null;
  return (
    <Elements
      stripe={loadStripe(process.env.NEXT_PUBLIC_STRIPE_PUBLISHABLE_API_KEY as string)}
      options={{
        clientSecret: piClientSecret,
      }}
    >
      { //@TODO Next Step}
    </Elements>
  )
}
続いて決済フォーム本体のコンポーネントを作成します。
import { PaymentElement, useElements, useStripe } from '@stripe/react-stripe-js'

export function StripePaymentForm() {
  const stripe = useStripe()
  const elements = useElements()

  return (
      <form
        style={{marginTop: '20px'}}
        onSubmit={async e => {
          e.preventDefault()
          if (!stripe || !elements) return
          const result = await stripe.confirmPayment({
            elements,
            redirect: 'if_required',
          })
          console.log(result)
        }}
      >
          <PaymentElement />
          <button type='submit'>注文する</button>
      </form>
  )
}
モジュールのセットアップで作成したStripePaymentElements要素に、決済フォーム要素(StripePaymentForm)を追加しましょう。
    <Elements
      stripe={loadStripe(process.env.NEXT_PUBLIC_STRIPE_PUBLISHABLE_API_KEY as string)}
      options={{
        clientSecret: piClientSecret,
      }}
    >
-      { //@TODO Next Step}
+       <StripePaymentForm />
    </Elements>
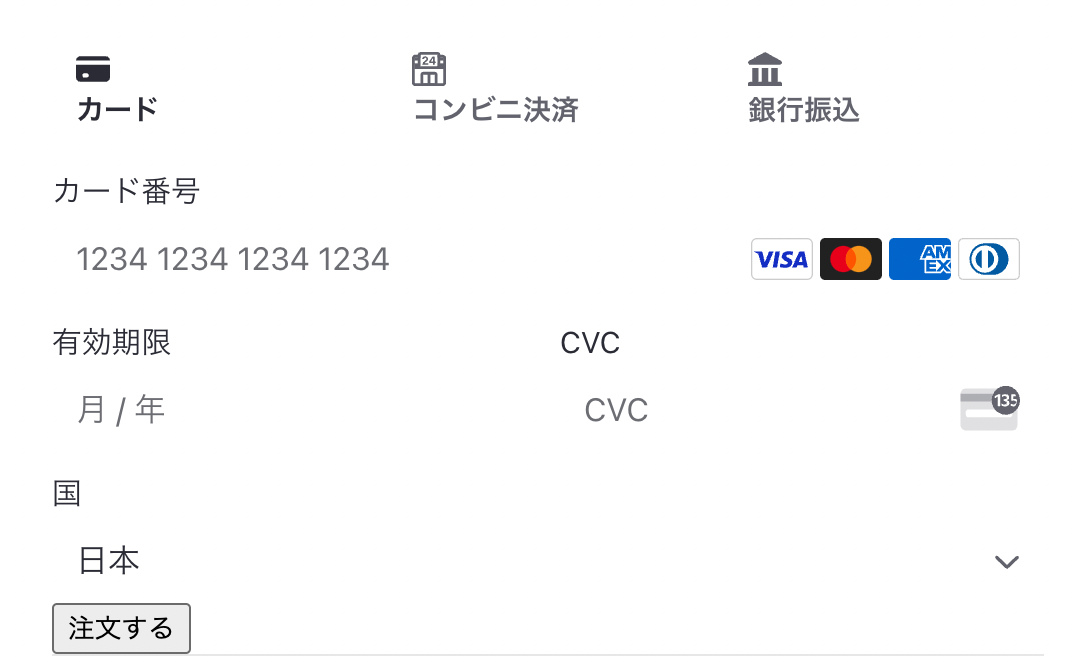
決済フォームが表示されれば、完了です。

Stripeダッシュボードから、コンビニ決済などの決済手段を有効化すると、<PaymentElement />内で顧客が利用可能な決済手段を動的に表示してくれるようになります。
[Appendix] 銀行振込をサポートする方法
銀行振込をサポートするには、Customerデータの作成が必要です。
サーバー側のPayment Intent作成処理を、次のように変更しましょう。
  const paymentIntent = await stripe.paymentIntents.create({
    amount: 1400,
    currency: "jpy",
    automatic_payment_methods: {
      enabled: true,
    },
+    customer: 'cus_xxx',
+    payment_method_data: {
+      type: 'customer_balance'
+    },
+    payment_method_options: {
+      customer_balance: {
+        funding_type: 'bank_transfer',
+        bank_transfer: {
+          type: 'jp_bank_transfer'
+        }
+      },
+    }
  });
customerのIDは、1度作成してCookieやユーザー管理系サービス(firebase/Auth0など)で再利用できるようにすることをお勧めします。
決済手段をサーバー側で動的に変更する方法
商品やサービスの種類によって決済手段を変更したい場合などでは、サーバー側のPayment Intent作成処理で明示的に指定することも可能です。
以下の例では、「クレジットカード」「コンビニ決済」「銀行振込」の3つをサポートします。
    const paymentIntent = await stripe.paymentIntents.create({
        customer: 'cus_xxxx',
        amount: 200,
        currency: 'jpy',
        payment_method_types: ['card', 'konbini', 'customer_balance'],
        payment_method_data: {
          type: 'customer_balance'
        },
        statement_descriptor_suffix: 'Food delivery',
        payment_method_options: {
          customer_balance: {
            funding_type: 'bank_transfer',
            bank_transfer: {
              type: 'jp_bank_transfer'
            }
          },
          card: {
            statement_descriptor_suffix_kanji: '食料品配送',
            statement_descriptor_suffix_kana: 'ショクリョウヒンハイソウ',
          },
          konbini: {
              product_description: "食料品配送",
              expires_after_days: 7
          }
        },
    })
決済フォームのレイアウトを変更する方法
複数の決済手段が利用できる場合、デフォルトでは決済手段の選択ボタンが横に並びます。

縦並び(アコーディオン)配置にする
PaymentElementのパラメータを変更することで、縦並びに変更できます。
         <PaymentElement
+           options={{
+             layout: {
+               type: 'accordion',
+             }
+           }}
         />

縦並び配置(ラジオボタンなし)にする
type: 'accordion'では、ラジオボタンを非表示にすることもできます。
         <PaymentElement
            options={{
              layout: {
                type: 'accordion',
+               radios: false,
              }
            }}
         />

縦並びで、デフォルト表示を無くす
デフォルトでは通常、クレジットカードの決済フォームがはじめに表示されます。
縦並びの場合、これを非表示にすることもできます。
         <PaymentElement
            options={{
              layout: {
                type: 'accordion',
+               defaultCollapsed: true,
+               spacedAccordionItems: true
              }
            }}
         />

顧客が利用したい決済フォームを選択すると、フォームが表示されます。

決済フォームの見た目をカスタマイズする方法
Stripe Elementsで描画される決済フォームは、セキュリティなどの目的でiframeの中に配置されます。

そのため、CSSでの内容・見た目のカスタマイズはElement Appearance APIを利用して行う必要があります。
プリセットスタイル(テーマ)を設定する
StripeのPayment ELementsでは、いくつかのスタイルプリセットが用意されています。
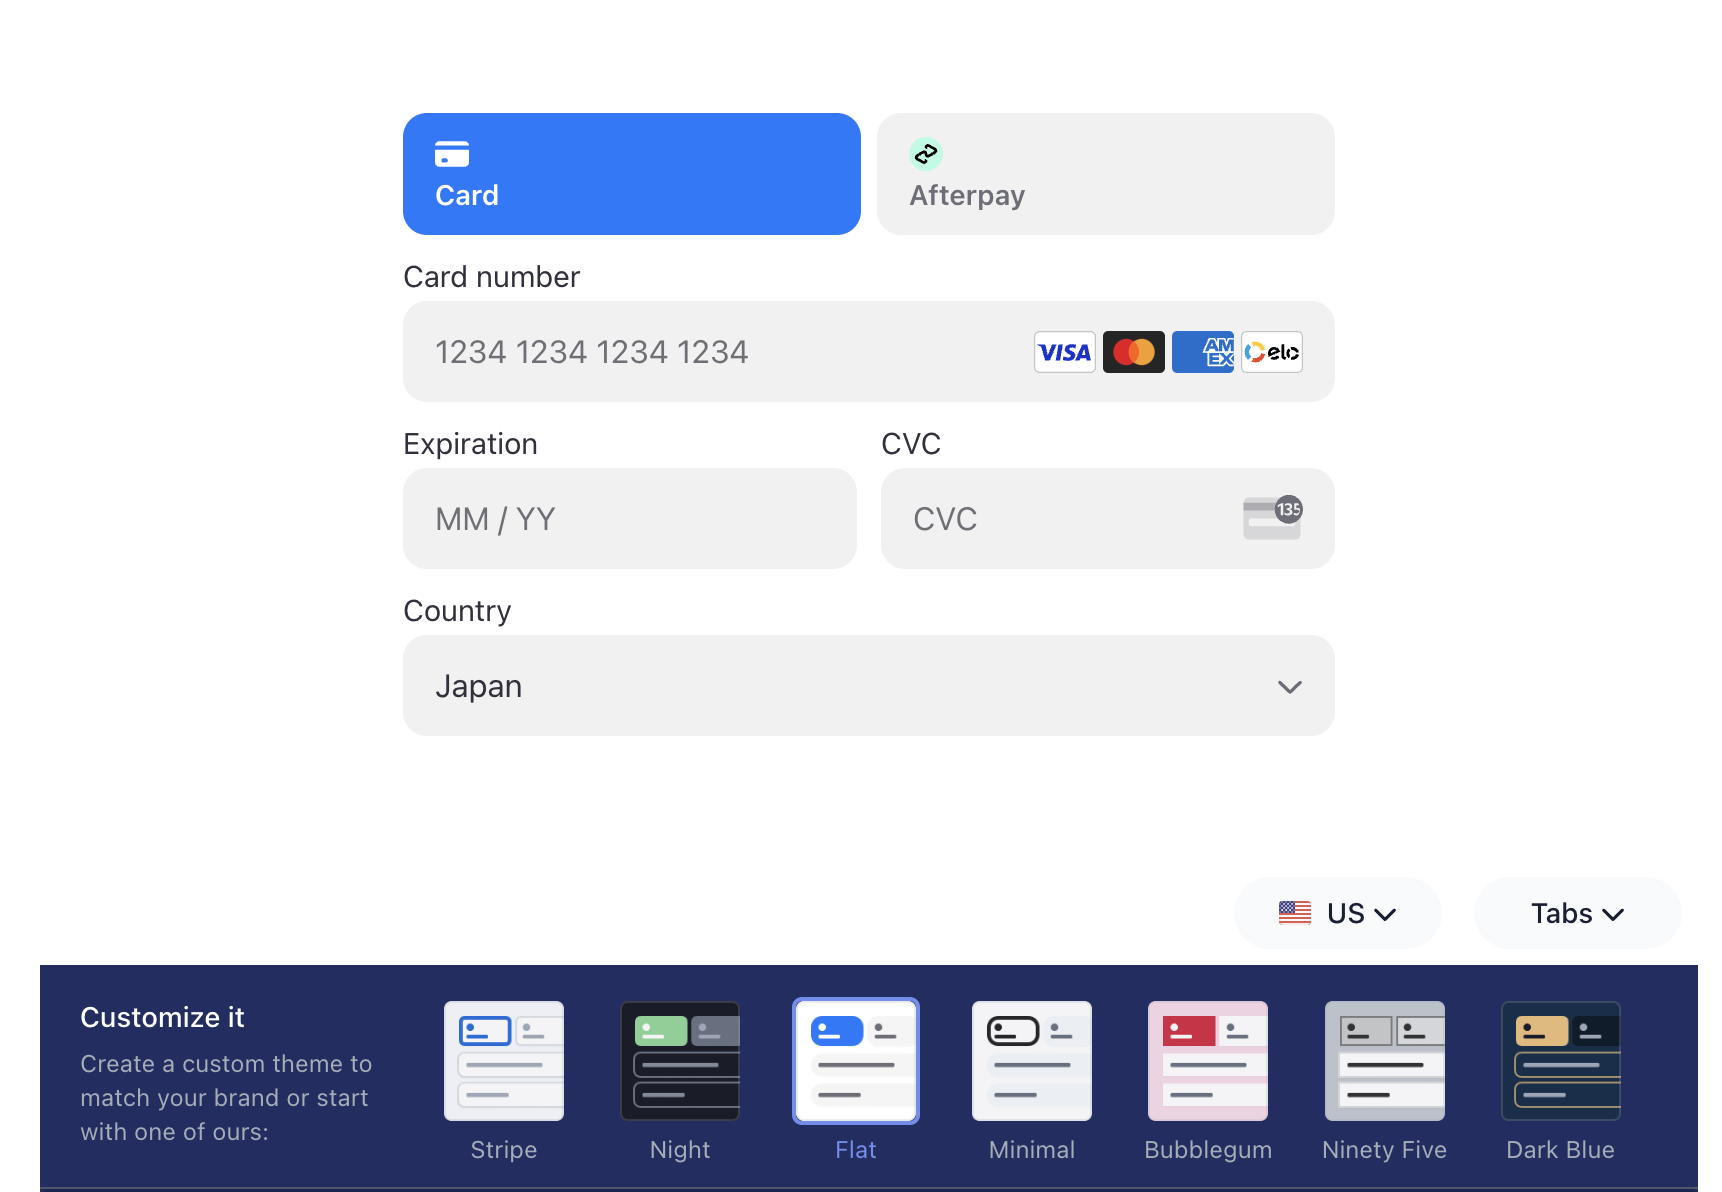
これらは、<Elements/>のoptions.appearanceで設定します。
    <Elements
      stripe={loadStripe(process.env.NEXT_PUBLIC_STRIPE_PUBLISHABLE_API_KEY)}
      options={{
        appearance: {
          theme: 'stripe'
        },
        clientSecret: piClientSecret,
      }}
    >
プリセットを使わずに見た目を調整する
独自のデザインを設定したい場合、theme: 'none'を設定することで、装飾がほぼない状態にできます。
    <Elements
      stripe={loadStripe(process.env.NEXT_PUBLIC_STRIPE_PUBLISHABLE_API_KEY)}
      options={{
        appearance: {
-          theme: 'stripe'
+          theme: 'none'
        },
        clientSecret: piClientSecret,
      }}
    >
続いて、options.appearance.variablesとoptions.appearance.rulesで見た目を調整します。
    <Elements
      stripe={loadStripe(process.env.NEXT_PUBLIC_STRIPE_PUBLISHABLE_API_KEY as string)}
      options={{
        appearance: {
          theme: 'none',
          variables: {
            colorPrimary: '#333333',
            colorBackground: '#ffffff',
            colorText: '#30313d',
            colorDanger: '#654321',
            fontFamily: 'Osaka',
            spacingUnit: '10px',
            borderRadius: '4px',
            spacingTab: '100px',
            spacingGridRow: '50px',
            spacingGridColumn: '50px'
          },
          rules: {
            '.Tab': {
              border: '1px solid #E0E6EB',
              boxShadow: '0px 1px 1px rgba(0, 0, 0, 0.03), 0px 3px 6px rgba(18, 42, 66, 0.02)',
            },
            '.Tab:hover': {
              color: 'var(--colorText)',
            },
            '.Tab--selected': {
              borderColor: '#E0E6EB',
              boxShadow: '0px 1px 1px rgba(0, 0, 0, 0.03), 0px 3px 6px rgba(18, 42, 66, 0.02), 0 0 0 2px var(--colorPrimary)',
            },
            '.Input': {
              boxShadow: '0 1px 1px 0 rgba(0, 0, 0, 0.07), 0 0 0 2px var(--colorPrimary)',
            },
            '.Input--invalid': {
              boxShadow: '0 1px 1px 0 rgba(0, 0, 0, 0.07), 0 0 0 2px var(--colorDanger)',
            },
          }
        },
        clientSecret: piClientSecret,
      }}
    >

利用可能な変数やルール、クラス名の法則などについてはドキュメントをご確認ください。