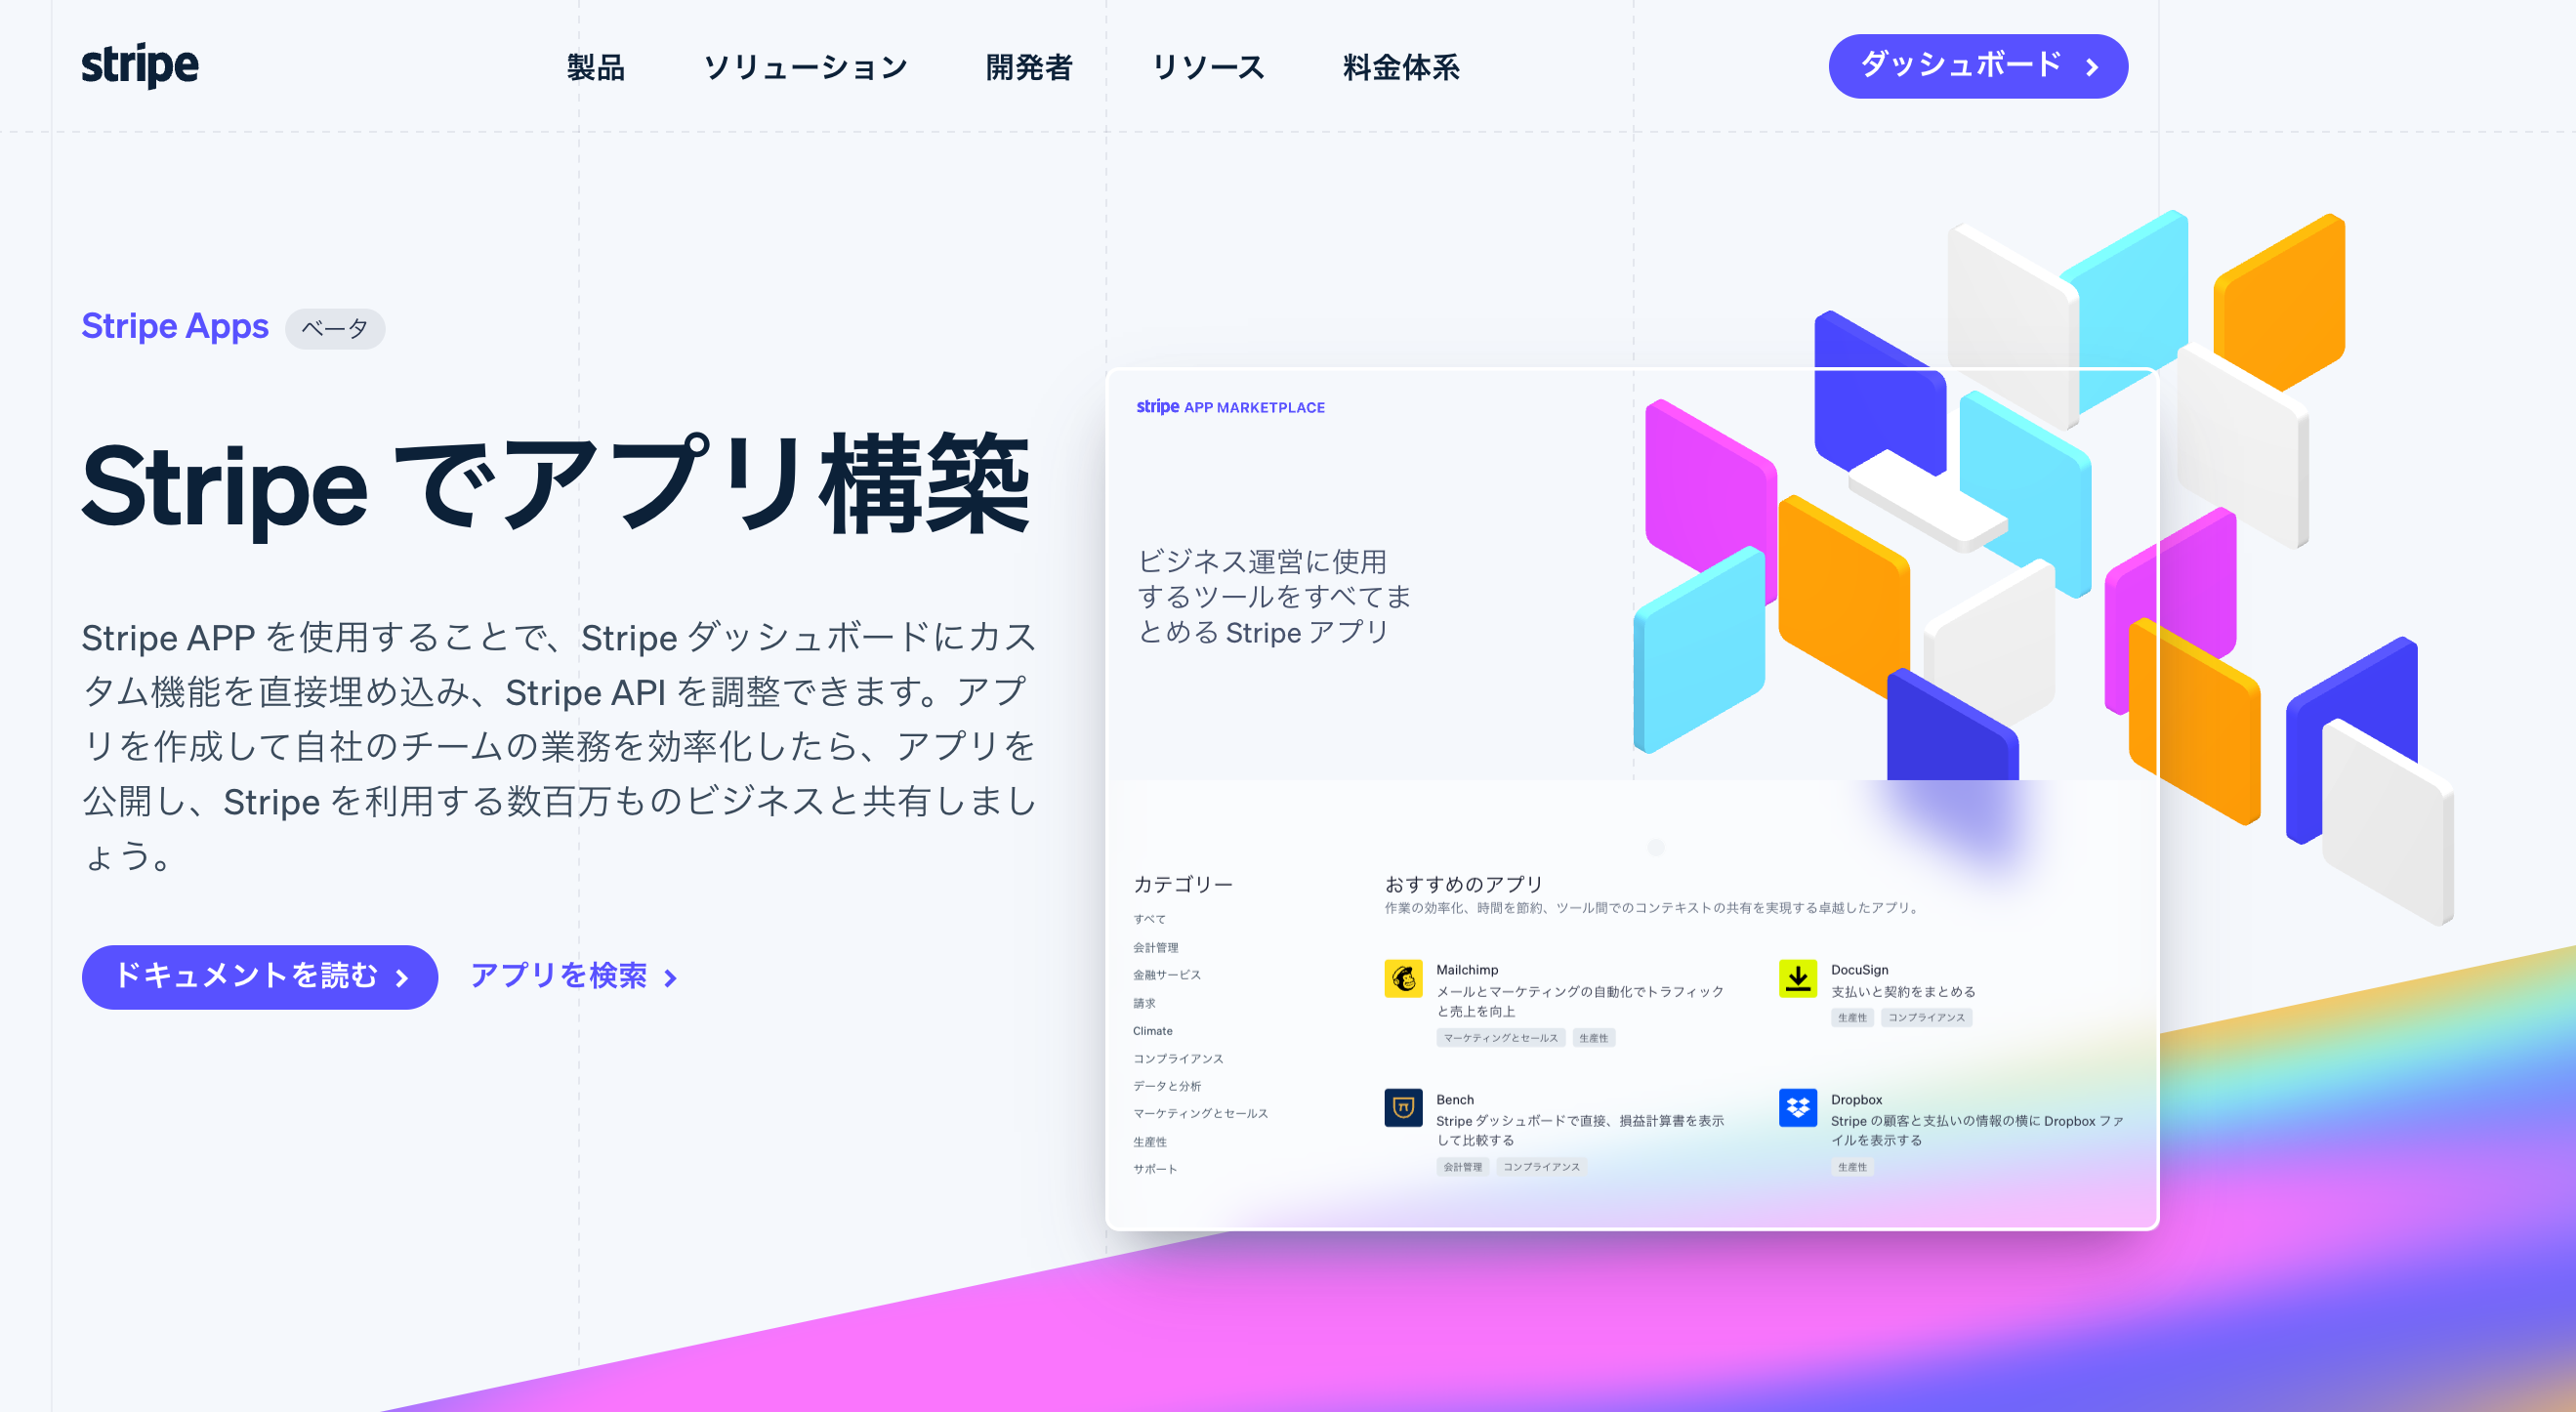
この記事は、Stripe Apps を25日間紹介し続ける Advent Calendar 2022 13日目の記事です。
アプリを長期的に運用保守する上で、ユニットテストの導入は欠かせません。
Stripe AppsはReact / TypeScriptをベースに開発できますが、テストについてもReactと同様Jestで実行できます。
Stripe Apps アプリで、Jestのテストを実行する
Stripe CLIでセットアップした際に生成されるテストファイルをみてみましょう。
import {render, getMockContextProps} from "@stripe/ui-extension-sdk/testing";
import {ContextView} from "@stripe/ui-extension-sdk/ui";

import App from "./App";

describe("App", () => {
  it("renders ContextView", () => {
    const {wrapper} = render(<App {...getMockContextProps()} />);

    expect(wrapper.find(ContextView)).toContainText("save to reload this view");
  });
});
JestでReactのテストを書いたことのある方は、かなり見慣れたコードに見えるかもしれません。
通常のテストと異なる点として、renderなどの関数を@stripe/ui-extension-sdkからimportしています。
npm run testでテストを実行する
テストは、npm run testまたはnpx jestなどで実行できます。
$ npm run test
jest
 PASS  src/views/App.test.tsx
  Setting
    ✓ renders AppView (6 ms)

Test Suites: 1 passed, 1 total
Tests:       1 passed, 1 total
Snapshots:   0 total
Time:        2.838 s
TypeScriptの型チェックにも対応
Jestのユニットテストは、TypeScriptの型チェックもサポートしています。
試しにTypeScriptの設定を変更して、テストしてみましょう。
tsconfig.jsonを次のように変更します。
{
  "extends": "@stripe/ui-extension-tools/tsconfig.ui-extension",
  "compilerOptions": {
    "noUnusedParameters": true
  }
}
noUnusedParametersをtrueにして、「使用していないパラメタ」が残っているとエラーが出るようにしました。
この状態でテストを再度実行しましょう。
$ npm run test
jest
 FAIL  src/views/App.test.tsx
  ● Test suite failed to run

    src/views/App.tsx:11:18 - error TS6198: All destructured elements are unused.

    11 const App = ({userContext, environment}: ExtensionContextValue) => {
                        ~~~~~~~~~~~~~~~~~~~~~~~~~~

Test Suites: 1 failed, 1 total
Tests:       0 total
Snapshots:   0 total
Time:        2.866 s, estimated 3 s
error Command failed with exit code 1.
エラーが発生しました。
このように、コード内に型エラーが存在しているかの確認もJestで行えます。
Stripe AppsアプリのUIテストを書く
Stripe Apps用アプリのテストコードは、ほぼReactでのテストと同様に実装できます。
Apps用のメソッドがいくつか追加されていますので、ドキュメントも参考にしましょう。
renderで描画して、findで探してtoXXXでテストする
大まかにはこの3ステップでテストコードを実装します。
次のコードでは、「App内にある、href="http://example.com"プロパティを持つButton要素のテキストがPress meを含む」ことをテストしています。
  const {wrapper} = render(<App />);
  const button = wrapper.find(Button, {href: 'http://example.com'});
  expect(button).toContainText('Press me');
より細かい条件で検索するために、findWhereを利用することもできます。
  const button = wrapper.findWhere<typeof Button>(
    (node) => node.is(Button) && node.prop('href').startsWith('http://example'),
  );
スナップショットテストも可能
レンダリングした内容が変わっていないかを確認できる、「スナップショットテスト」も利用できます。
import {render, getMockContextProps} from "@stripe/ui-extension-sdk/testing";

import App from "./App";

describe("App", () => {
  it("Snapshot test", async () => {
    const {wrapper} = render(<App {...getMockContextProps()} />);
    expect(wrapper.find(ContextView)).toMatchSnapshot();
  });
});
このテストコードを実行すると、初回はスナップショットファイルが生成されます。
$ jest src/views/App.t
 PASS  src/views/App.test.tsx
  App
    ✓ Snapshot test (6 ms)

 › 1 snapshot written.
Snapshot Summary
 › 1 snapshot written from 1 test suite.
この後、src/views/App.tsxの中身を変更すると、次のテストでエラーが発生します。
    @@ -557,11 +557,11 @@
        "is": [Function],
        "prop": [Function],
        "props": Object {
          "externalLink": Object {
            "href": "https://stripe.com/docs/stripe-apps",
-           "label": "View docs",
+           "label": "View Docs",
          },
          "title": "Hello",
        },
        "text": "cus_1234",
        "toString": [Function],
View docsのDの大文字小文字が変わっていることを検知できました。
変更が意図したものの場合、-uをつけて再実行することでスナップショットを更新できます。
$ jest src/views/App.tsx -u
 PASS  src/views/App.test.tsx
  App
    ✓ Snapshot test (8 ms)

 › 1 snapshot updated.
Snapshot Summary
 › 1 snapshot updated from 1 test suite.

Test Suites: 1 passed, 1 total
Tests:       1 passed, 1 total
Snapshots:   1 updated, 1 total
Time:        1.188 s, estimated 3 s
render後、findでXXXViewを取得しよう
renderした戻り値のwrapperをそのままtoMatchSnapshotにかけると、意図しないスナップショットが生成されます。
exports[`Snapshot test 1`] = `
Object {
  "act": [Function],
  "unmount": [Function],
}
`;
findなどで取得したものに対して、テストを実行しましょう。
Viewのエントリーコンポーネントには、getMockContextProps
Next.jsなどと同様。Viewごとにエントリーコンポーネントを作ります。
このため、userContextやenvironmentなど、アプリから渡される値をテストコードでも再現する必要があります。
TypeScriptの型情報を元に作成することもできますが、getMockContextProps()を利用するとより簡単になります。
import {render, getMockContextProps} from "@stripe/ui-extension-sdk/testing";
import {ContextView} from "@stripe/ui-extension-sdk/ui";

import App from "./PaymentListView";

describe("App", () => {
  it("renders ContextView", async () => {
    const {wrapper} = render(<App {...getMockContextProps()} />);
getMockContextProps()は、引数で上書きしたい値を指定できます。
例えば、顧客ページ(stripe.dashboard.customer.detail)のテストを行いたい場合、environmentの値をCustomerデータに変更できます。
-    const {wrapper} = render(<App {...getMockContextProps()} />);
+    const {wrapper} = render(<App {...getMockContextProps({
+      environment: {
+        objectContext: {
+          id: 'cus_1234',
+          object: 'customer'
+        }
+      }
+    })} />);
environment.objectContext.objectで、オブジェクトの種類を判別する処理を書いている場合などに利用しましょう。
Stripe Appsひとりアドベントカレンダー 2022
今年ベータリリースされたばかりのStripe Appsは、まだ日本語の情報が多くありません。
そこでQiita Advent Calendar 2022にて、毎日Stripe Appsについての情報を投稿します。
ノーコードで利用する方法や、開発するためのTipsなども紹介予定ですので、ぜひ購読をお願いします。
