アップセル・クロスセルのために、特定の条件を満たした場合に専用クーポンを発行したいケースがあります。
例えばアンケートへの回答や、一定金額または特定商品の購入、サブスクリプションであれば契約期間に応じた割引なども考えられるでしょう。
この記事では、Stripeを利用して、特定の顧客専用のクーポンを発行する方法と、Checkoutの決済ページで事前にクーポンを設定する方法を紹介します。
Stripeでクーポンとクーポンコードを発行する
Stripeのクーポンは「Coupon」と「Promotion Code」の2つを利用します。
「割引内容」を設定するCoupon
割引率や金額、有効期限やサブスクリプションでの利用回数など、「割引内容や条件」については、Couponに設定します。
[Sample]10%OFFのクーポンを作成する
const coupon = await stripe.coupons.create({
  name: 'Dynamic Coupon',
  percent_off: 10,
})
[Sample]1,000円の割引を2ヶ月間分提供(有効期限12ヶ月)のクーポンを作成する
const coupon = await stripe.coupons.create({
  name: 'Dynamic Coupon',
  amount_off: 1000,
  currency: 'jpy',
  duration_in_months: 2,
  redeem_by: dayjs().add(12, 'month').unix()
}
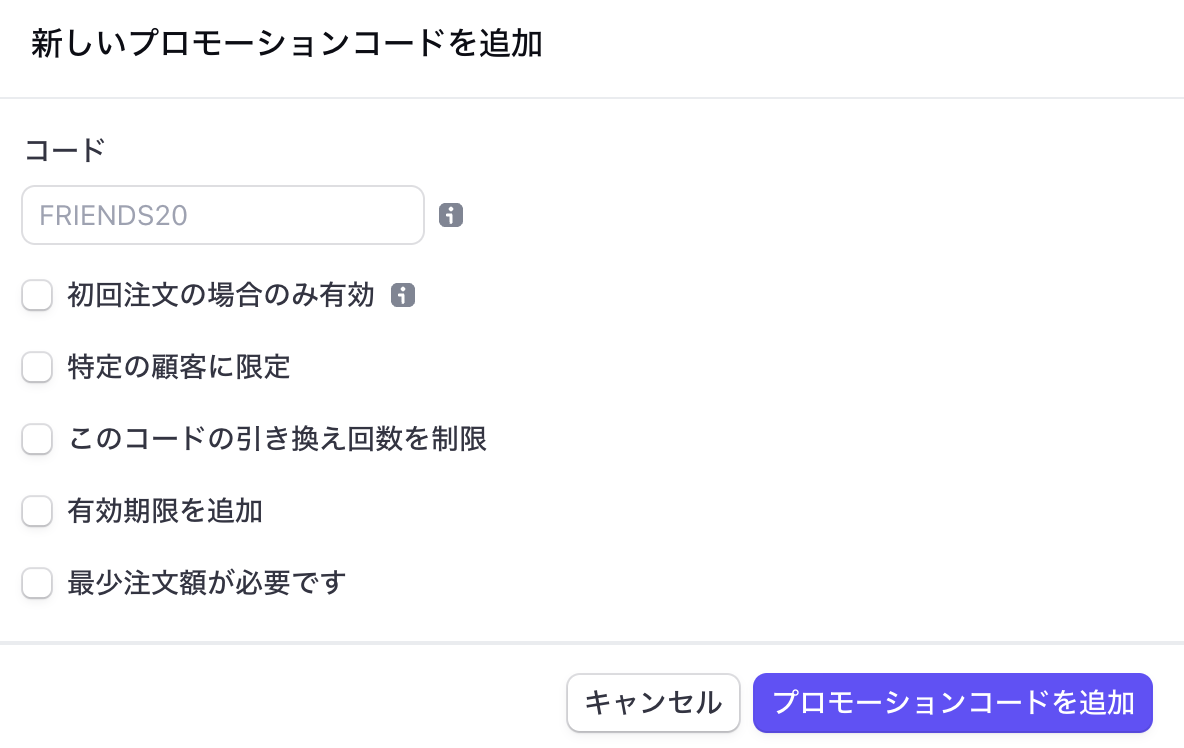
Couponを利用するためのコードを、PromotionCodeで発行する
作成したクーポンを顧客が利用するためのコードを発行するのがPromotionCodeです。
「初めての注文のみ」や「特定の顧客のみ」、「一定金額以上の注文が必要」など、さまざまな条件でコードを発行できます。
また、割引内容については、紐付けされたCouponの設定を利用しますので、同じ条件の複数のコードを発行することが簡単にできます。
[Sample]: 初めての購入で、1000円以上購入時のみ利用できるクーポンコード
await stripe.promotionCodes.create({
  coupon: 'COUPON_CODE_ID',
  restrictions: {
    first_time_transaction: true,
    minimum_amount: 1000,
    minimum_amount_currency: 'jpy'
  }
})
特定の顧客のみのクーポンコードを発行する
PromotionCode発行時のAPIで、顧客のIDを指定することで「顧客限定クーポン」が作成できます。
await stripe.promotionCodes.create({
  coupon: 'COUPON_CODE_ID',
  customer: 'cus_xxx',
})
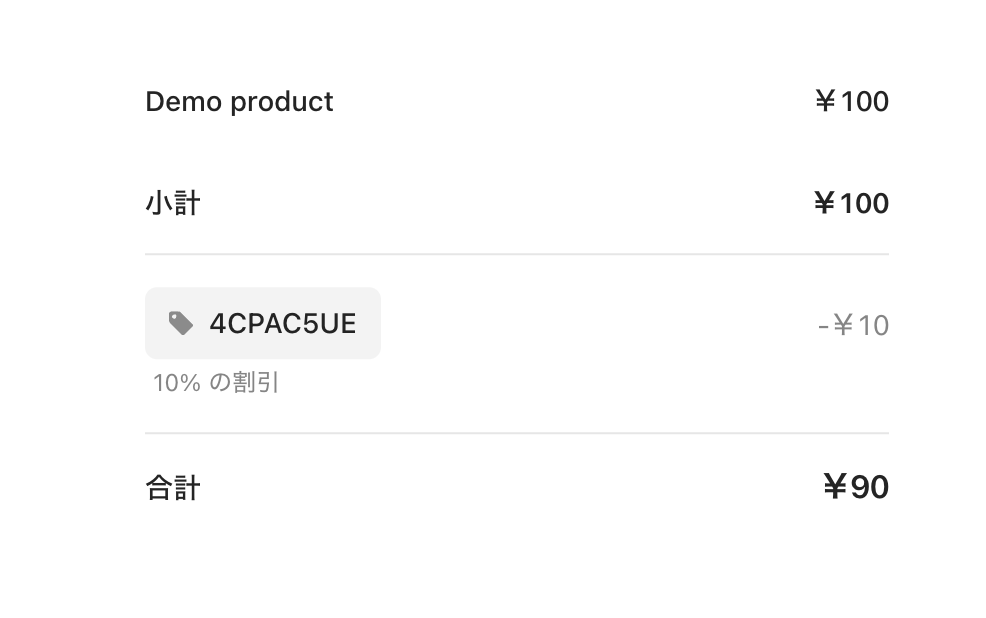
また、Checkout Sessionを作成する際に、discountパラメタとしてIDを渡すことで事前入力が可能です。
[Sample] Checkoutの決済ページで、事前にクーポンコードを設定する
await stripe.checkout.sessions.create({
  customer: 'cus_xxx',
  line_items: [{
    price_data: {
      unit_amount: 100,
      currency: 'jpy',
      product_data: {
        name: "Demo product"
      },
    },
    quantity: 1
  }],
  mode: 'payment',
  cancel_url: 'http://localhost:3000',
  success_url: 'http://localhost:3000?success',
  discounts: [{
    promotion_code: promoCode.id,
  }]
})
発行したクーポンコードが設定された状態でCheckoutの決済ページが表示されます。
Checkoutのセッションが切れると決済ができなくなるため、セッションとURLの作成まで行う場合は、「X時間以内にご注文ください」のようなオファーを検討しましょう。
await stripe.checkout.sessions.create({
  customer: 'cus_xxx',
  line_items: [{
    price_data: {
      unit_amount: 100,
      currency: 'jpy',
      product_data: {
        name: "Demo product"
      },
    },
    quantity: 1
  }],
  mode: 'payment',
  cancel_url: 'http://localhost:3000',
  success_url: 'http://localhost:3000?success',
  discounts: [{
    promotion_code: promoCode.id,
  }],
+ expires_at: dayjs().add(12, 'hours').unix()
})
参考記事
[PR] Stripe開発者向け情報をQiitaにて配信中!
- [Stripe Updates]:開発者向けStripeアップデート紹介・解説
- ユースケース別のStripe製品や実装サンプルの紹介
- Stripeと外部サービス・OSSとの連携方法やTipsの紹介
- 初心者向けのチュートリアル(予定)
など、Stripeを利用してオンラインビジネスを始める方法について週に2〜3本ペースで更新中です。