Stripeをアプリケーションで最大限活用するには、Webhookが欠かせません。
そこで今回は、Next.jsでWebhook APIを用意する場合に注意したいポイントについて紹介します。
Next.js(v13)から追加された、「App Router」での対応方法は、次の記事をご覧ください。
動画版(英語)
英語ですが、Webhookだけでなく、Next.jsでStripeを利用する方法について紹介されています。
Stripe Webhookを実装する際に注意したいこと
Webhook APIを開発する際の注意点として、「外部からのAPIリクエストを拒絶する必要がある」点があります。
意図した送信元以外からのAPIリクエストでも、処理が実行されてしまった場合に意図しない動作が起こる恐れがあります。
Stripeの場合、Webhook用の署名シークレットを発行し、それを利用してリクエストを検証することができます。
Webhook 署名シークレットの発行方法
Webhookの署名シークレットは、エンドポイント登録時に発行されます。
Dashboardにログインし、[開発者 > Webhook]から「エンドポイントの追加」をクリックすることで、Webhookを新しく追加できます。
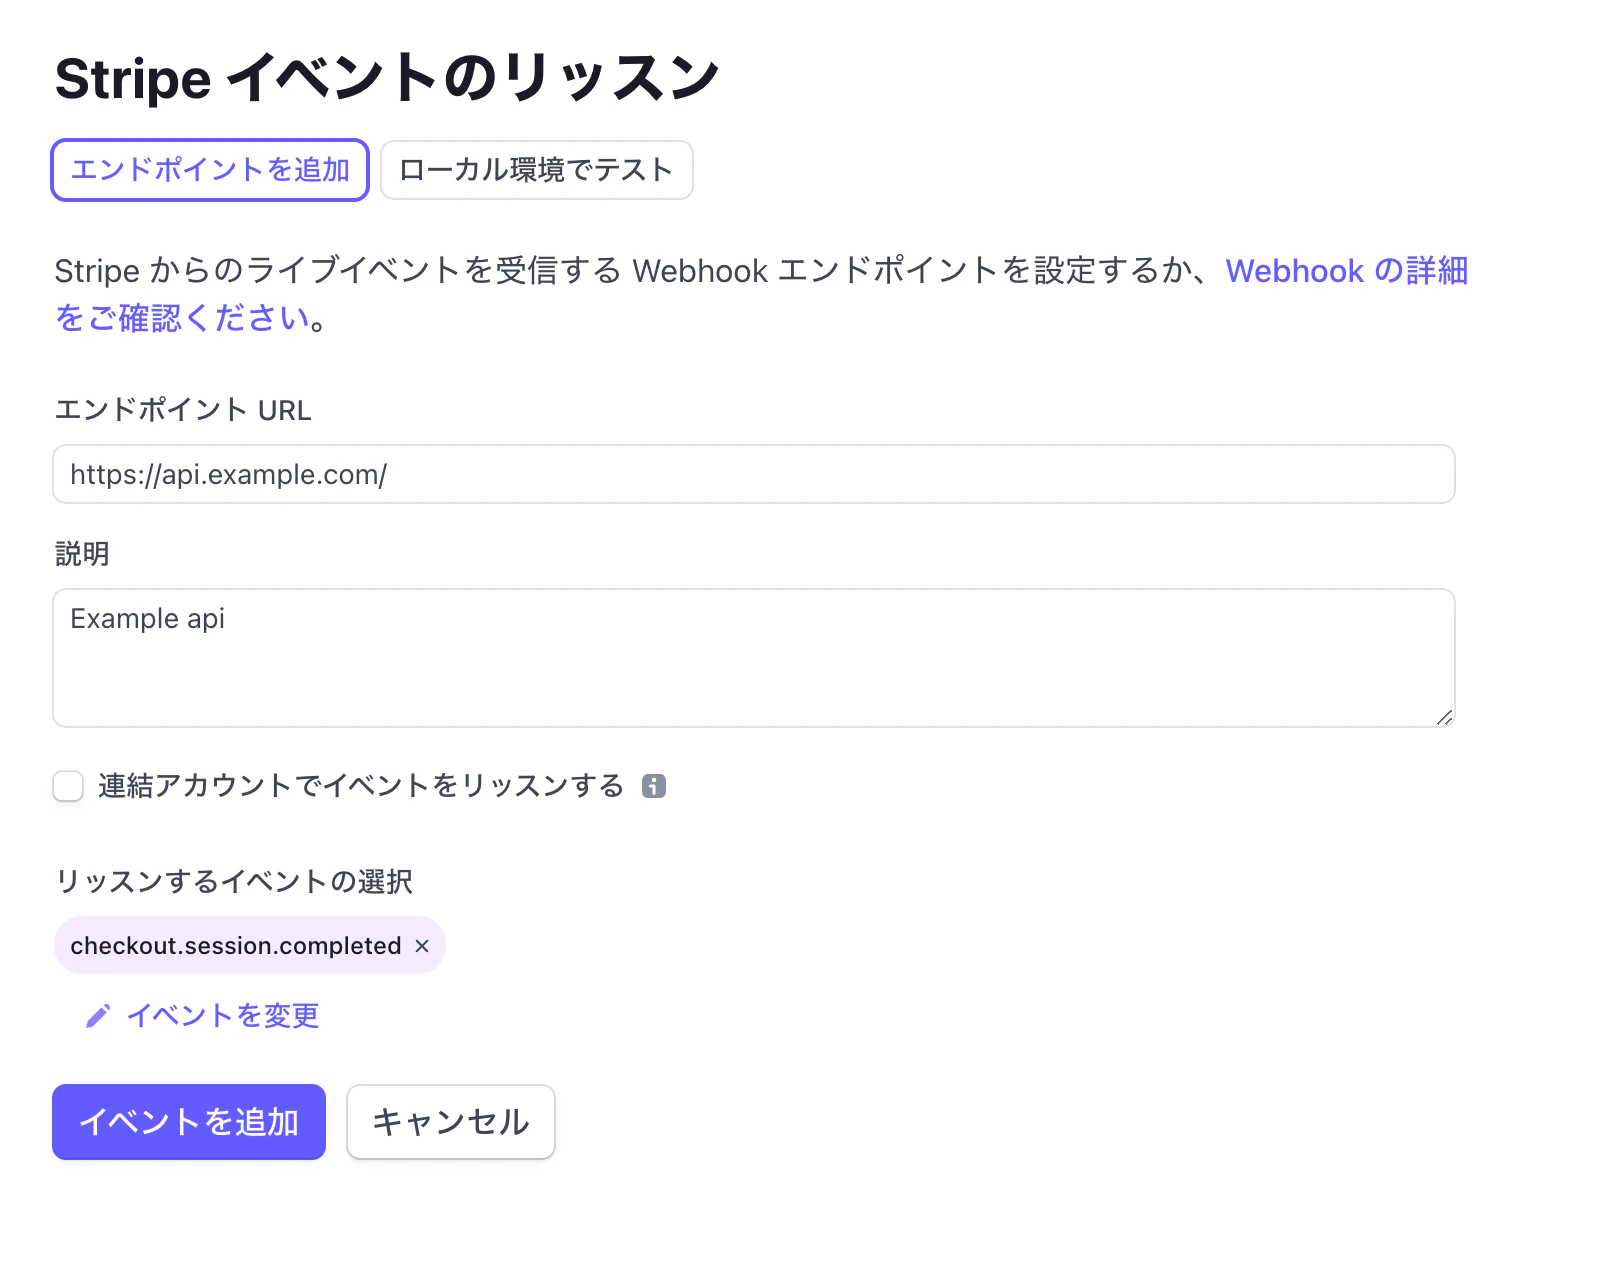
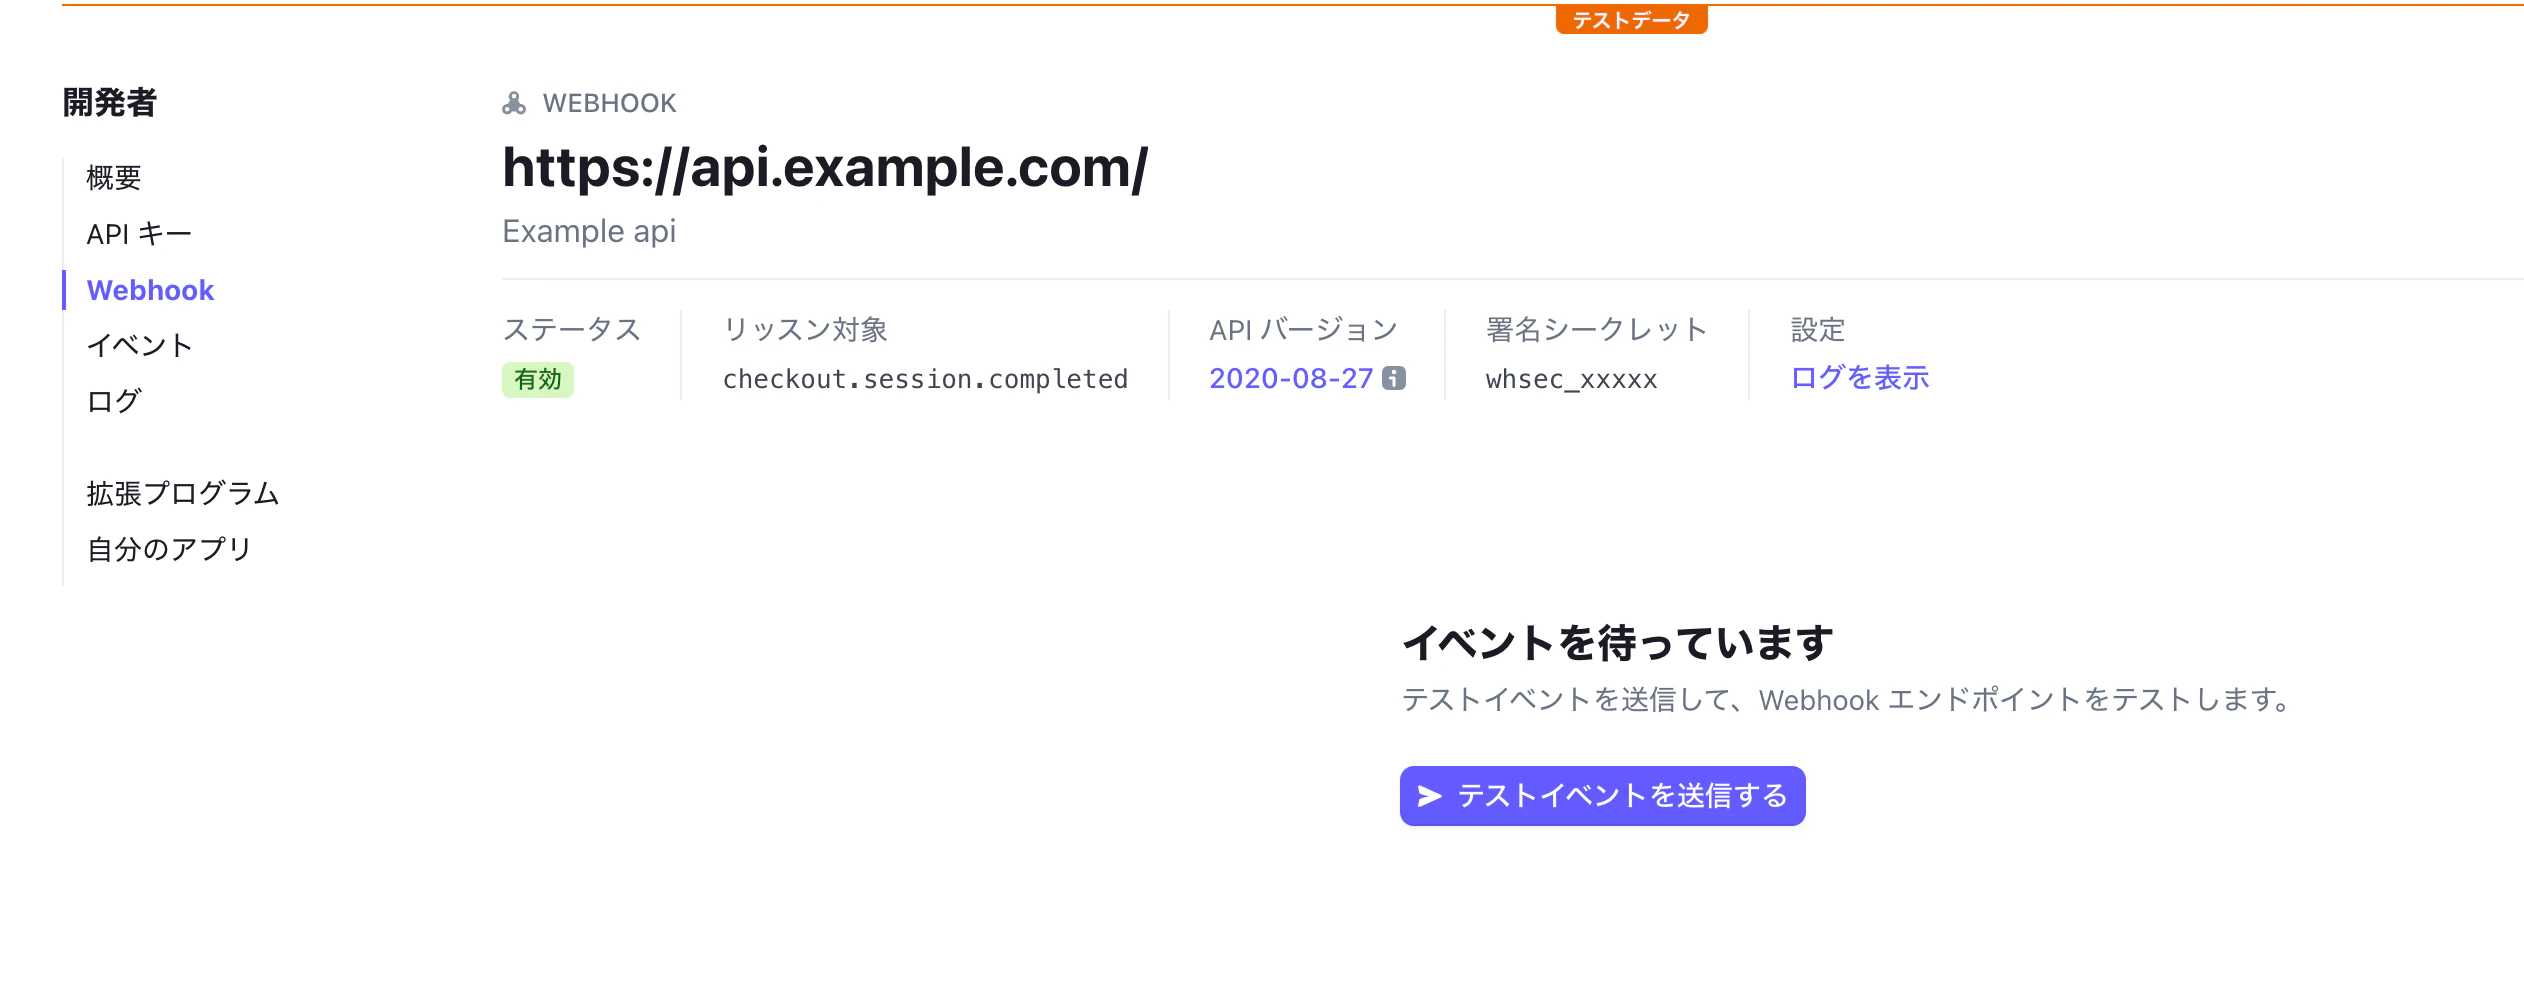
登録後に表示される詳細ページの、 [署名シークレット]からキーを取得しましょう。
Stripe CLIを使う場合
Stripe CLIを利用する場合、以下のコマンドを実行します。
% stripe listen --forward-to localhost:3000/api/webhook
⡿ Checking for new versions...
⣟ Getting ready... > Ready! You are using Stripe API Version [2020-08-27]. Your webhook signing secret is whsec_xxxxx (^C to quit)
表示されているwhsec_xxxが署名シークレットです。
署名シークレットの検証方法
発行したシークレットの検証には、APIで受け取ったリクエストBodyのデータと、ヘッダー情報を利用します。
Next.jsやExpressの場合、該当部分だけをまとめると以下のような実装です。
const endpointSecret = 'whsec_xxx'
const sig = request.headers['stripe-signature'];
const event = stripe.webhooks.constructEvent(request.body, sig, endpointSecret);
endpointSecretに先ほど取得した署名シークレットを入力します。環境変数やAWSのSystems Managerなどを利用すると、より安全かつ交換可能な形にできます。
検証に失敗した場合(Stripe以外からのリクエストの場合)
stripe.webhooks.constructEventでの検証に失敗すると、エラーがthrowされます。
ですので、try catchを利用して検証エラーを返すようにできます。
以下の例では、TypeScriptで実装する場合に発生する、undefinedやnullの処理部分を追加しています。
  const endpointSecret = 'whsec_xxx'
  const sig = request.headers['stripe-signature'];
  let event
  try {
    if (!sig) throw new Error("No signature provided")
    event = stripe.webhooks.constructEvent(request.body, sig, endpointSecret);
  } catch (e) {
    const err = e instanceof Error ? e : new Error("Bad Request")
    response.status(400).send(`Webhook Error: ${err.message}`);
    return;
  }
Next.jsでWebhookの署名シークレットを検証する際の注意点
Next.jsのAPIで実装する場合の注意点が、「Next.js側でリクエストBodyがある程度パースされていること」です。
stripe.webhooks.constructEventが想定しているデータと異なる内容が送られてくるため、そのままrequestを渡すと以下のエラーが発生します。
StripeSignatureVerificationError: No signatures found matching the expected signature for payload. Are you passing the raw request body you received from Stripe? https://github.com/stripe/stripe-node#webhook-signing
Next.jsで、APIリクエストのRawデータを受け取れるようにする
Next.jsのAPIは、pages/api/配下の該当APIを記述したファイルに、以下のコードを追加することで、リクエストBodyのパースを停止できます。
export const config = {
    api: {
        bodyParser: false
    }
}
その後、microなどのライブラリを利用してデータを変換してやることで、Stripe SDKの提供する署名チェック処理を実行できます。
import Stripe from 'stripe'
import {buffer} from 'micro'

const endpointSecret = 'whsec_xxxxxx'
const stripe = new Stripe(process.env.STRIPE_SECRET_KEY, {
  apiVersion: '2020-08-27'
})

export const config = {
    api: {
        bodyParser: false
    }
}
export default async function handler(
  request,
  response
) {
  const sig = request.headers['stripe-signature'];
  const buf = await buffer(request)

  let event;
  try {
    if (!sig) throw new Error("No signature provided")
    event = stripe.webhooks.constructEvent(buf, sig, endpointSecret);
  } catch (e) {
    const err = e instanceof Error ? e : new Error("Bad Request")
    console.log(err)
    response.status(400).send(`Webhook Error: ${err.message}`);
    return;
  }

  console.log(event)

  return response.status(200).end()
}
[PR] Stripe開発者向け情報をQiitaにて配信中!
2021年12月よりQiitaにて、Stripe開発者のためのブログ記事更新を開始しました。
- [Stripe Updates]:開発者向けStripeアップデート紹介・解説
- ユースケース別のStripe製品や実装サンプルの紹介
- Stripeと外部サービス・OSSとの連携方法やTipsの紹介
- 初心者向けのチュートリアル(予定)
など、Stripeを利用してオンラインビジネスを始める方法について随時更新してまいります。