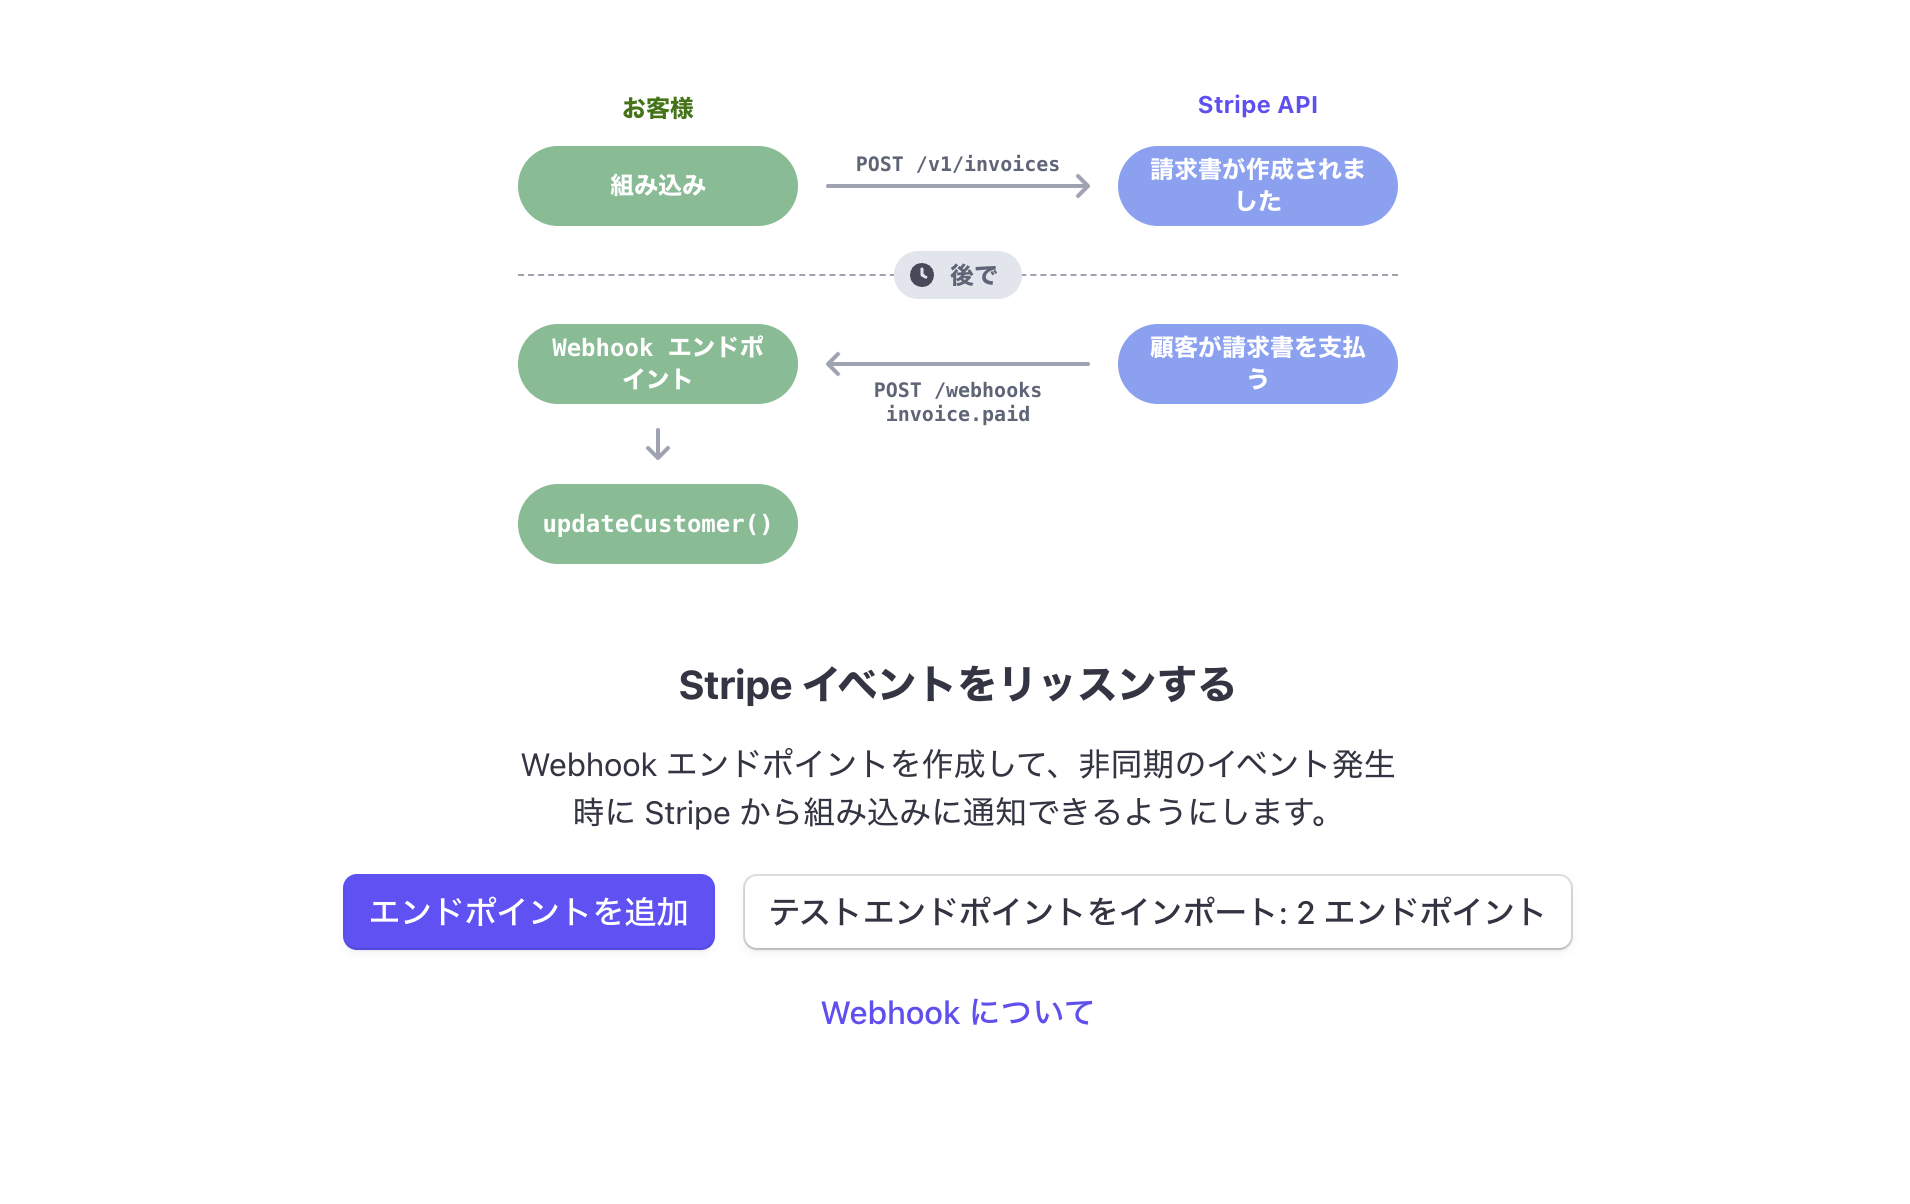
Stripeでは、決済や顧客・サブスクリプションの「状態変化」をシステムに通知するために、Webhook APIを登録できます。
WordPressにStripeを組み込む際にも、このWebhook APIを実装する必要があります。
ですが、容量削減やComposerの導入が難しい環境などの問題から、StripeのPHP SDKを利用したくないケースも少なからず存在します。
この記事では、WP APIを利用してStripe Webhookのリクエストを受け付ける方法を紹介します。
注意点
本記事で紹介するコードは、GPLv3でライセンスしています。
これは、コードの一部に「WooCommerce Stripe Payment Gateway」のコードおよび「WordPressコアのコード」が含まれているためです。
WordPress内で利用する場合、ほとんどのケースではGPLを継承して配布されると思いますが、念の為告知します。
Webhook APIをWordPressで作る 3Step
Step1: register_rest_routeでAPIエンドポイントを追加する
まず必要なのは、APIエンドポイントです。
WordPressの場合、以下のコードでAPIエンドポイントを追加できます。
<?php
/*
 * Plugin Name: Stripe Custom code plugin
 * Description: Demo code plugin for integrating Stripe and WordPress.
 * Version: 100
 * License: GPLv3
 * License URI: https://www.gnu.org/licenses/gpl-3.0.html
*/

add_action( "rest_api_init", function () {
    register_rest_route(
        "stripe/v0",
        "webhook",
        [
            "methods" => "POST",
            "callback" => function () {
                return [
                    "message" => "hello"
                ];
            }
        ]
    );
} );
rest_api_initフックで、register_rest_routeを実行し、POST wp-json/stripe/v0/webhookAPIを登録しています。
WordPressをローカルで起動している場合、以下のようなコマンドでレスポンスを受け取ることができます。
% http://localhost:8888/wp-json/stripe/v0/webhook -XPOST  | jq .
{
  "message": "hello"
}
methodでPOSTのみを指定しているため、`GETなどのリクエストはエラーになります。
% http://localhost:8888/wp-json/stripe/v0/webhook | jq .
{
  "code": "rest_no_route",
  "message": "No route was found matching the URL and request method.",
  "data": {
    "status": 404
  }
}
Step2: Webhookの署名検証を実装する
APIエンドポイントの追加はできました。
が、このままではエンドポイントを知っている人は誰でもAPIを呼び出すことができます。
Stripe以外からのリクエストでもシステムが動作すると、システムが予期しない動きをすることがあります。
そのため、Stripeが発行する署名シークレットを利用した検証ステップを追加しましょう。
function validate_stripe_webhook_request() {
    $un_authorized_error = new WP_Error( "401", esc_html( "Not Authorized", "text_domain" ), [ "status" => 401 ] );

    // ご自身のアカウントの署名シークレットを設定
    $endpoint_secret = 'whsec_xxxx';
    $payload = @file_get_contents('php://input');

	// Check for a valid signature.
    $signature_format = '/^t=(?P<timestamp>\d+)(?P<signatures>(,v\d+=[a-z0-9]+){1,2})$/';
    if ( empty( $_SERVER['HTTP_STRIPE_SIGNATURE'] ) || ! preg_match( $signature_format, $_SERVER['HTTP_STRIPE_SIGNATURE'], $matches ) ) {
        return $un_authorized_error;
    }

    // Verify the timestamp.
    $timestamp = intval( $matches['timestamp'] );
    if ( abs( $timestamp - time() ) > 5 * MINUTE_IN_SECONDS ) {
        return $un_authorized_error;
    }

    // Generate the expected signature.
    $signed_payload     = $timestamp . '.' . $payload;
    $expected_signature = hash_hmac( 'sha256', $signed_payload, $endpoint_secret );

    // Check if the expected signature is present.
    if ( ! preg_match( '/,v\d+=' . preg_quote( $expected_signature, '/' ) . '/', $matches['signatures'] ) ) {
        return $un_authorized_error;
    }

    return "";
}
実装参考
Webhookの署名シークレットを取得する方法
上記サンプルコードの、'whsec_xxxx'にご自身のアカウントの署名シークレットを設定します。
簡単な署名シークレットの取得方法は2つあります。
一つは、Stripe CLIでstripe listen --forward-to http://localhost:8888/wp-json/stripe/v0/webhookのようなローカルデバッグ用のシークレットを利用する方法です。
この方法では、コマンド実行時に、署名シークレットが発行されますので、これを利用します。
$ stripe listen --forward-to http://localhost:8888/wp-json/stripe/v0/webhook
⣽ Checking for new versions...
> Ready! Your webhook signing secret is whsec_yyyyyyy (^C to quit)
もう1つは、StripeダッシュボードでWebhookのエンドポイントを登録後に取得する方法です。
こちらは、ローカル開発では利用できませんのでご注意ください。
permission_callbackで、追加したエンドポイントに権限チェック処理を追加する
register_rest_routeで追加したエンドポイントには、permission_callbackパラメータで権限チェック処理を追加できます。
先ほど実装した関数を設定して、署名検証処理をAPIに追加しましょう。
add_action( "rest_api_init", function () {
    register_rest_route(
        "stripe/v0",
        "webhook",
        [
            "methods" => "POST",
            "callback" => function () {
                return [
                    "message" => "hello"
                ];
            }
+            "permission_callback" => "validate_stripe_webhook_request",
        ]
    );
} );
APIを直接呼び出してみて、以下のようにHTTP401エラーが返って来ればOKです。
$ curl http://localhost:8888/wp-json/stripe/v0/webhook -XPOST   | jq .
{
  "code": 401,
  "message": "Not Authorized",
  "data": {
    "status": 401
  }
}
ダッシュボードからWebhookエンドポイントを登録するか、Stripe CLIのstripe listenコマンドでローカルのAPIと接続した状態で、顧客データの作成などを実行すると、APIが呼び出されます。
Step3: Stripeのイベントによって処理を分岐する
最後にStripeから来たイベントデータを、イベントの種類によって分岐させます。
リクエストBodyを取得して、JSONのデコード処理を実施したのちに、ifやswitchでイベントの種類に応じた分岐を作りましょう。
function handle_stripe_webhook_request () {
    $payload = @file_get_contents( "php://input" );
    $data = json_decode( $payload, true );
    switch ( $data[ "type" ] ) {
        case "payment_intent.created": {
            error_log("_____");
            break;
        }
        default:
            break;
    }
    return "";
}
作成した関数は、register_rest_routeのcallbackパラメータを変更して適用します。
add_action( "rest_api_init", function () {
    register_rest_route(
        "stripe/v0",
        "webhook",
        [
            "methods" => "POST",
-            "callback" => function () {
-                return [
-                    "message" => "hello"
-                ];
-            }
+            "callback" => "handle_stripe_webhook_request",
            "permission_callback" => "validate_stripe_webhook_request",
        ]
    );
} );
これでStripe内で発生した「状態変化」と、WordPress内のデータを連携させる準備が完了しました。
あとは、handle_stripe_webhook_request関数に処理を追加して、カスタマーポータルとの連携やサブスクリプションとWordPressユーザーの紐付けなどを実装すればOKです。
Appendix: Stripe SDKを利用する場合
Stripe SDKを利用する場合、署名検証部分の処理がとても短くなります。
\Stripe\Stripe::setApiKey( 'sk_test_xxxx' );

function validate_stripe_webhook_request() {
    $un_authorized_error = new WP_Error( "401", esc_html( "Not Authorized", "text_domain" ), [ "status" => 401 ] );
    $endpoint_secret = 'whsec_xxxxx';

    $payload = @file_get_contents('php://input');


    try {
        $event = \Stripe\Webhook::constructEvent(
            $payload, $_SERVER[ 'HTTP_STRIPE_SIGNATURE' ], $endpoint_secret
        );
    } catch( \UnexpectedValueException $e ) {
        // Invalid payload
        return $un_authorized_error;
    } catch( \Stripe\Exception\SignatureVerificationException $e ) {
        // Invalid signature
        return $un_authorized_error;
    }
    return "";
}
Stripe APIを複数種類利用する場合や、実装をなるべくシンプルに済ませたい場合は、Stripe PHP SDKを利用することをお勧めします。
もしできるだけ容量を減らしたい場合は、SDKを省略してある程度自前で実装することも可能ですので、要件や環境に応じて適宜判断いただけると幸いです。
[告知] 東京WordPress Meetup 2022 Fallにて、Stripe <> WordPress / WooCommerceなセッションをします
WordPress Meetupコミュニティの方々のご厚意で、StripeとWordPress / WooCommerceについてのセッションを持たせていただけることになりました。
2022年11月6日日曜日に、東京新宿区のCASE Shinjikuにて14時から開催です。
WooCommerceの日本ローカライズプラグイン作者のShohei Tanakaさんも参加されますので、ぜひご参加ください。

