この記事は、Ionic Framework / Capacitor / Stencil Advent Calendar 2022 13日目の記事です。
IonicとCapacitorを利用することで、WebとiOS/Android両方に対応したアプリケーションが作れます。
そしてCapacitorのStripeプラグインを利用することで、決済フォームの組み込みについても1ソースで対応できます。
今回の記事では、Capacitor Stripeプラグインを、Ionic(React)アプリに組み込む方法を紹介します。
アプリのセットアップ
まずはアプリをセットアップしましょう。
セットアップは、Ionic CLIで行います。
$ ionic start
ブラウザで設定ができるウィザードが用意されています。が、今回は対話形式で設定を行いますのでnを選びました。
? Use the app creation wizard? No
IonicとCapacitorは、 Angular / Vueでも利用できます。
React以外を使われる方は、ここで他のフレームワークを選びましょう。
? Framework: (Use arrow keys)
❯ Angular | https://angular.io
  React   | https://reactjs.org
  Vue     | https://vuejs.org
プロジェクト名を指定しましょう。これがアプリケーションのディレクトリ名になります。
Please enter the full name of your app. You can change this at any time. To
bypass this prompt next time, supply name, the first argument to ionic start.

? Project name:
テンプレートが選べますが、今回はblankを選びます。
? Starter template: (Use arrow keys)
❯ blank        | A blank starter project
  list         | A starting project with a list
  my-first-app | A template for the "Build Your First Ap
p" tutorial
  sidemenu     | A starting project with a side menu wit
h navigation in the content area
  tabs         | A starting project with a simple tabbed
(Move up and down to reveal more choices)
Ionicアカウントは、今回のサンプルだけであれば不要ですのでnoで進みます。
? Create free Ionic account? (y/N)
このようなメッセージが表示されれば、準備完了です。
Your Ionic app is ready! Follow these next steps:

- Go to your new project: cd ./ionic-capacitor-stripe
- Run ionic serve within the app directory to see your app in the browser
- Run ionic capacitor add to add a native iOS or Android project using Capacitor
- Generate your app icon and splash screens using cordova-res --skip-config
--copy
- Explore the Ionic docs for components, tutorials, and more:
https://ion.link/docs
- Building an enterprise app? Ionic has Enterprise Support and Features:
https://ion.link/enterprise-edition
最後に一度アプリを起動させてみます。
$ npm start
Compiled successfully!

You can now view ionic-capacitor-stripe in the browser.

  Local:            http://localhost:3000
  On Your Network:  http://192.168.86.21:3000


Note that the development build is not optimized.
To create a production build, use npm run build.

webpack compiled successfully
No issues found.
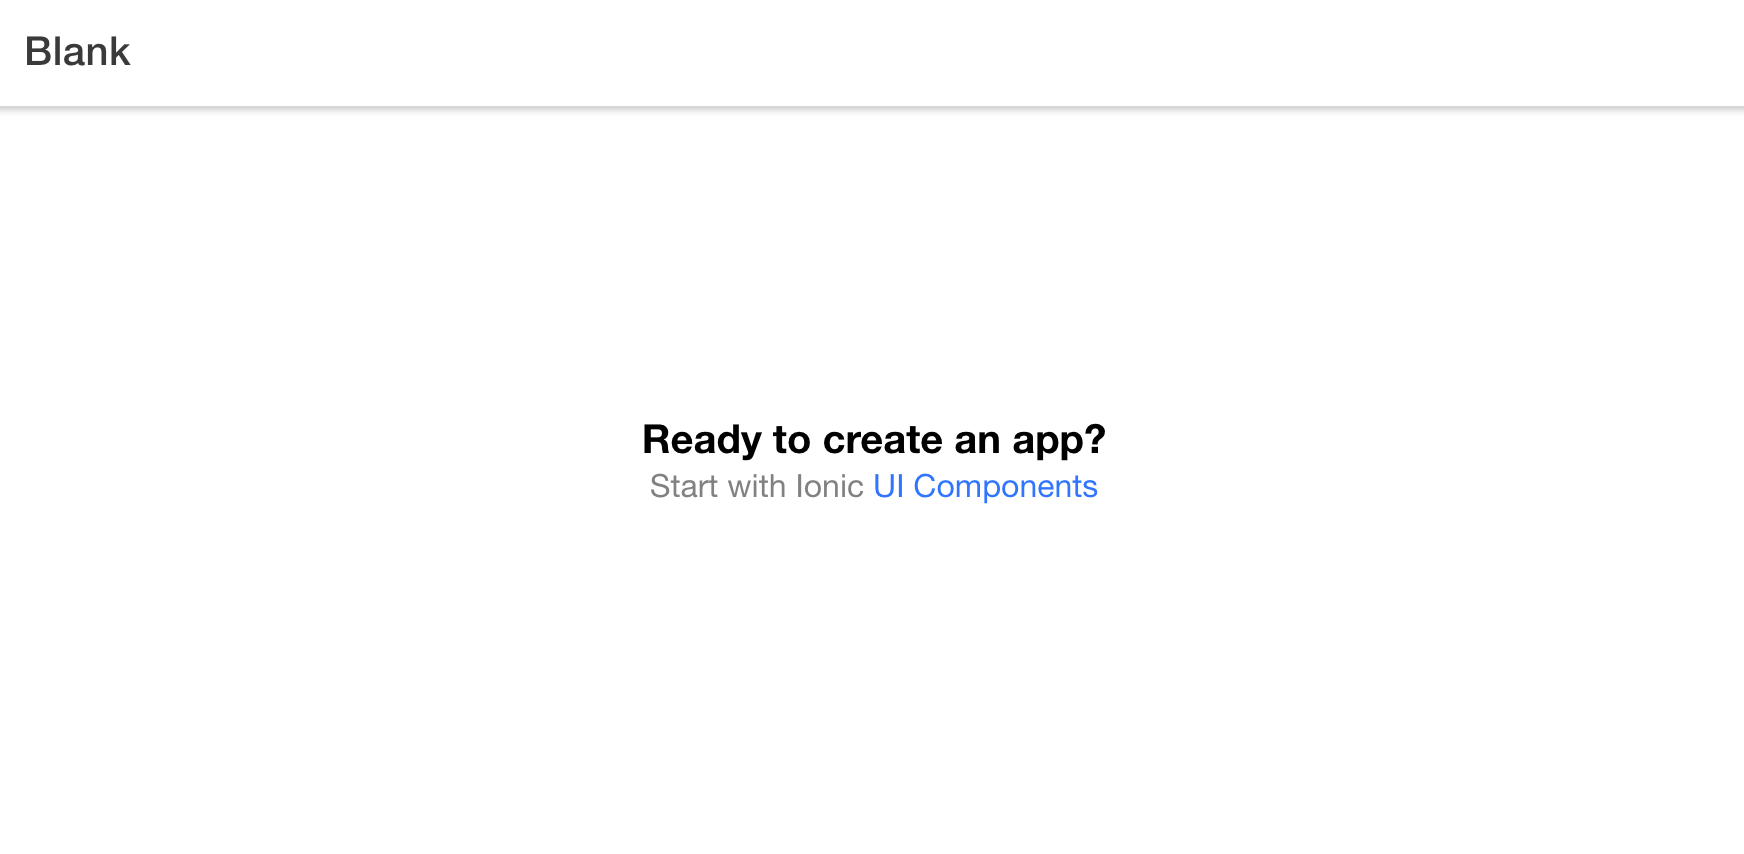
以下の画面が立ち上がれば準備完了です。
Express.jsでAPIサーバーを用意する
Stripeの決済・サブスクリプション申し込みには、サーバー側の処理が必要です。
そのため、以下のコマンドで別途Express.jsのアプリを用意しましょう。
$ mkdir simple-express
$ cd simple-express
$ npx express-generator
Need to install the following packages:
  express-generator@4.16.1
Ok to proceed? (y) y
ライブラリのインストールを行いましょう。
$ npm install
$ npm install stripe
app.jsを編集して、サブスクリプションの申し込み部分のみにフォーカスしたAPIを、実装します。
const createError = require('http-errors')
const express = require('express')
const path = require('path')
const cookieParser = require('cookie-parser')
const logger = require('morgan')
+const stripe = require('stripe')('sk_test_から始まるシークレットキー')

const app = express()

// view engine setup
app.set('views', path.join(__dirname, 'views'))
app.set('view engine', 'jade')

app.use(logger('dev'))
app.use(express.json())
app.use(express.urlencoded({ extended: false }))
app.use(cookieParser())
app.use(express.static(path.join(__dirname, 'public')))

+app.use((request, response, next) => {
+  response.header('Access-Control-Allow-Origin', '*')
+  response.header('Access-Control-Allow-Methods', 'GET,POST')
+  response.header(
+    'Access-Control-Allow-Headers',
+    'Content-Type, Authorization, access_token'
+  )
+  if (request.method.toLocaleUpperCase() === 'OPTIONS') {
+    return response.send(200)
+  }
+  next()
+})

+app.post('/create_subscription', async (req, res) => {
+  const customer = await stripe.customers.create()
+  const product = await stripe.products.create({
+      name: 'デモ用'
+  })
+  const subscription = await stripe.subscriptions.create({
+    customer: customer.id,
+    items: [{
+        price_data: {
+            unit_amount: 1000,
+            currency: 'jpy',
+            recurring: {
+                interval: 'month',
+            },
+            product: product.id,
+            quantity: 1,
+        }
+    }],
+    payment_behavior: 'default_incomplete',
+    expand: ['latest_invoice.payment_intent'],
+    payment_settings: {
+        save_default_payment_method: 'on_subscription',
+    },
+  })
+  res.json({
+      subscriptionId: subscription.id,
+      clientSecret: subscription.latest_invoice.payment_intent.client_secret
+  })
+
+})
サーバーを起動して、データが作成できているかを確認しましょう。
export PORT=3002;yarn start
ポート3000をIonicアプリが利用しますので、環境変数で変更しています。
curlでAPIを呼び出して、サブスクリプションが作成できていることを確認しましょう。
$ curl http://localhost:3002/create_subscription | jq .
  % Total    % Received % Xferd  Average Speed   Time    Time     Time  Current
                                 Dload  Upload   Total   Spent    Left  Speed
100   127  100   127    0     0     68      0  0:00:01  0:00:01 --:--:--    69
{
  "subscriptionId": "sub_1123xxxx",
  "clientSecret": "pi_xxxx_secret_xxxx"
}
Capacitor Stripeプラグインを追加する
いよいよ申し込みフォームを組み込みます。
ライブラリの追加と環境変数の設定
まずはライブラリを追加しましょう。
$ npm install @capacitor-community/stripe @stripe-elements/stripe-elements
.envを作成し、環境変数でStripeの公開可能APIキーを設定します。
REACT_APP_STRIPE_PUBLISHABLE_API_KEY=pk_test_から始まる公開可能キー
Providerを設定する
CapacitorのStripeプラグインは、環境に応じてweb / iOS / AndroidそれぞれのStripe SDKを内部で呼び出します。
SDKの用意するクライアントをセットアップするためのProviderを設定しましょう。
src/index.tsxを次のように変更します。
import reportWebVitals from './reportWebVitals';
+import { CapacitorStripeProvider } from '@capacitor-community/stripe/dist/esm/react/provider';

const container = document.getElementById('root');
const root = createRoot(container!);
root.render(
  <React.StrictMode>
+    <CapacitorStripeProvider
+      publishableKey={process.env.REACT_APP_STRIPE_PUBLISHABLE_API_KEY as string}
+      fallback={<p>Loading...</p>}
+    >
      <App />
+    </CapacitorStripeProvider>
  </React.StrictMode>
);
環境変数を正しく読み込むために、npm startを実行中の場合は、一度停止して再実行しましょう。
カード情報入力フォームを表示させる
セットアップができれば、あとはボタンクリックに反応して決済画面を表示させましょう。
src/components/ExploreContainer.tsxを次のように変更します。
+import { useCapacitorStripe } from '@capacitor-community/stripe/dist/esm/react/provider';
+import { IonButton } from '@ionic/react';

interface ContainerProps { }

const ExploreContainer: React.FC<ContainerProps> = () => {
+  const { stripe } = useCapacitorStripe();
  return (
    <div className="container">
      <strong>Ready to create an app?</strong>
      <p>Start with Ionic <a target="_blank" rel="noopener noreferrer" href="https://ionicframework.com/docs/components">UI Components</a></p>
+      <IonButton
+        onClick={async () => {
+          const subscription = await fetch('http://localhost:3002/create_subscription', {
+            method: 'post'
+          })
+            .then(data => data.json())
+          await stripe.createPaymentSheet({
+            paymentIntentClientSecret: subscription.clientSecret
+          })
+          await stripe.presentPaymentSheet()
+        }}
+      >
+        Subscribe
+      </IonButton>
    </div>
  );
};
はじめにAPIを呼び出してClient Secretを取得します。
その後、Payment Sheetの作成と表示を実装しています。
アプリで動作を確認する
エラーが出ていなければ、アプリ上にボタンが表示されます。
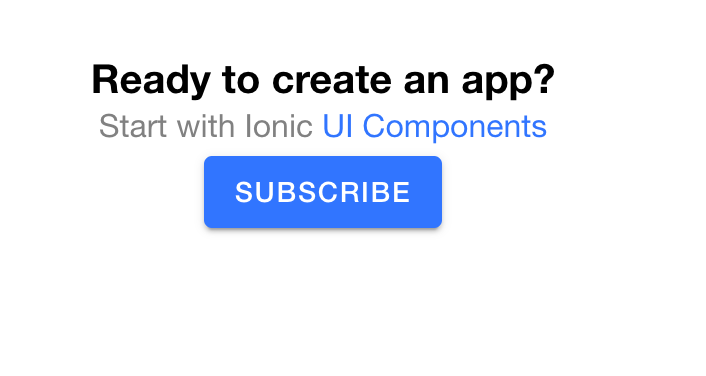
ボタンをクリックすると、決済フォームが画面下から出てきます。
クリックすると、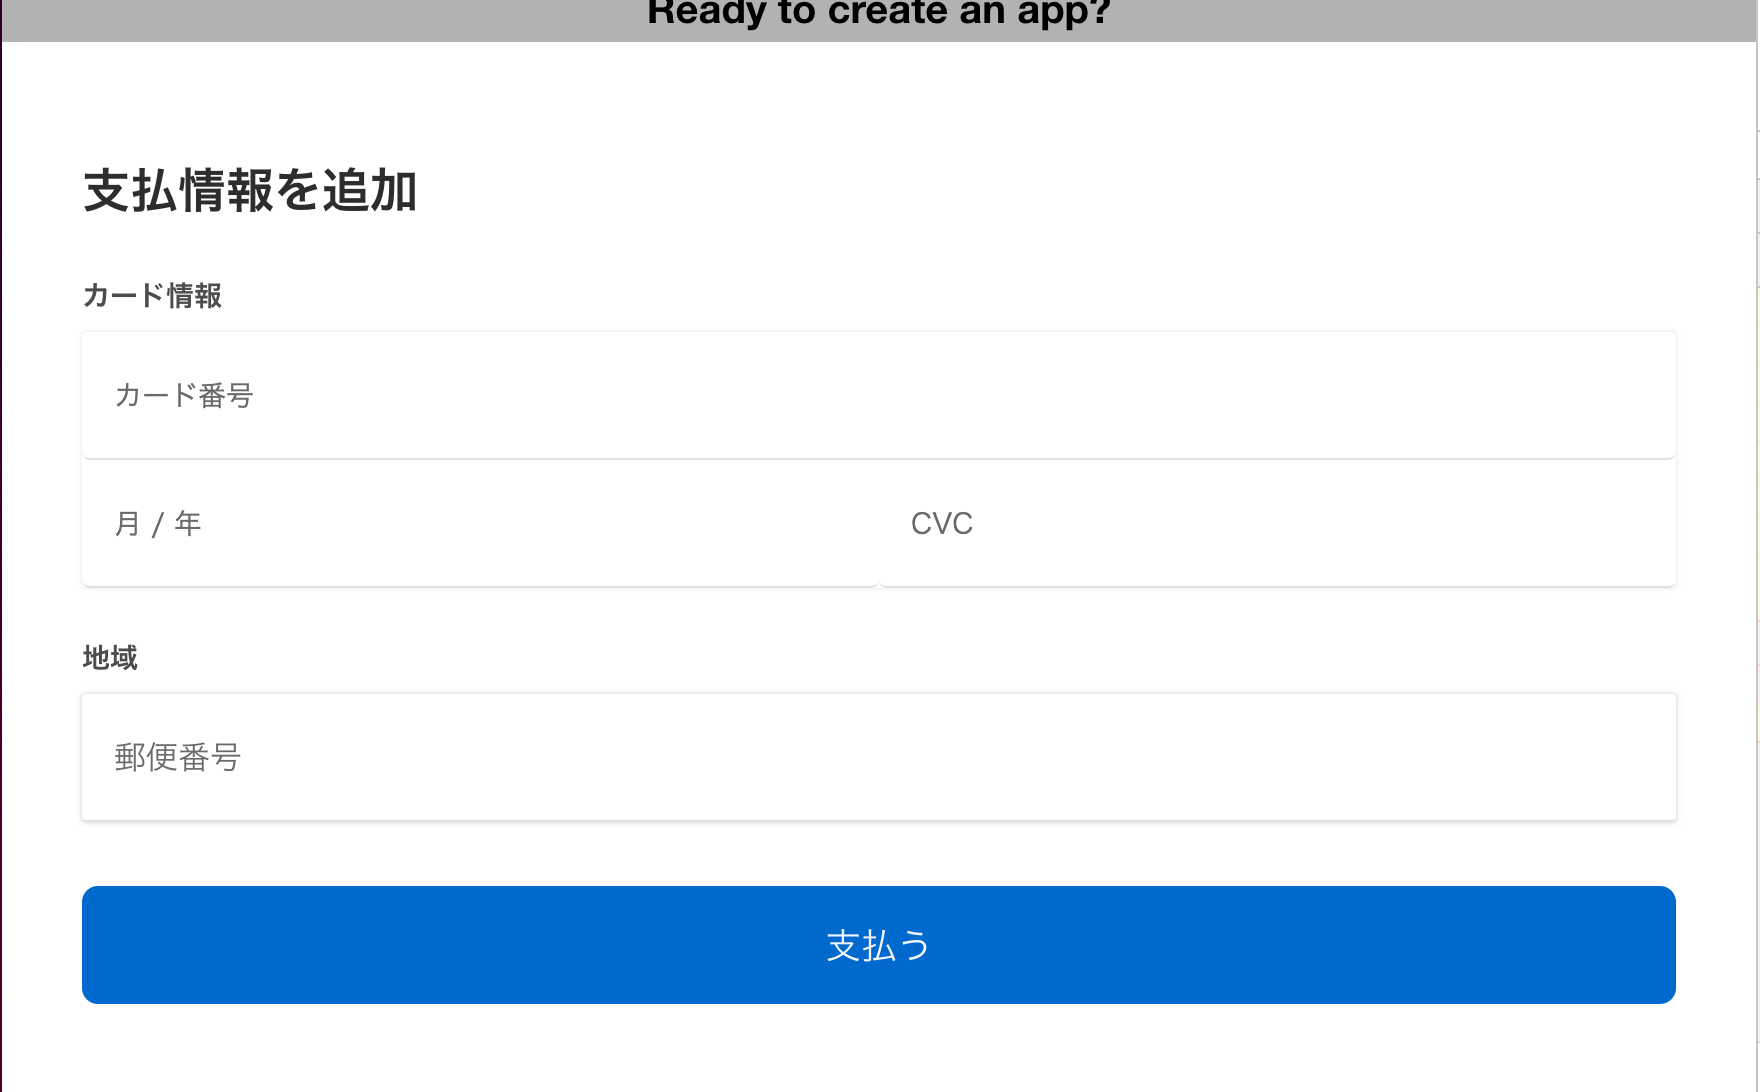
テスト用カード情報を入力して、「支払う」ボタンをクリックすると、サブスクリプションの申し込みが完了します。
カスタマイズやiOS / Androidへの対応方法など
カスタマイズやネイティブアプリ用の設定については、日本語のドキュメントが用意されています。
おわりに
このように、通常のシングルページアプリケーション(SPA)開発と変わらない流れで、iOS / Androidにも対応したアプリを構築できます。
Capacitorプラグインを組み合わせることで、よりネイティブアプリらしい体験の提供もできますので、ぜひお試しください。