この記事は、React Advent Calendar 2022 19日目の記事です。
RedwoodJSはPrismaやGraphQL、TypeScriptを利用してReactアプリケーションを構築できるフルスタックフレームワークです。
RedwoodJSプロジェクトのセットアップ
RedwoodJSのセットアップは、yarn createまたはnpx create-redwood-appで実行します。
$ yarn create redwood-app ./redwoodblog
------------------------------------------------------------------
🌲⚡️ Welcome to RedwoodJS! ⚡️🌲
------------------------------------------------------------------
✔ Use TypeScript? … no
プロジェクトの作成に成功すると、ガイドページなどのURLが表示されます。
Thanks for trying out Redwood!

 ⚡️ Get up and running fast with this Quick Start guide: https://redwoodjs.com/docs/quick-start

Join the Community

 ❖ Join our Forums: https://community.redwoodjs.com
 ❖ Join our Chat: https://discord.gg/redwoodjs

Get some help

 ❖ Get started with the Tutorial: https://redwoodjs.com/docs/tutorial
 ❖ Read the Documentation: https://redwoodjs.com/docs

Stay updated

 ❖ Sign up for our Newsletter: https://www.redwoodjs.com/newsletter
 ❖ Follow us on Twitter: https://twitter.com/redwoodjs

Become a Contributor ❤

 ❖ Learn how to get started: https://redwoodjs.com/docs/contributing
 ❖ Find a Good First Issue: https://redwoodjs.com/good-first-issue

Fire it up! 🚀

 > cd ./redwoodblog
 > yarn rw dev
成功メッセージの最後に書かれているコマンドを実行して、アプリを起動しましょう。
$ cd redwoodblog
$ yarn rw dev
redwoodjs-stripeで、Stripeと連携する
ここからは、コミュニティプラグインの1つである「redwoodjs-stripe」をアプリに組み込みします。
まずはプロジェクトにライブラリを追加しましょう。
$ yarn add redwoodjs-stripe
APIキーの登録などは、対話形式で行います。
$ yarn redwoodjs-stripe setup
? What is your Stripe secret key? › sk_test_xxx
? What is your Stripe publishable key? › pk_test_xxx
? What is your Stripe Webhook Endpoint key (it's okay if you dont have one right now)? › whsec_xxx
? Would you like us to add dummy products to your Stripe account? › (y/N)
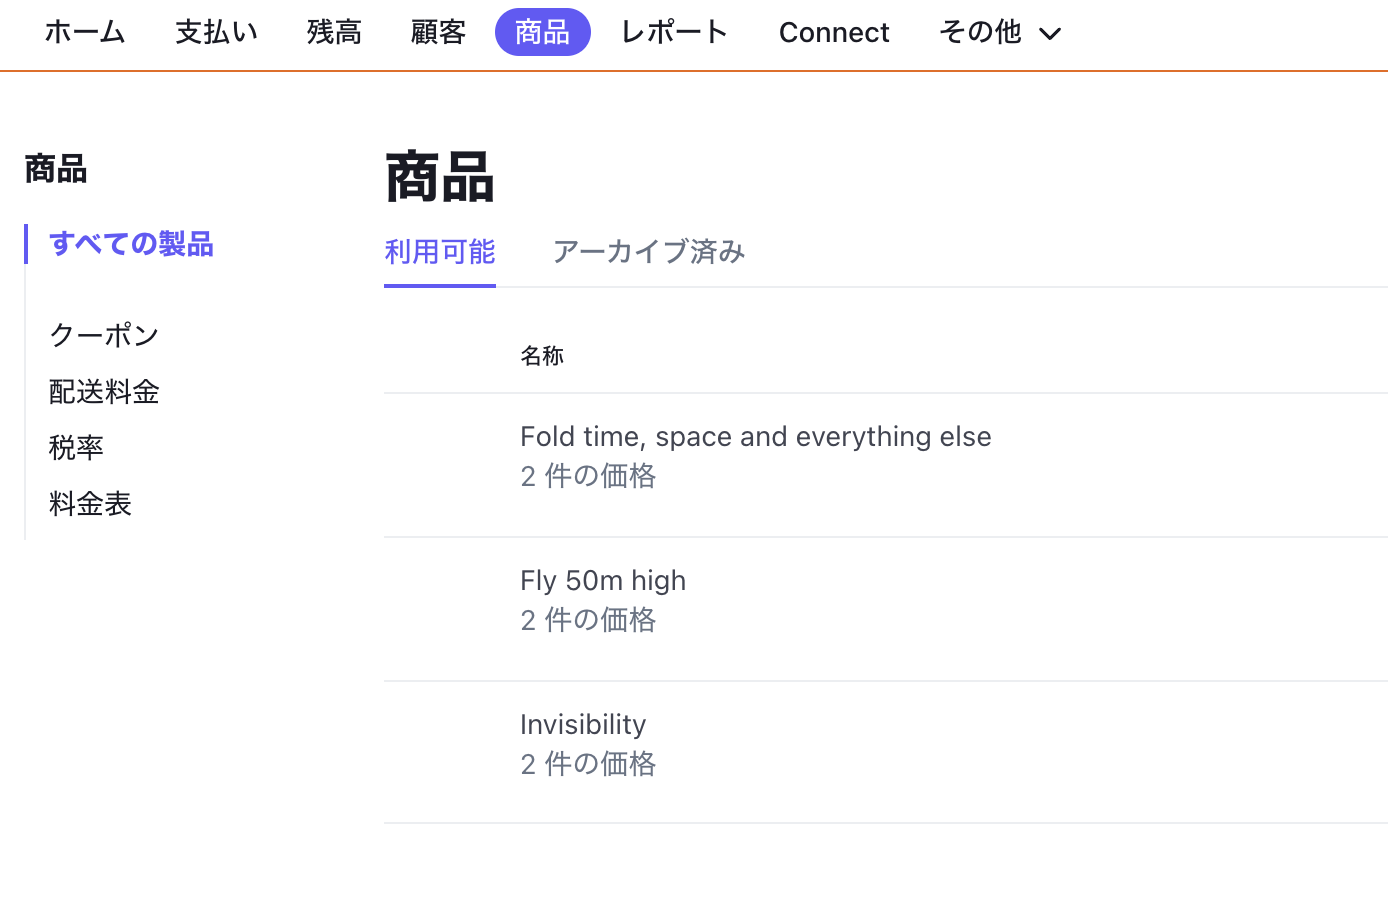
最後の質問「Would you like us to add dummy products to your Stripe account?」にYまたはYesで回答すると、接続したStripeアカウントにデモ用の商品・料金データが登録されます。
✔ Would you like us to add dummy products to your Stripe account? … yes
  ✔ Adding dummy products
  ✔ Scaffolding out project files
Your redwoodjs-stripe integration is ready!
Run `yarn rw dev` and then navigate to http://localhost:8910/stripe-demo for a little demo
デモアプリを起動する
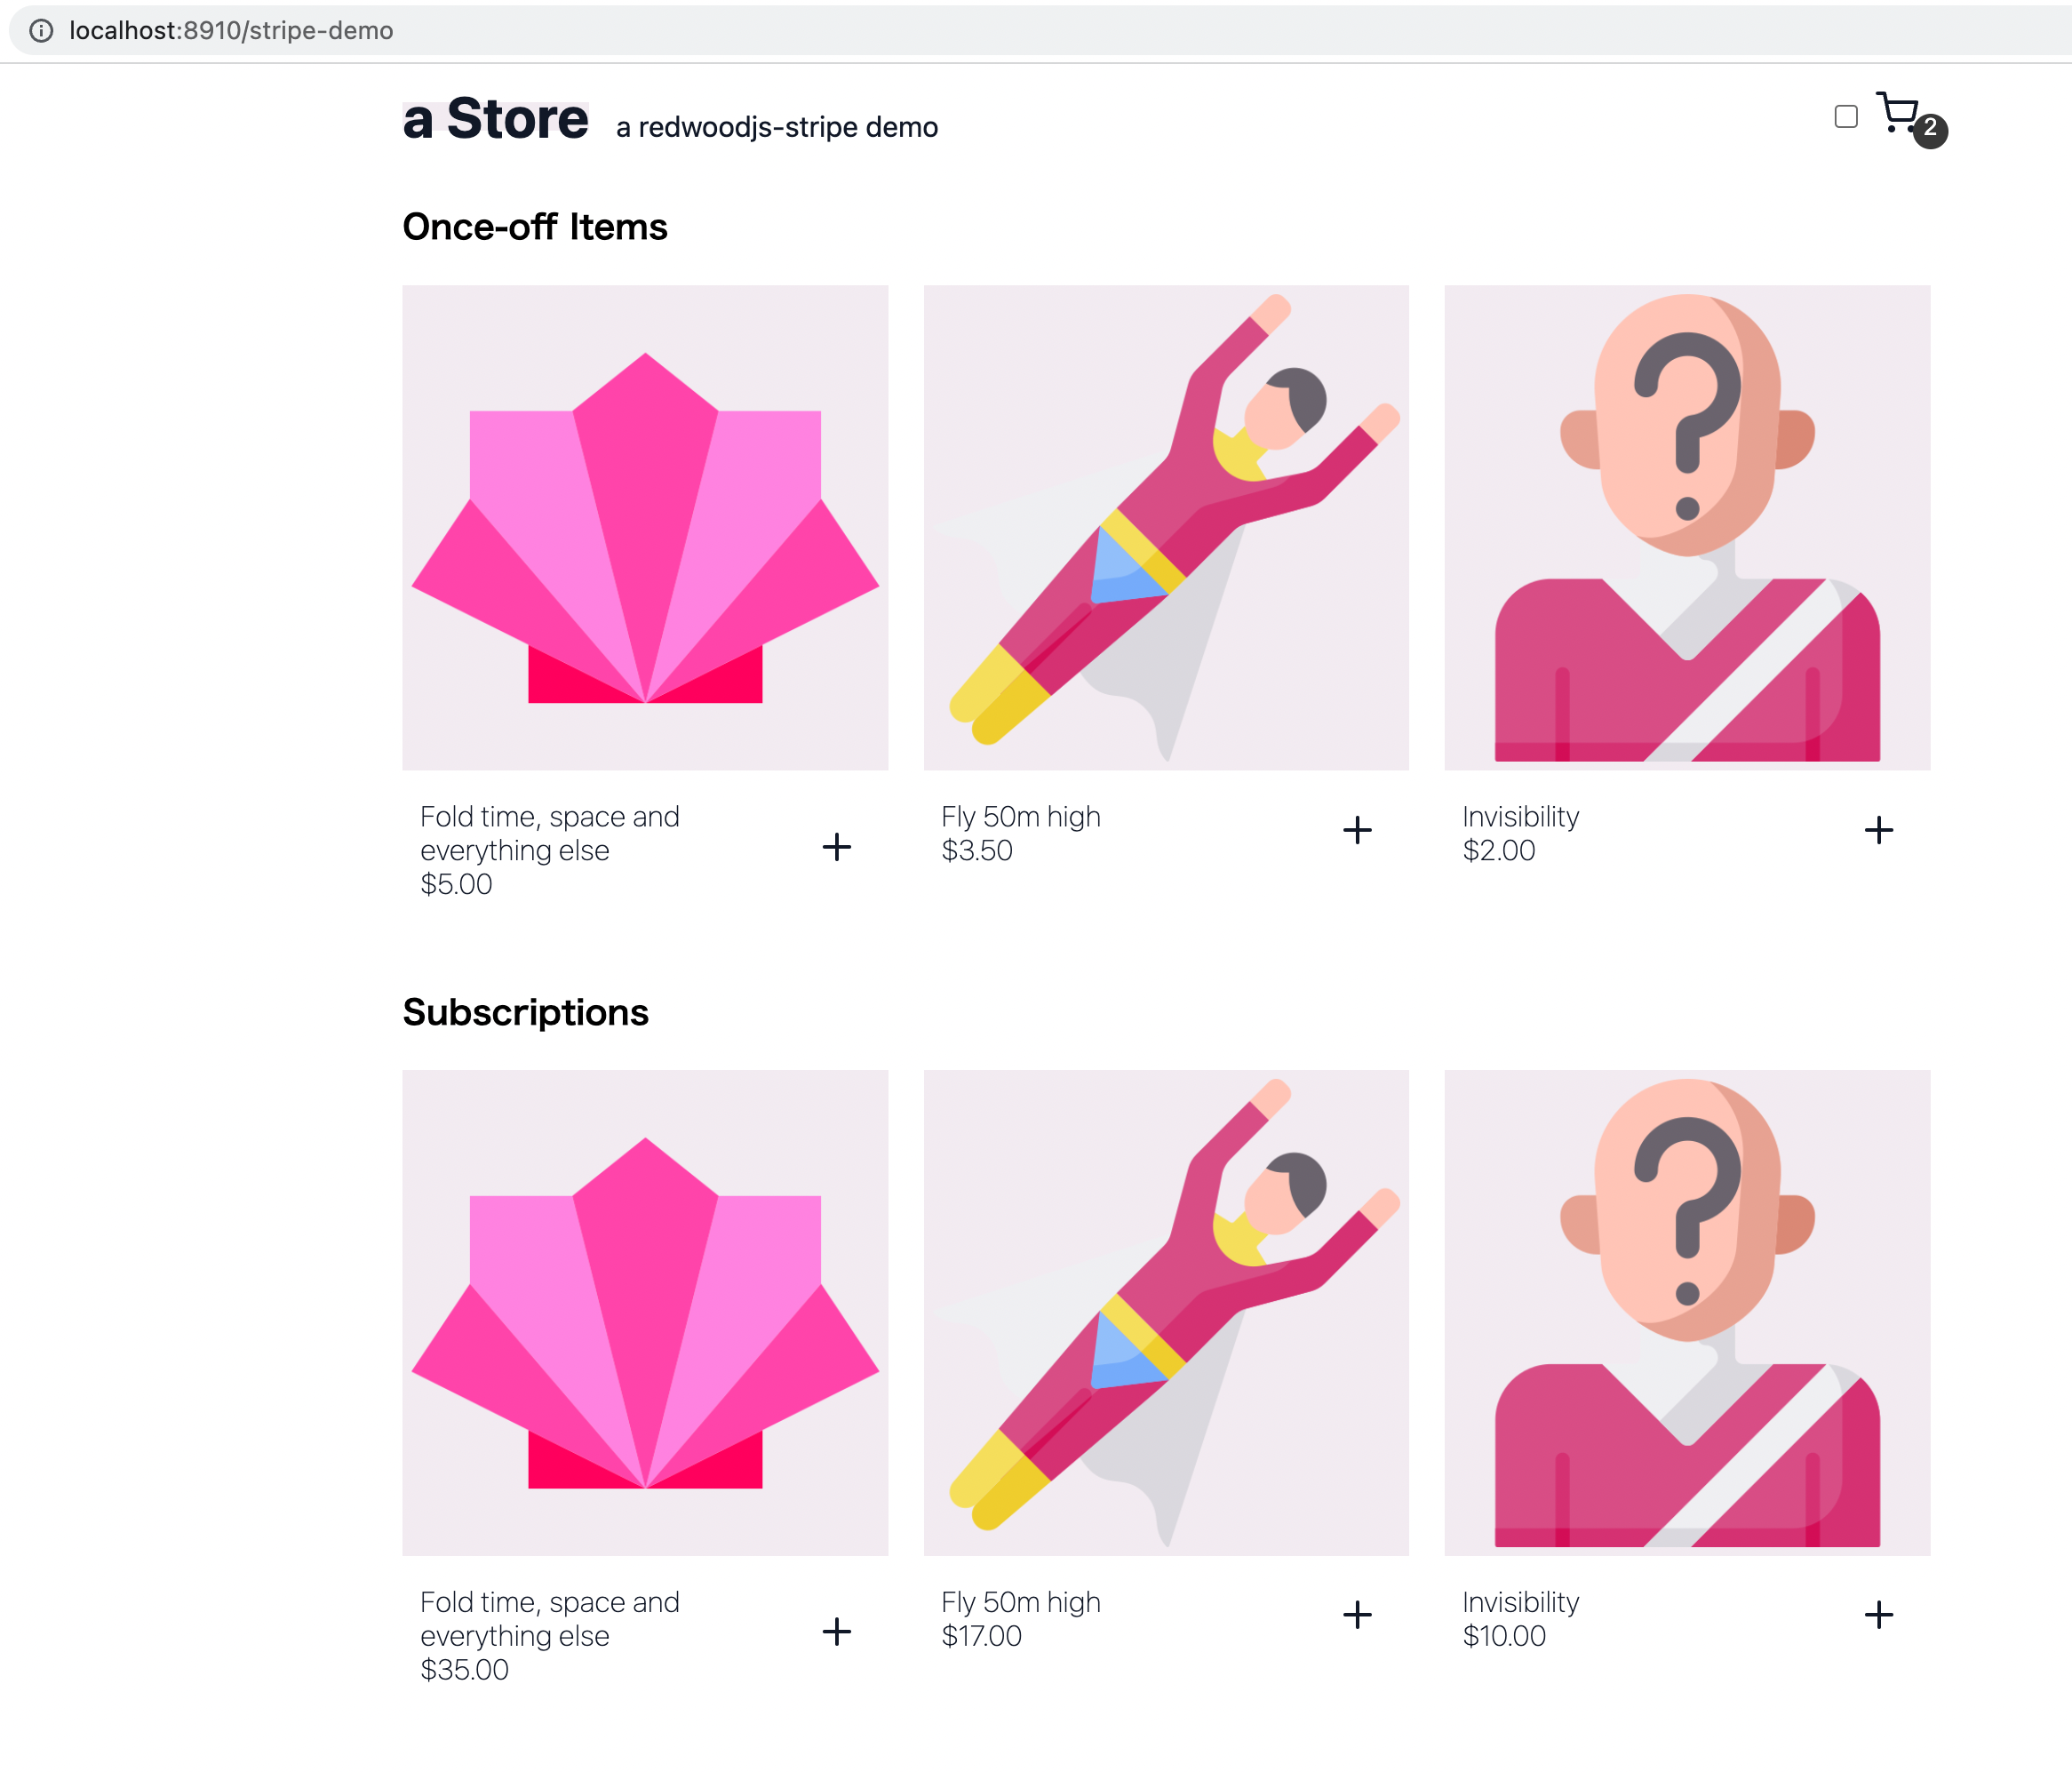
最後にyarn rw devを再実行すると、カート機能のデモページが追加されたページが出ます。
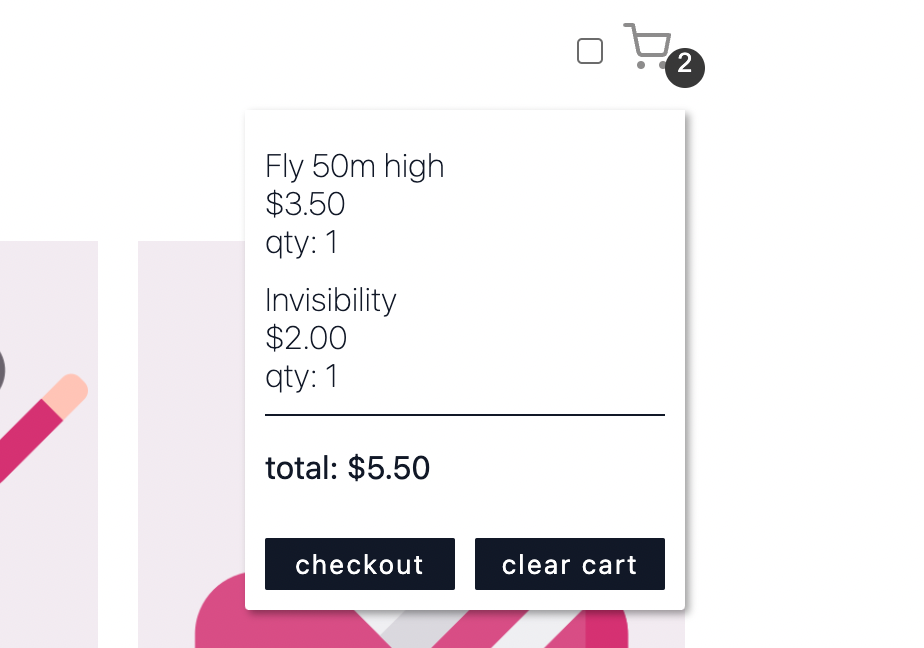
商品を選択すると、右上のカートアイコンの中に商品が追加されます。
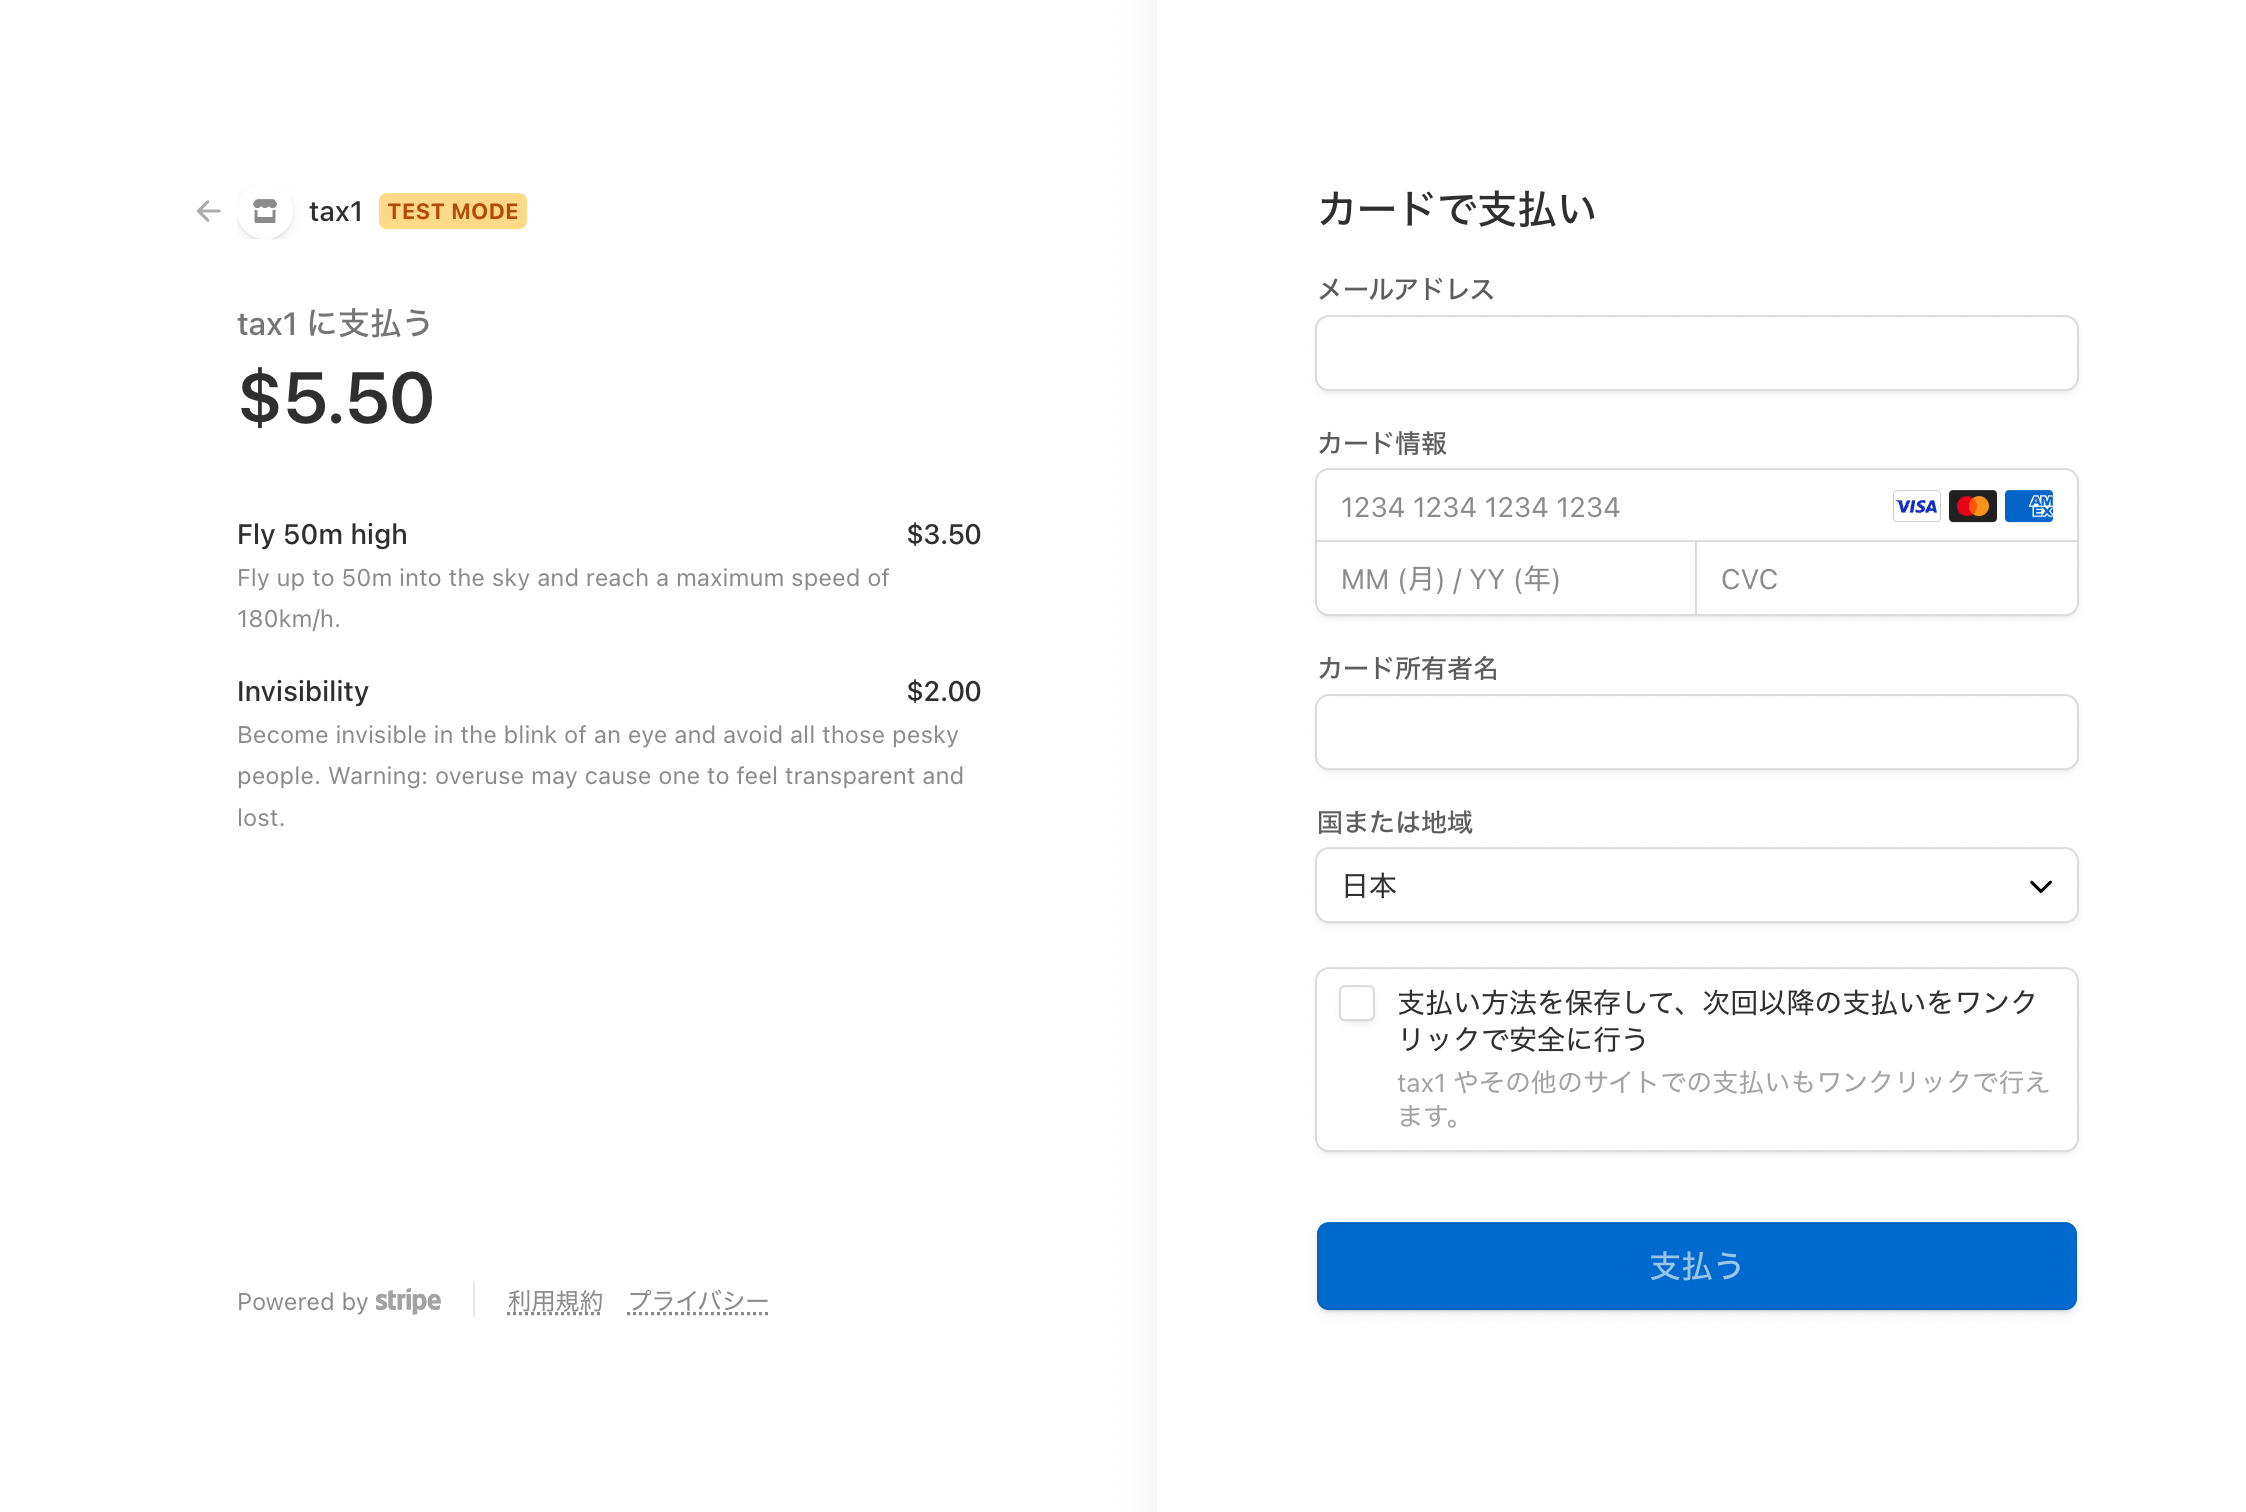
checkoutをクリックすると、Stripe Checkoutの決済ページへリダイレクトされます。
追加されるファイルについて
セットアップが完了すると、次のようなファイル・ディレクトリの追加と変更が行われます。
Changes not staged for commit:
  (use "git add <file>..." to update what will be committed)
  (use "git restore <file>..." to discard changes in working directory)
        modified:   api/src/functions/graphql.js
        modified:   web/src/Routes.js

Untracked files:
  (use "git add <file>..." to include in what will be committed)
        api/src/functions/stripeWebhook/
        web/public/img/
        web/src/components/StripeItemsCell/
        web/src/pages/StripeDemoPage/
これらはStripe API / Webhookを処理するためのAPIと、フロントエンドの実装ファイル群です。
GraphQL Schemaなどはライブラリに内包されていますので、こちらで変更などを行う必要はありません。
redwoodjs-stripeで追加されたGraphQLクエリをテストする方法
RedwoodJSには、GraphQL APIをテストする方法も用意されています。
まずは、テスト用のAPIリソースを起動しましょう。
$ yarn rw dev api
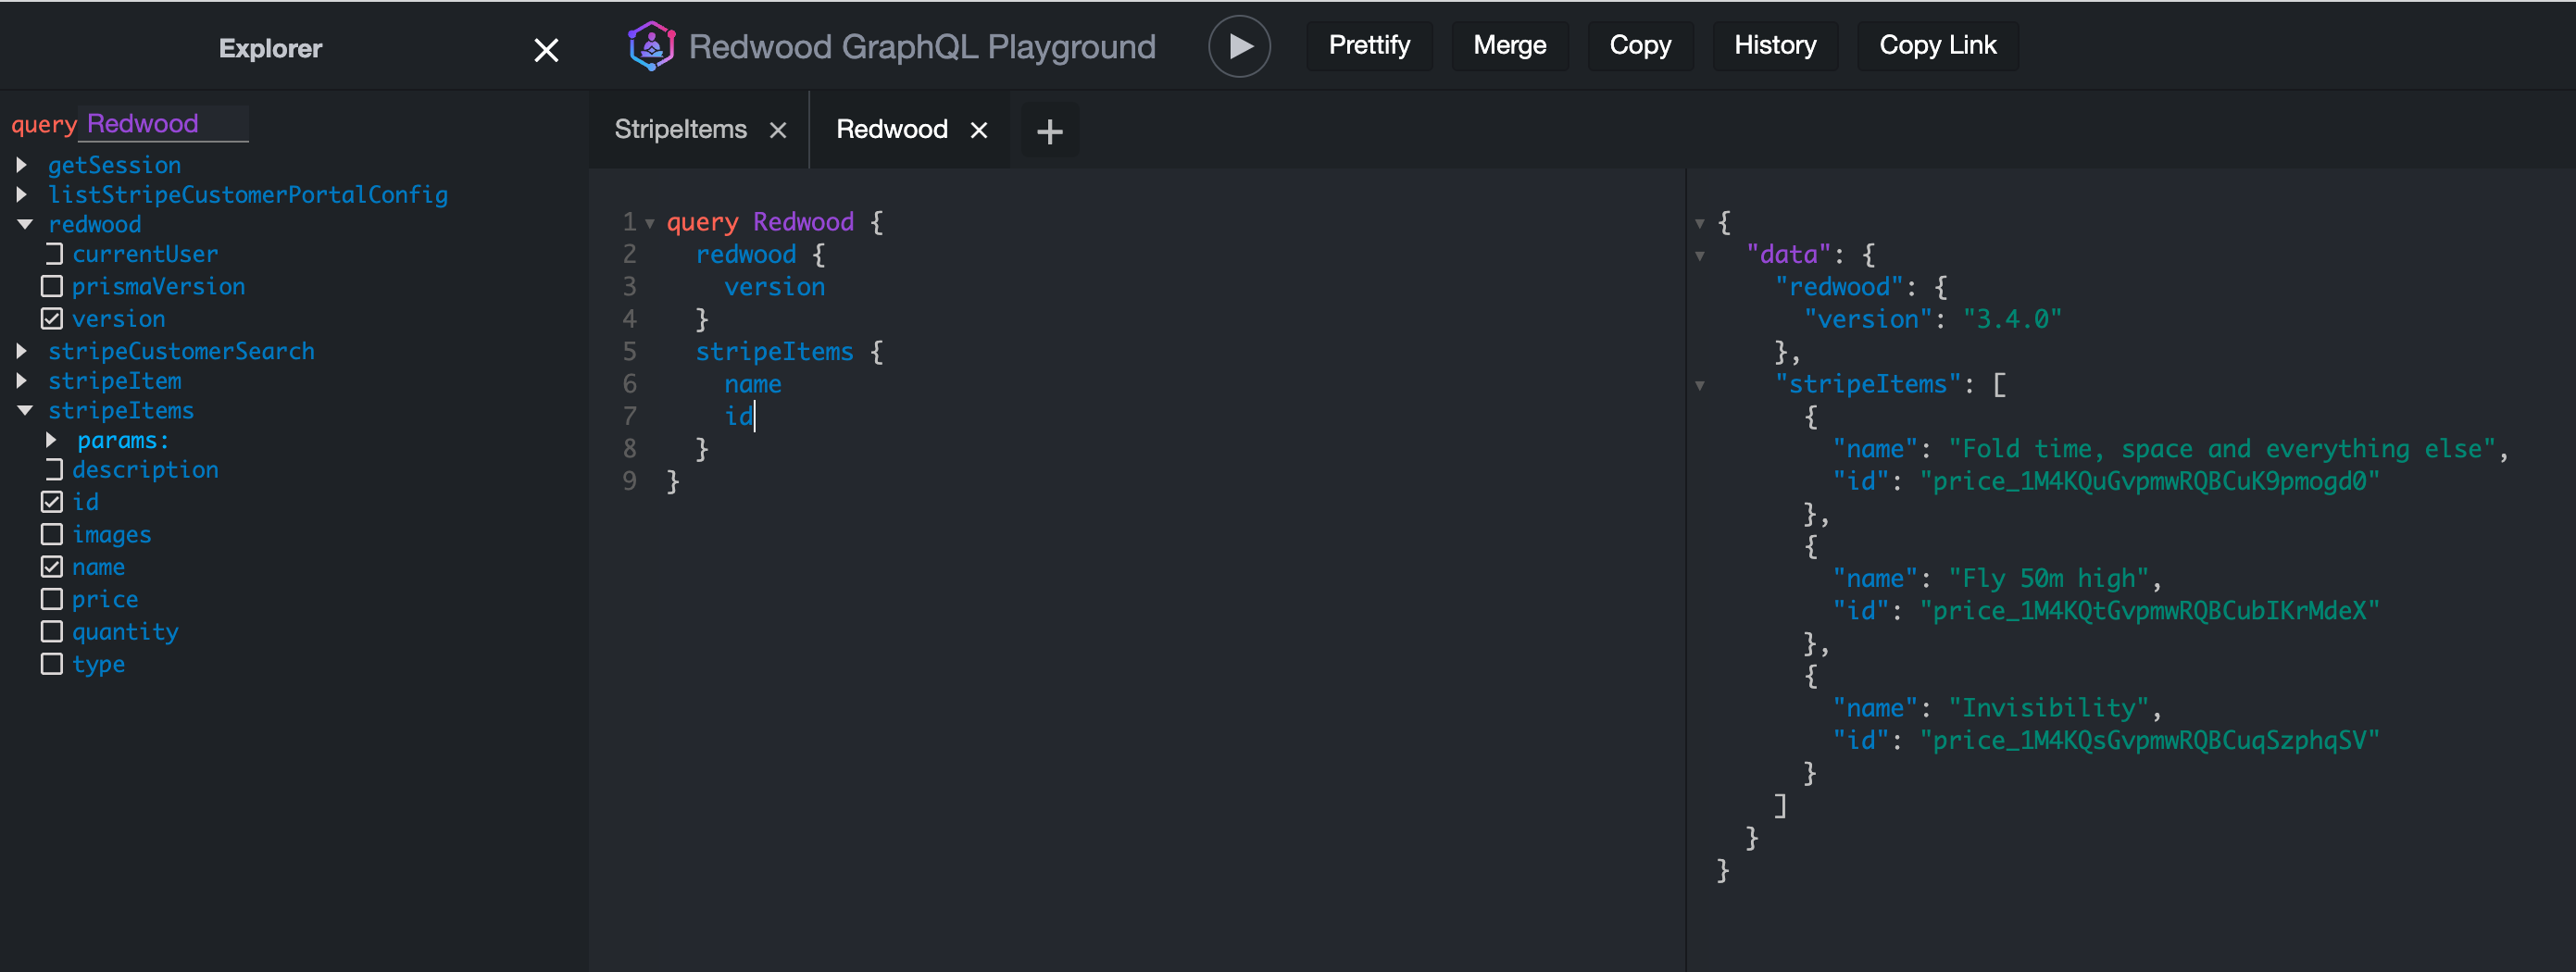
ポートが変更されていなければ、http://localhost:8911/graphql にアクセスすると、Playgroundが表示されます。
画面左上にある、[Explorer]をクリックすると、対応しているスキーマやクエリが確認できます。
Explorerを使いながら、どのようなクエリが実行できるか試してみましょう。
redwoodjs-stripeでアプリをカスタマイズする方法
redwoodjs-stripeには、フロント側・サーバー側両方のAPIやコンポーネントが含まれています。
フロントエンドでは、カート機能を利用するためにStripeProviderを利用する必要があることに注意しましょう。
import { StripeProvider } from 'redwoodjs-stripe/web';

// ...

<StripeProvider
  customer={{
    search: isLoggedIn ? `email: "${emailFromAuth}"` : '',
  }}
>
  <Storefront />
</StripeProvider>;
StripeProviderの子要素であれば、useStripeCartフックを利用してカートの中身を管理できます。
import { useStripeCart } from 'redwoodjs-stripe/web';
// ...
const { cart, clearCart, addToCart, removeFromCart, editCartItem } =
  useStripeCart();
また、Stripe Webhookについても、redwoodjs-stripe setup実行時に追加されたapi/src/functions/stripeWebhook/stripeWebhook.jsコードが準備されています。
import { handleStripeWebhooks } from 'redwoodjs-stripe/api'

// import { handleDBSync } from 'src/services/users'

/**
 * The handler function is your code that processes http request events.
 * You can use return and throw to send a response or error, respectively.
 *
 * Important: When deployed, a custom serverless function is an open API endpoint and
 * is your responsibility to secure appropriately.
 *
 * @see {@link https://redwoodjs.com/docs/serverless-functions#security-considerations|Serverless Function Considerations}
 * in the RedwoodJS documentation for more information.
 *
 * @typedef { import('aws-lambda').APIGatewayEvent } APIGatewayEvent
 * @typedef { import('aws-lambda').Context } Context
 * @param { APIGatewayEvent } event - an object which contains information from the invoker.
 * @param { Context } context - contains information about the invocation,
 * function, and execution environment.
 */

/*
 * Stripe documentation recommends making any calls to db for syncing inside of webhooks
 */
export const handler = async (event, context) => {
  // Create services to handle webhooks
  const { results } = await handleStripeWebhooks(
    event,
    context,
    {
      'checkout.session.completed': (e) => e.type,
      'checkout.session.async_payment_succeeded': (e) => e.type,
      'checkout.session.async_payment_failed': (e) => e.type,
      'customer.updated': async (e) => {
        console.log('customer.updated:', e)
        // Add a service here that updates your user in your db to reflect changes made via Stripe
      },
      'payment_intent.succeeded': async (e) => {
        console.log(e)
      },
    },
    false // Toggles "secure" mode. When "true" handler uses STRIPE_WEBHOOK_KEY to verify event origin
  )

  /*
    It would be good practice to save Stripe webhook events to your db as Stripe only stores events for 30 days
    Add a service here or inside the webhook to store the event
  */

  return {
    statusCode: 200,
    headers: {
      'Content-Type': 'application/json',
    },
    body: JSON.stringify({
      data: results,
    }),
  }
}
これらの機能や、ドキュメントに記載されているAPIを活用して、RedwoodJSでのサブスクリプション・EC機能組み込みをぜひお試しください。
関連・参考リソース
