※Blenderのバージョンは2.80です
Blenderにおけるある種のモデリングは、Pythonスクリプトを用いてその時間を壊滅的に短縮することができます。大量の物体を並べるような作業は、その最たるものです。実例を示していきます。
単純な図形を並べる
プリミティブ(単純な図形)を並べていきます。
ウィンドウを分割して、片方にカーソルを当てた状態でShift+F11を押すと以下のように。

「新規」を押して新しいスクリプトを作っていきます。
以下の文面をコピペします。
import bpy

# reset objects
bpy.ops.object.select_all(action='SELECT')
bpy.ops.object.delete(True)

max = 20

for i in range(0,max):
    for j in range(0,max):
        bpy.ops.mesh.primitive_cone_add(
        radius1=.7,
        location=(i,j,0)
        )
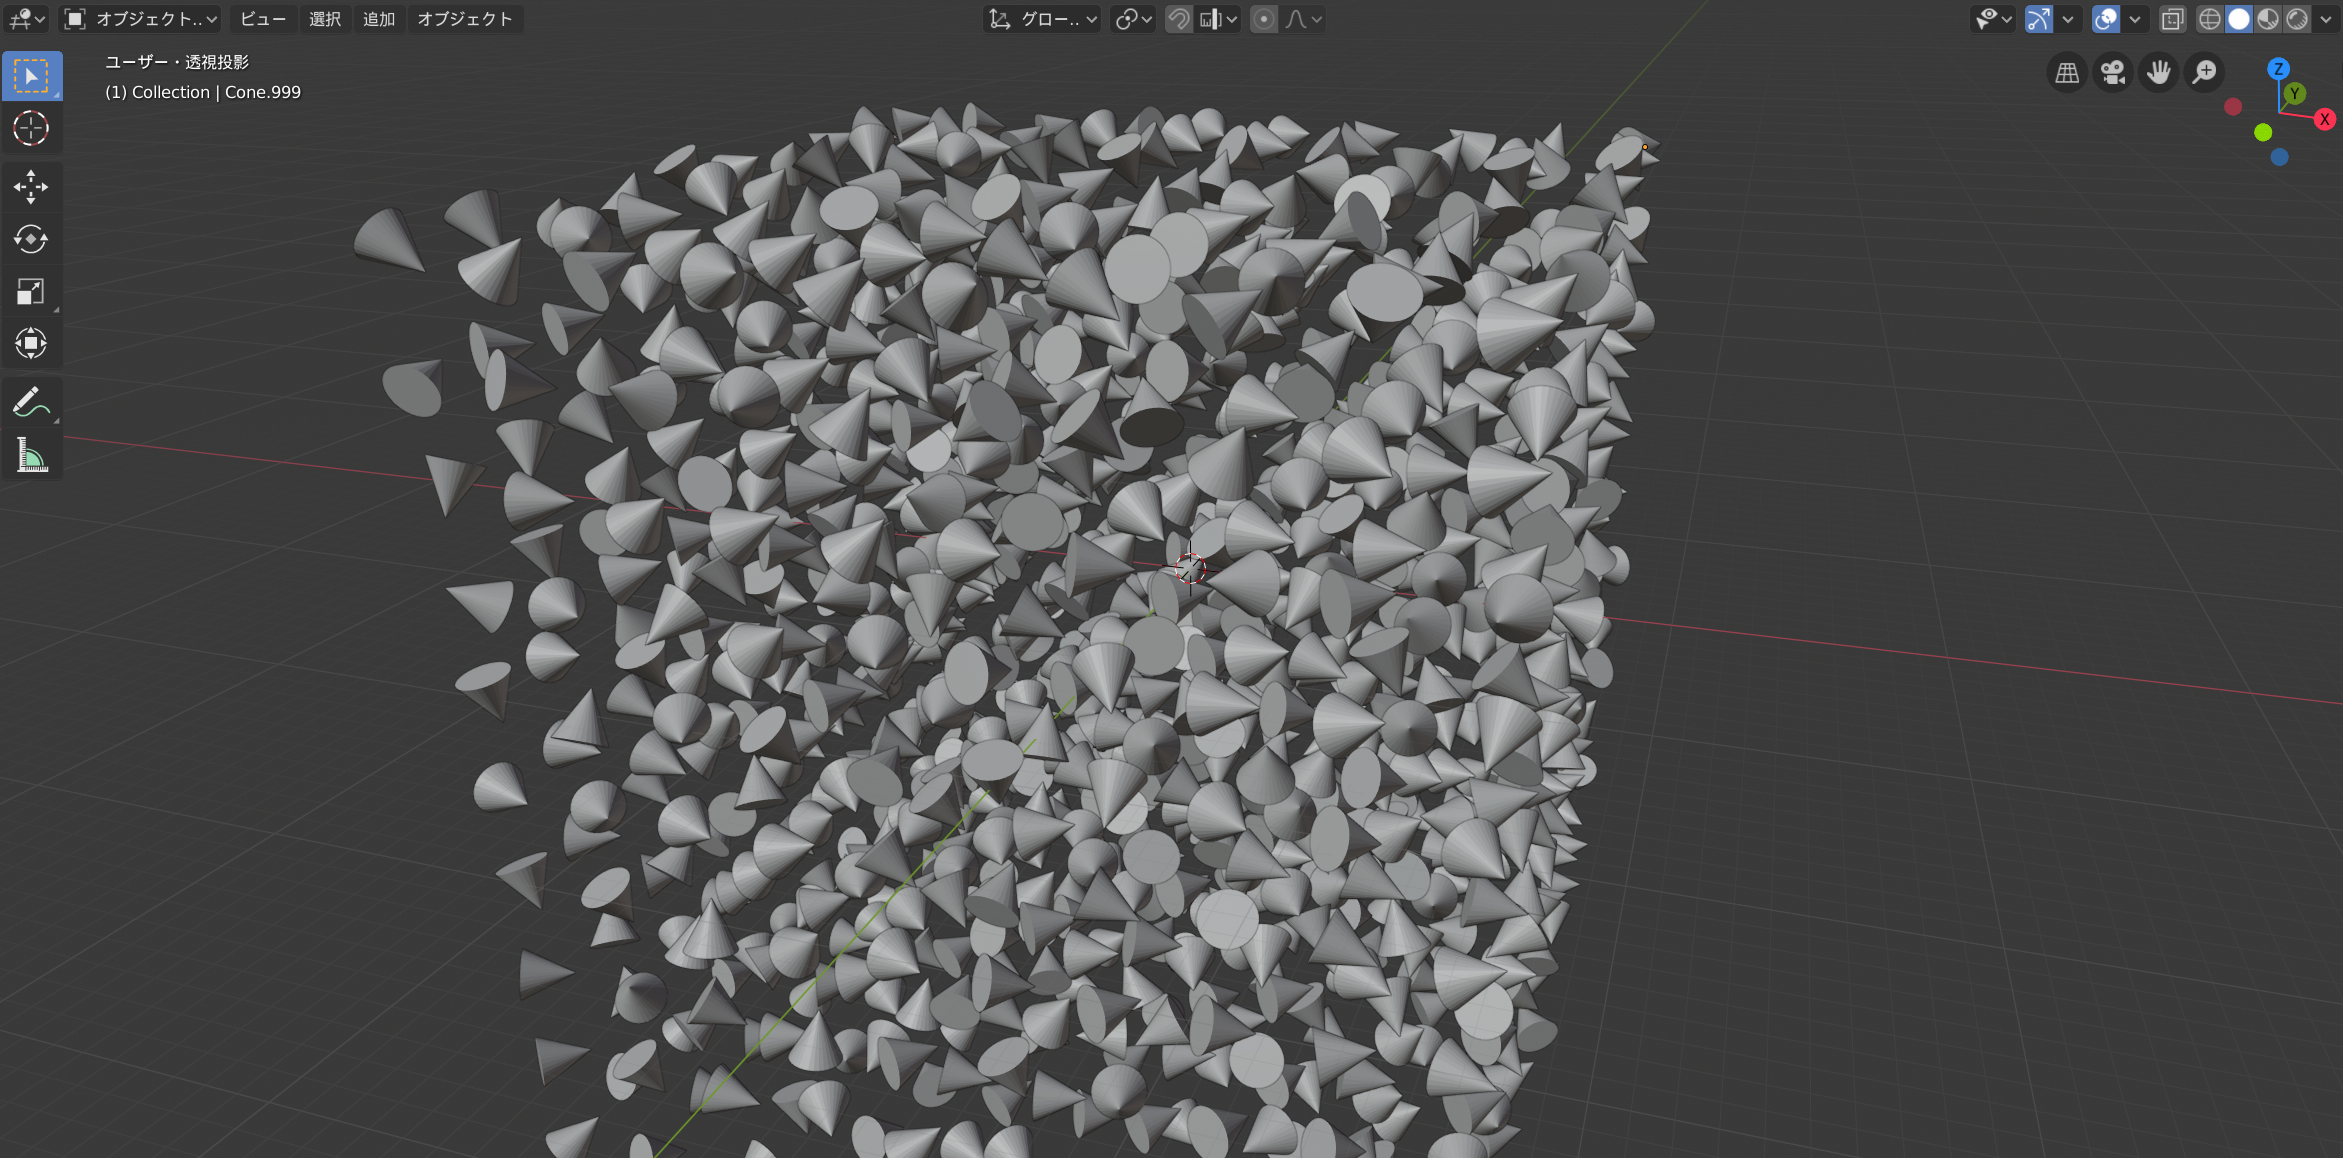
「スクリプト実行」をクリックするか、Alt+Pを入力すると、以下のような絵面が誕生します。
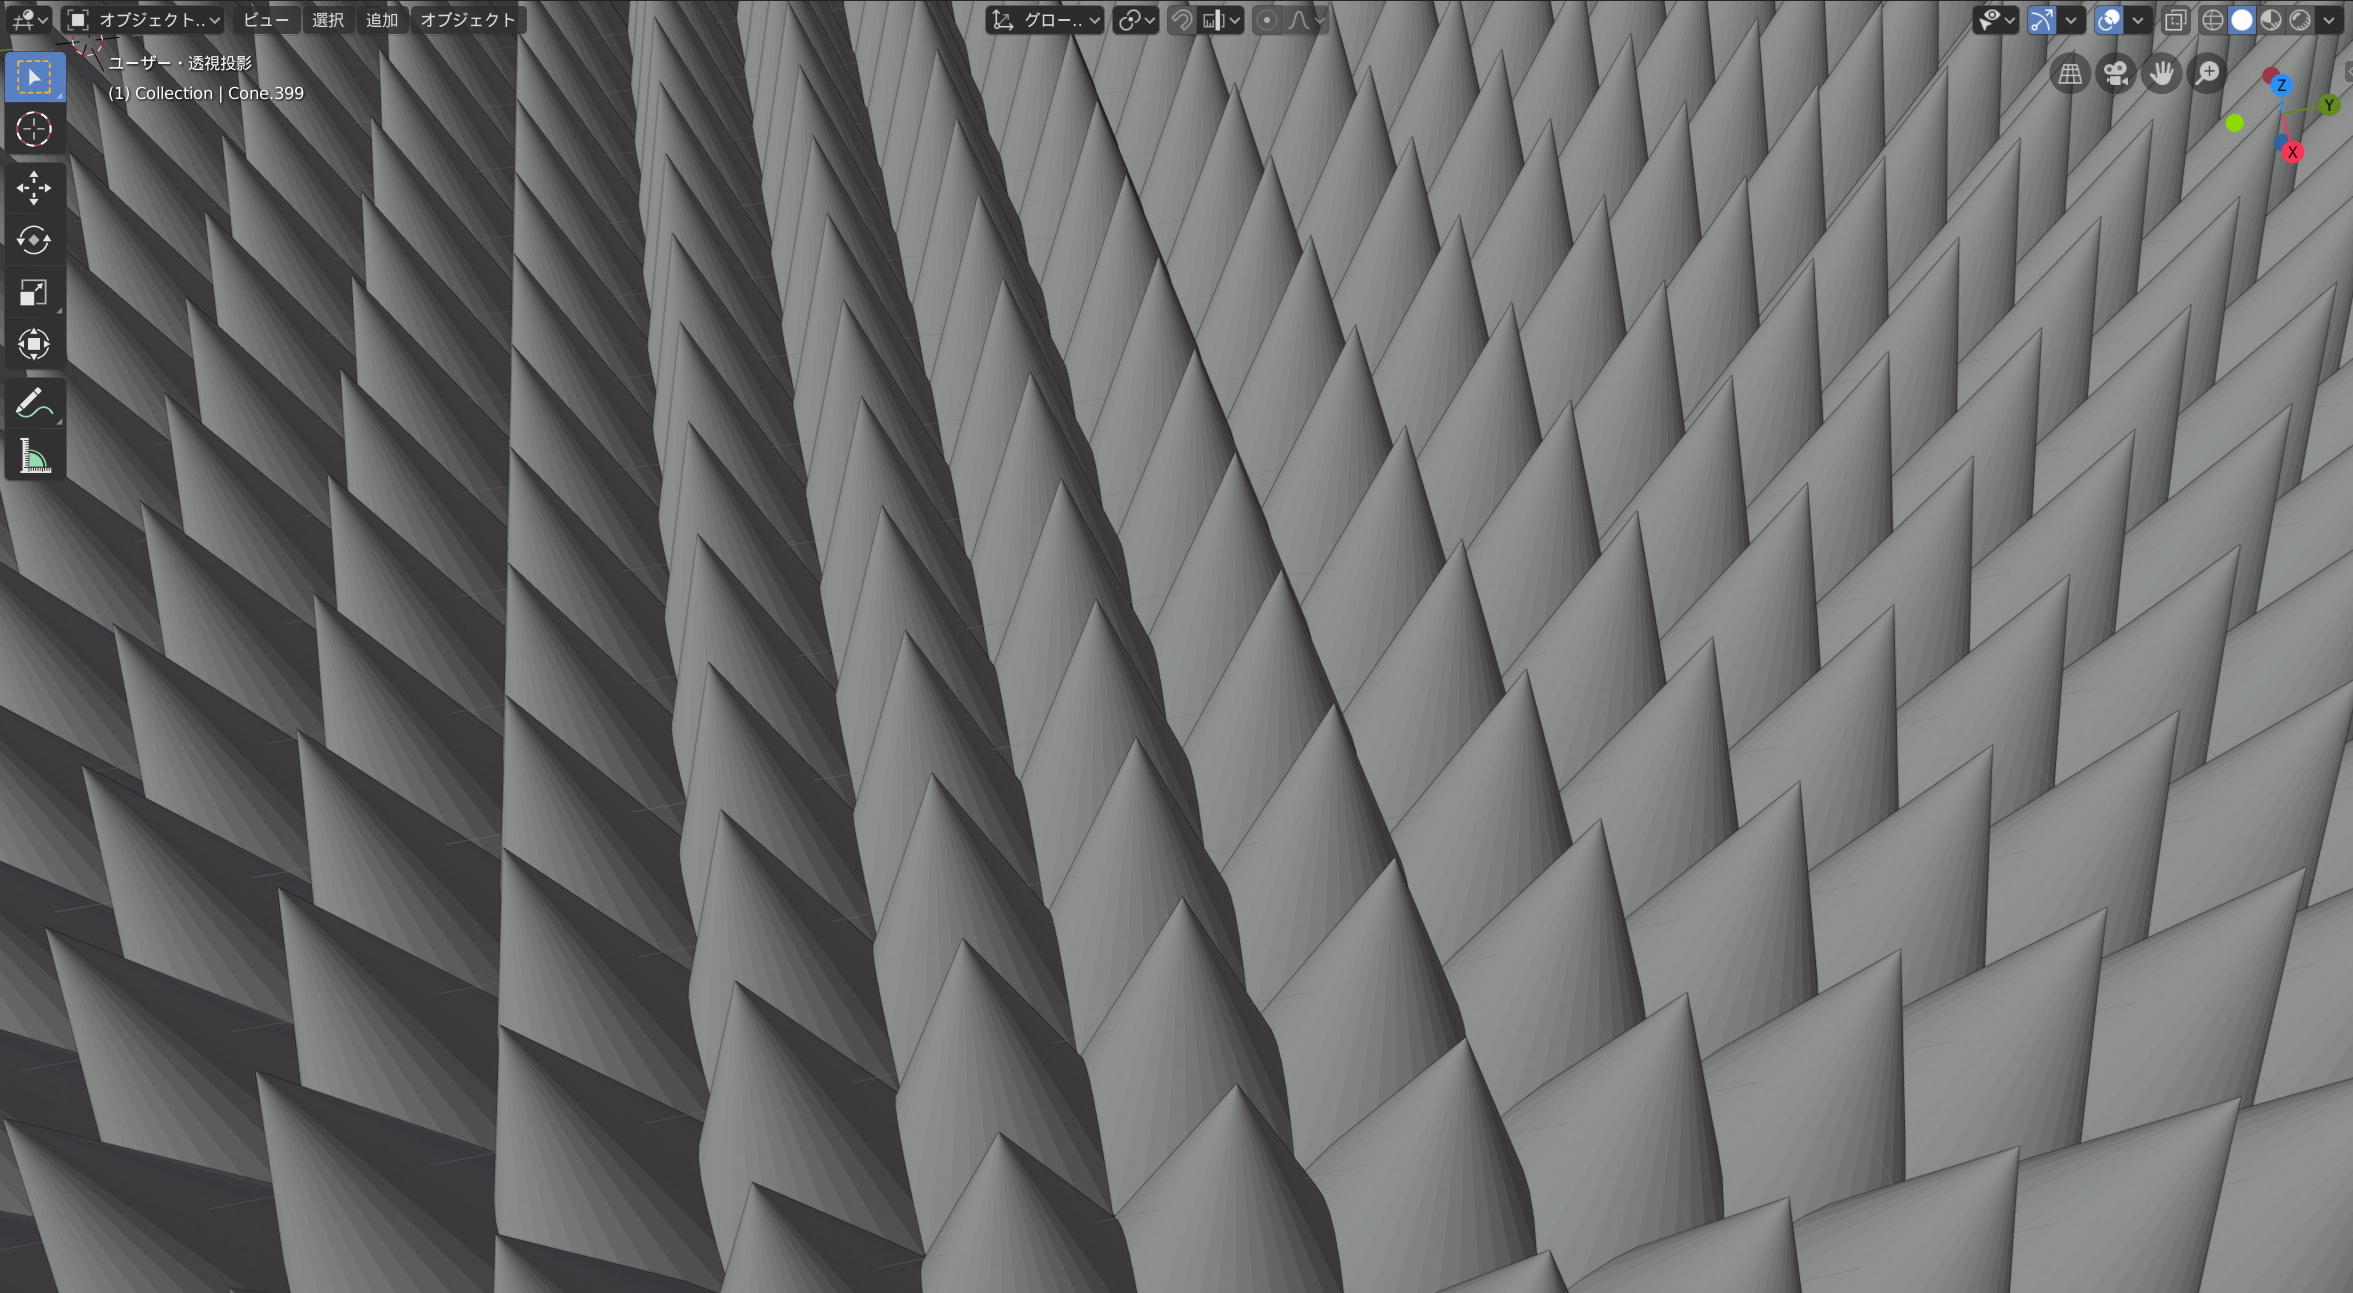
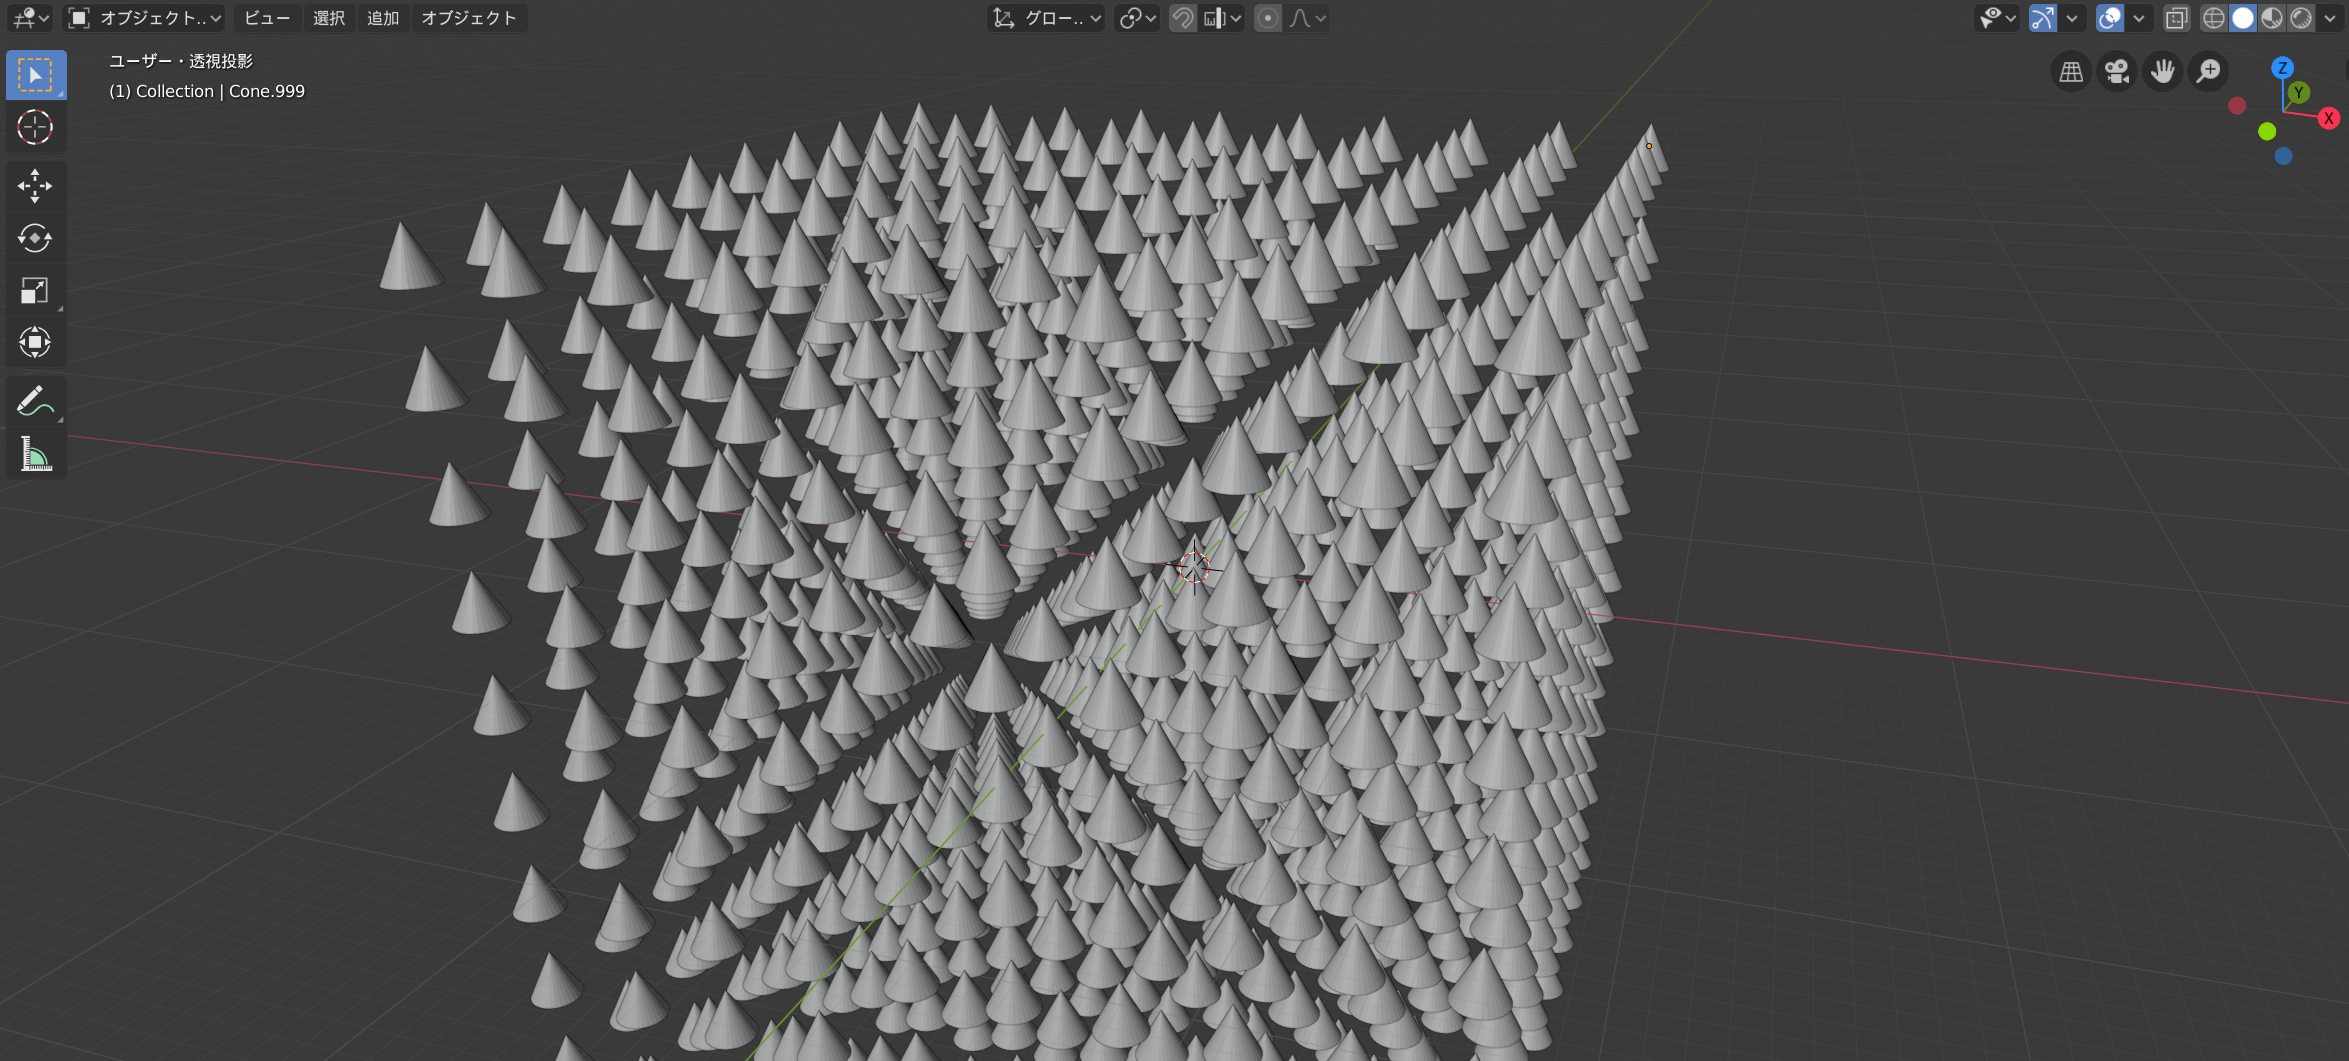
maxの値をいじると繰り返しの幅を指定できます。20ぐらいだったら大体のパソコンで大丈夫だと思いますが、100だと数分固まるかもしれません。radius1は底面の半径を指定しており、0.7に指定しているのは$\frac{1}{\sqrt{2}}$に近い値にしてお互いの底面がぎりぎり接するようにするためです。
よりドラマチックに
import bpy
import math

# reset objects
bpy.ops.object.select_all(action='SELECT')
bpy.ops.object.delete(True)

max = 20

for i in range(0,max):
    for j in range(0,max):
        height = 2+math.sin(i+j)
        bpy.ops.mesh.primitive_cone_add(
        radius1=.7,
        location=(i,j,height/2),
        depth = height)
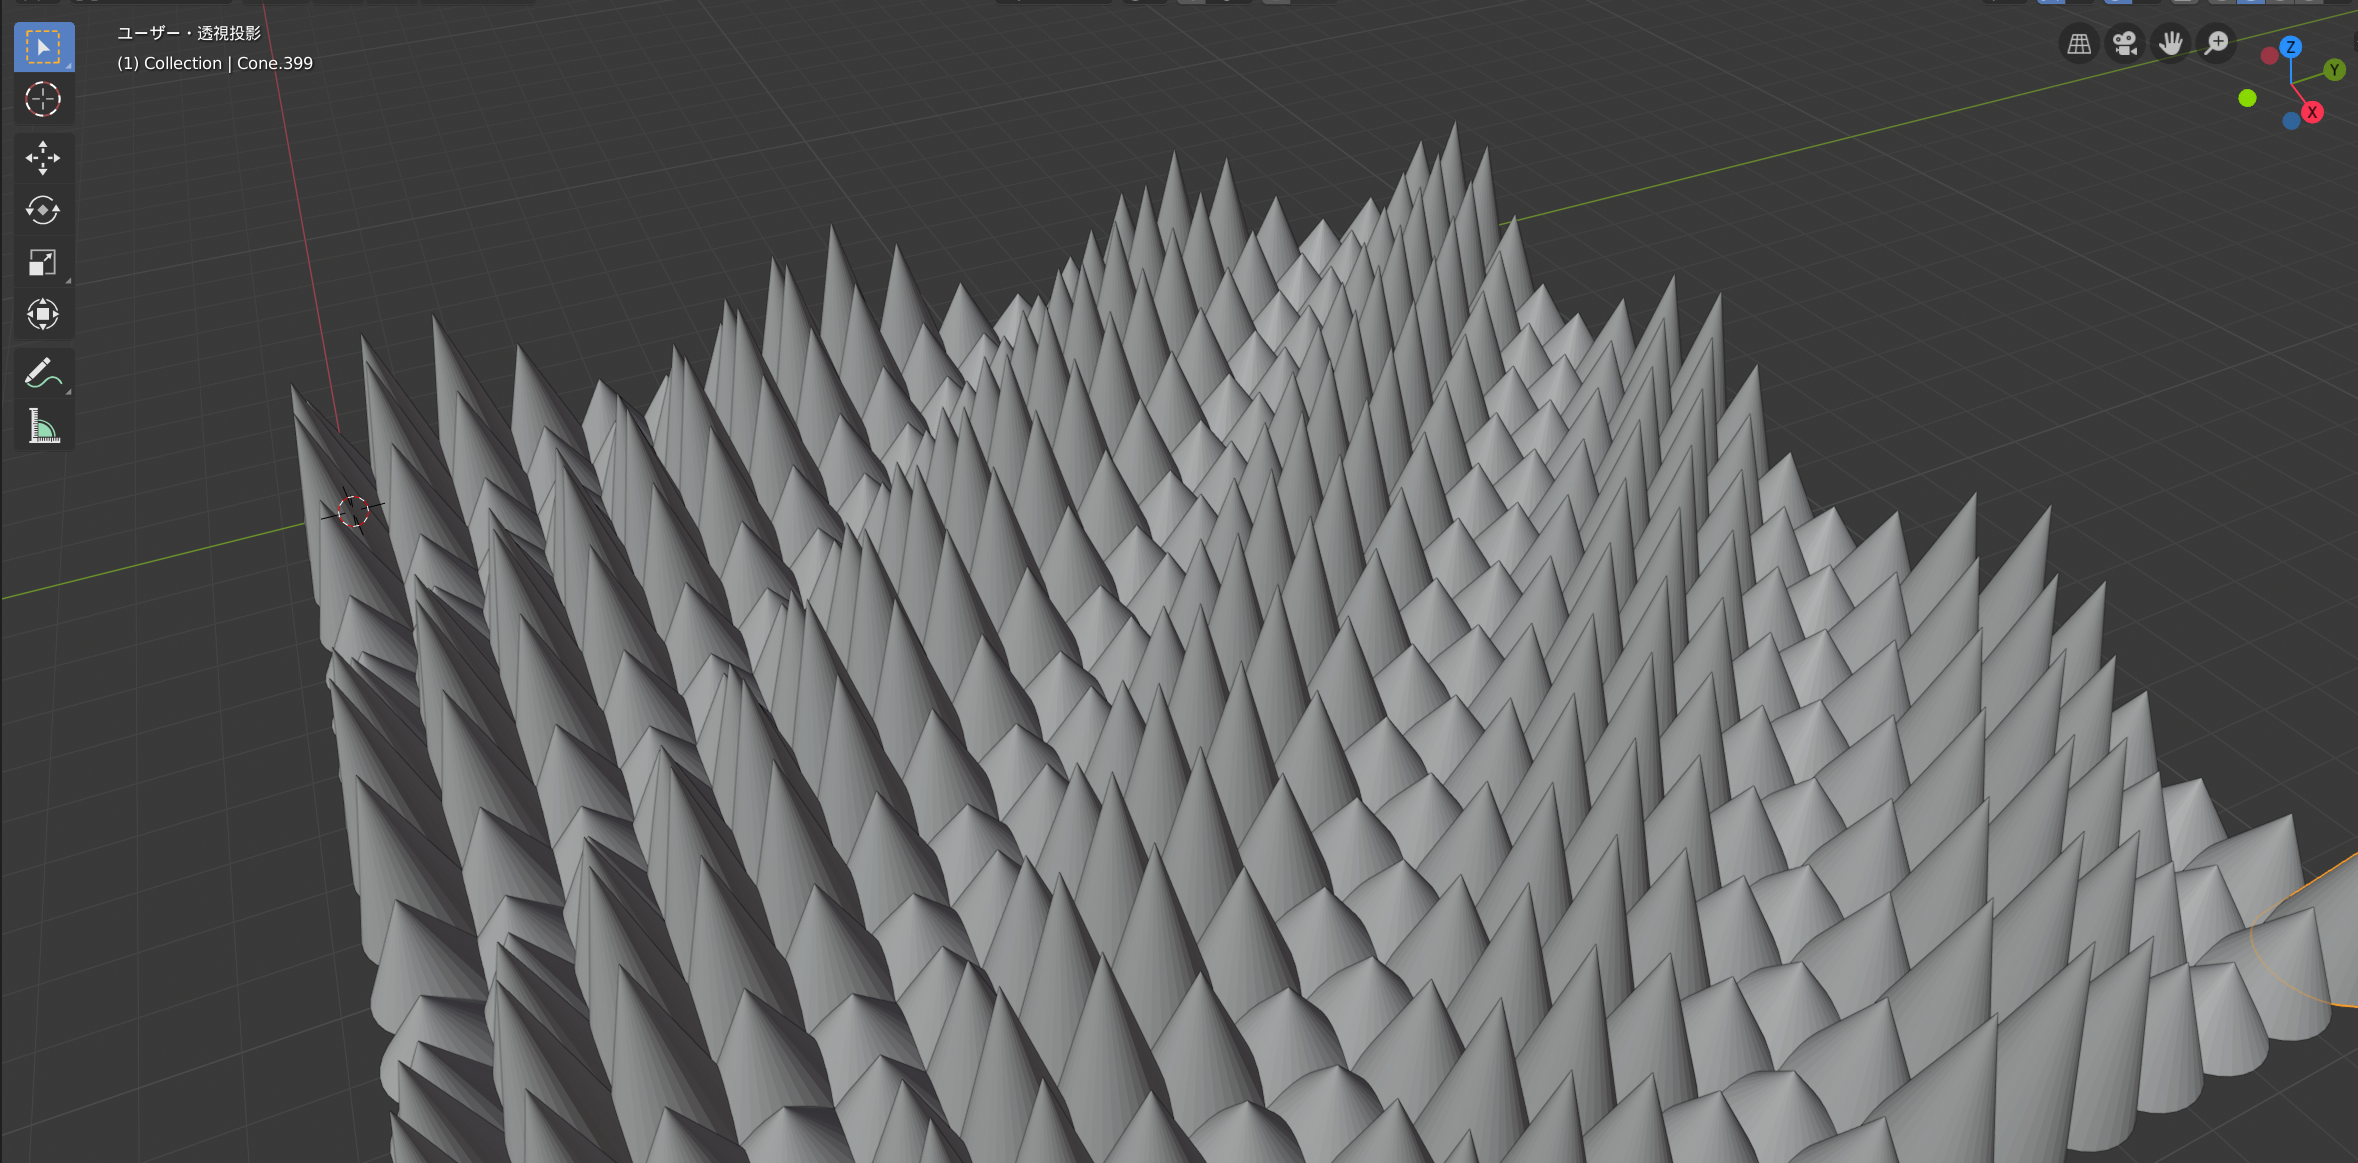
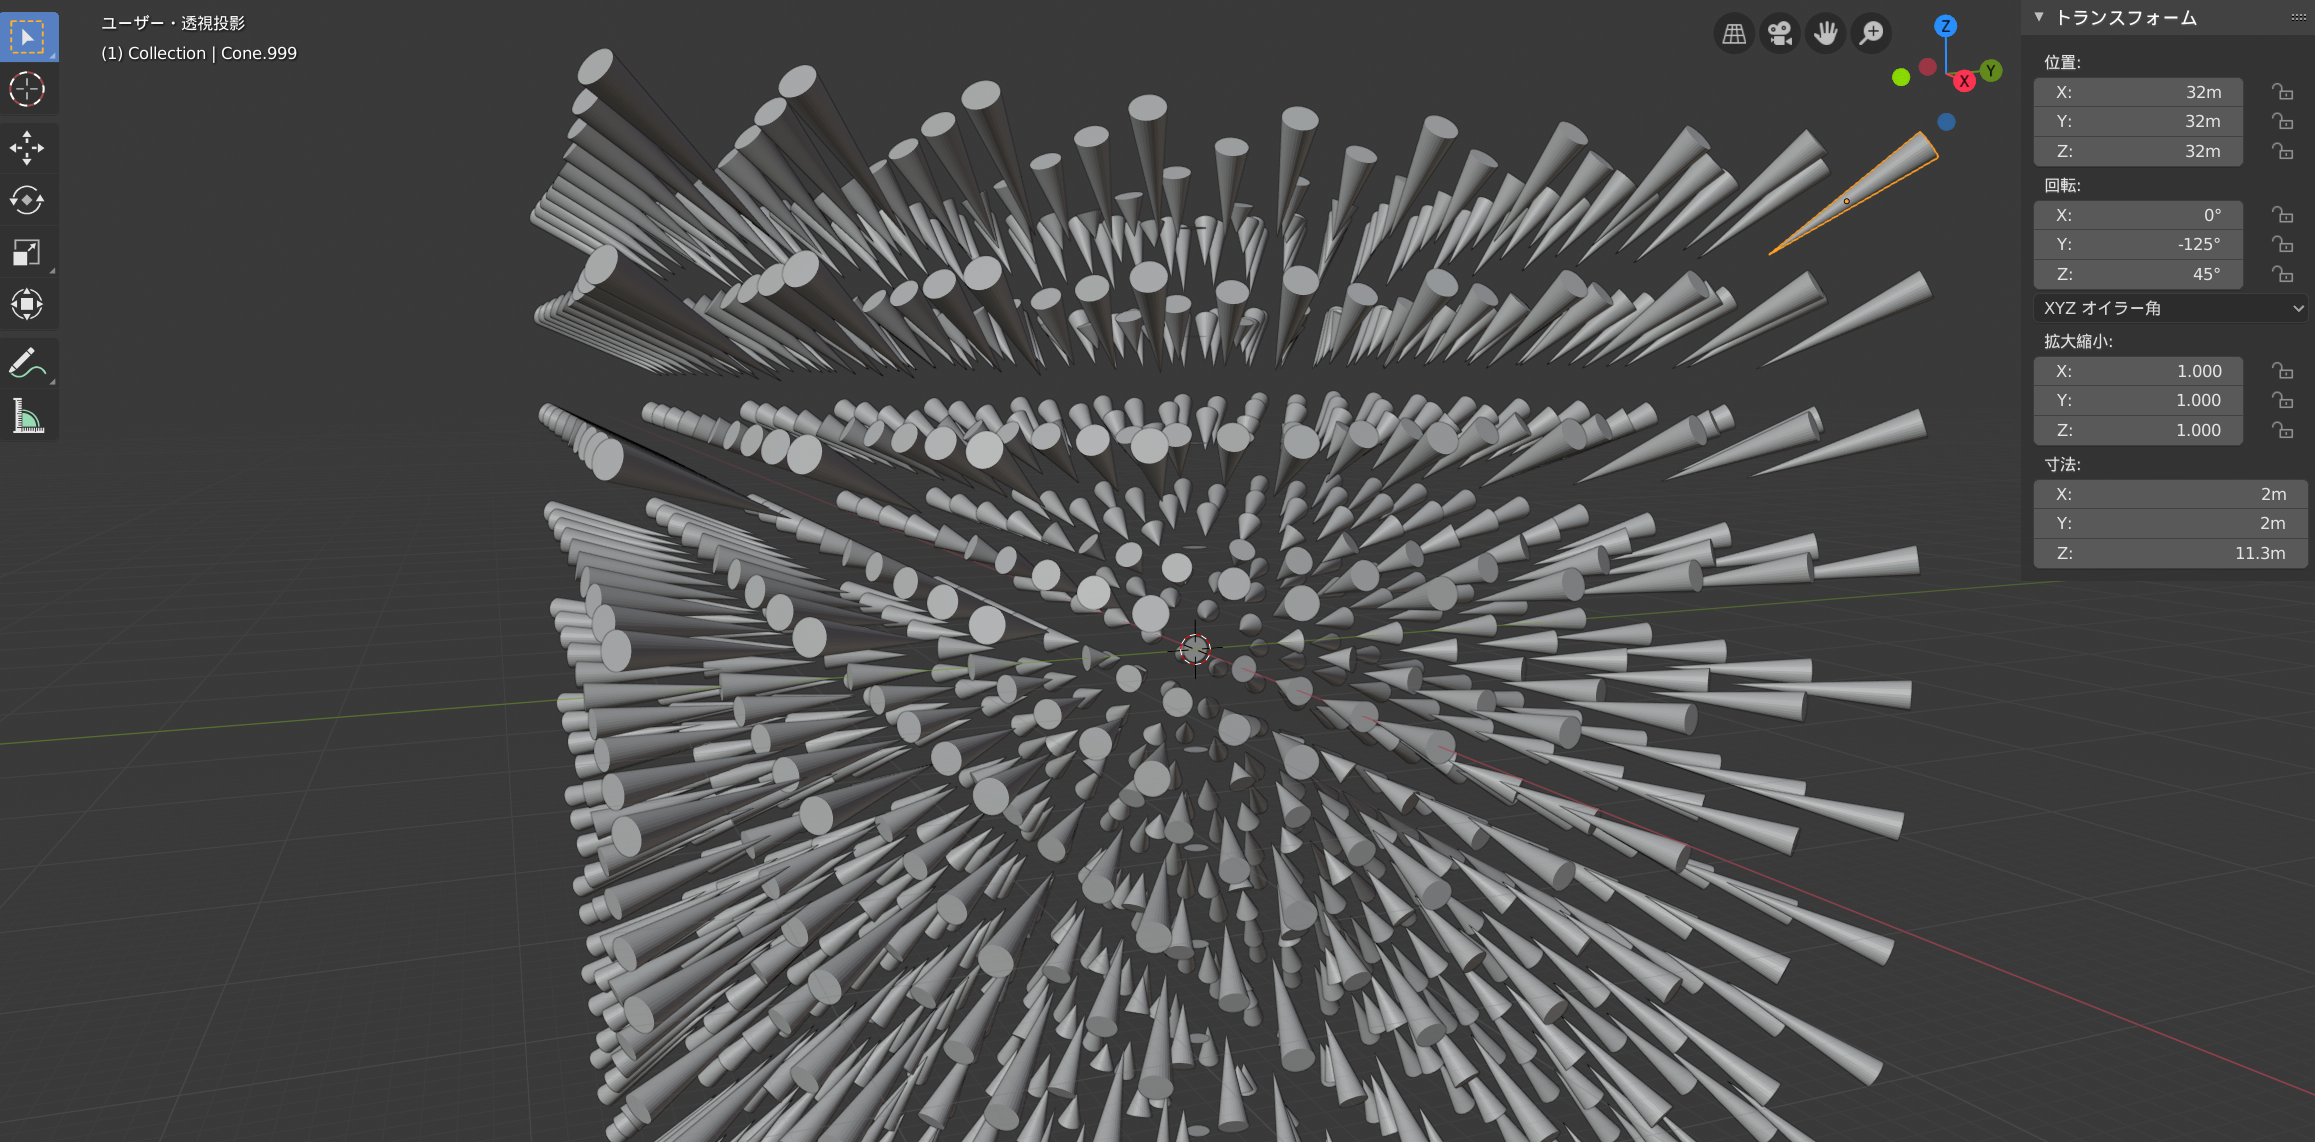
円錐の高さにバリエーションを加えます。三角関数を使って高さを周期的に変化させます。depthで高さを指定した分だけ、その半分をz位置に加算しないと底の高さが合わないのでdepth = height、location=(i,j,height/2)としています。
高さも使う
import bpy

# reset objects
bpy.ops.object.select_all(action='SELECT')
bpy.ops.object.delete(True)

max = 5

for i in range(-max,max):
    for j in range(-max,max):
        for k in range(-max,max):
            bpy.ops.mesh.primitive_cone_add(
            location=(i*4,j*4,k*4)
            )
宇宙を感じる。今後の計算の簡便のため、イテレーションの範囲を0<maxから-max<maxとしています。
変化も加える(ランダム)
import bpy
import numpy

# reset objects
bpy.ops.object.select_all(action='SELECT')
bpy.ops.object.delete(True)

max = 5

for i in range(-max,max):
    for j in range(-max,max):
        for k in range(-max,max):
            bpy.ops.mesh.primitive_cone_add(
            location=(i*4,j*4,k*4),
            rotation=numpy.random.rand(3)*3,
            )
rotationに乱数を指定しています。これはこれで美しい。
変化も加える(規則的)
import bpy
import math

# reset objects
bpy.ops.object.select_all(action='SELECT')
bpy.ops.object.delete(True)

max = 5

for i in range(-max,max):
    for j in range(-max,max):
        for k in range(-max,max):
            dist = math.sqrt(i*i+j*j)
            zx = math.atan2(j,i)
            zy = -math.pi/2-math.atan2(k,dist)
            bpy.ops.mesh.primitive_cone_add(
            location=(i*8,j*8,k*8),
            depth=dist*2,
            rotation=(0,zy,zx)
            )
すべての円錐が中心を向くようにしました。
$\tan^{-1}(\frac{j}{i})$で経度、$\tan^{-1}(\frac{k}{\sqrt{i^2+j^2}})$で緯度を算出しています。中心に向かっている感を演出するためにdepthも調整しています。
任意の図形をコピーして並べる
プリミティブだけだとつまらないので、任意の物体をコピーして並べていきます。コピー元となる一体を配置&選択しておいて、それをひたすらコピーしていくという手法でやっていきます。
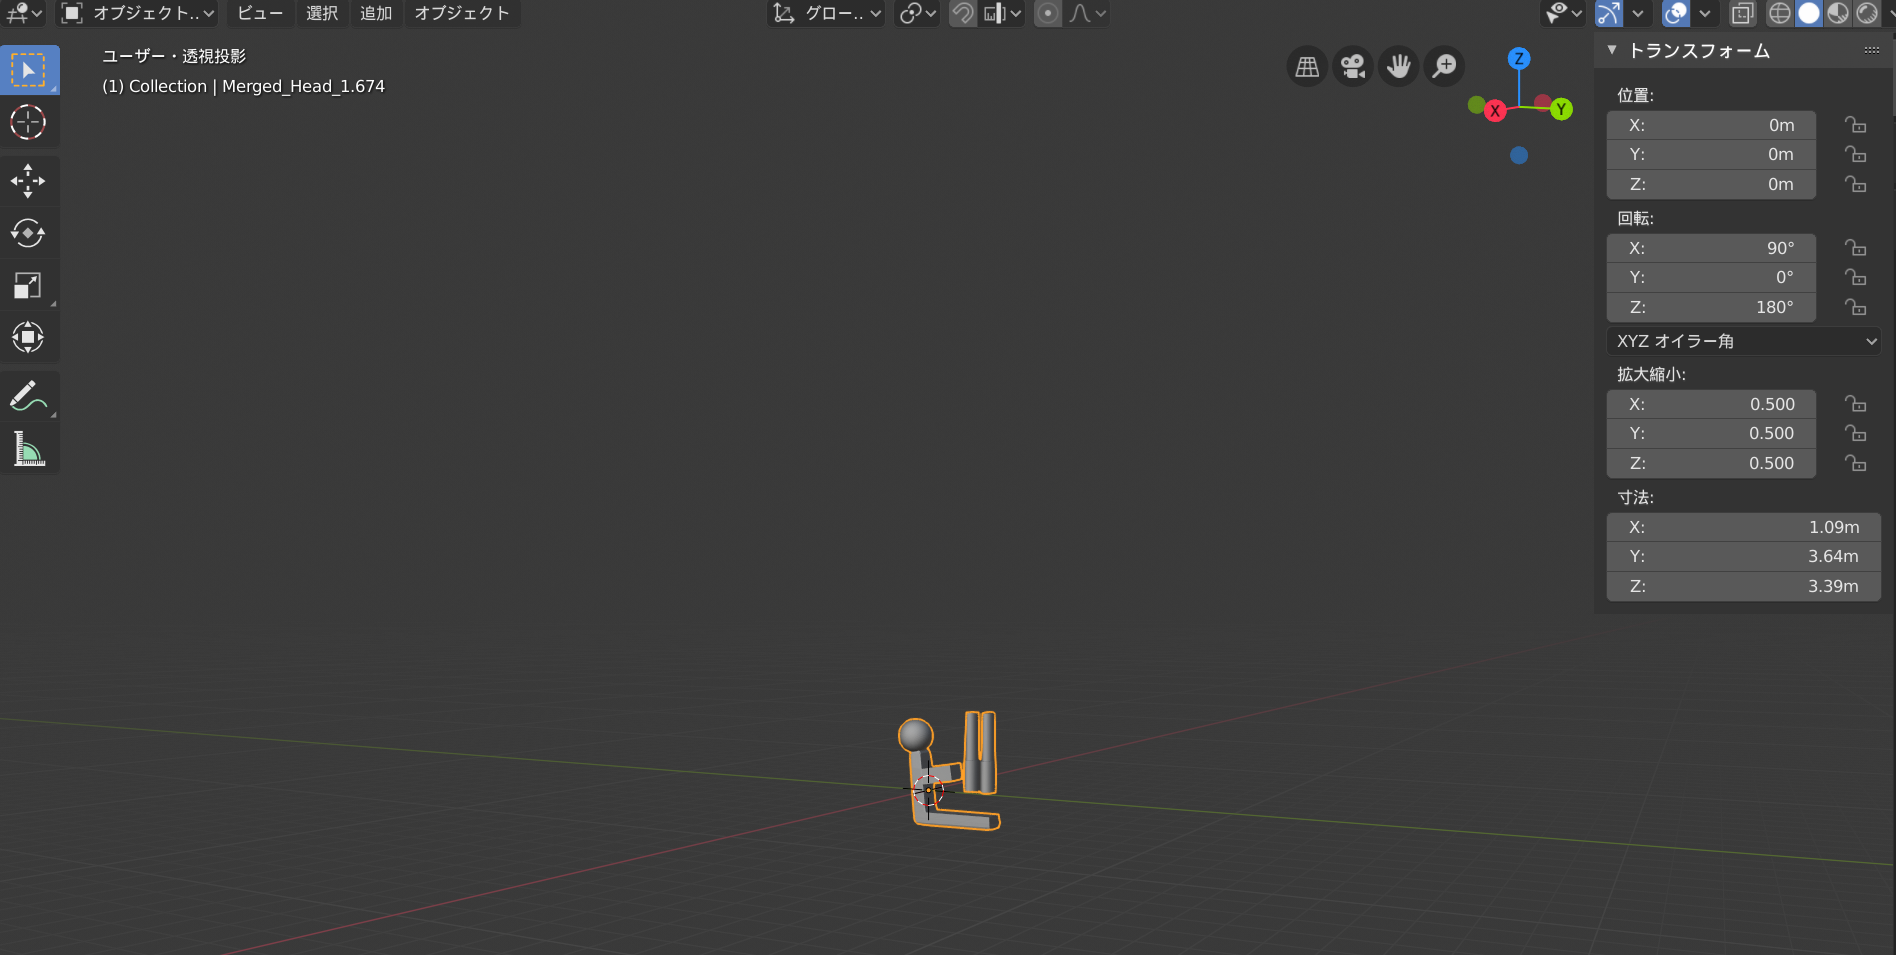
これが、
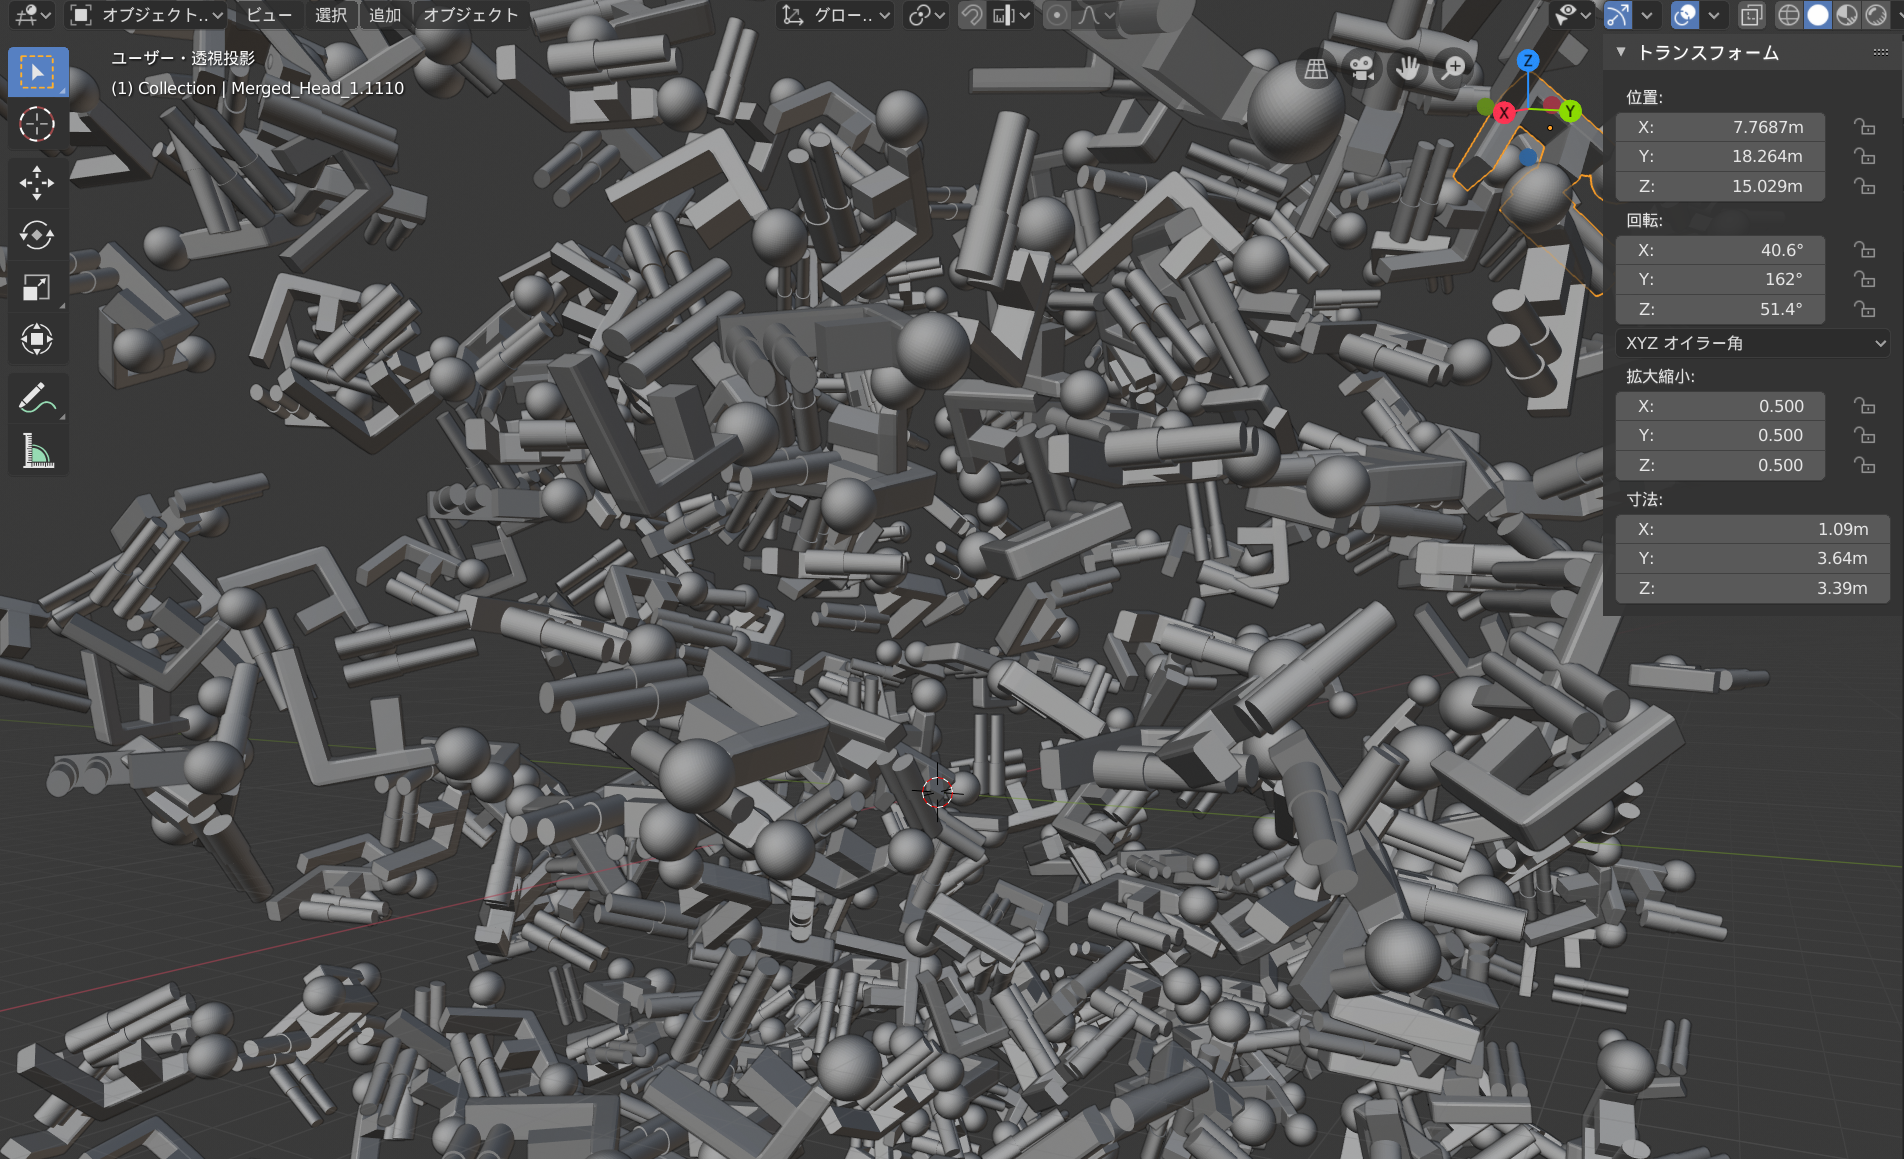
このような感じに。
import bpy
import numpy

for i in range(0,500):
    bpy.ops.object.duplicate()
    bpy.context.object.location = numpy.random.rand(3)*40-20
    bpy.context.object.rotation_euler = numpy.random.rand(3)*3
大量の図形をインポートして並べる
さらに図形に変化を加えたい場合、あらかじめfbxなりobjなりplyを用意しておいて、それを大量にインポートするという手法が考えられます。ちょうどこの前大量の人体モデルを生成したことですし、一括インポートして並べてみましょう。特定のフォルダにあらかじめ大量のファイルを用意しておいて、通し番号なりで一括して処理できるように下準備をする必要があります。
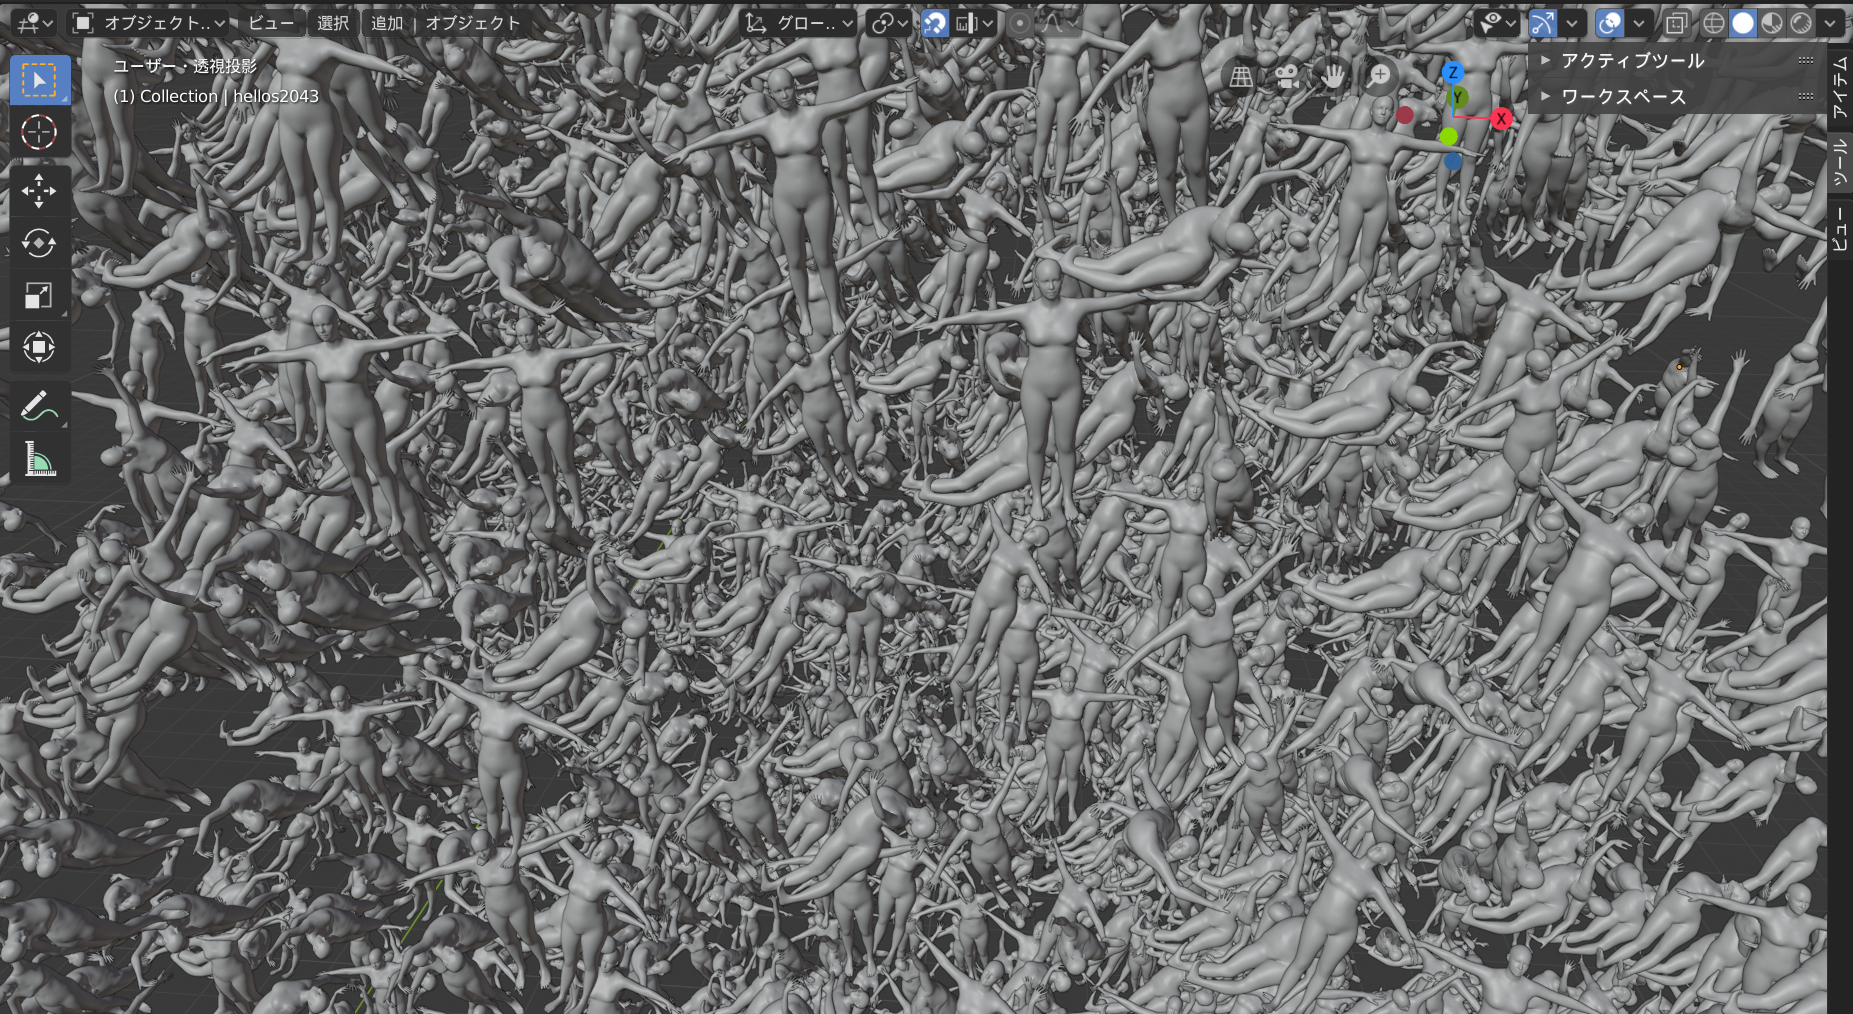
ネオエクスデスかな?
import bpy
import numpy

# ここにファイルのパス(通し番号の直前まで)を記入
dir = r'~~~'

for i in range(0,500):
    #通し番号と拡張子を指定(このコードだとobj)
    path = dir + str(i) + '.obj'
    bpy.ops.import_scene.obj(filepath=path)

for i in range(0,500):
    bpy.data.objects[i].location = numpy.random.rand(3)*20-10