CodeStar
AWS CodeStarは、アプリケーションを迅速に開発・デプロイすることができるための環境を構築することができます。
いくつかのテンプレートが用意されており、マネジメントコンソール上からポチポチと選択していくだけで、開発プロジェクトが構築できてしまいます。
構築される環境
- コードリポジトリ(CodeCommitと、GitHubを選択可能)
- CodeBuilde環境
- CodePipeline環境
- アプリケーション
- IDE(Cloud9選択時)
料金
CodeStar自体は料金は発生しません。
CodeStarによって構築されるコードリポジトリや、パイプライン、デプロイされたアプリケーションに係るリソース使用料のみです。
注意事項
リージョンに東京リージョンを選択すると、IDEにCloud9を選択することができません(2020年8月現在)。
今回はCloud9で環境を構築したいので、リージョンにバージニア北部(us-east-1)を選択することとします。
環境構築手順
まずは、マネジメントコンソールで、サービスよりCodeStarを選択します。
今回はIDEに
Cloud9を使用したいので、リージョンをバージニア北部にします。
アプリケーションの種類や、言語を選択できます。
今回は、Lambda + Java Springのテンプレートでプロジェクトを作成してみようと思います。

続いてコードリポジトリを選択します。
今回は、CodeCommitを選択してみますね。

内容を確認して、プロジェクトを作成します。
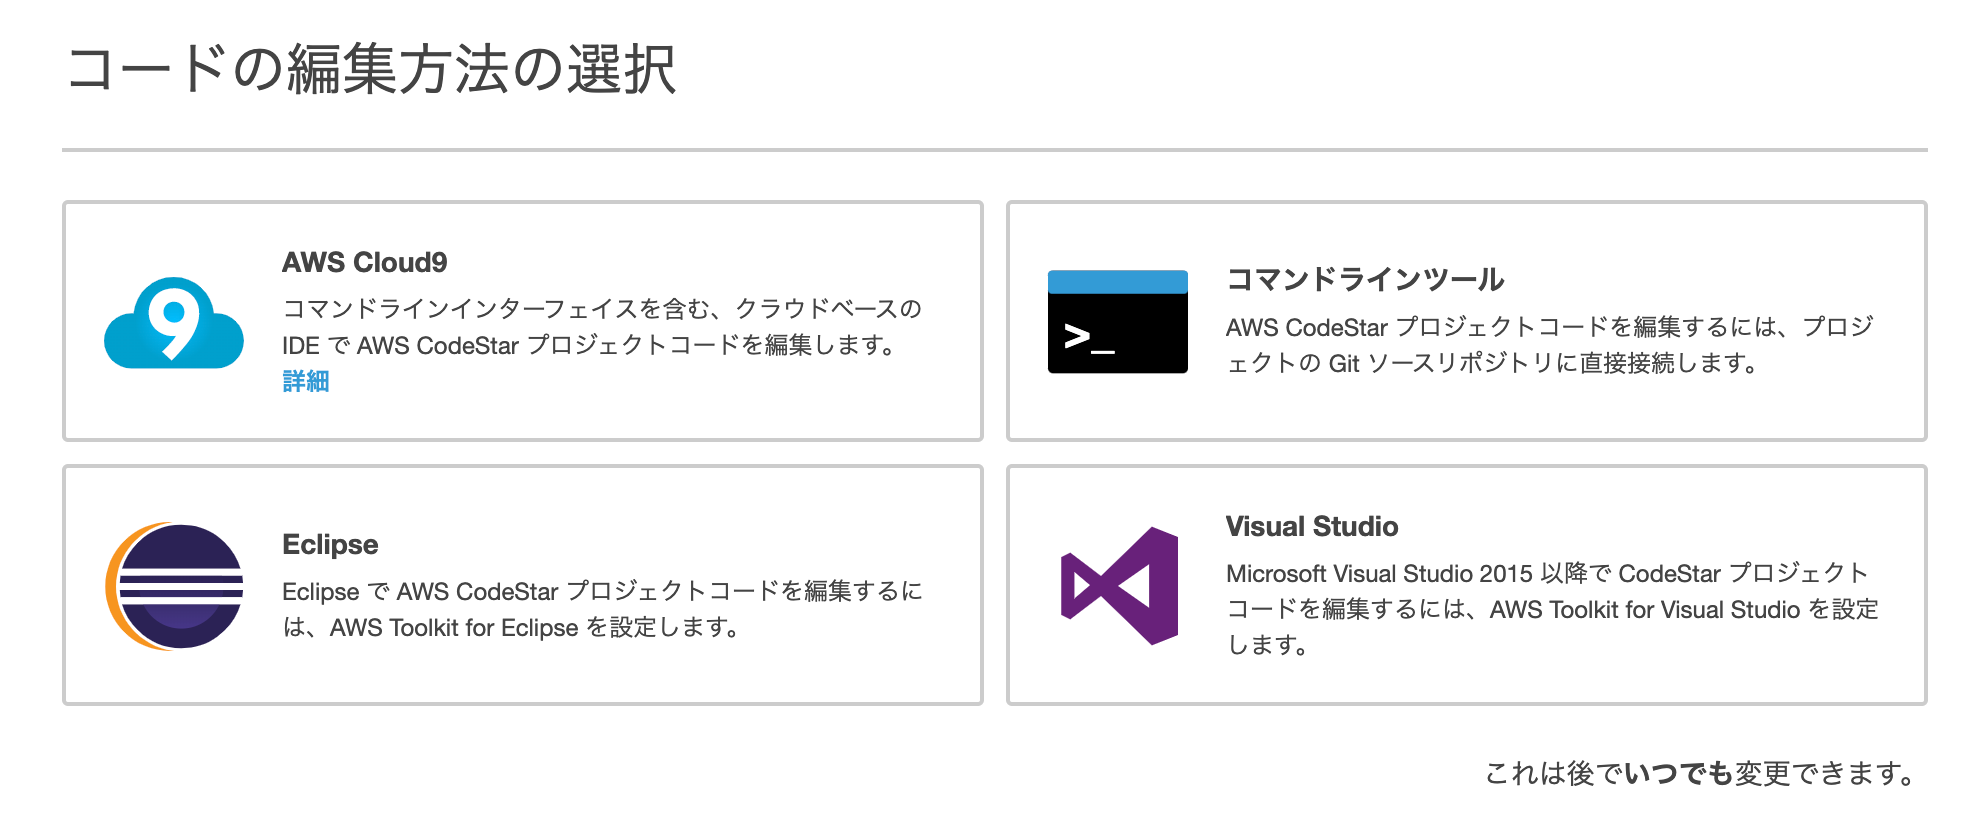
最後にIDEを選択します。
今回は、AWS Cloud9です。リージョンによっては、Cloud9を選択できないのでご注意ください。
Cloud9を選択すると、インスタンスタイプを聞かれますので、今回はデフォルトのt2.microのまま進めます。
プロジェクトとIDEの作成が始まります(裏でCloudFormationが動作します)。
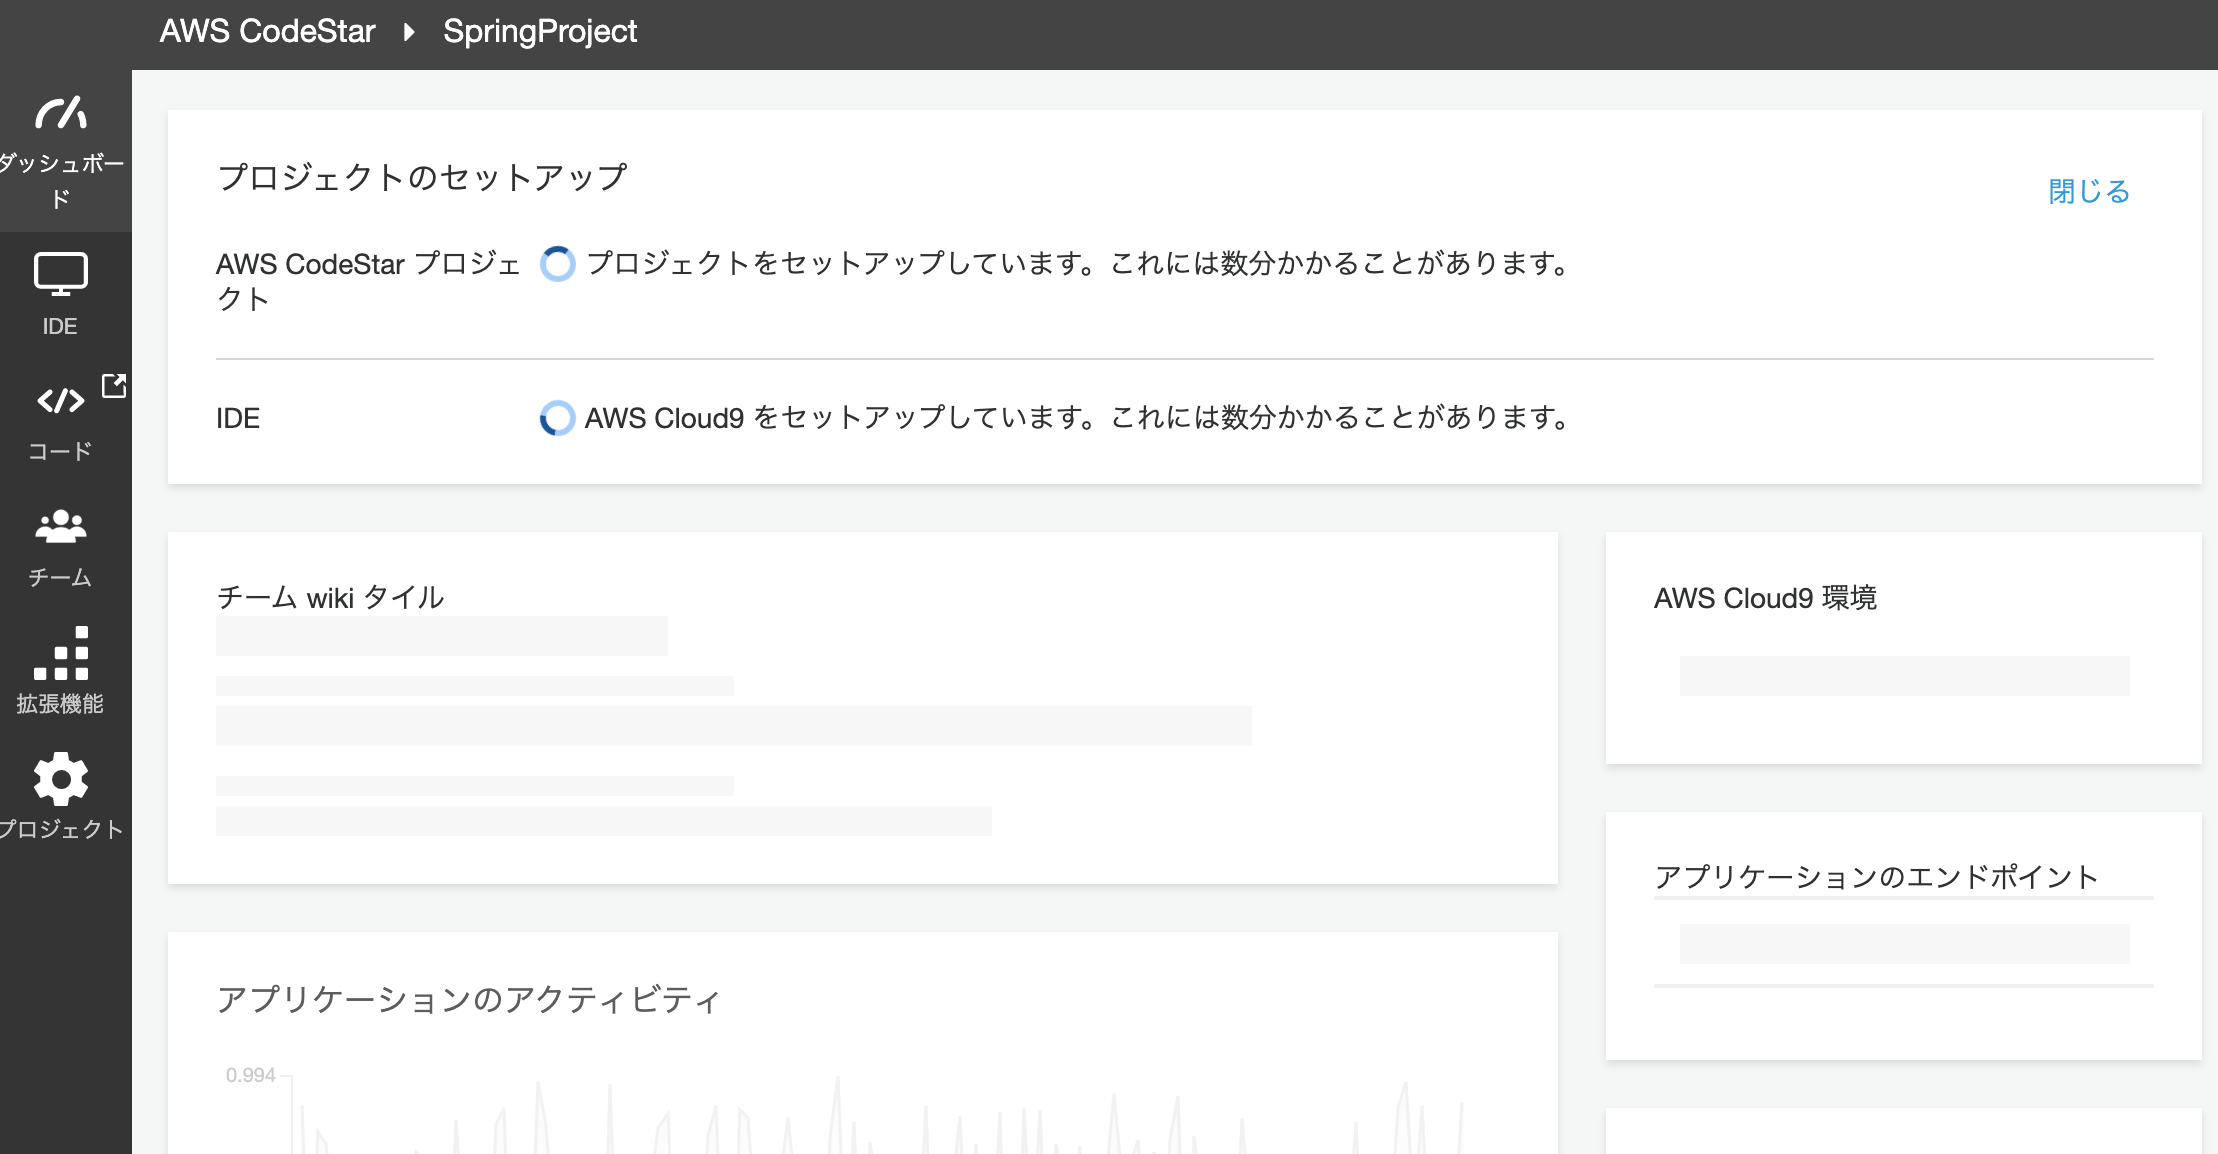
プロジェクトが大体3分で環境構築が完了します。
IDEはEC2インスタンスの作成があるので、こちらも大体3分くらいかかります。
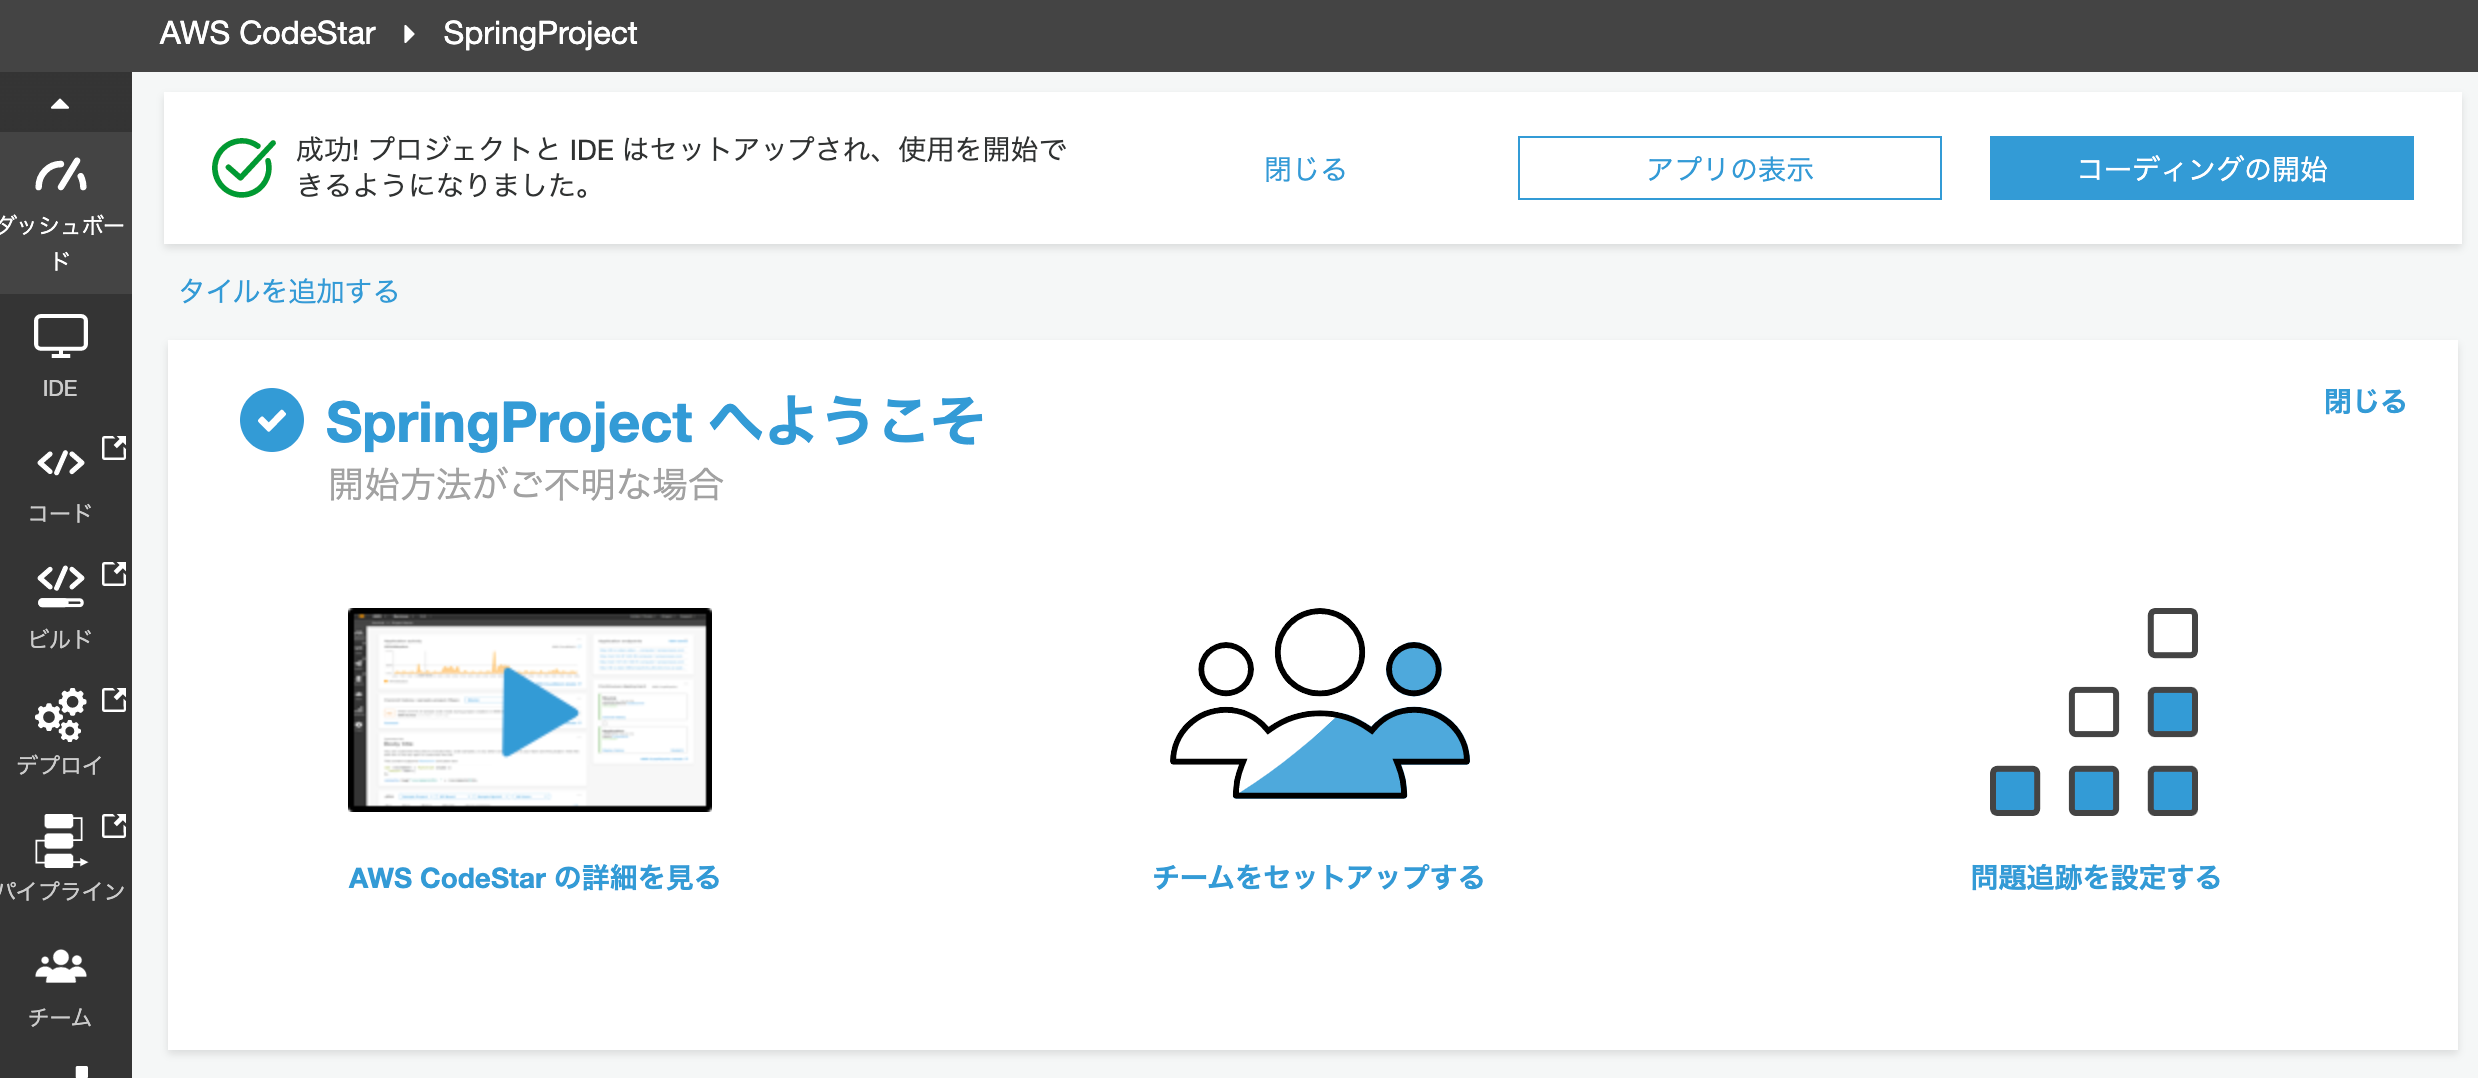
両方とも準備が完了すると、下記のような画面になります。
リポジトリの状態
左側にあるメニューより「コード」を選択すると、CodeCommitの画面が表示されます。
Springのテンプレート構造が作成されており、buildspec.ymlまで作成されています。
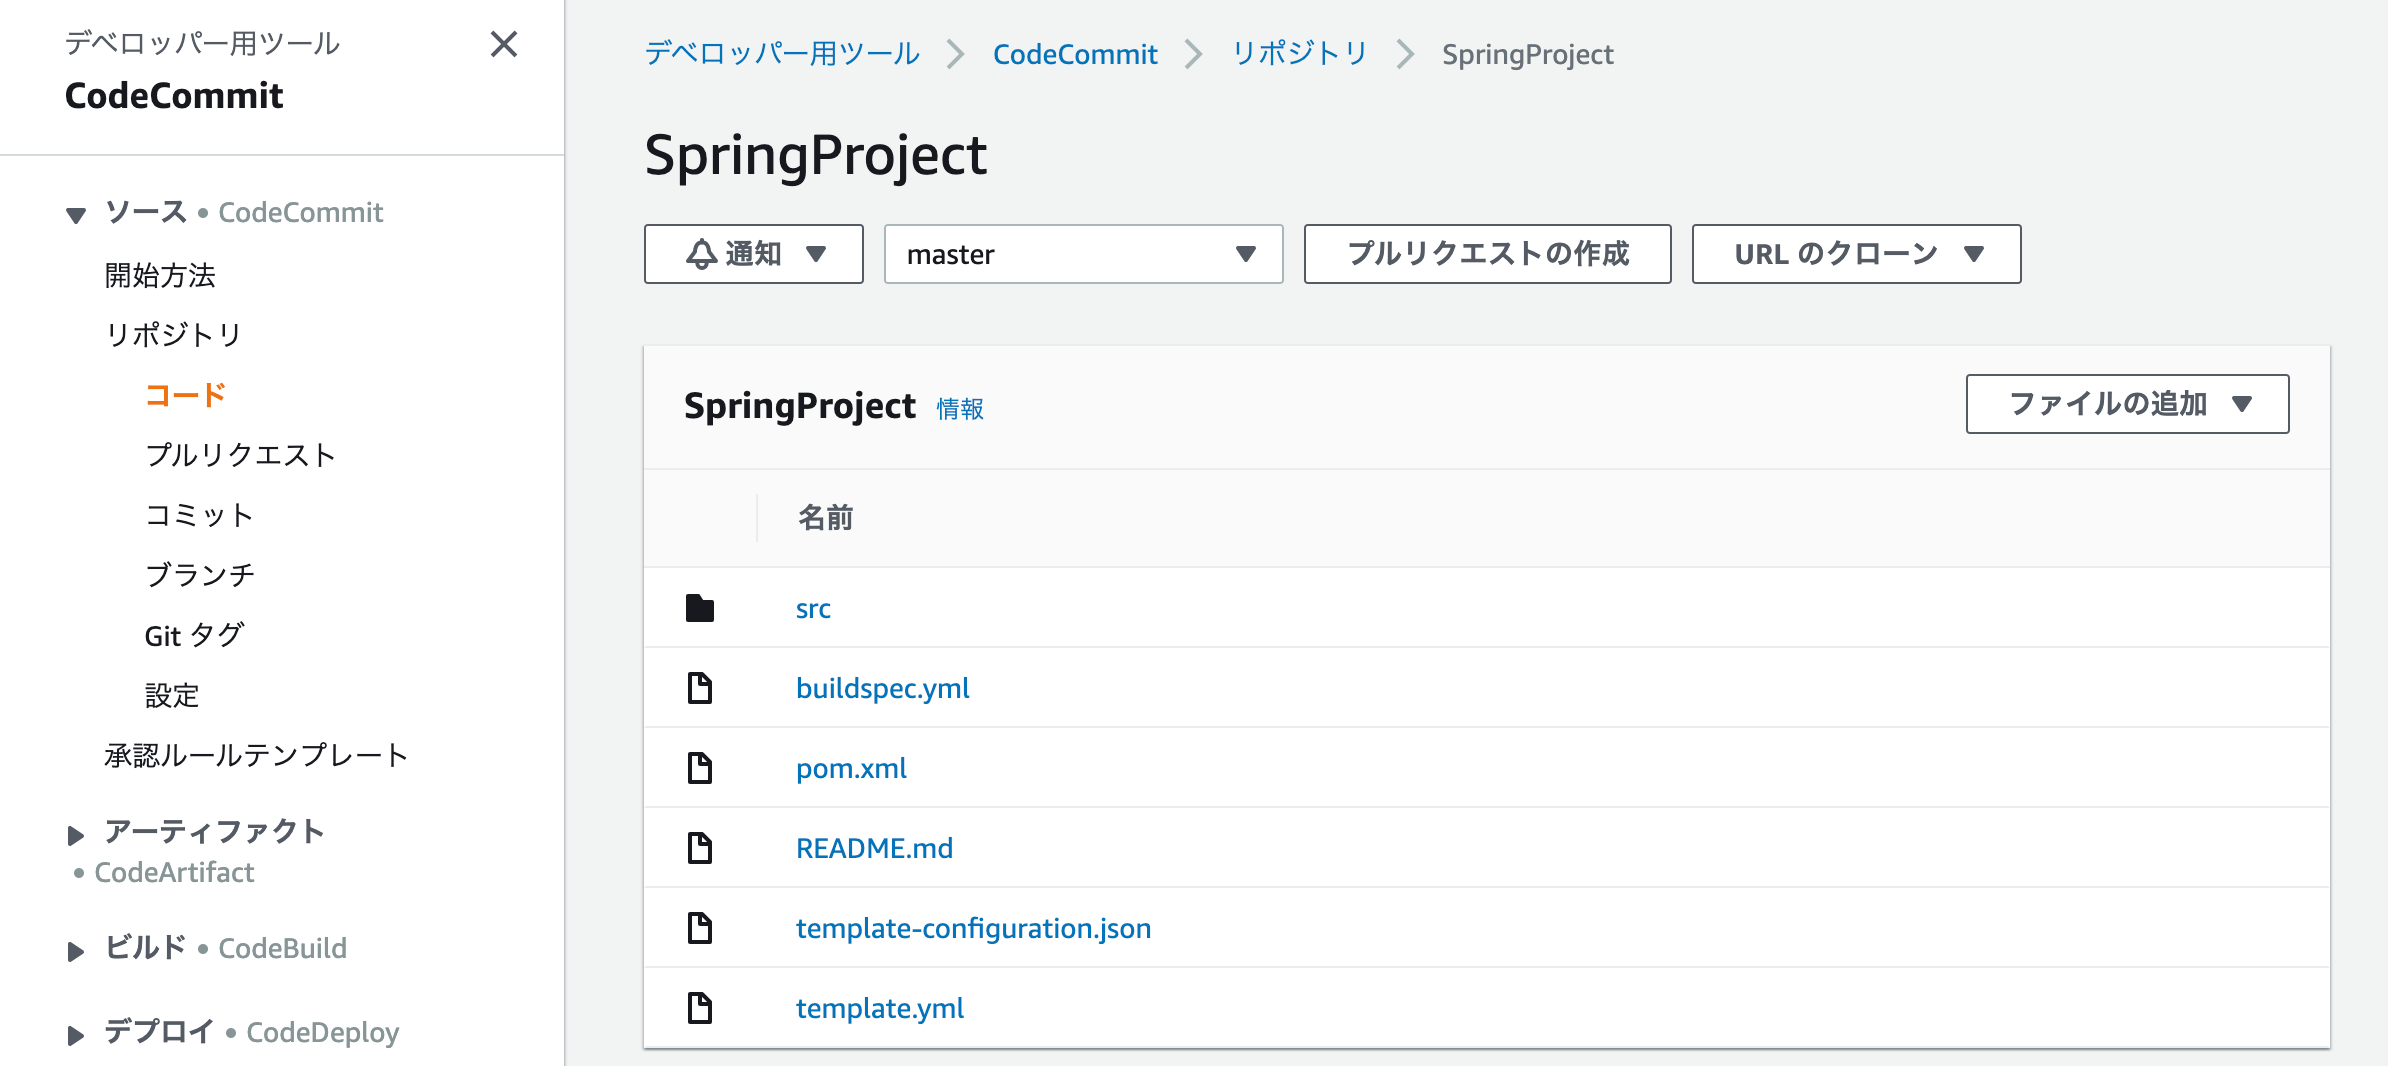
なお、buildspec.ymlの中身はこんな感じです。
version: 0.2

phases:
  install:
    runtime-versions:
      java: openjdk8
    commands:
      # Upgrade AWS CLI to the latest version
      - pip install --upgrade awscli
  pre_build:
    commands:
      - echo Test started on `date`
      - mvn clean compile test
  build:
    commands:
      - echo Build started on `date`
      - mvn package shade:shade
      - mv target/HelloWorld-1.0.jar .
      - unzip HelloWorld-1.0.jar
      - rm -rf target tst src buildspec.yml pom.xml HelloWorld-1.0.jar
      - aws cloudformation package --template template.yml --s3-bucket $S3_BUCKET --output-template template-export.yml
  post_build:
    commands:
      # Do not remove this statement. This command is required for AWS CodeStar projects.
      # Update the AWS Partition, AWS Region, account ID and project ID in the project ARN on template-configuration.json file so AWS CloudFormation can tag project resources.
      - sed -i.bak 's/\$PARTITION\$/'${PARTITION}'/g;s/\$AWS_REGION\$/'${AWS_REGION}'/g;s/\$ACCOUNT_ID\$/'${ACCOUNT_ID}'/g;s/\$PROJECT_ID\$/'${PROJECT_ID}'/g' template-configuration.json
artifacts:
  files:
    - template-export.yml
    - template-configuration.json
OpenJDK8で、Mavenでコンパイルされていることがわかりますね。
IDE
では、メニューからIDEを選択してみます。
すると、CLoud9が開始され、CodeCommitのリポジトリから、コードをgit cloneで自動的にコードを取得してくれます。

なお、チームの設定を行うと、クロスアカウントでのコードリポジトリの共有や、モブプログラミングなんかも行うことができます。
[AWS] Cloud9でモブプログラミングの環境を作ってみる
アプリ実行
今回は、LambdaによるAPIです。
ダッシュボードにある「アプリの表示」ボタンを押すと、プロジェクトのテンプレートで最初に入っているAPIが呼び出されます。
{"Output":"Hello World!"}
具体的なAPI GatewayやLambdaはどうなっているのでしょう?
API Gateway
REST APIが一つできていることがわかりますね。
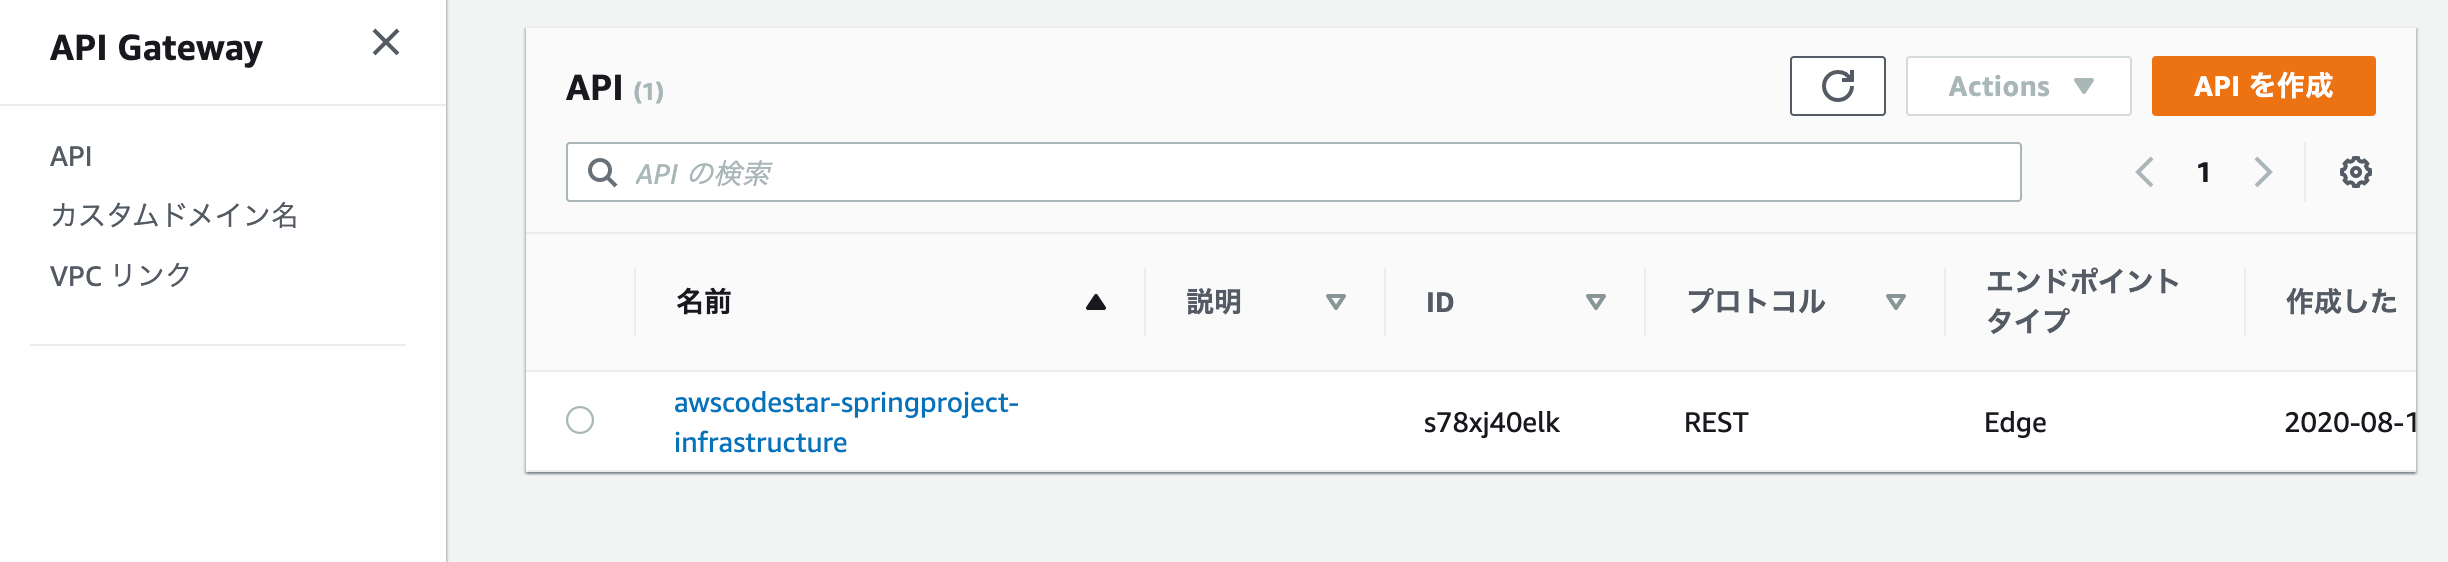
これ自体は、コード上のtenpkate.ymlに定義されています。
Resources:
  GetHelloWorld:
    Type: AWS::Serverless::Function
    Properties:
      FunctionName: !Sub 'awscodestar-${ProjectId}-lambda-GetHelloWorld'
      Handler: com.aws.codestar.projecttemplates.handler.HelloWorldHandler
      Runtime: java8
      Role:
        Fn::GetAtt:
        - LambdaExecutionRole
        - Arn
      Events:
        GetEvent:
          Type: Api
          Properties:
            Path: /
            Method: get

  PostHelloWorld:
    Type: AWS::Serverless::Function
    Properties:
      FunctionName: !Sub 'awscodestar-${ProjectId}-lambda-PostHelloWorld'
      Handler: com.aws.codestar.projecttemplates.handler.HelloWorldHandler
      Runtime: java8
      Role:
        Fn::GetAtt:
        - LambdaExecutionRole
        - Arn
      Events:
        PostEvent:
          Type: Api
          Properties:
            Path: /
            Method: post
Lambda
こちらは、Get用とPost用の2つが存在します。これも、API Gatewayで記載したtemplate.ymlで定義さている内容ですね。

Pipelineを動かしてみる
Cloud9上で、springproject/src/main/java/com/aws/codestar/project/handler/HelloWorldHandler.javaを編集してみます。
return new GatewayResponse(new JSONObject().put("Output", "Hello World!").toString(), headers, 200);
return new GatewayResponse(new JSONObject().put("Output", "Hello World Update!").toString(), headers, 200);
ファイルを保存したら、Cloud9のターミナルから、CodeCommitにPushしてみましょう。
$ git add .
$ git commit -m "update response."
[master f0ba0d6] update response.
 Committer: EC2 Default User <ec2-user@ip-172-31-2-200.ec2.internal>
Your name and email address were configured automatically based
on your username and hostname. Please check that they are accurate.
You can suppress this message by setting them explicitly:

    git config --global user.name "Your Name"
    git config --global user.email you@example.com

After doing this, you may fix the identity used for this commit with:

    git commit --amend --reset-author

 1 file changed, 1 insertion(+), 1 deletion(-)
$ git push
Enumerating objects: 21, done.
Counting objects: 100% (21/21), done.
Compressing objects: 100% (6/6), done.
Writing objects: 100% (11/11), 719 bytes | 239.00 KiB/s, done.
Total 11 (delta 3), reused 0 (delta 0)
To https://git-codecommit.us-east-1.amazonaws.com/v1/repos/SpringProject
   182e230..f0ba0d6  master -> master
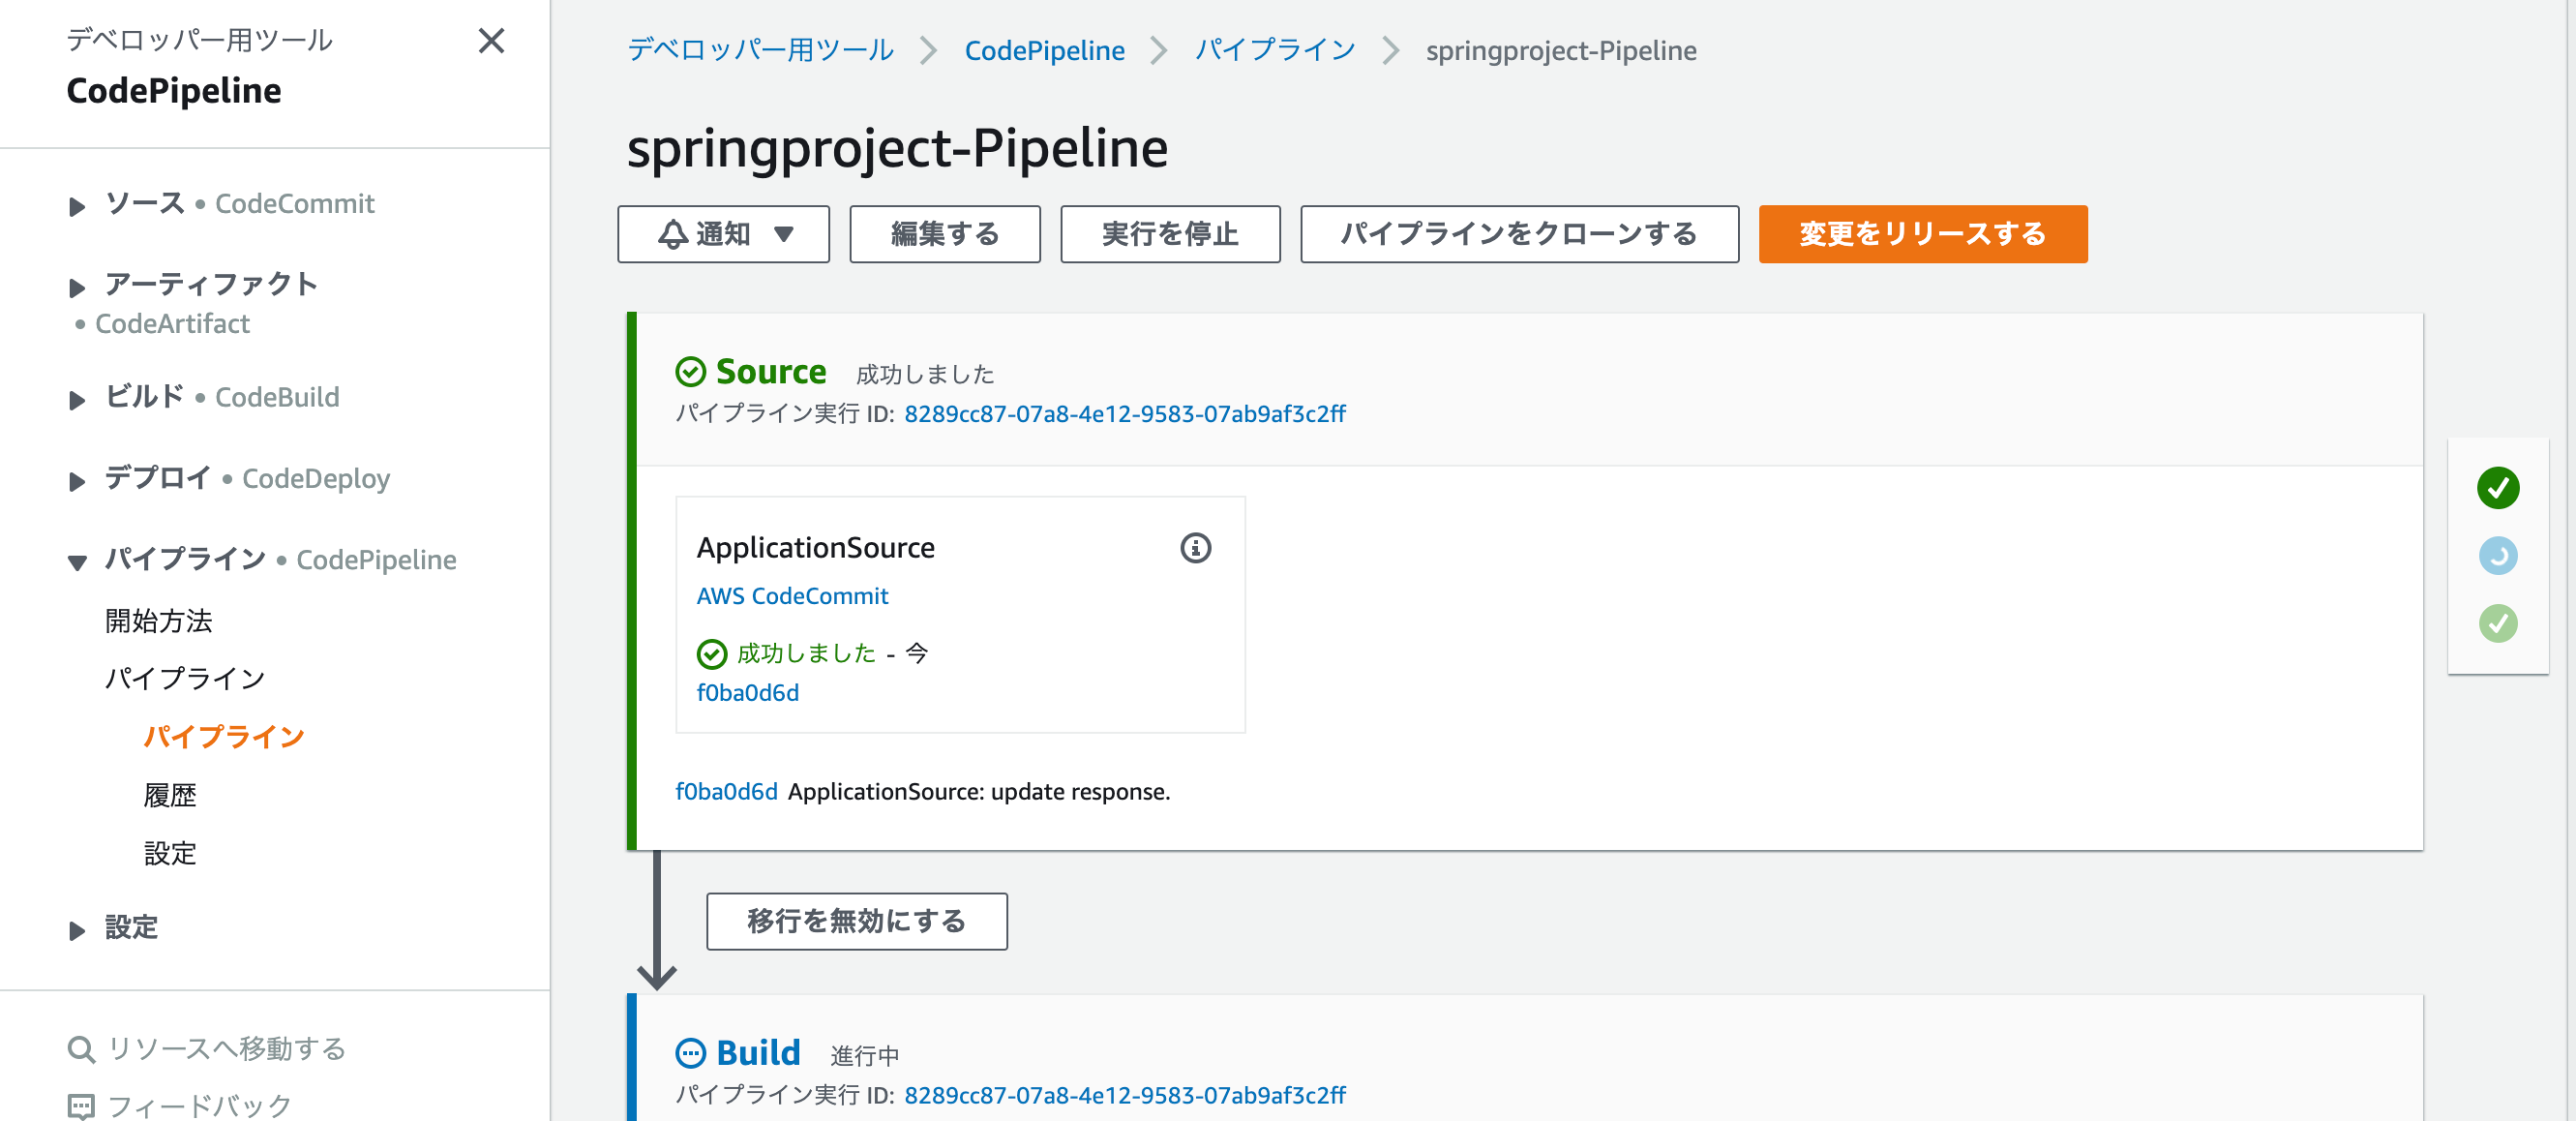
パイプラインを確認すると、ビルドが開始されたことがわかります。
実は、ここでエラーになります。
確認してみると、どうやらテストで失敗しているようですね。
[ERROR] Failures:
[ERROR]   HelloWorldHandlerTest.testHandleRequest:59 expected: <Hello World!> but was: <Hello World Update!>
[INFO]
[ERROR] Tests run: 1, Failures: 1, Errors: 0, Skipped: 0
[INFO]
[INFO] ------------------------------------------------------------------------
[INFO] BUILD FAILURE
[INFO] ------------------------------------------------------------------------
[INFO] Total time:  10.048 s
[INFO] Finished at: 2020-08-10T14:16:40Z
[INFO] ------------------------------------------------------------------------
[ERROR] Failed to execute goal org.apache.maven.plugins:maven-surefire-plugin:2.22.0:test (default-test) on project HelloWorld: There are test failures.
[ERROR]
[ERROR] Please refer to /codebuild/output/src139859990/src/target/surefire-reports for the individual test results.
[ERROR] Please refer to dump files (if any exist) [date]-jvmRun[N].dump, [date].dumpstream and [date]-jvmRun[N].dumpstream.
[ERROR] -> [Help 1]
[ERROR]
[ERROR] To see the full stack trace of the errors, re-run Maven with the -e switch.
[ERROR] Re-run Maven using the -X switch to enable full debug logging.
[ERROR]
[ERROR] For more information about the errors and possible solutions, please read the following articles:
[ERROR] [Help 1] http://cwiki.apache.org/confluence/display/MAVEN/MojoFailureException

[Container] 2020/08/10 14:16:40 Command did not exit successfully mvn clean compile test exit status 1
[Container] 2020/08/10 14:16:40 Phase complete: PRE_BUILD State: FAILED
[Container] 2020/08/10 14:16:40 Phase context status code: COMMAND_EXECUTION_ERROR Message: Error while executing command: mvn clean compile test. Reason: exit status 1
どうやら、テストコードが期待しているレスポンスと一致していないことが原因のようです。
というわけで、springproject/test/java/com/aws/codestar/project/handler/HelloWorldTest.javaを編集します。
private static final String EXPECTED_RESPONSE_VALUE = "Hello World!";
private static final String EXPECTED_RESPONSE_VALUE = "Hello World Update!";
$ git add.
$ git commit -m "update test code."
[master f003591] update test code.
 Committer: EC2 Default User <ec2-user@ip-172-31-2-200.ec2.internal>
Your name and email address were configured automatically based
on your username and hostname. Please check that they are accurate.
You can suppress this message by setting them explicitly:

    git config --global user.name "Your Name"
    git config --global user.email you@example.com

After doing this, you may fix the identity used for this commit with:

    git commit --amend --reset-author

 1 file changed, 1 insertion(+), 1 deletion(-)
$ git push
Enumerating objects: 21, done.
Counting objects: 100% (21/21), done.
Compressing objects: 100% (5/5), done.
Writing objects: 100% (11/11), 715 bytes | 238.00 KiB/s, done.
Total 11 (delta 2), reused 0 (delta 0)
To https://git-codecommit.us-east-1.amazonaws.com/v1/repos/SpringProject
   f0ba0d6..f003591  master -> master
次はBuildもDeployも成功しました!
しばらくアプリケーションにアクセスすると、結果が変わり、最新のアプリケーションがデプロイされたことが確認できます。
{"Output":"Hello World Update!"}
まとめ
今回は、IDEにCloud9を使用するためにリージョンに東京リージョンを使用しませんでしたが、コードリポジトリから普通にGitコマンドを使えば、EclipseやVSSなどのIDEでも開発することはできます。
SAMコマンドなどは、ローカルに環境を作成してからDployする、というアプローチですが、CodeStarの場合は、まずAWS側に雛形を用意して、そこからアプリ〜ケーションを構築していく流れになります。
より簡単に開始するには、コードリポジトリの管理からパイプラインまでオールインワンになっているCodeStarの利用もありかと思います。
今回は、Lambda + Springの組み合わせでしたが、他にもたくさんのテンプレートがあるので、アプリケーションの要件や、開発メンバーのスキルセットにあわせて、プロジェクト構成を選択できるのもうれしいです。
できれば、Cloud9が早いうちに東京リージョン対応になることを望みますが、それを差し引いても利用価値はありそうですね。