LINEのLIFFとOA(オフィシャルアカウント)をどう作ってみたか
2019年にLIFFのv2がリリースされ、作ってみたいと思っていたが、やっとやろうと思いました!
そして、作成していたらOAと連動する流れがあり、おまけでOAも作りました!
ぶっちゃけ感想
Webアプリを作ってリリース経験が無い私が挑みましたが、本当に簡単だし、これからちゃんとしたものを作ろうと思いました!
作成説明の流れ
- 実際に公開済みのWebアプリを用意
- Developers にログイン
- プロバイダーを作成
- 色々設定
- WebアプリをLIFF用に色々変更
- LIFF完成!
- OAの作成!
- OAのアドミン設定
LIFFとOAの説明
LIFF とは
LINE Front-end Framework(LIFF)は、LINEが提供するウェブアプリのプラットフォームです。このプラットフォームで動作するウェブアプリを、LIFFアプリと呼びます。
OA とは
LINE公式アカウントのこと
1. 実際に公開済みのWebアプリを用意
githubで後悔したWebアプリにします。
- 新しいリポジトリを作成
- index.htmlを作成(下のコードは参考までに)
<!DOCTYPE html>
<html lang="en">
  <head>
    <title>HAPPY NEW YEAR</title>
    <meta name="viewport" content="width=device-width, initial-scale=1.0" />
  </head>
  <body>
    <h1>HAPPY NEW YEAR</h1>
    <h2>LIFFtest's Page!</h2>
  </body>
  <script>
  </script>
</html>
- settingでGitHub Pagesをmaster branchにする


- するとURLが発行される!

- 公開されているか確認!

- 公開されてました!
これでとりあえずLINEのアカウントの方に移動します!
2. Developers にログイン
- Developersにログインする!こちらから
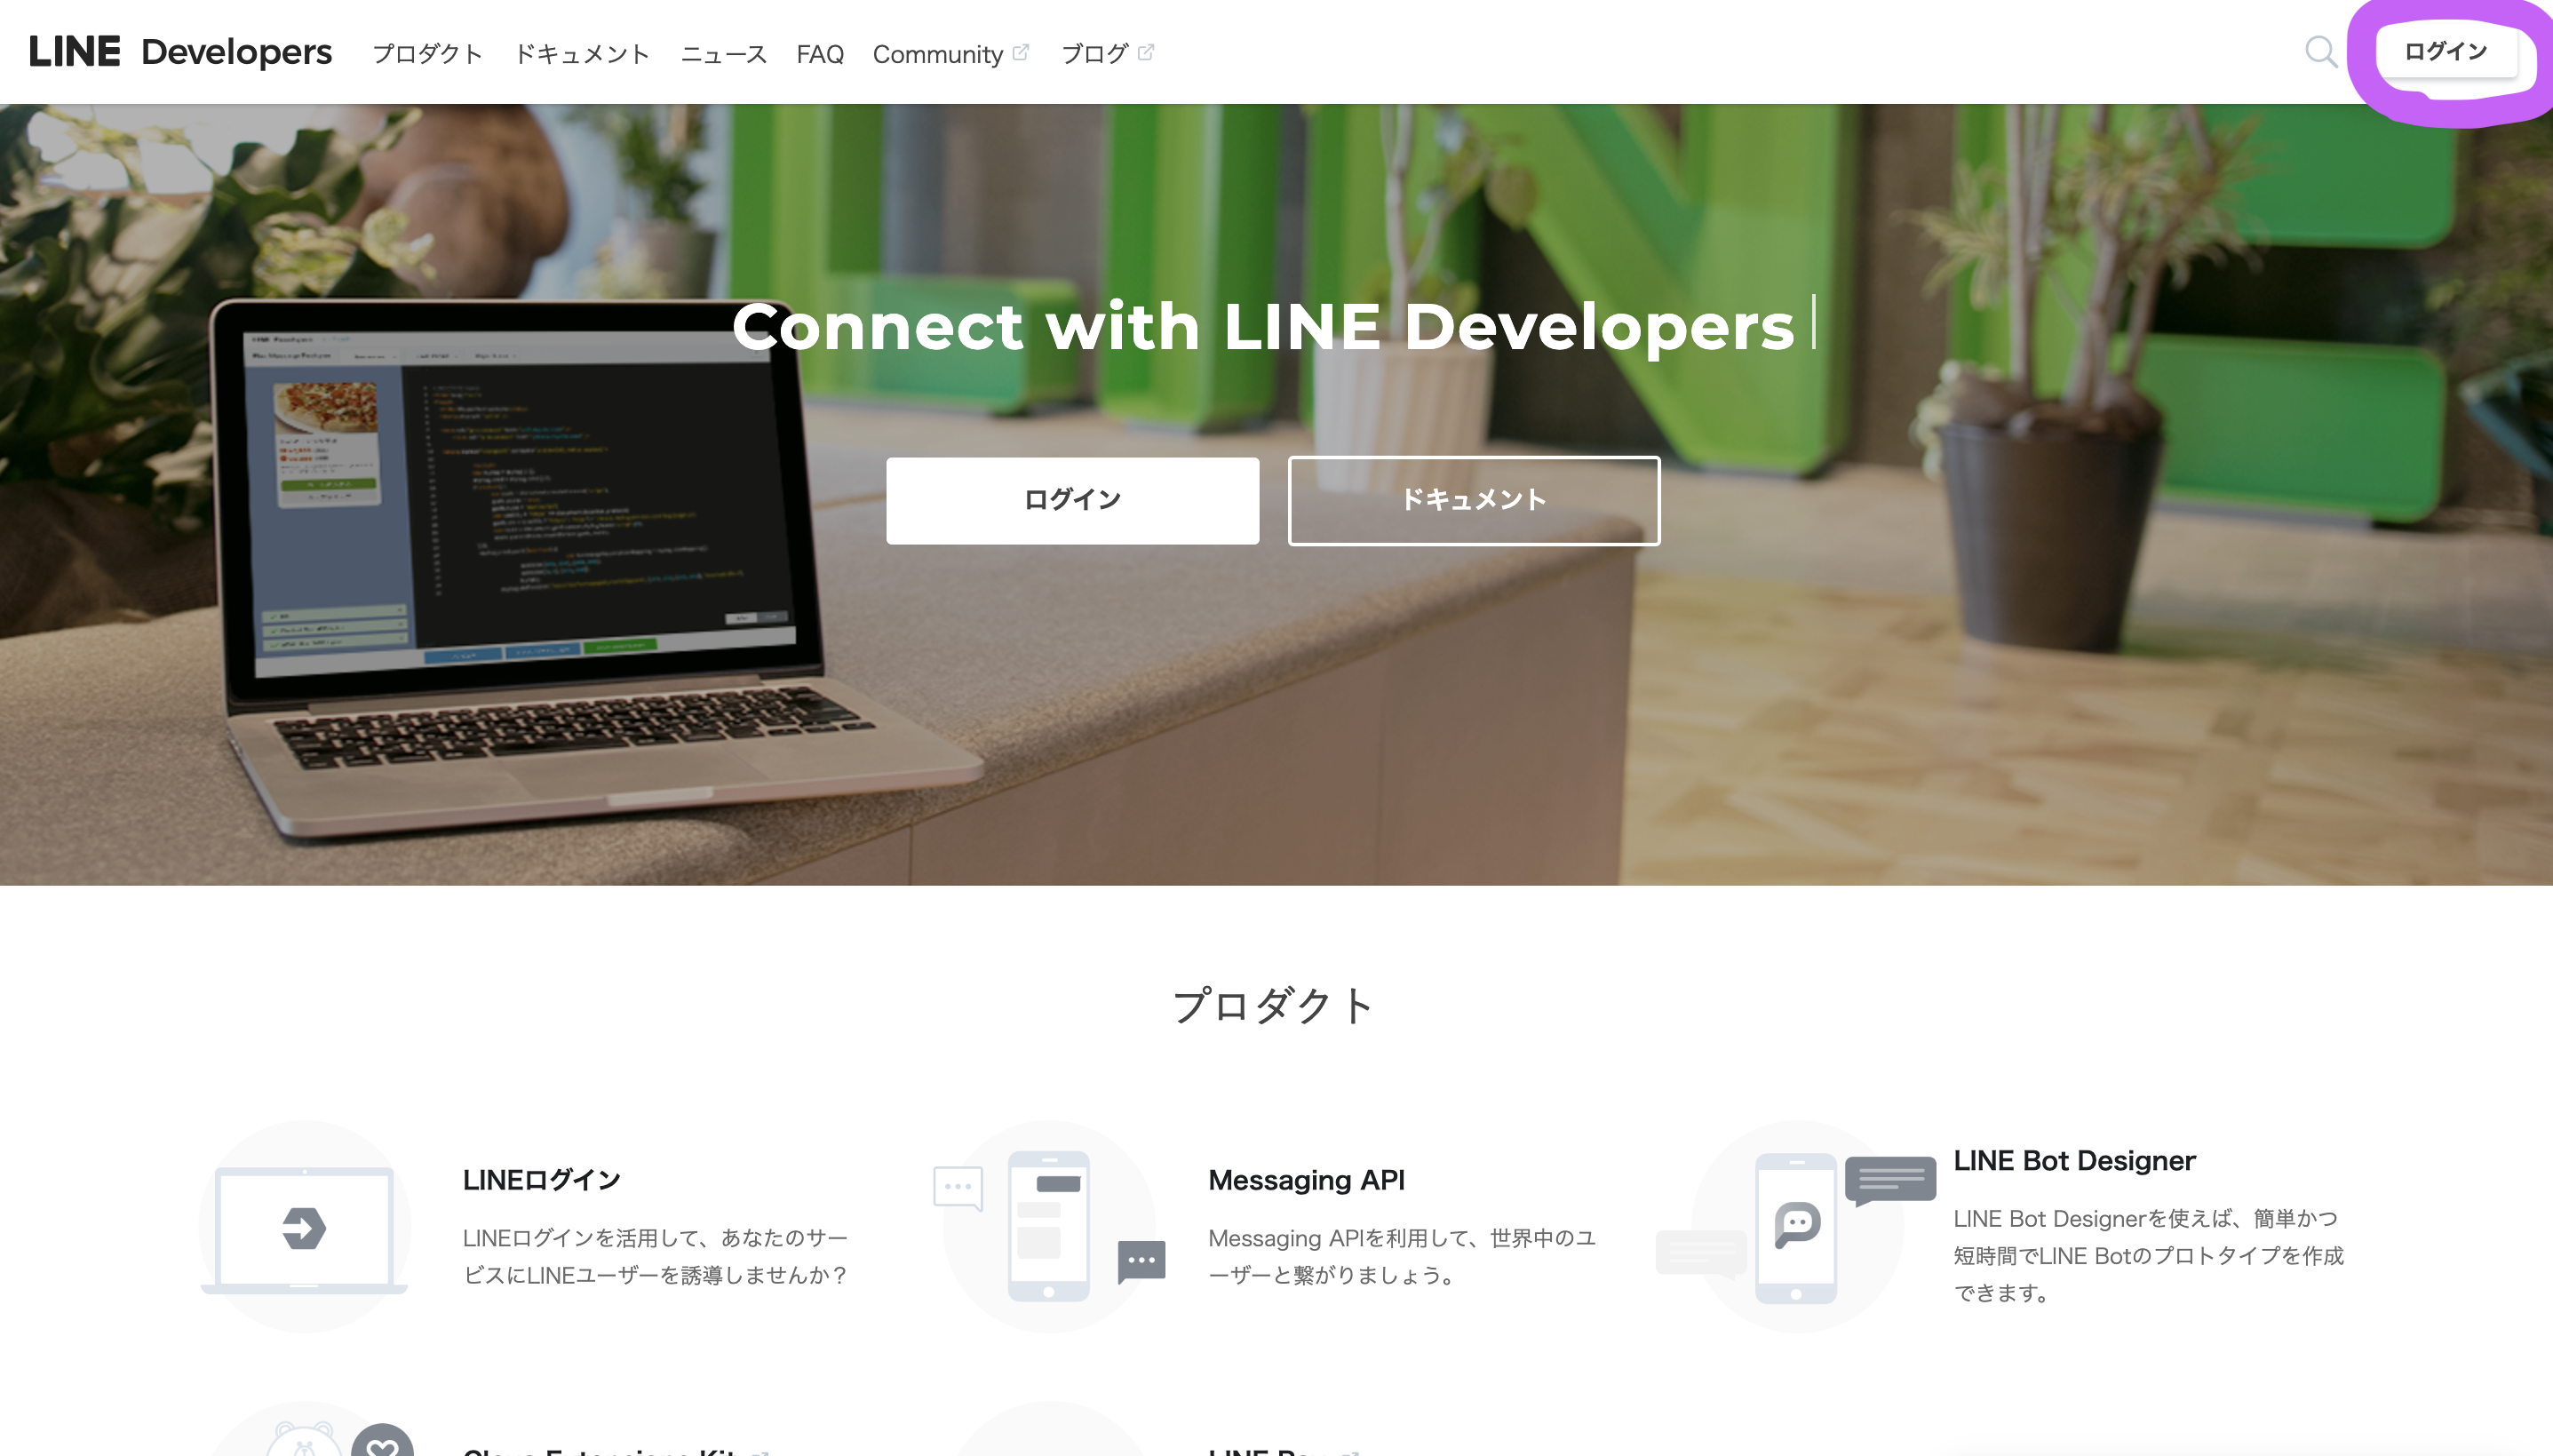
- 「LINEアカウントからログイン」を選択
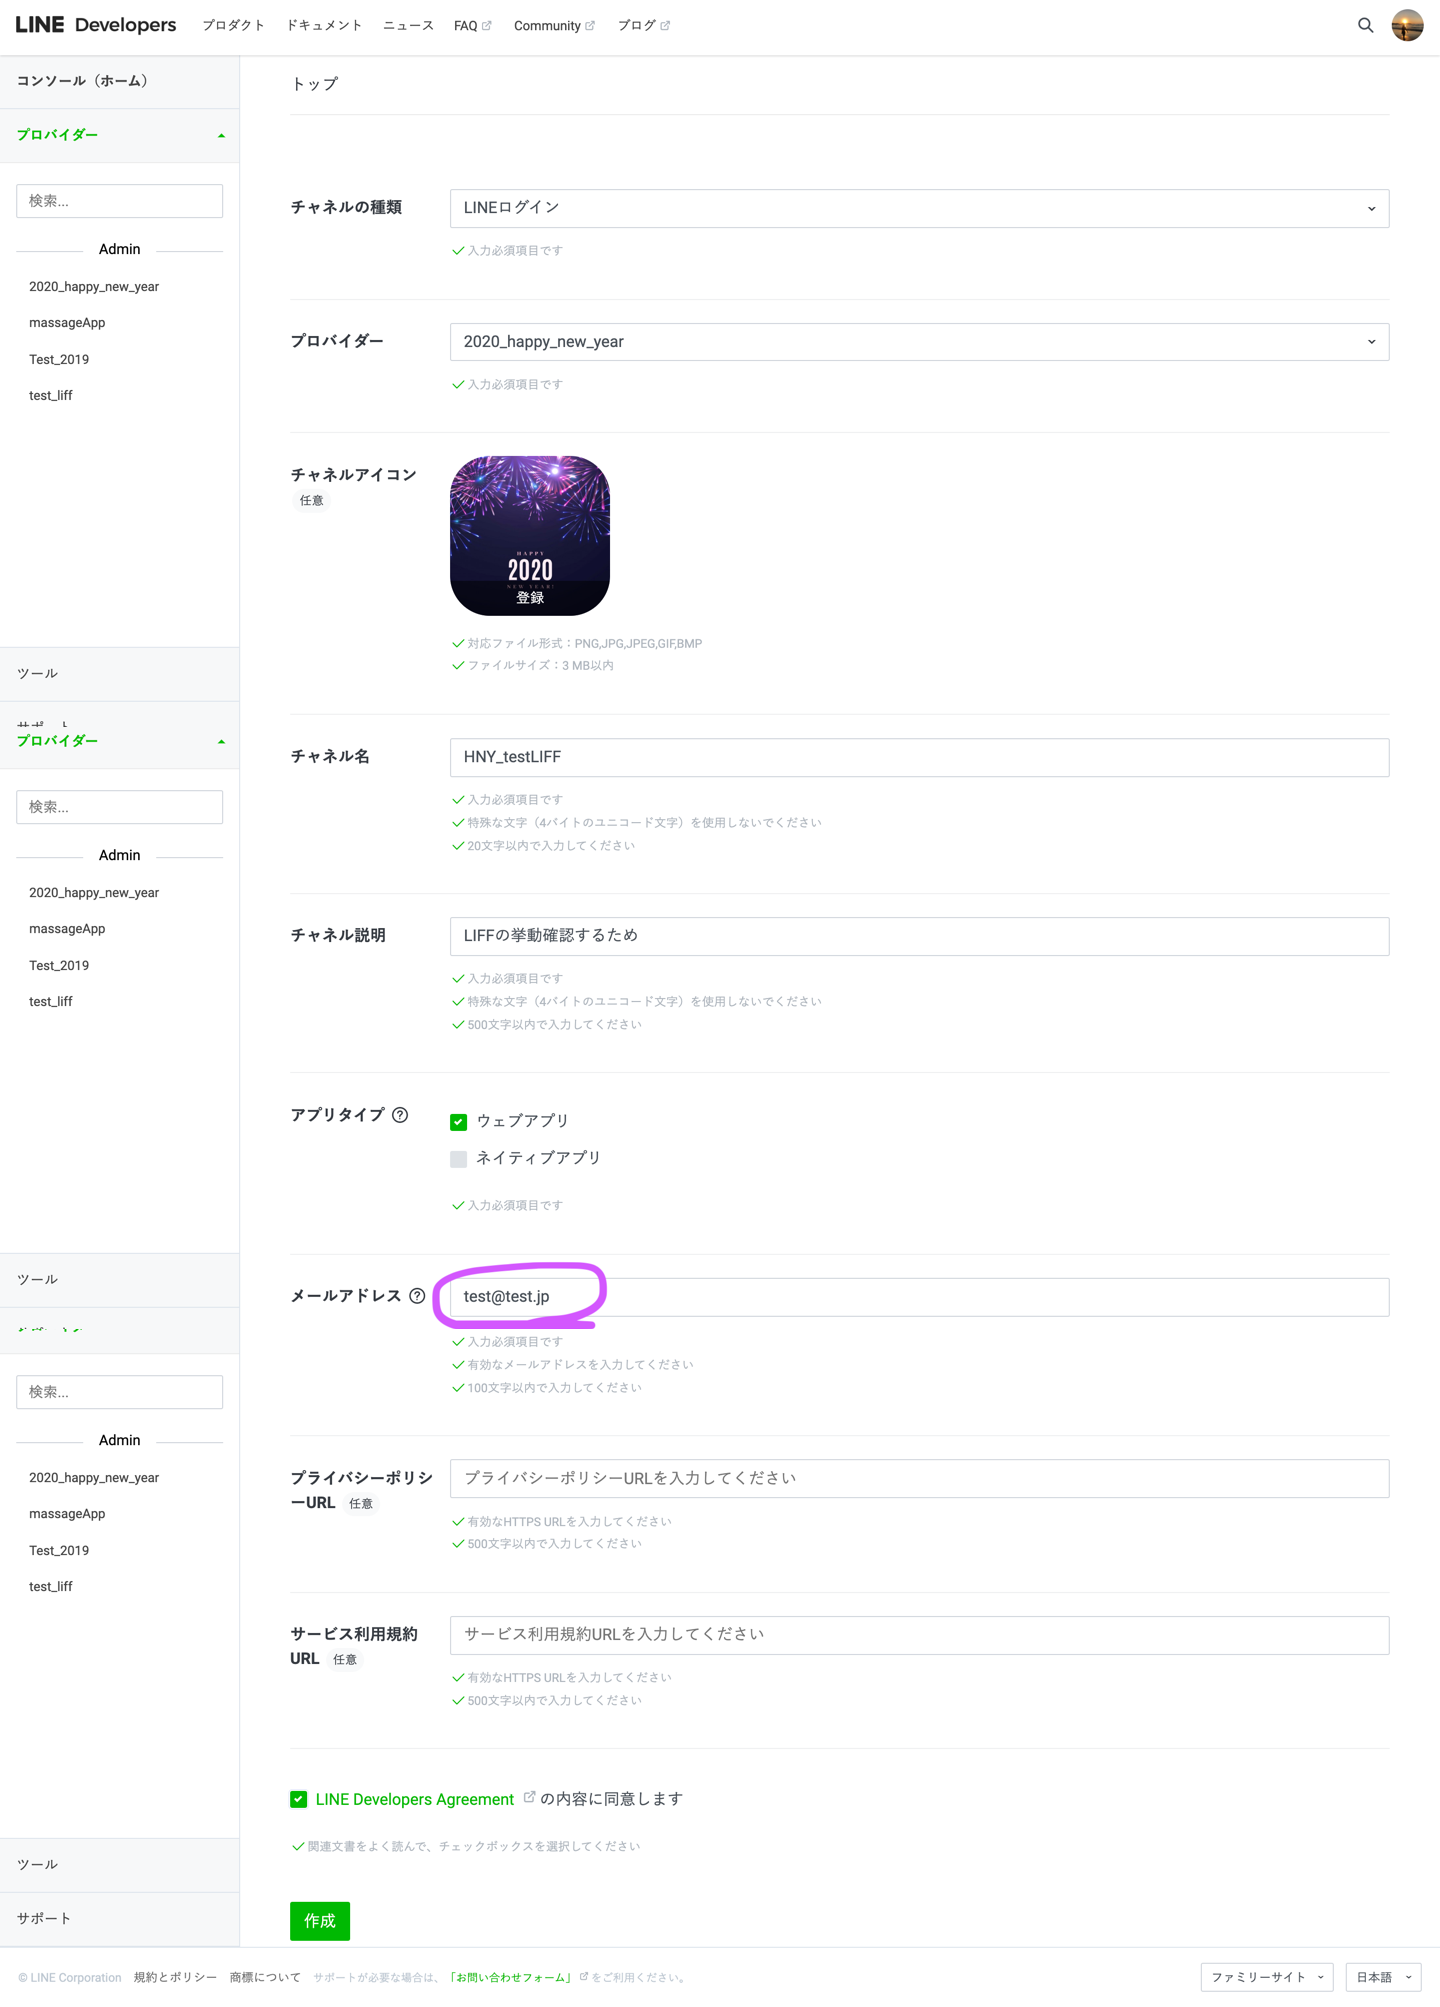
3. プロバイダーを作成
- プロバイダーを作成

- 「作成」ボタンを選択し、名前を入れ、下の作成ボタンを押す

- ファイルが作成されたらチャネルを選択(今回は左のLINEログインを選択)

-
必要な内容を入力し、作成ボタンを押す(メールはフィクションです。自分のメールをちゃんと設定してください)
-
プロバイダー作成完了!
4. LIFFを作成する
- でも、まだLIFFではありません!

-
「追加」を選択し設定をする(エンドポイントURLはgithubで最初に作成したURLを貼る)
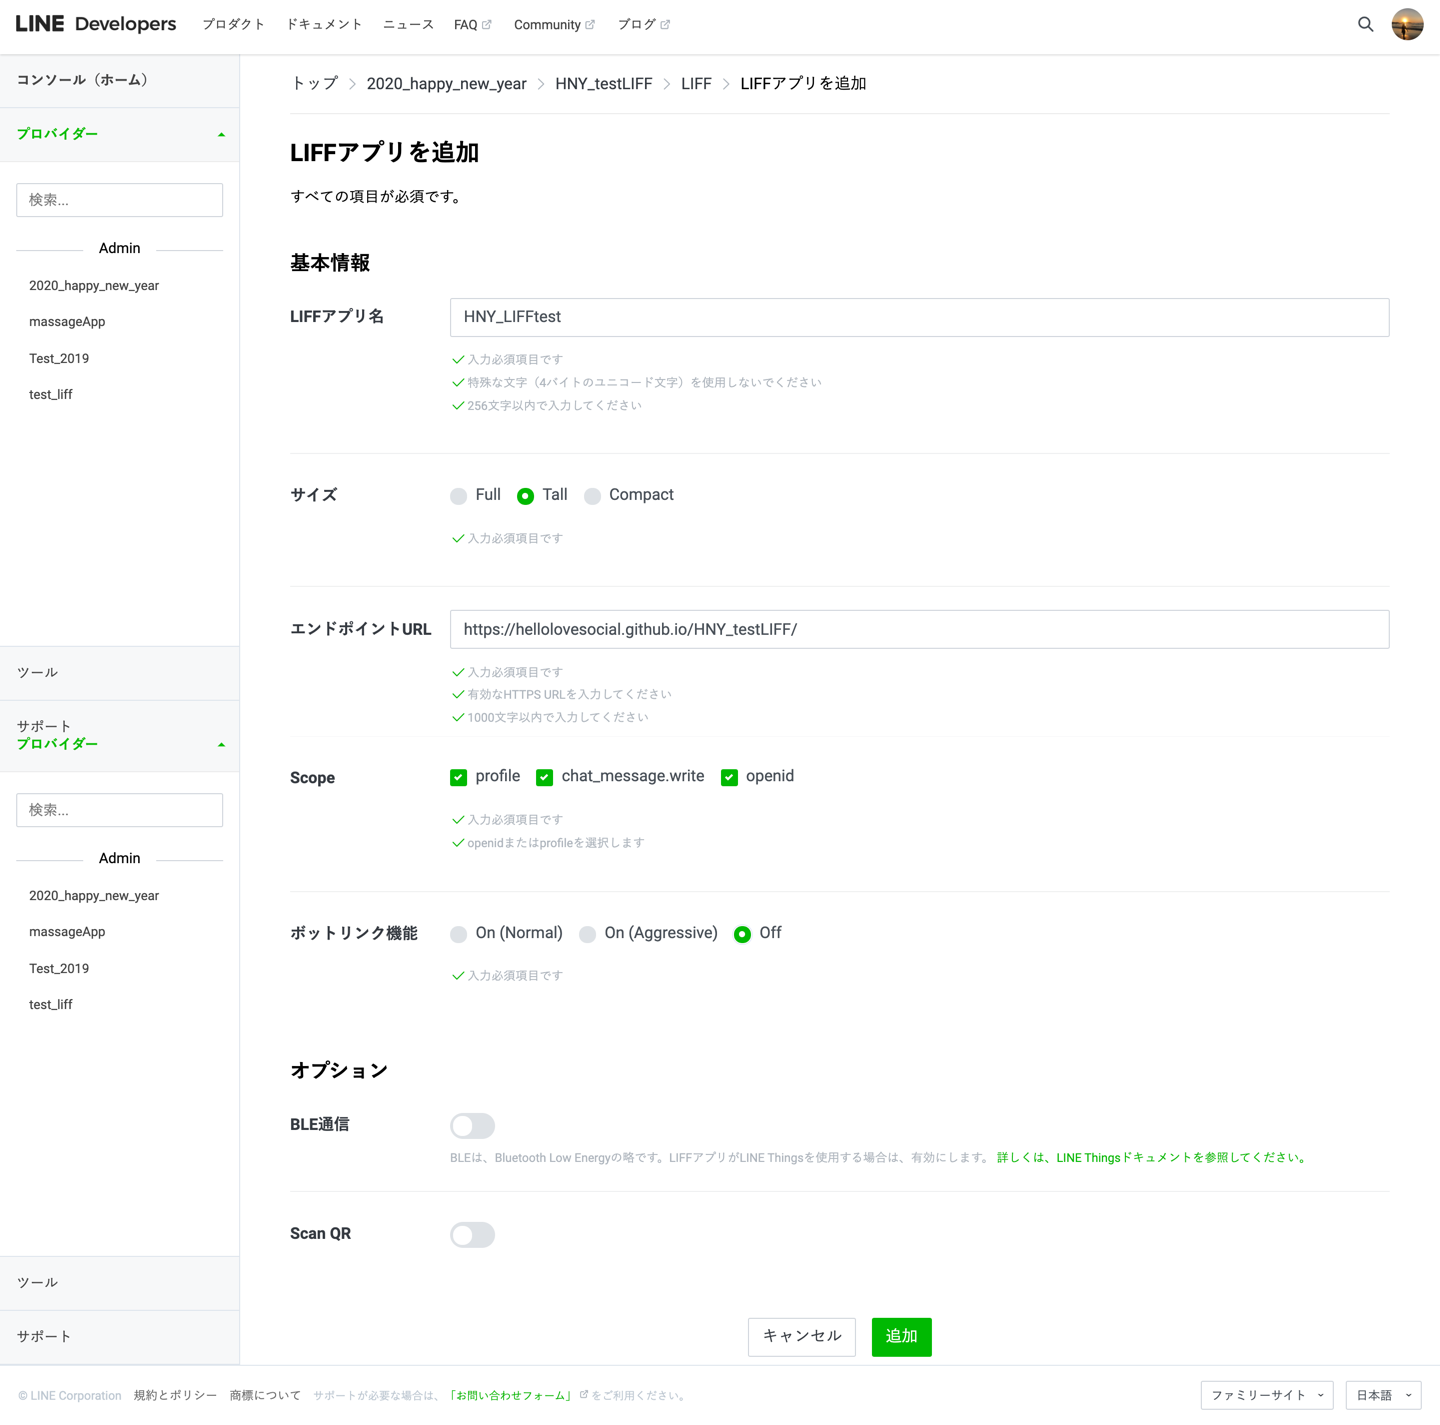
-
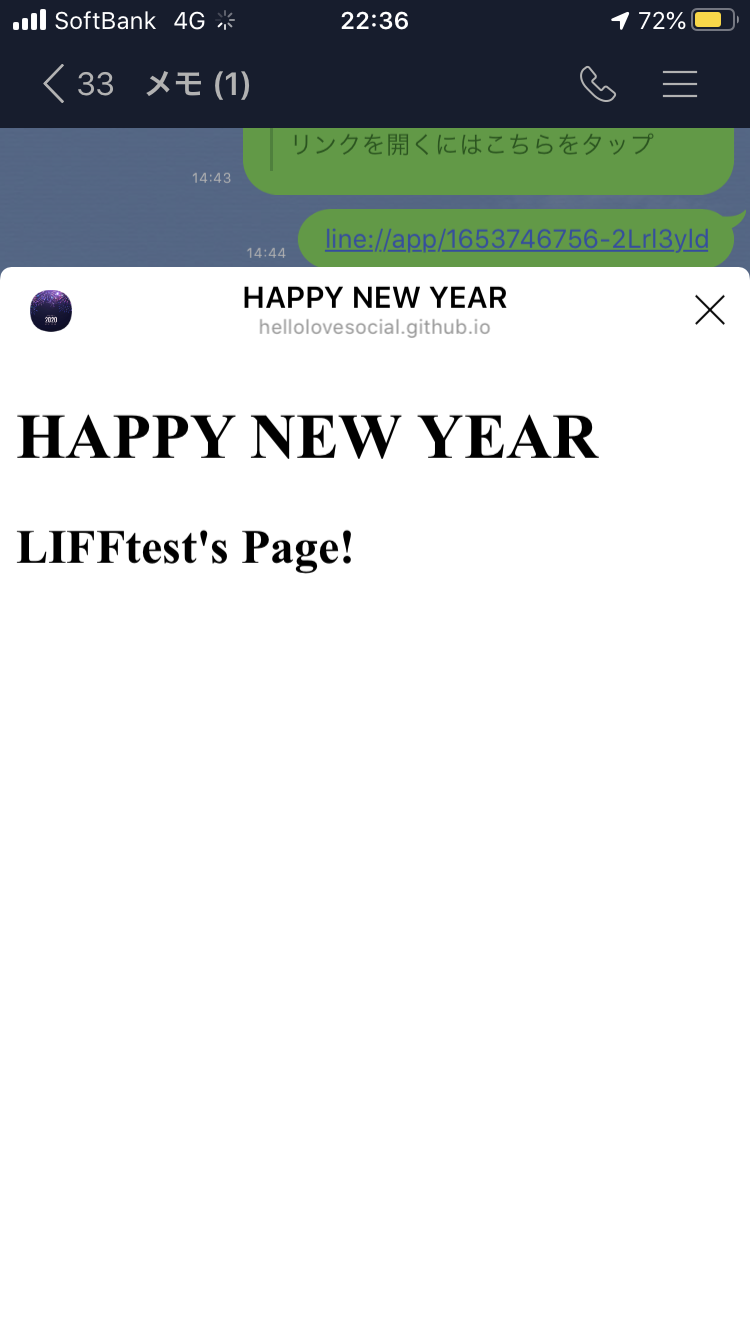
LIFFのURL作成された!!!

これをLINEのどこかのトークに送りそれをタップ!
できています!!
5. WebアプリをLIFF用に色々変更
LIFFで色々できるらしいですが、LoginとgetProfileとsendMessageとcloseWindowをやってみます!
こちらのAPIの説明をもとに作成した。
0. SDKを設定
<script src="https://static.line-scdn.net/liff/edge/2.1/sdk.js"></script>
1. LIFF init(LIFF初期化) 2. Login(ウェブアプリ向けのLINEログインの処理)
liffIdはLIFF用に作成されたURLの最後の部分である
// <script>タブ内の話
liff.init({liffId}).then(() => {
 if (liff.isLoggedIn()) {
 }
 else{
  liff.login();
 }
})
3. getProfile(LOGINしてる人のLINE情報を取得)
ボタンを作成し、それが押されたら以下のfunctionが呼ばれるようにした。
以下では、ログインしてるユーザーの名前とプロフィール画像とステータスメッセージを取得する。
最後に、ボタンあたりのコードを載せるのでそちらで確認してください。
// <script>タブ内の話
function showProfile() {
      liff.getProfile()
      .then(profile => {
        const name = profile.displayName;
        const pic = profile.pictureUrl;
        const status = profile.statusMessage;
        console.log('name', name);
        console.log('pic', pic);
        console.log('status', status);
        Name.innerHTML = name;
        Status.innerHTML = status;
        Img.src = pic;
      })
      .catch((err) => {
        console.log('error', err);
      });
    }
4. sendMessage(トークに自動でメッセージを送信)
LIFFからトークにメッセージを送信することができる。
LIFF上にあるボタンを押したらメッセージが送られるように作成した。
以下は、タイプを指定し、送信する内容を指定すればOK.
// <script>タブ内の話
const text = "I sent test message!"
    function sendMessage() {
      liff.sendMessages(
        [{ type: "text", text}]
        ).then(function() {
            window.alert('Message sent');
        }).catch(function(error) {
            window.alert('Error sending message: ' + error);
        });
    }
5. closeWindow(LIFFを閉じる)
こちらも、ボタンを押したらLIFFが閉じられる仕様にした。
// <script>タブ内の話
function closeWindow() {
      if (!liff.isInClient()) {
          sendAlertIfNotInClient();
      } else {
          liff.closeWindow();
      }
    }
すべてを含めたコード
<!DOCTYPE html>
<html lang="en">
  <head>
    <title>MINAKO TEST LIFF</title>
    <meta name="viewport" content="width=device-width, initial-scale=1.0" />
    <style>
      .btn {
        height: 40px;
        border: #DDD;
        box-shadow: 0 4px 4px #BBB;
      }
      .flex {
        margin-bottom: 10px;
        width: 100%;
        text-align:center;
      }
      .img {
        border-radius: 50%;
        width: 100px;
        height: 100px;
      }
      .h1 {
        text-align:center;
        width: 100%;
      }
      .h2 {
        text-align:center;
        width: 100%;
      }
    </style>
    <!-- Load LIFF SDK -->
    <script src="https://static.line-scdn.net/liff/edge/2.1/sdk.js"></script>
  </head>
  <body>
    <div class="flex">
      <h1>MINAKO TEST LIFF</h1>
      <h2>Welcome!</h2>
    </div>
    <div class="flex">
      <button class="btn" id="showProfile">showProfile</button>
      <button class="btn" id="sendMessage">sendMessage</button>
    </div>
    <div class="flex">
      <img id="profile_img" class="img" src=""/>
      <p id="profile_name"></p>
      <p id="profile_status"></p>
    </div>
    <div class="flex">
      <button class="btn" id="closeWindowButton">close</button>
    </div>
  </body>
  <script>
    // My LIFF ID
    const liffId = "1653746756-2Lrl3yld"
    // Text I want to send
    const text = "I sent test message!"
    // Containers displaying profile information
    const Name = document.getElementById('profile_name');
    const Img = document.getElementById("profile_img");
    const Status = document.getElementById("profile_status");

    // Callbacks being called after clicking the button
    function showProfile() {
      liff.getProfile()
      .then(profile => {
        const name = profile.displayName;
        const pic = profile.pictureUrl;
        const status = profile.statusMessage;
        console.log('name', name);
        console.log('pic', pic);
        console.log('status', status);
        Name.innerHTML = name;
        Status.innerHTML = status;
        Img.src = pic;
      })
      .catch((err) => {
        console.log('error', err);
      });
    }

    function sendMessage() {
      liff.sendMessages(
        [{ type: "text", text}]
        ).then(function() {
            window.alert('Message sent');
        }).catch(function(error) {
            window.alert('Error sending message: ' + error);
        });
    }

    function closeWindow() {
      if (!liff.isInClient()) {
          sendAlertIfNotInClient();
      } else {
          liff.closeWindow();
      }
    }

    liff.init({liffId}).then(() => {
      if (liff.isLoggedIn()) {
      }
      else{
        liff.login();
      }
    })

    // Declaration to bind buttons and callbacks
    document.querySelector("#showProfile").addEventListener("click", showProfile)
    document.querySelector("#sendMessage").addEventListener("click", sendMessage)
    document.getElementById('closeWindowButton').addEventListener('click', closeWindow)

  </script>
</html>
6. LIFF完成!
「5.WebアプリをLIFF用に色々変更」をおわらせ、LINEであるトークにそのLIFFのURLを貼り、それを自分の端末で開く!
もし、思うように動かなかったら自分のコードを確認し、また、LIFFをiPhoneで開くを繰り返しデバックをする。
ちなみに、

以上のようになった。
7. OAの作成
OAと合体させると、LIFFを初めて開いた時の認可画面でOAの友だち追加を促すことが可能。
連携がユーザー側にも伝わり、とても便利です。
- ここの右の「未認証アカウントを解説する」を選択

- いくつか設定

ついにOA作成完了!

8. OAのアドミン設定
-
↑の画像の「LINEOfficial Account Managerへ」を選択
-
右上の「設定」→「Messaging API」でMessagingAPIの設定

- 利用するボタンを押すと、下のプロバイダー選択が出てくるので最初に作成したプロバイダーを選択

- プロバイダーの修正をするので、Developersの方へ戻る

- 「リンクされたボット」を編集すると、先ほど作成したOAが選択できるようになるので選択

最後に
今後やりたいことは、
- LIFFを発展させる
- OAでできることを全部試す
- 友達や周りの人に使ってもらう
このようなことに挑戦して行きたいです!