はじめに
microCMSはヘッドレスCMSサービスです。
管理画面から入稿して、APIを叩くと出力できるというものでセットアップが非常に簡単です。
簡単すぎるので30分でブログを作れます。
ということで作ります。
この記事ではVuetifyやComposition APIなどの細かい説明は省きます
microCMSの準備
microCMSのアカウント登録をして、管理画面に入るとテンプレートを選択しAPIを自動で作成できます。
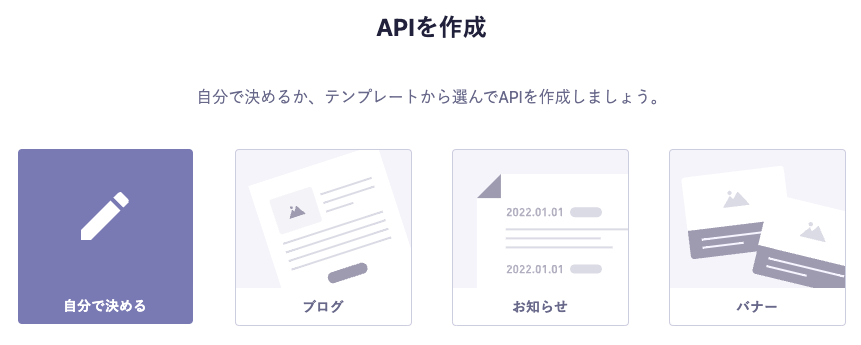
今回は「ブログ」を選択します。
すると勝手にAPIスキーマやらなんやら作成してくれます。すごい。
Nuxtプロジェクトの準備
それでは、Nuxtの準備をしていきましょう。
yarnを利用していきます。
$ yarn create nuxt-app blog
以下のように設定しました。
UI frameworkには、マテリアルデザインを簡単に扱えるVuetifyを導入しています。
create-nuxt-app v4.0.0
✨  Generating Nuxt.js project in blog
? Project name: blog
? Programming language: JavaScript
? Package manager: Yarn
? UI framework: Vuetify.js
? Nuxt.js modules: Axios - Promise based HTTP client
? Linting tools: ESLint
? Testing framework: None
? Rendering mode: Universal (SSR / SSG)
? Deployment target: Static (Static/Jamstack hosting)
? Development tools: jsconfig.json
? Continuous integration: None
? Version control system: Git
Nuxt Composition APIの導入
Vue 3のComposition APIを使えるようにNuxt Composition APIを導入します。
$ yarn add @nuxtjs/composition-api
nuxt.config.jsでモジュールを有効にします。
{
  buildModules: [
    '@nuxtjs/composition-api/module'
  ]
}
nuxt-microcms-moduleの導入
microCMSとの連携をらくらくにしてくれるモジュールが公式から提供されていますので、これを導入します。
$ yarn add nuxt-microcms-module
{
  buildModules: [
    'nuxt-microcms-module'
  ]
},

microcms: {
  options: {
    serviceDomain: process.env.SERVICE_ID,
    apiKey: process.env.API_KEY
  },
  mode: process.env.NODE_ENV === 'production' ? 'server' : 'all'
},
サービスID(SERVICE_ID)とAPIキー(API_KEY)はmicroCMSの管理画面から確認できますので、それらを.envファイルに記載しましょう。
日付フォーマットモジュールの導入
記事系のページだと日付を扱うことはほぼ必至ですので、日付を扱いやすくするモジュールを導入します。
$ yarn add --dev @nuxtjs/date-fns
{
  buildModules: [
    '@nuxtjs/date-fns'
  ]
}
sass-loaderの導入
$ yarn add --dev sass sass-loader@10
ESLintの設定
何かとvue/multi-word-component-namesのエラーに引っかかるのでいくつか例外指定しておきます。
あとお好みですが、セミコロンの省略は個人的に気になるのでこちらも設定します。
module.exports = {
  //...
  rules: {
    'vue/multi-word-component-names': ['error', {
      ignores: ['default', 'index']
    }],
    semi: [
      'error',
      'always'
    ]
  }
};
コーディング
共通部分の調整
Vuetifyを導入した状態でNuxtプロジェクトを準備すると、layouts/default.vueに既にいろいろ要素がありますので、これを整理します。
Vuetifyの公式ドキュメントには親切なことにワイヤフレームが用意されていますので、この中のBaseを拝借します。
デフォルトで生成されているものを元に、Composition APIに置き換えつつ、ルーティングにもとりあえず/blogを書いておきましょう。
<template>
<v-app>
<v-navigation-drawer
v-model="drawer"
:clipped="clipped"
fixed
app
>
<v-list>
<v-list-item
v-for="(item, i) in items"
:key="i"
:to="item.to"
router
>
<v-list-item-action>
<v-icon>{{ item.icon }}</v-icon>
</v-list-item-action>
<v-list-item-content>
<v-list-item-title v-text="item.title" />
</v-list-item-content>
</v-list-item>
</v-list>
</v-navigation-drawer>
<v-app-bar
app
:clipped-left="clipped"
fixed
>
<v-app-bar-nav-icon @click="drawer = !drawer" />
<v-toolbar-title>Blog</v-toolbar-title>
</v-app-bar>
<v-main>
<v-container>
<Nuxt />
</v-container>
</v-main>
<v-footer :absolute="!fixed" app>
<span>© {{ new Date().getFullYear() }}</span>
</v-footer>
</v-app>
</template>
<script>
import { defineComponent } from '@vue/composition-api';
export default defineComponent({
setup () {
const clipped = false;
const drawer = false;
const fixed = false;
const title = 'My Blog';
const items = [
{
icon: 'mdi-home',
title: 'Welcome',
to: '/'
},
{
icon: 'mdi-post',
title: 'Blog',
to: '/blog'
}
];
return {
clipped,
drawer,
fixed,
title,
items
};
}
});
</script>
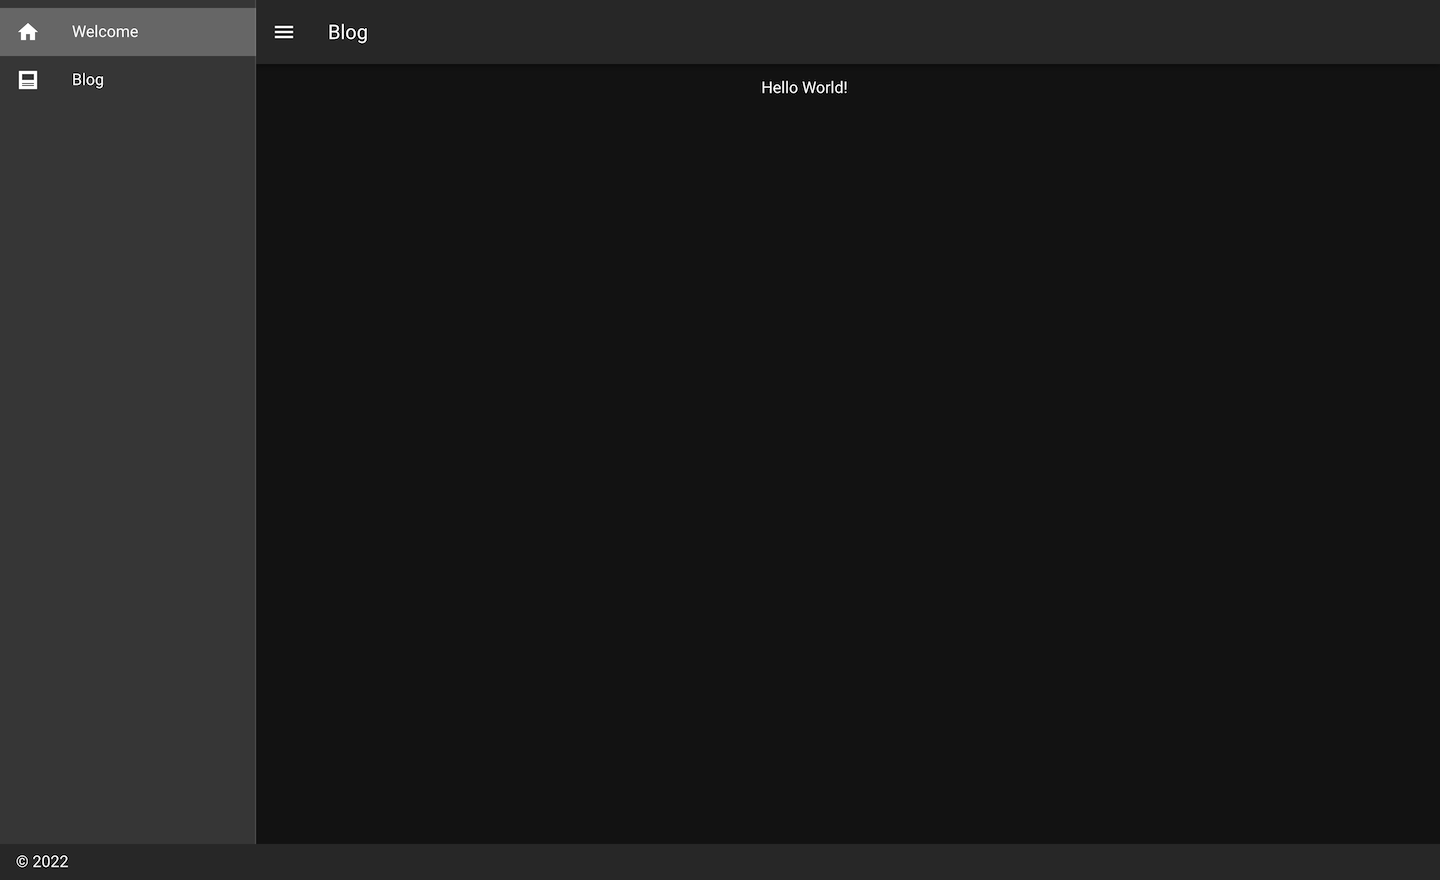
index.vue
いまのところ書くこともないので世界に挨拶しておきます。
<template>
  <v-row justify="center" align="center">
    <v-col cols="2">
      Hello World!
    </v-col>
  </v-row>
</template>

<script>
import { defineComponent } from '@vue/composition-api';

export default defineComponent({
  name: 'IndexPage'
});
</script>
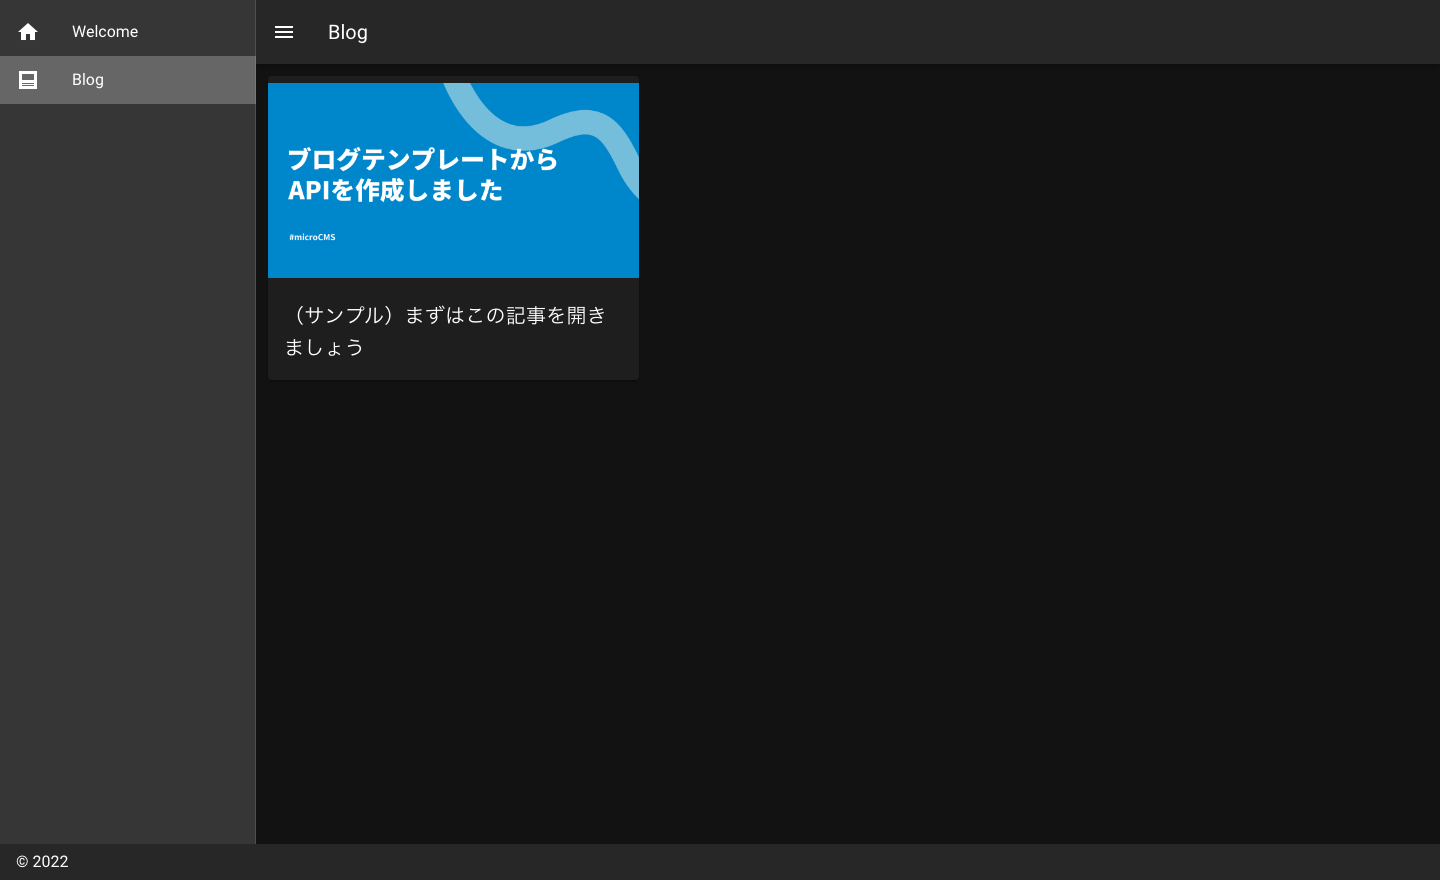
記事一覧ページ
ブログ記事の一覧ページを作成します。
pages/blog/index.vueを作成します。
<template>
  <v-row>
    <v-col
      v-for="blog in blogs.contents"
      :key="blog.id"
      cols="12"
      md="4"
      fill-height
    >
      <v-card height="100%" nuxt :to="`/blog/${blog.id}/`">
        <v-img
          contain
          :src="blog.eyecatch.url"
          :alt="blog.title"
          aspect-ratio="1.7778"
          class="mx-auto"
        />
        <v-card-title>
          {{ blog.title }}
        </v-card-title>
      </v-card>
    </v-col>
  </v-row>
</template>

<script>
import {
  defineComponent,
  ref,
  useMeta,
  useFetch,
  useContext
} from '@nuxtjs/composition-api';

export default defineComponent({
  name: 'BlogIndex',
  setup () {
    useMeta({
      title: 'Blog',
      meta: [
        {
          hid: 'description',
          property: 'description',
          content: 'ブログです。'
        }
      ]
    });

    const blogs = ref({});
    const { $microcms } = useContext();

    useFetch(async () => {
      blogs.value = await $microcms.get({
        endpoint: 'blogs'
      });
    });

    return { blogs };
  },
  head: {}
});
</script>
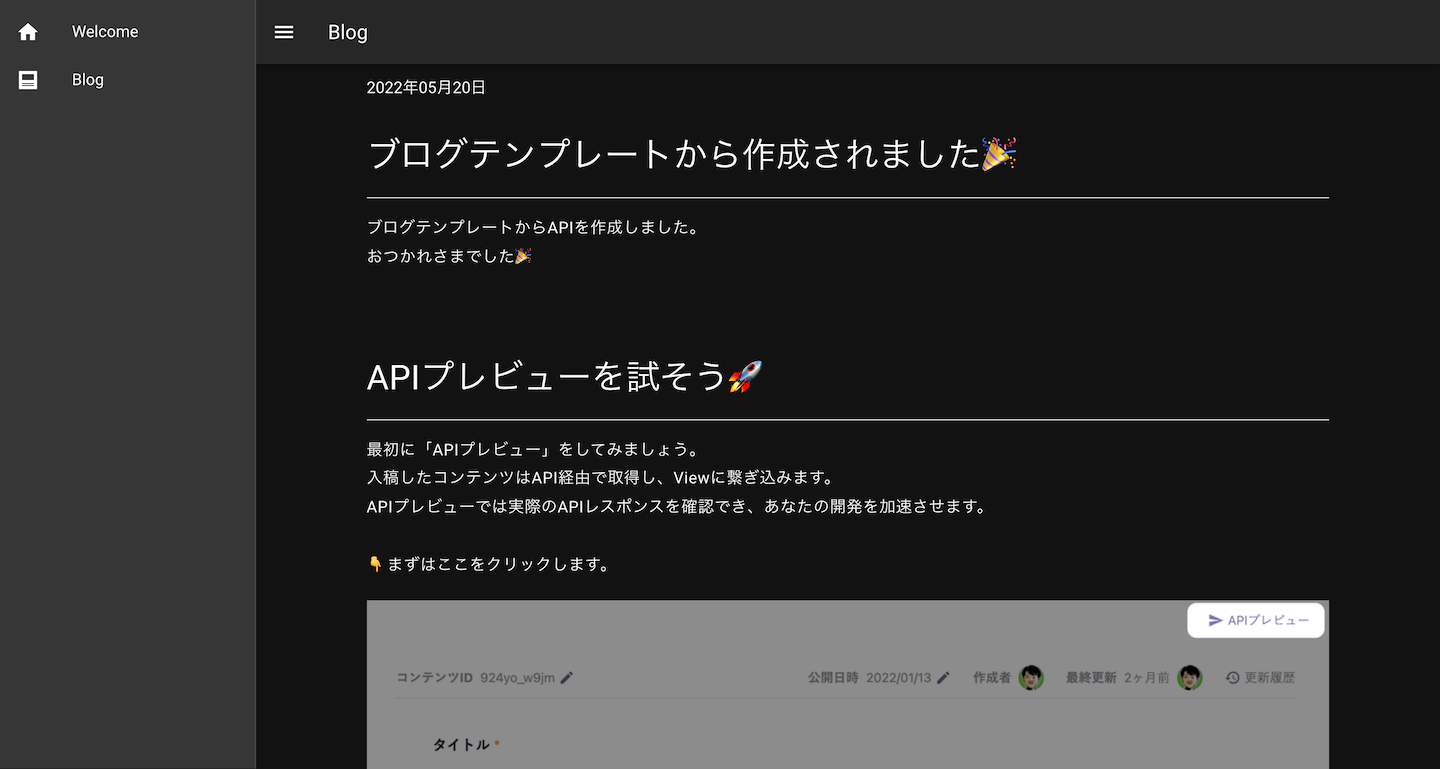
記事詳細ページ
Nuxtだと_idという感じでアンダースコアのプレフィックスをつけることで動的ルーティングが可能です。
<template>
  <v-row justify="center" align="center">
    <v-col cols="10">
      <span>
        <time
          :datetime="blog.publishedAt"
          v-text="formattedDate"
        >
          {{ blog.publishedAt }}
        </time>
      </span>
      <section>
        <div class="bl_wysiwyg" v-html="blog.content" />
      </section>
    </v-col>
  </v-row>
</template>

<script>
import { defineComponent, ref, useMeta, useContext, useFetch } from '@nuxtjs/composition-api';

export default defineComponent({
  setup () {
    const blog = ref({});
    const formattedDate = ref('');
    const { $microcms, params, $dateFns } = useContext();

    const formatDate = (date) => {
      return $dateFns.format(new Date(date), 'yyyy年MM月dd日');
    };

    useFetch(async () => {
      blog.value = await $microcms.get({
        endpoint: `blogs/${params.value.id}`
      });
      formattedDate.value = formatDate(blog.value.publishedAt);
    });

    useMeta(() => ({
      title: `${blog.value.title}`,
      meta: [
        {
          hid: 'description',
          property: 'description',
          content: blog.value.title
        }
      ]
    }));

    return { blog, formattedDate };
  },
  head: {}
});
</script>
なんとなくデザインが味気ないので、Vuetifyのテキストコンポーネントを元にスタイルをつけておきます。
<style lang="scss" scoped>
.bl_wysiwyg {
  margin-top: 30px;

  &::v-deep {
    h1,
    h2,
    h3,
    h4 {
      margin-top: 2.0em;
      margin-bottom: 2.4rem;
      padding-bottom: 0.1rem;
      border-bottom: solid 1px #ddd;
    }
    h1 {
      font-size: 3rem;
      letter-spacing: normal;
      font-weight: 400;
    }
    h2 {
      border-bottom: solid 1px #ddd;
      font-size: 2.125rem;
      letter-spacing: 0.0073529412em;
      font-weight: 400;
    }
    h3 {
      font-size: 1.5rem;
      letter-spacing: normal;
      font-weight: 400;
    }
    h4 {
      font-size: 1.25rem;
      letter-spacing: 0.0125em;
      font-weight: 500;
    }
    p {
      margin-top: 1rem;
      font-size: 1.08rem;
      letter-spacing: 0.03125em;
      font-weight: 400;
      line-height: 1.8;
      img {
        margin: 1.25rem auto;
        width: 100%;
        height: auto;
      }
    }
  }
}
</style>
できあがり
なんともう出来てしまいました。
あとは、ブログのカテゴリごとのページや記事プレビュー画面なども簡単にできちゃうので、興味が湧いた方は是非そちらも挑戦してみてください。