初めに
iOS14 から UICollectionView に新しいい API が 追加されました。
Lists in UICollectionView では UITableView ライクな UI の実装を紹介していますが、それに限らず便利なので使ってみました。
今回は実際に使用してみて、若干不便だった点もあったので、拡張してみたお話です。
実装
1. 今までの UICollectionView おける実装の課題
今までのUICollectionViewを振り返ると
-
Delagate、DataSource、Layoutをそれぞれ設定 -
registerでセルの登録 -
dequeueReusableCellで呼び出す
という仕様でした。
これには問題があり、セルの呼び出しがStringの直書きで
registerdequeueReusableCell
の2重管理になっているという点です。
スペルミスなどで読み込めずクラッシュしてしまい、バグが起きやすい仕様になっていました。extensionでの拡張やライブラリ(R.Swiftなど)で String の直書きは解決できましたが、それでも register の二重管理問題は残ります。
この問題を解決できるのが CellRegistrationの魅力です。
2. CellRegistration を使っての実装
(1) CellRegistrationの実装
CellRegistration を使った簡単な例を見てもらう方が早いでしょう。
// セルの設定
let registration = UICollectionView.CellRegistration<UICollectionViewCell, String>() { cell, indexPath, name in
    // デフォルトで用意されたオプションを設定できる
    var config = UIListContentConfiguration.cell()
    config.text = name
    config.secondaryText = "text"
    // セルの設定をする
    cell.contentConfiguration = config
    cell.backgroundColor = .yellow
}
形式としては CellRegistration<セルの型, モデルの型> という形で設定します。今回はカスタムなセルではなく用意されたデフォルトのセルで行っています。
UITableViewCell にはデフォルトのセルがいくつか用意されていましたが、UICollectionViewCell にも用意され、UIListContentConfiguration でそれを設定することができます。
あとは、呼び出し側で作成した CellRegistration をセットするだけです。
func collectionView(_ collectionView: UICollectionView, cellForItemAt indexPath: IndexPath) -> UICollectionViewCell {
    collectionView.dequeueConfiguredReusableCell(using: registration, for: indexPath, item: /*モデル*/)
}
(2) 全体の実装
実際に動くコードの全体像を見てみましょう。ミニマムな実装例を用意しました。
final class ViewController: UIViewController {

    /// ① `CellRegistration`でセルの設定をする
    private let registration = UICollectionView.CellRegistration<UICollectionViewCell, String>() { cell, indexPath, name in
        var config = UIListContentConfiguration.cell()
        config.text = name
        config.secondaryText = "text"
        cell.contentConfiguration = config
        cell.backgroundColor = .yellow
    }

    private lazy var collectionView: UICollectionView = {
        let layout = UICollectionViewFlowLayout()
        layout.itemSize = CGSize(width: 100.0, height: 100.0)
        let collection = UICollectionView(frame: .zero, collectionViewLayout: layout)
        collection.dataSource = self
        collection.backgroundColor = .white
        return collection
    }()

    private let models = ["apple", "orange", "banana", "melon", "lemon"]

    override func loadView() {
        self.view = collectionView
    }
}

// MARK: - UICollectionViewDataSource
extension ViewController: UICollectionViewDataSource {

    func collectionView(_ collectionView: UICollectionView, numberOfItemsInSection section: Int) -> Int {
        models.count
    }

     func collectionView(_ collectionView: UICollectionView, cellForItemAt indexPath: IndexPath) -> UICollectionViewCell {
        /// ② `dequeueConfiguredReusableCell`で`CellRegistration`をセットする
        collectionView.dequeueConfiguredReusableCell(using: registration, for: indexPath, item: models[indexPath.item])
    }
}
先程の(1)でも説明しましたが、実にシンプルで、
① CellRegistration でセルの設定をする
② dequeueConfiguredReusableCell で CellRegistration をセットする
だけになります。
また、実際の画面はこうなります。
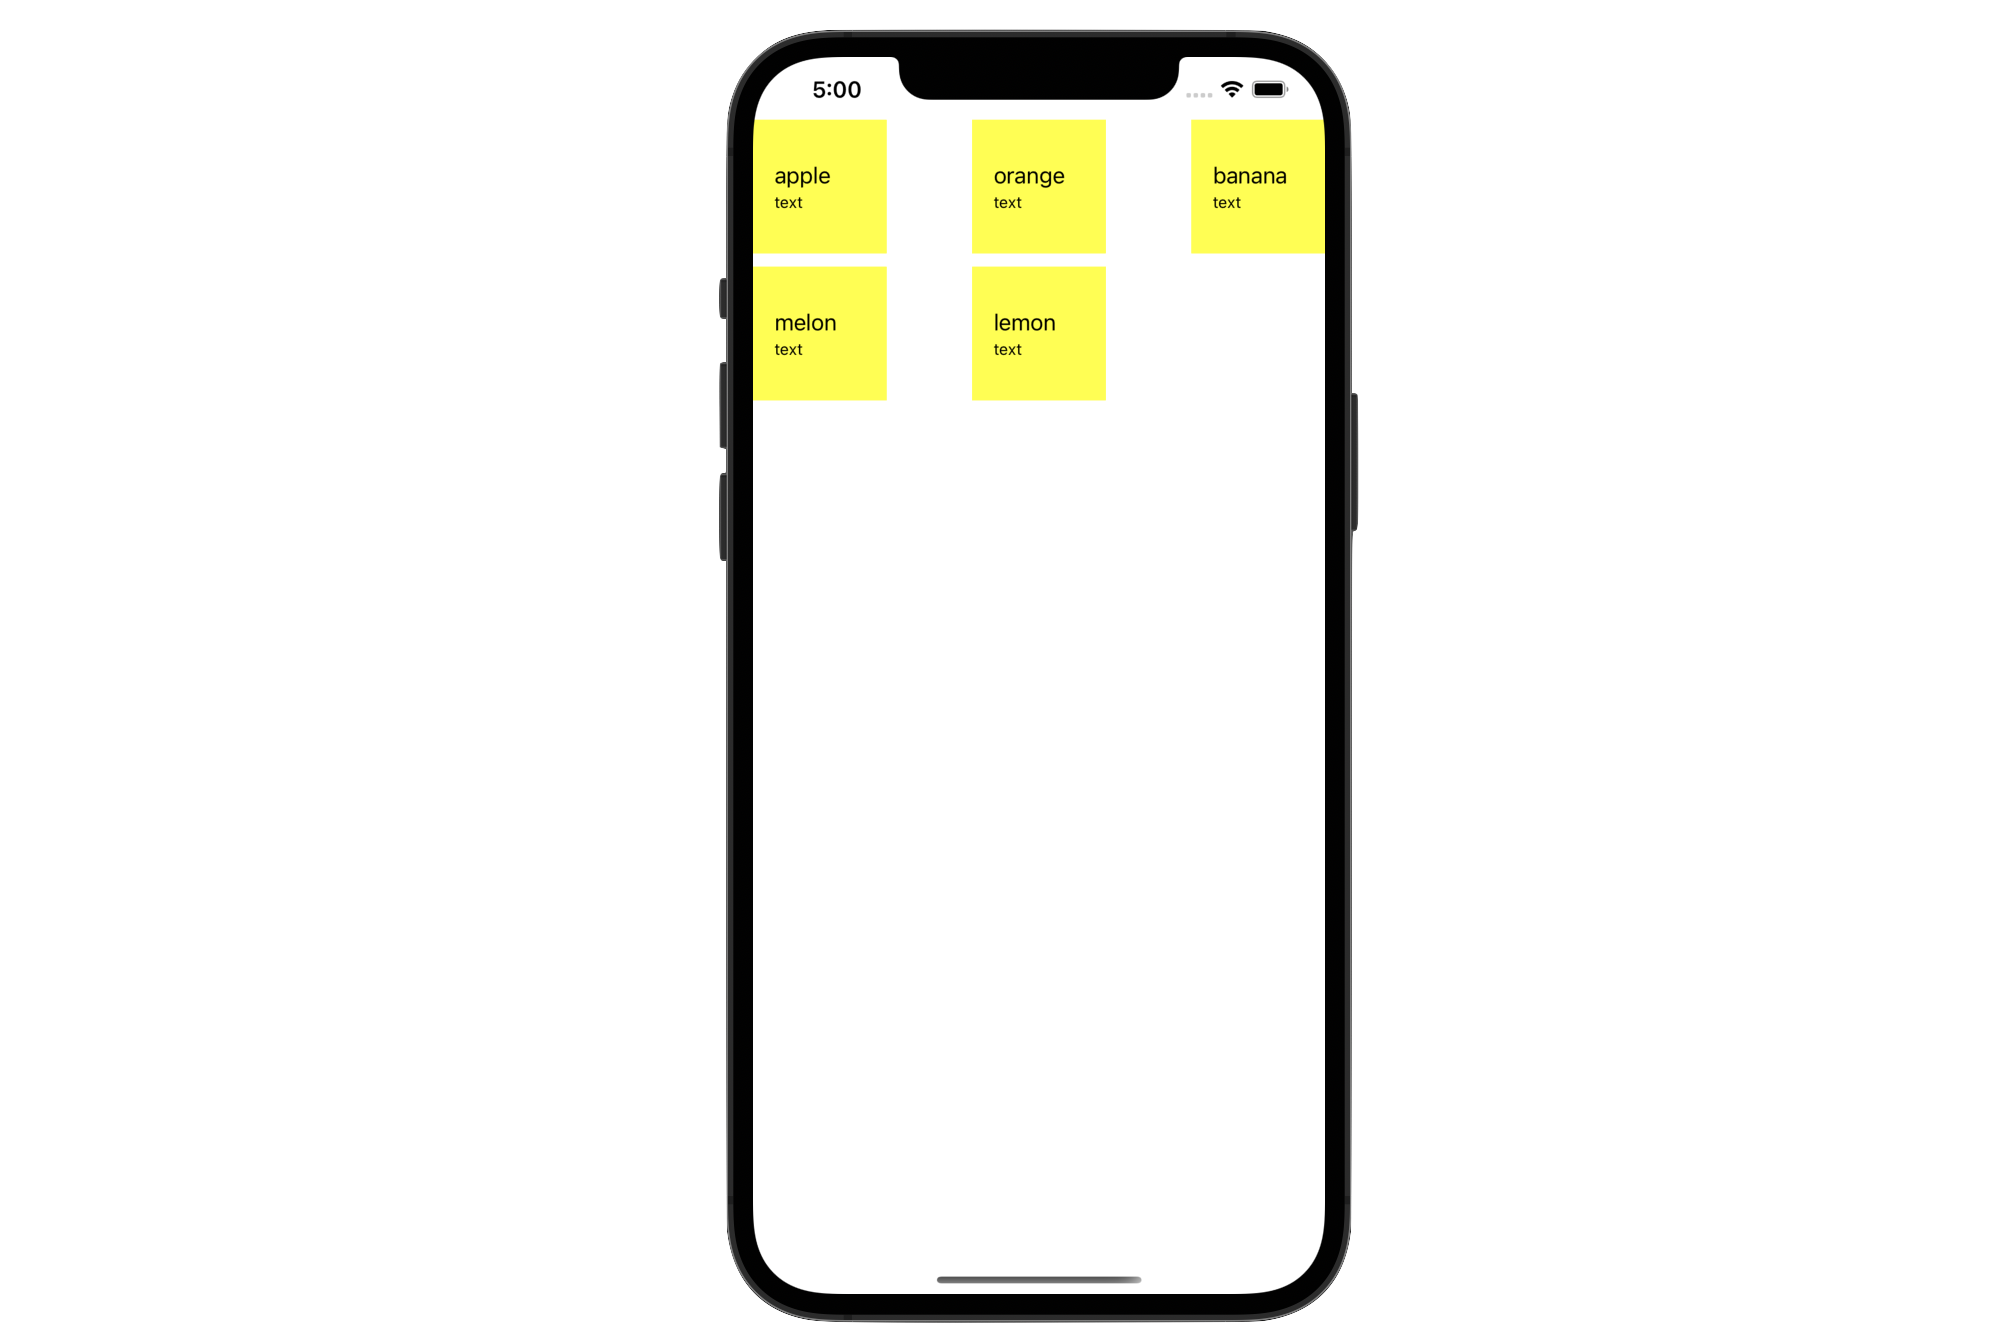
セルの設定とレイアウトの設定次第で、既存の UICollectionView のように自由な実装ができます。
3. カスタムセルを使う場合
カスタムセルを使う場合、コードが少しだけ長くなります。
また、こういった場合は複数のセクションもつため、コードが肥大化しやすいでしょう。
まずはカスタムセルの実装を見つつ、拡張するコードを紹介していきます。
(1) クラスから生成するカスタムセル
以下のセル・モデルがあった時、
struct AnimalModel {
    var name: String
}
final class AnimalCell: UICollectionViewListCell {
    private let nameLabel = UILabel()
    /* 略 */
    func configure(with model: AnimalModel) {
        nameLabel.text = model.name
    }
}
CellRegistration は <セルの型, モデルの型> という形で生成します。
let registration = UICollectionView.CellRegistration<AnimalCell, AnimalModel>() { cell, indexPath, model in
    cell.configure(with: model)
}
デフォルトのセルと生成方法はなんら変わりはありません。
(2) Xibから生成するカスタムセル
以下のセル・Xib・モデルがあった時、
struct SportModel {
    var name: String
}
final class SportCell: UICollectionViewListCell {
    @IBOutlet private weak var nameLabel: UILabel!
    func configure(with model: SportModel) {
        nameLabel.text = model.name
    }
}
/* xmlなので記載せず */
同じように<セルの型, モデルの型> という形で生成しますが、Xibを呼び出す必要があります。
let registration = UICollectionView.CellRegistration<SportCell, SportModel>(
    cellNib: UINib(nibName: String(describing: SportCell.self), bundle: nil)
) { cell, indexPath, model in
    cell.configure(with: model)
}
コードが横に長くなってしまうので改行していますが、このように簡単に呼び出すことができます。
4. カスタムセルを拡張する
追記(2021/01)
拡張コードに関して、iOS15 ではクラッシュする可能性があります
以下の拡張はそのままでは使用できないので、参考程度のコードだと思って御覧ください。
(1) 既存コードの課題
カスタムセルを複数のセクションで実装すると、以下のようなコードになると思います。
- example
func collectionView(_ collectionView: UICollectionView, cellForItemAt indexPath: IndexPath) -> UICollectionViewCell {
    guard let section = Section(rawValue: indexPath.section) else { return .init() }

    switch section {
    case .animal:
        let registration = UICollectionView.CellRegistration<AnimalCell, AnimalModel>() { cell, indexPath, model in
            cell.configure(with: model)
        }
        return collectionView.dequeueConfiguredReusableCell(using: registration, for: indexPath, item: animals[indexPath.item])

    case .sport:
        let registration = UICollectionView.CellRegistration<SportCell, SportModel>(
            cellNib: UINib(nibName: String(describing: SportCell.self), bundle: nil)
        ) { cell, indexPath, model in
            cell.configure(with: model)
        }
        return collectionView.dequeueConfiguredReusableCell(using: registration, for: indexPath, item: sports[indexPath.item])
    }
}
ぱっとみでもとても見づらいです。これは2つのセクションしかないですが、実際のプロダクションコードでは、多くのセルを使うことになるでしょう。そこでextensionを拡張してコードを隠蔽化します。
(2) UICollectionView の extension を拡張する
拡張することで
- UICollectionView.CellRegistration
- dequeueConfiguredReusableCell
を隠蔽化することができ、コードを記述する際に意識しなくて済むようになります。
拡張には
- クラスから生成するカスタムセル
- Xibから生成するカスタムセル
の2つをそれぞれ拡張します。
① クラスから生成するカスタムセル(Itemあり)
extension UICollectionView {

    func dequeueReusableCell<C, I>(
        class: C.Type,
        with item: I,
        at indexPath: IndexPath,
        handler: @escaping UICollectionView.CellRegistration<C, I>.Handler
    ) -> UICollectionViewCell where
        C: UICollectionViewCell
    {
        dequeueConfiguredReusableCell(
            using: UICollectionView.CellRegistration<C, I>(
                handler: handler
            ),
            for: indexPath,
            item: item
        )
    }
}
② Xibから生成するカスタムセル(Itemあり)
extension UICollectionView {

    func dequeueReusableCell<C, I>(
        type: C.Type,
        with item: I,
        at indexPath: IndexPath,
        handler: @escaping UICollectionView.CellRegistration<C, I>.Handler
    ) -> UICollectionViewCell where
        C: UICollectionViewCell
    {
        dequeueConfiguredReusableCell(
            using: UICollectionView.CellRegistration<C, I>(
                cellNib: UINib(nibName: String(describing: type.self), bundle: nil),
                handler: handler
            ),
            for: indexPath,
            item: item
        )
    }
}
また、header や footer を作る際には、 SupplementaryRegistration というのがあるので、同じように拡張することができるはずです。
また、アイテム(モデル)なしでセルを生成したい場合もあるので、その場合も掲載しておきます。
(長くなるので、見たい人は**「▶︎」を開いてください**)
③ クラスから生成するカスタムセル(Itemなし)
モデルを必要としないセルの拡張
func dequeueReusableCell<C>(
    class: C.Type,
    at indexPath: IndexPath,
    handler: @escaping (C, IndexPath) -> Void = { _, _ in }
) -> UICollectionViewCell where
    C: UICollectionViewCell
{
    /// モデルがないのでStringを設定しておく
    dequeueConfiguredReusableCell(
        using: UICollectionView.CellRegistration<C, String>(
            handler: { c, i, _ in handler(c, i) }
        ),
        for: indexPath,
        item: ""
    )
}
④ Xibから生成するカスタムセル(Itemなし)
モデルを必要としないセルの拡張
func dequeueReusableCell<C>(
    type: C.Type,
    at indexPath: IndexPath,
    handler: @escaping (C, IndexPath) -> Void = { _, _ in }
) -> UICollectionViewCell where
    C: UICollectionViewCell
{
    /// モデルがないのでStringを設定しておく
    dequeueConfiguredReusableCell(
        using: UICollectionView.CellRegistration<C, String>(
            cellNib: UINib(nibName: String(describing: type.self), bundle: nil),
            handler: { c, i, _ in handler(c, i) }
        ),
        for: indexPath,
        item: ""
    )
}
(3) 拡張コードを使用した例
先程の「(1)既存コードの課題」で出したサンプルを書き換えました。
- example
func collectionView(_ collectionView: UICollectionView, cellForItemAt indexPath: IndexPath) -> UICollectionViewCell {
    guard let section = Section(rawValue: indexPath.section) else { return .init() }

    switch section {
    case .animal:
        // Class から セルを生成
        return collectionView.dequeueReusableCell(class: AnimalCell.self,
                                                  with: animals[indexPath.row],
                                                  at: indexPath) { cell, _, item in
            cell.configure(with: item)
        }

    case .sport:
        // Xib から セルを生成
        return collectionView.dequeueReusableCell(type: SportCell.self,
                                                  with: sports[indexPath.row],
                                                  at: indexPath) { cell, _, item in
            cell.configure(with: item)
        }
    }
}
書き方が統一され書きやすくなったかと思います。
終わりに
冒頭にも書きましたが、CellRegistration をつかうことで
- String のハードコード
- 2重管理
が無くなるのは大きいなと感じました。
SwiftUIが台頭してきたので今更感もありつつ、まだまだ UIKit は現役だと思うので、積極的に使っていきたいですね!
参考
サンプルを Github にあげておきましたのでぜひご覧くださいmm