はじめに
普段あまりJavascriptすら書かないのですが、今回はReact-Reduxを試してみました。
ちなみにReactもReduxも初めて触るのでざっくりと概要から入っていきます。
Reactとは
JavaScriptで書かれたライブラリです。react.jsをインクルードして使います。
(MVCで言うところの)Viewのみを担当します。
JavaScriptのコード中にHTMLタグっぽいもの(JSX)を書くことができます。
例えば今回のstarter-kitでは以下の様に記載されています。
import React from 'react'
import DuckImage from '../assets/Duck.jpg'
import './HomeView.scss'

export const HomeView = () => (
  <div>
    <h4>Welcome!</h4>
    <img alt='This is a duck, because Redux!' className='duck' src={DuckImage} />
  </div>
)

export default HomeView
Reduxとは
アプリの状態(state)を管理するためのライブラリです。
Reduxでは、状態(state)と、状態を変更するアクション(action)を定義します。
stateは全て storeに保持されており、actionが実行されるとreducerを通して変更されます。
そしてstoreの変更によってviewが書き換わるという流れになります。
ひとまずAction、Reducer、Storeの役割を覚えておけばOKだと思います。
react-redux-starter-kitではじめる
今回使用するのは↓です。
davezuko/react-redux-starter-kit: Get started with React, Redux, and React-Router.
とりあえずstarter-kitを動かしてみる
node.js、npm、yarnをインストールしておきます。
動かすまではすぐです。
クローンしてyarnしてstartするだけ!
$ git clone https://github.com/davezuko/react-redux-starter-kit.git
$ cd react-redux-starter-kit/
$ yarn
$ yarn start
これだけでポート3000でサーバが立ち上がります。
http://localhost:3000/
使用されているライブラリを知る
| ライブラリ名 | 概要 | 参考URL |
|---|---|---|
| React | UIのパーツ(構成部品)を作るためのライブラリ | 出来る限り短く説明するReact.js入門 - Qiita |
| react-router | React.jsのデファクトのルーティングライブラリ。 ヘッダー、サイドバー、フッターなどが複雑にネストされたビューのルーティングの設定を容易にしてくれる。 ビューのコンポーネント(ヘッダー、サイドバー、フッター等)のネスト構造と同じように、ルーティングの設定もネスト構造で定義することで、両者の関係性が単純化される |
・ReactTraining/react-router: Declarative routing for React ・React Routerでルーティングをやってみる – Snaplog ・React初心者のためのreact-routerの使い方 - ハッカーを目指す白Tのブログ |
| redux-simple-router | react-routerとreduxを連携させるためのライブラリ | reactjs/react-router-redux: Ruthlessly simple bindings to keep react-router and redux in sync |
| redux-actions | ActionCreatorを作成したり(createAction)、ReducerをStoreに紐付けたり(handleActions)してくれるライブラリ | |
| redux-thunk | Reduxで非同期通信をする場合(APIをコールするなど)には、ActionとReducerの間にmiddlewareという形でajaxリクエストさせる。 |
ファイル構成を知る
ファイル構成は以下の様になっています。
.
├── build # All build-related code
├── public # Static public assets (not imported anywhere in source code)
├── server # Express application that provides webpack middleware
│ └── main.js # Server application entry point
├── src # Application source code
│ ├── index.html # Main HTML page container for app
│ ├── main.js # Application bootstrap and rendering
│ ├── normalize.js # Browser normalization and polyfills
│ ├── components # Global Reusable Components
│ ├── containers # Global Reusable Container Components
│ ├── layouts # Components that dictate major page structure
│ │ └── PageLayout # Global application layout in which to render routes
│ ├── routes # Main route definitions and async split points
│ │ ├── index.js # Bootstrap main application routes with store
│ │ ├── Home # Fractal route
│ │ │ ├── index.js # Route definitions and async split points
│ │ │ ├── assets # Assets required to render components
│ │ │ ├── components # Presentational React Components
│ │ │ └── routes ** # Fractal sub-routes ( optional)
│ │ └── Counter # Fractal route
│ │ ├── index.js # Counter route definition
│ │ ├── container # Connect components to actions and store
│ │ ├── modules # Collections of reducers/constants/actions
│ │ └── routes # Fractal sub-routes ( optional)
│ ├── store # Redux-specific pieces
│ │ ├── createStore.js # Create and instrument redux store
│ │ └── reducers.js # Reducer registry and injection
│ └── styles # Application-wide styles (generally settings)
└── tests # Unit tests
※公式サイトより引用
■routes/XXX/container
コンポーネントをアクション&ストアと結合させる役割になります。
このコンポーネントは、プレゼンテーションコンポーネントをレンダリングするために必要なアクションおよび状態での配線を担当する”のみ”です。
JSXは記載しない。Reactもインポートされていないことに注意。
■routes/XXX/modules
reducer、constatntsとactionの集合です。
■routes/XXX/compornets
プレゼンテーショナルReactコンポーネント
JSXなどを記述する場所。Reactもここで読み込まれています。
ソースを追う
エントリポイント〜ルーティング
// Store Initialization
// ------------------------------------
const store = createStore(window.__INITIAL_STATE__)
// Render Setup
// ------------------------------------
const MOUNT_NODE = document.getElementById('root')
let render = () => {
  const App = require('./components/App').default
  const routes = require('./routes/index').default(store)
  ReactDOM.render(
    <App store={store} routes={routes} />,
    MOUNT_NODE
  )
}
document.getElementById('root')はindex.htmlのrootを指定しています。
<!doctype html>
<html lang="en">
<head>
  <title>react-redux-starter-kit</title>
  <meta charset="utf-8">
  <meta name="viewport" content="width=device-width, initial-scale=1">
</head>
<body>
  <div id="root" style="height: 100%"></div>
</body>
</html>
またmain.jsの<App store={store} routes={routes} />でcomponents/App.jsにstoreとroutesを渡しています。
import React from 'react'
import { browserHistory, Router } from 'react-router'
import { Provider } from 'react-redux'
import PropTypes from 'prop-types'

class App extends React.Component {
  static propTypes = {
    store: PropTypes.object.isRequired,
    routes: PropTypes.object.isRequired,
  }

  shouldComponentUpdate () {
    return false
  }

  render () {
    return (
      <Provider store={this.props.store}>
        <div style={{ height: '100%' }}>
          <Router history={browserHistory} children={this.props.routes} />
        </div>
      </Provider>
    )
  }
}

export default App
this.props.routesにはroutes/index.jsが渡ってきており、このファイルがトップページのルーティングになっています。
import CoreLayout from '../layouts/PageLayout/PageLayout'
import Home from './Home'
import CounterRoute from './Counter'

export const createRoutes = (store) => ({
  path        : '/',
  component   : CoreLayout,
  indexRoute  : Home,
  childRoutes : [
    CounterRoute(store)
  ]
})

export default createRoutes
childRoutesで子ページのルーティングを指定しています。
Counterページのルーティングはroutes/Counter/index.jsとなります。
Counterページを追う

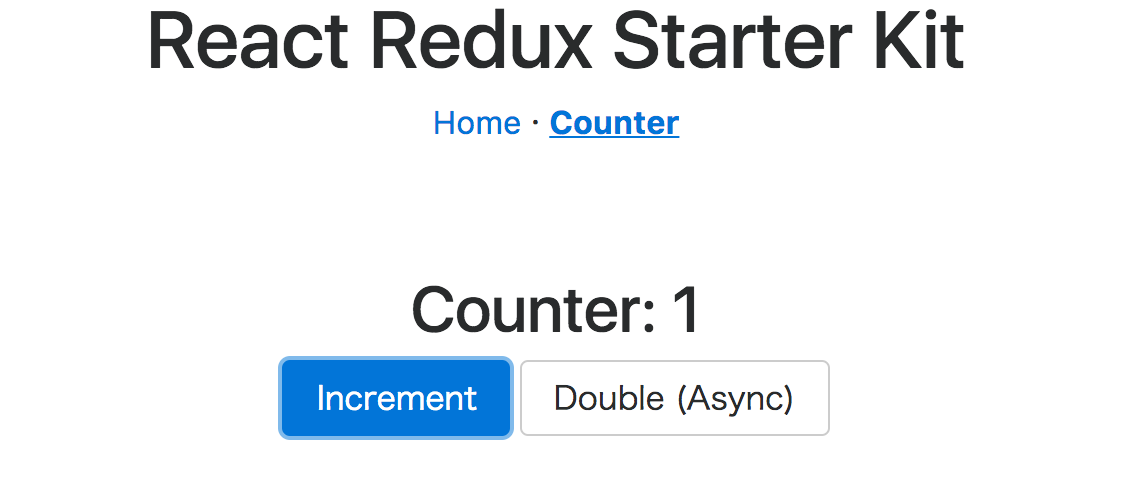
starter-kitにあるCounterページのstateとactionは以下のようになります。
state: 現在のカウンターの数値。
action: 「Increment(counterに+1する)」「Double(counterを2倍にする)」
ユーザがIncrementをクリック(アクション)することでreducerを通してstateが書き換えられます(stateを+1する)
そしてstateが変更されたことによってレンダリングが行われCounterの値が1に書き換わるといった処理の流れになります。
ひとまずindex.jsから見ていきます。
import { injectReducer } from '../../store/reducers'
export default (store) => ({
  path : 'counter',
  getComponent (nextState, cb) {
    require.ensure([], (require) => {
      const Counter = require('./containers/CounterContainer').default
      const reducer = require('./modules/counter').default
      injectReducer(store, { key: 'counter', reducer })
      cb(null, Counter)
    }, 'counter')
  }
})
getComponentはルートが一致したときにのみ呼び出されます。
injectReducer(store, { key: 'counter', reducer })でstateを変更します。
import { connect } from 'react-redux'
import { increment, doubleAsync } from '../modules/counter'

import Counter from '../components/Counter'

const mapDispatchToProps= {
  increment : () => increment(1),
  doubleAsync
}
const mapStateToProps = (state) => ({
  counter : state.counter
})

export default connect(mapStateToProps, mapDispatchToProps)(Counter)
containerではcomponents(JSXの記述部)の読み込みとmapStateToProps・mapDispatchToPropsの定義をします。
また、最後のconnectで渡される事でstateの情報をReactコンポーネント内のprops(今回はthis.props.counter)として利用できるようになります。
mapStateToPropsはReduxのStateをReactのpropsに紐付けるもの、
mapDispatchToPropsはActionをpropsに紐付けるものになります。
mapDispatchToPropsの increment doubleAsyncはmodules/counter.js内に定義されています。
実際にこのactionを呼んでいるのは/compornents/Counter.js内になります。
import React from 'react'
import PropTypes from 'prop-types'

export const Counter = ({ counter, increment, doubleAsync }) => (
  <div style={{ margin: '0 auto' }} >
    <h2>Counter: {counter}</h2>
    <button className='btn btn-primary' onClick={increment}>
      Increment
    </button>
    {' '}
    <button className='btn btn-secondary' onClick={doubleAsync}>
      Double (Async)
    </button>
  </div>
)
Counter.propTypes = {
  counter: PropTypes.number.isRequired,
  increment: PropTypes.func.isRequired,
  doubleAsync: PropTypes.func.isRequired,
}

export default Counter
onClickをされた時それぞれのactionが呼び出され、reducerを通してstateを変更します。そしてstateが変更されたことにより、viewが書きかわります。(counterの値が書きかわる)
おわりに
react-redux-starter-kitのソースを追いつつ理解しようとしました。
正直まだまだ理解できていない部分は多いですが、大枠をつかむことはできました。
starter-kitは動かすまでは一瞬でできます。
ただし、ドキュメントの少なさとあまり一般的な作りでない様に感じたため、あまりスタートとしてはおすすめはしないといった所感です。
※私の理解力のなさのせいかもしれません。