はじめに
GithubからGoogleCloudBuildの連携ができるようになったようだ。
これまでの連携はGCP側でContainerRegistryメニューからトリガー連携設定をする必要があったので、うまくマッチすればGithub上で完結できるようになる。早速設定をしてみよう。
連携設定手順
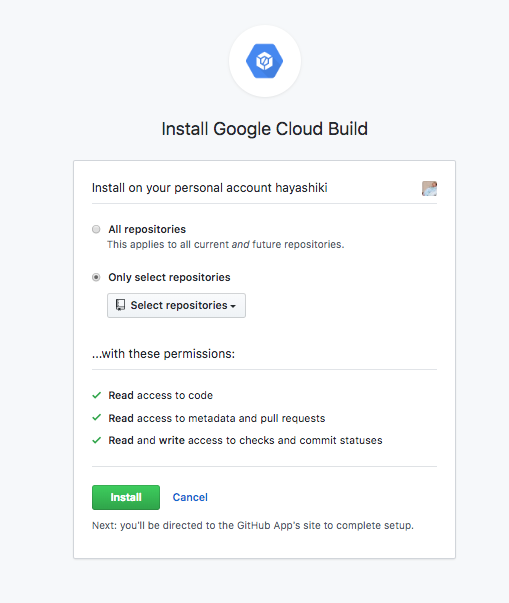
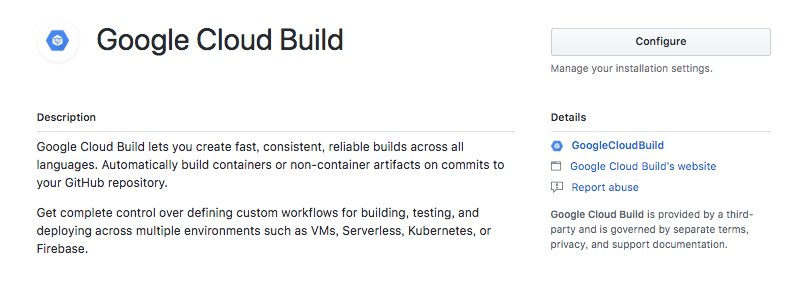
GithubマーケットプレイスからGoogleCloudBuildをInstall
- 連携するレポジトリを選択可能となっている
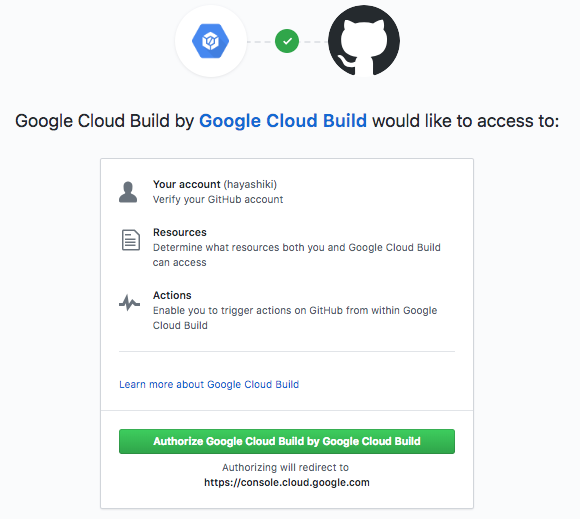
GoogleAccountとの連携
GCPと連携するためのGoogleアカウントにてログインする
GCPプロジェクトの選択
- GCPのコンソール画面へリダイレクトする。既存プロジェクトに設定してもいいし、新規でプロジェクト作成してもよい
以上、非常にシンプル。
動作確認
確認フロー
- okとレスポンスかえすだけの簡素なgoのwebサーバとDockerfileを作成する
- GoogleCloudBuildの定義ファイルを作成する
- 上記のコードをmasterにpushし、GoogleCloudBuildで上記のgoのwebサーバのイメージファイルが作成されることを確認
ビルド対象のgoファイル作成
package main

import (
	"net/http"
)

func init() {
	http.HandleFunc("/", HealthcheckHandler)
}

func main() {
	port := "8080"
	http.ListenAndServe(":"+port, nil)
}

func HealthcheckHandler(w http.ResponseWriter, r *http.Request) {
	w.Write([]byte("OK"))
}
Dockerfile
FROM alpine
ADD app /app
CMD ["./app"]
cloudbuild.yaml
GoogleCloudBuildの定義ファイル。詳細はドキュメント確認してください
steps:
- name: gcr.io/cloud-builders/go
  env: ["PROJECT_ROOT=app"]
  args: ["build", "-o", "app"]

- name: "gcr.io/cloud-builders/docker"
  args: ["build", "-t", "gcr.io/$PROJECT_ID/playground-cloudbuild:$REVISION_ID", "." ]

images:
- "gcr.io/$PROJECT_ID/playground-cloudbuild"
Githubにpushする
-
ビルドログ
CloudBuildからログを参照でき、ビルドが成功している
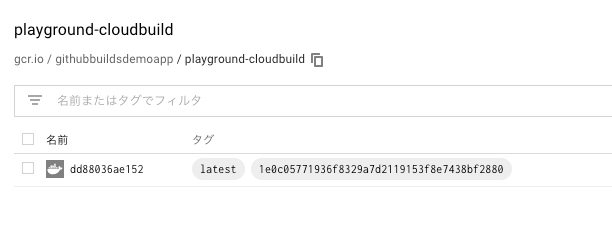
- イメージファイル
ContainerRegistryにビルドされたイメージがPushされている
以上
GKEでデプロイ
これだけでは、webサーバが本当に動くのかどうかわからないし、デプロイまでできてナンボなので、さきほどビルドに成功したイメージをGKE上にデプロイする。
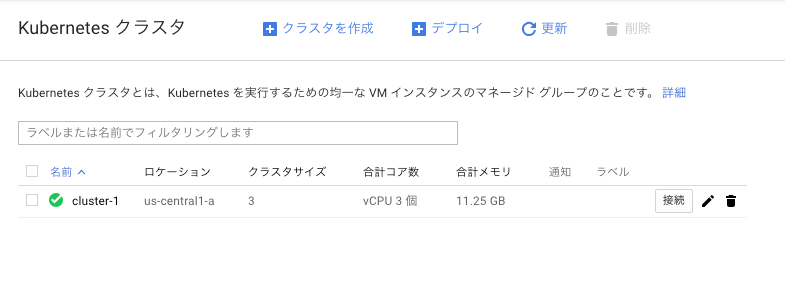
GKE Cluster作成
GUIのデフォルトで作成してOK
DeploymentとService作成
簡易的な確認のため、Serviceにロードバランサをたてるようにする。
Deploymentだけでportforwardしてもよい。
- 作成
apiVersion: extensions/v1beta1
kind: Deployment
metadata:
  name: goapp
  labels:
    app: goapp
spec:
  replicas: 3
  template:
    metadata:
      labels:
        app: goapp
    spec:
      containers:
      - name: goapp
        image: gcr.io/githubbuildsdemoapp/playground-cloudbuild:latest
        imagePullPolicy: Always
        ports:
        - name: http-server
          containerPort: 8080
apiVersion: v1
kind: Service
metadata:
  name: goapp
  labels:
    app: goapp
spec:
  type: LoadBalancer
  ports:
  - port: 80
    targetPort: http-server
  selector:
    app: goapp
- Clusterに接続してkubectl applyする
$ gcloud container clusters get-credentials cluster-1 --zone us-central1-a --project githubbuildsdemoapp
Fetching cluster endpoint and auth data.
kubeconfig entry generated for cluster-1.
$ kubectl create -f deployment.yaml
deployment "goapp" created
$ kubectl create -f service.yaml
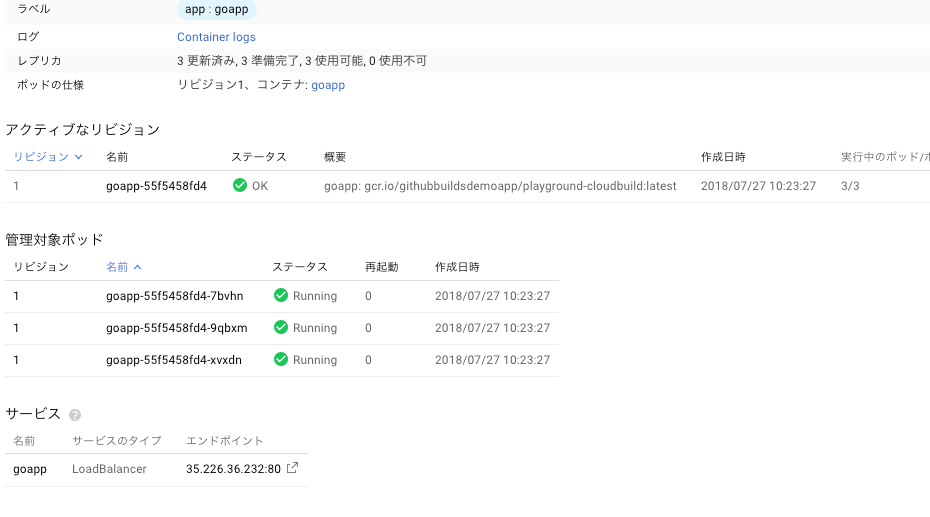
デプロイ確認
- 無事デプロイできた模様
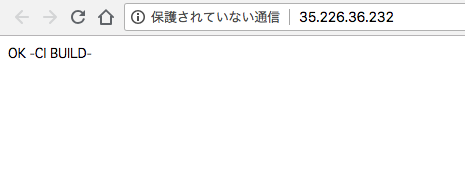
- webサーバアクセス確認
作成されたロードバランサへアクセス
-> 無機質なOKがでている。Good!
PRタイミングでの自動デプロイ
さて、ただのデプロイではなく、継続的な開発には自動ビルド&デプロイは必須です、
最後に自動デプロイの設定をしましょう。
追加でPRをおくってみる
修正ポイントとしては、
- webサーバのレスポンスをOK -> OK -CI BUILDE-へ変更
- cloudbuild.yamlにて、GKEのgoサーバのimageをupdateする
となる
以下のPRで差分を確認
IAM設定更新
「CloudBuildサービスアカウント」に「KubernetesEngine管理者」を追加
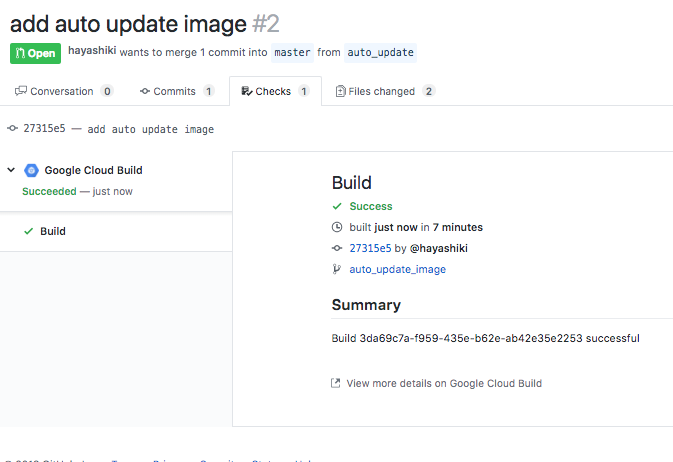
自動ビルド結果確認
- checkタブでの結果反映
- webサーバアクセス確認
OK -CI BUILDE- の表示に変わっている。
さいごに
ビルドが失敗しても、github上から再度ビルドを実施できるのが便利
今回testはスキップしたがtestが失敗するとビルド失敗させればよい
ビルド失敗は、CloudPubSub経由でSlack等に通知する必要があったが、Github上でビルド結果がわかるのが便利、レビュワーにも伝わるので。
今回試したレポジトリは以下なので、参考にしてください。
