2019/2/23 デプロイに時間がかかる場合の対処方法を記載しました。
はじめに
CloudFormationとCodePipelineがAlexaスキルをサポートし、AWS側の操作のみで
スキルのデプロイが完結できるようになりました。
更にCodeStarにAlexaスキル用のプロジェクトテンプレートが用意されているので
サンプルスキル&デプロイパイプラインの作成が超速で行えます。
Quickly Create, Build, and Deploy Amazon Alexa Skills from AWS
https://aws.amazon.com/jp/about-aws/whats-new/2018/12/quickly-create-build-and-deploy-amazon-alexa-skills-from-aws/
Build and Deploy Alexa Skills Faster with New AWS Integration
https://developer.amazon.com/ja/blogs/alexa/post/997dff67-2d0e-4403-aa74-8aef7ca4c432/build-and-deploy-alexa-skills-faster-with-new-aws-integrations
やってみる
用意されているプロジェクトテンプレートからサンプルスキルをデプロイして
スキルを日本語対応するところまでやってみたいと思います。
コードの編集にCloud9を使用したいため、この記事内では東京リージョンではなく
バージニア北部リージョンで作業していますが、Alexaスキル用のプロジェクトテンプレートは
東京リージョンのCodeStarでも利用可能です。
CodeStar新規プロジェクトの作成
CodeStarコンソールから新規プロジェクトを追加します。
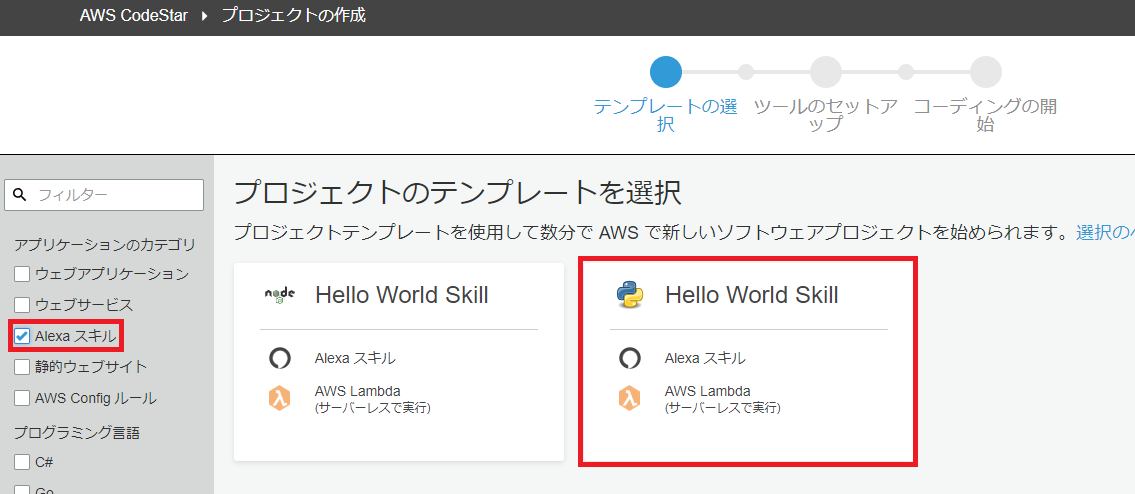
テンプレートの選択画面のアプリケーションのカテゴリでAlexaスキルにチェックを入れます。
node.jsとPython用のテンプレートが用意されています。ここではPythonを選択します。
プロジェクトの詳細でプロジェクト名を設定します。
ここではレポジトリはCodeCommitを使用します。
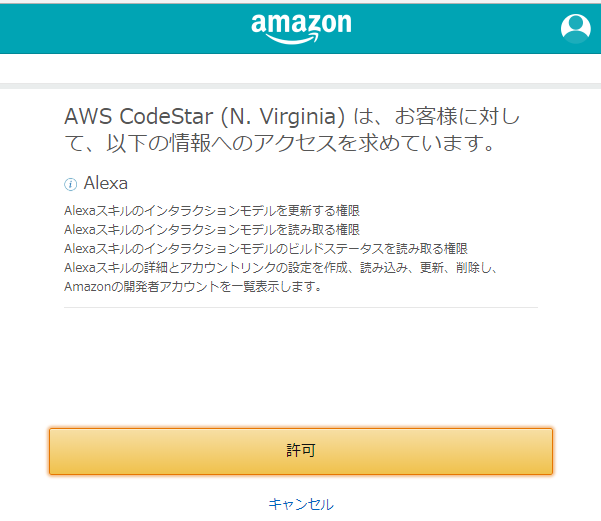
AWS側から対話モデルのデプロイを行うためにAmazon Developer Accountへの接続が必要です。

Amazon Developer Accountのログイン画面が表示されるので、認証情報を入力します。

アクセス権限に関する確認画面が表示されますので、許可します。
接続が完了したら次へを押して、プロジェクト詳細を確認し、プロジェクトの作成を行います。

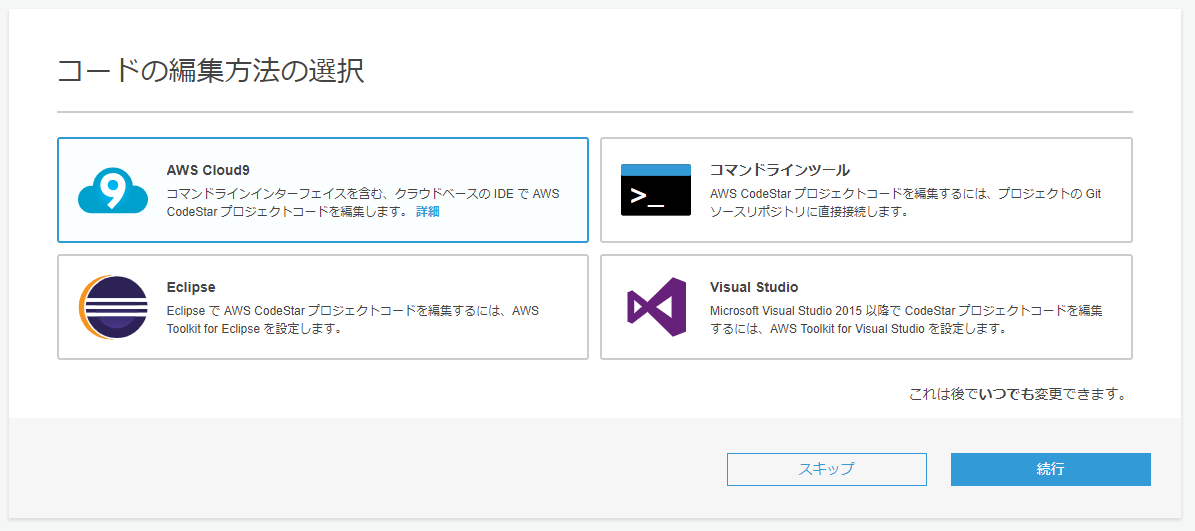
コードの編集方法の選択では AWS Cloud9を選択します。
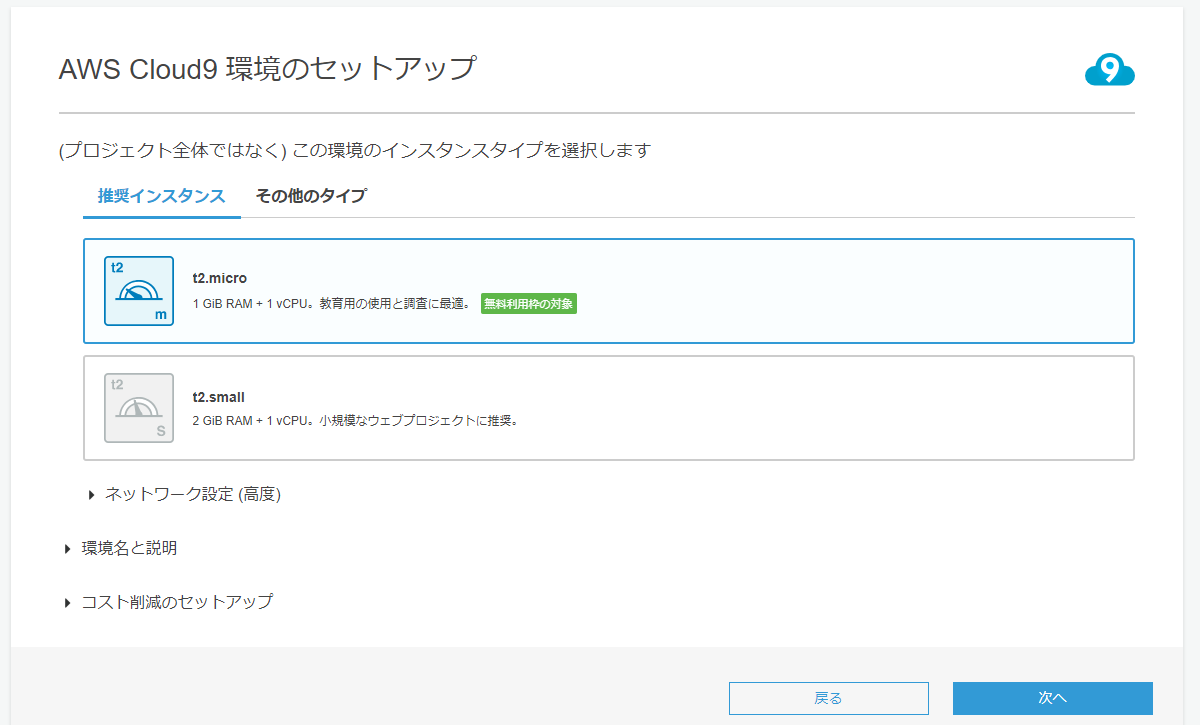
Cloud9の環境のセットアップは全てデフォルトのまま次へ進みます
CodeStarプロジェクトとIDEのセットアップが完了するまで、ちょっとだけ待ちます。
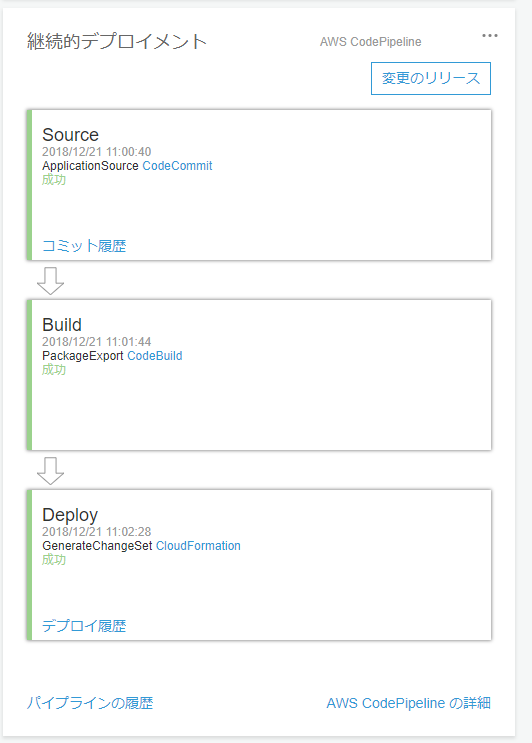
プロジェクトの作成が完了するとCodePipelineによって対応モデルのデプロイと
Lambda関数の初回デプロイが自動で行われます。
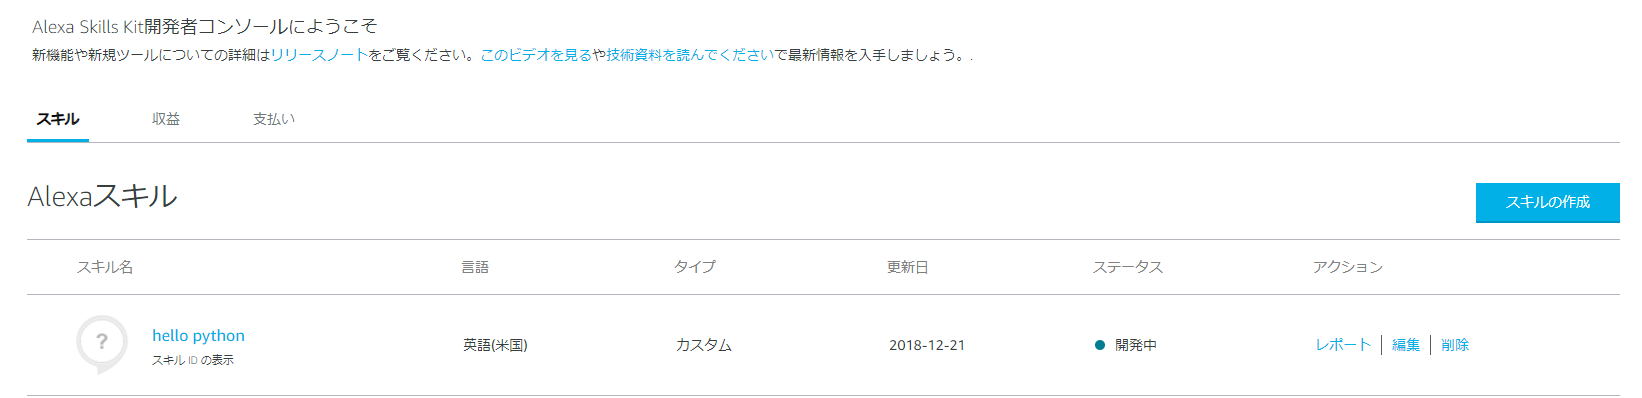
Amazon Developer Consoleを確認すると、hello pythonがデプロイされています!
サンプルスキルの日本語化~デプロイまで
せっかくなのでサンプルスキルを日本語化してみましょう。
ダッシュボードの上部からコーディングの開始を選択するとCloud9が開きます。

自動的にCodeCommit上のレポジトリがCloud9のローカルにcloneされます。
ステップ1 localeの変更
skill.jsonを開いてlocalesの en-US を ja-JP に修正します。
{
  "manifest": {
    "publishingInformation": {
      "locales": {
        "ja-JP": {
          "summary": "A basic skill made from Alexa Skills Kit template",
          "examplePhrases": [
            "Alexa open hello python",
            "Alexa tell hello python hello",
            "Alexa ask hello python say hello"
          ],
          "name": "hello python",
          "description": "A basic skill made from Alexa Skills Kit template"
        }
      },
      "isAvailableWorldwide": true,
      "testingInstructions": "Sample Testing Instructions.",
      "category": "EDUCATION_AND_REFERENCE",
      "distributionCountries": []
    },
    "apis": {
      "custom": {
      }
    },
    "manifestVersion": "1.0"
  }
}
次に interactionModels/custom/en-US.json を
interactionModels/custom/ja-JP.jsonにリネームします。
更に ja-JP.json を開いて、invocation Name を任意に設定します。
サンプル発話も適当に設定しちゃいます。
{
    "interactionModel": {
        "languageModel": {
            "invocationName": "こんにちぱいそん",
            "intents": [
                {
                    "name": "AMAZON.CancelIntent",
                    "samples": []
                },
                {
                    "name": "AMAZON.HelpIntent",
                    "samples": []
                },
                {
                    "name": "AMAZON.StopIntent",
                    "samples": []
                },
                {
                    "name": "HelloWorldIntent",
                    "slots": [],
                    "samples": [
                        "hello",
                        "こんにちは",
                        "こんにちぱいそん"
                    ]
                }
            ],
            "types": []
        }
    }
}
次にlambda/custom/hello_world.py のメッセージを日本語化します。
各Handler の spech_testの内容を日本語に書き換えます。
以下はLaunchRequestHandlerの例です。
class LaunchRequestHandler(AbstractRequestHandler):
    """Handler for Skill Launch."""
    def can_handle(self, handler_input):
        # type: (HandlerInput) -> bool
        return is_request_type("LaunchRequest")(handler_input)

    def handle(self, handler_input):
        # type: (HandlerInput) -> Response
        speech_text = "ようこそ、こんにちはと言ってみてください。"
        handler_input.response_builder.speak(speech_text).ask(speech_text)
        return handler_input.response_builder.response
ステップ2 変更の反映
Cloud9上のbashターミナルで以下のようにgitを操作し、変更をCodeCommitへpushします。
$ cd alexa-helloworld
$ git add .
$ git status
On branch master
Your branch is up-to-date with 'origin/master'.

Changes to be committed:
  (use "git reset HEAD <file>..." to unstage)

        renamed:    interactionModels/custom/en-US.json -> interactionModels/custom/ja-JP.json
        modified:   lambda/custom/hello_world.py
        modified:   skill.json
$ git commit -m "hello python の日本語化"
$ git push
ステップ3 動作確認
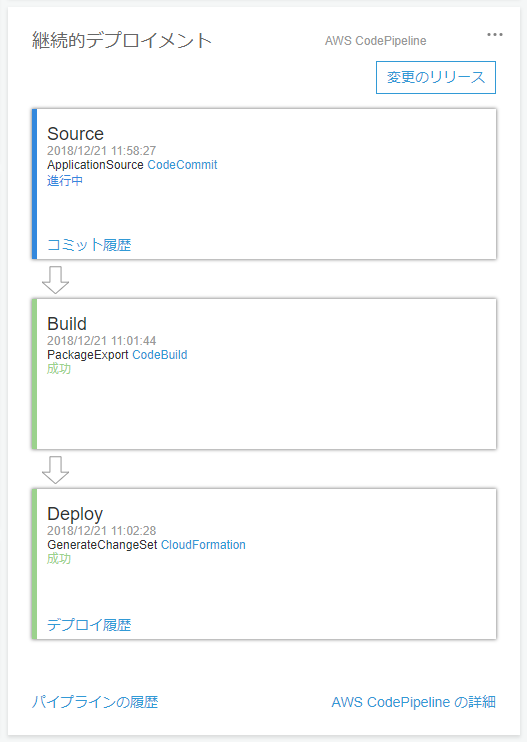
CodeCommitへのpushが成功すれば自動的にPipelineが起動して
対話モデルとLambda関数のデプロイまでおこなってくれます。
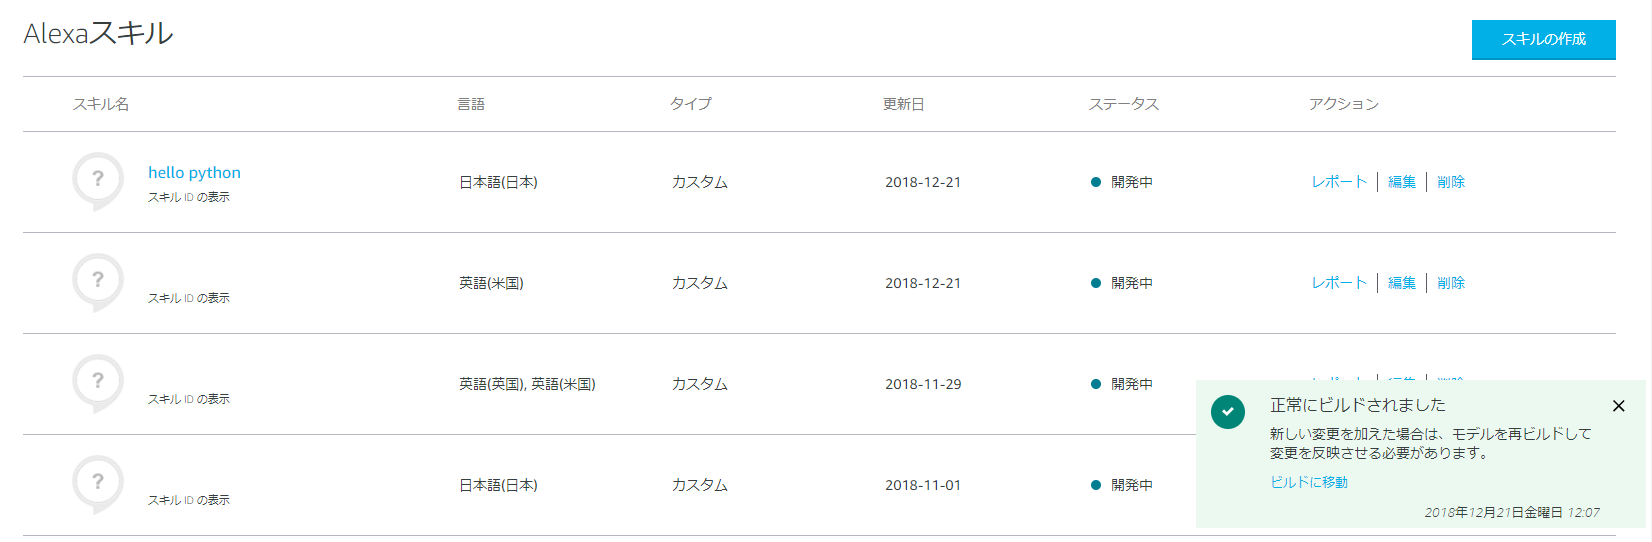
デプロイが成功したらAmazon Develper Consoleを再度確認してみましょう。
hello python の言語が日本語に変わっています。
対話モデルのビルドも成功しているようです。
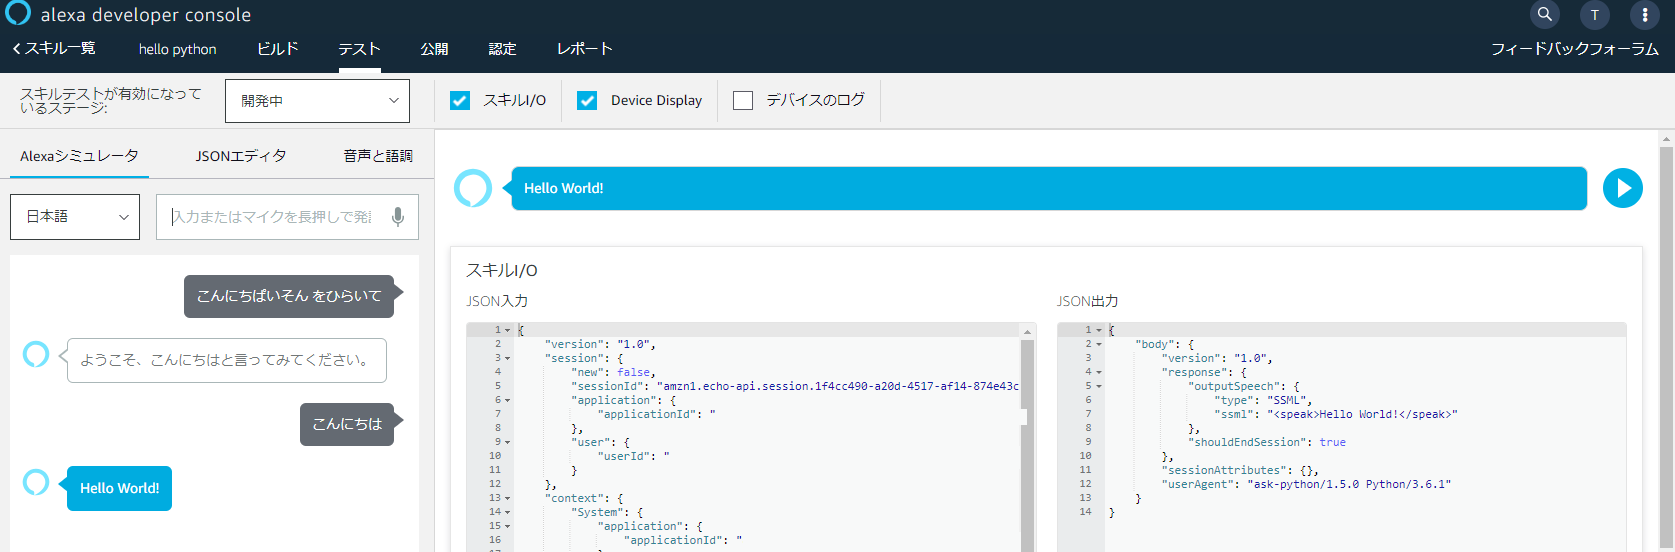
hello python 開いてシミュレーターでテストしてみます。
デフォルトではテストが無効になっているので開発中に変更します。
うまくいきました!
デプロイに時間がかかる場合の対処方法
HelloWorldスキルのプロジェクトテンプレートは1回のデプロイに
10分以上時間がかかる場合があります。
CodeDeployのデプロイ設定がデフォルトで CodeDeployDefault.LambdaCanary10Percent5Minutes
(最初の増分でトラフィックの 10 パーセントを移行し、残りの 90 パーセントは 5 分後にデプロイされる)
に設定されているためです。
特に開発中などは デプロイ設定を CodeDeployDefault.LambdaAllAtOnce とすることで
5分ほどデプロイ時間を短縮可能です。

コードデプロイのアプリケーションから、対象プロジェクトのLambdaを選択します。

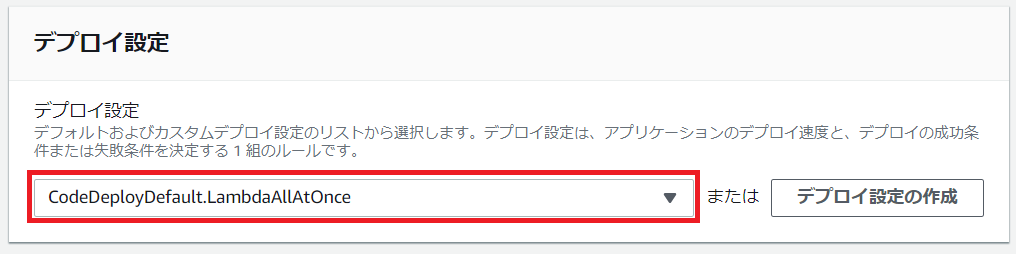
デプロイグループの詳細から編集をクリックします。

デプロイグループの編集でデプロイ設定を CodeDeployDefault.LambdaAllAtOnce に
変更し、保存します。
ドキュメント
CloudFormation - Alexa Resource Types Reference
https://docs.aws.amazon.com/AWSCloudFormation/latest/UserGuide/cfn-reference-alexa.html
Tutorial: Create a Pipeline that Deploys an Amazon Alexa Skill
https://docs.aws.amazon.com/codepipeline/latest/userguide/tutorials-alexa-skills-kit.html
以上です。
参考になれば幸いです。