はじめに
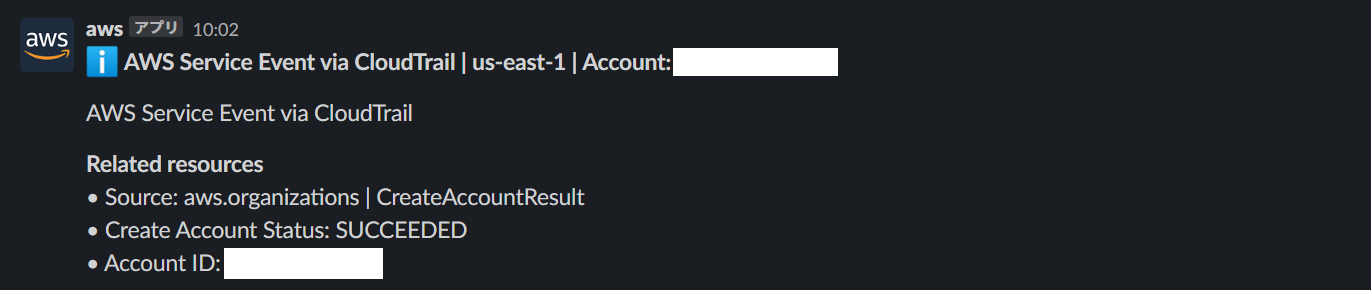
例えばこんな通知を

こんな感じに
クラスメソッドさんの以下の記事を参考にしています。Step Functions の実行完了について記載されていますが、他のすべてのイベントでも応用できます。
AWS Chatbot や EventBridge の設定方法には触れませんので、必要な場合は以下をご参照ください。
EventBridge イベントによる AWS Chatbot の通知
2021 年の 4月に Amazon EventBridge によって処理されるすべてのサービスイベントを AWS Chatbot で通知できるようになりました。
ただし通知の粒度はイベント内容によって異なるのが現状です。
いい感じに通知してくれるケース
以下は ECR の Basic Scanning の完了イベントのサンプルイベントと AWS Chatbot による通知結果の例です。
{
    "version": "0",
    "id": "85fc3613-e913-7fc4-a80c-a3753e4aa9ae",
    "detail-type": "ECR Image Scan",
    "source": "aws.ecr",
    "account": "123456789012",
    "time": "2019-10-29T02:36:48Z",
    "region": "us-east-1",
    "resources": [
        "arn:aws:ecr:us-east-1:123456789012:repository/my-repository-name"
    ],
    "detail": {
        "scan-status": "COMPLETE",
        "repository-name": "my-repository-name",
        "finding-severity-counts": {
	       "CRITICAL": 10,
	       "MEDIUM": 9
	     },
        "image-digest": "sha256:7f5b2640fe6fb4f46592dfd3410c4a79dac4f89e4782432e0378abcd1234",
        "image-tags": []
    }
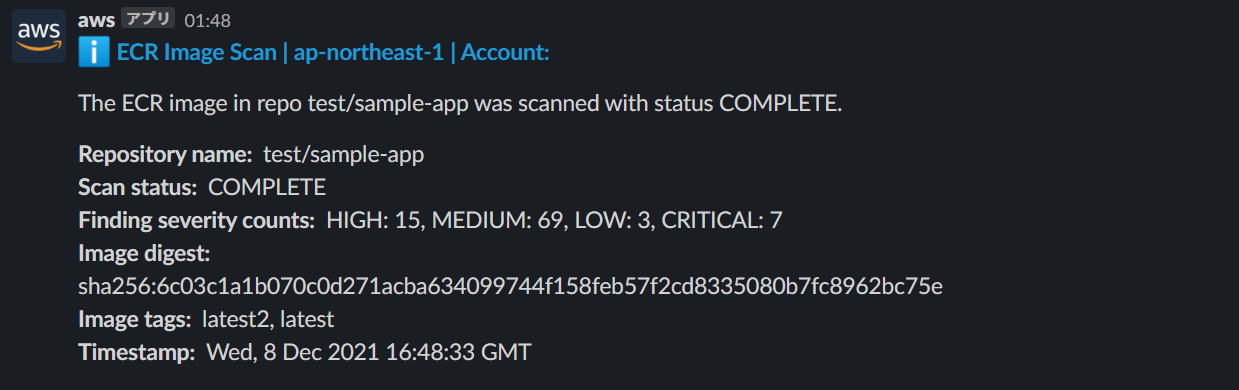
$.detail 部分が整形されて通知されるので、イメージスキャンの結果を把握することができます。
情報量が少ないケース
先日 CloudFormation のイベント通知がサポート されたのでこちらを例にあげてみます。
スタックステータスのサンプルイベントと AWS Chatbot の通知結果は以下のとおりです。
{
    "version":"0",
    "id":"6a7e8feb-b491-4cf7-a9f1-bf3703467718",
    "detail-type":"CloudFormation Stack Status Change",
    "source":"aws.cloudformation",
    "account":"111122223333",
    "time":"2017-12-22T18:43:48Z",
    "region":"us-west-1",
    "resources":[
        "arn:aws:cloudformation:us-west-1:111122223333:stack/teststack"
    ],
    "detail":{
        "stack-id":"arn:aws:cloudformation:us-west-1:111122223333:stack/teststack",
        "status-details":{
            "status":"CREATE_COMPLETE",
            "status-reason":""
        },
        "client-request-token":""
    }
}

CloudFormation のスタックステータスに関する通知であることはわかりますが、$.detail は通知されないので実際のステータスがわかりません。感覚値としてはこのように $.detail が割愛されてしまうイベントの方が多い印象です。
EventBridge の入力トランスフォーマーを活用する
入力トランスフォーマーは EventBridge がイベントをターゲットに渡す前に、イベントのテキストをカスタマイズできる機能です。通常は Amazon SNS などで通知を行う際に生の JSON ではなく、人が読みやすい形に変換するなどの目的で使用します。
今回は AWS Chatbot で通知される内容をカスタマイズするために JSON を JSON で上書きするようなイメージで使用します。
イベントの構造と通知内容は以下のような対応になっています。detail-type, region, account, resources についてはどのイベントでも通知対象となるようです。特に resources は箇条書きとして表示されるので、今回はこのフィールドを活用します。

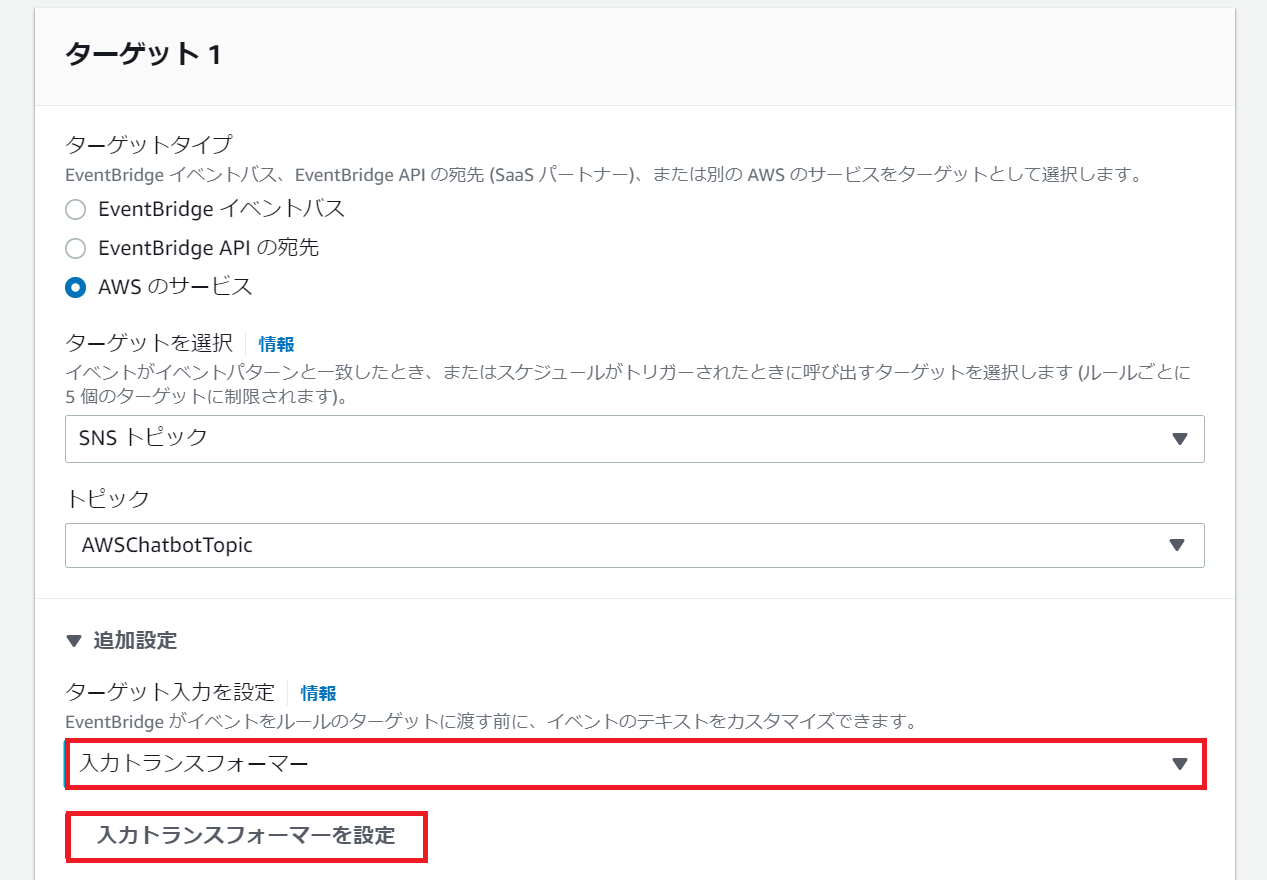
EventBridge ルールの入力トランスフォーマーの設定を開きます。
入力パスを以下のように定義します。入力パスは JSON パスを使用して元のイベント内の項目を参照し、それらの値を変数に格納することができます。ここでは $.detail から stack-id, status, status-reason を変数として定義しています。
{
  "account": "$.account",
  "detail-type": "$.detail-type",
  "id": "$.id",
  "region": "$.region",
  "source": "$.source",
  "stack-id": "$.detail.stack-id",
  "status": "$.detail.status-details.status",
  "status-reason": "$.detail.status-details.status-reason",
  "time": "$.time",
  "version": "$.version"
}
入力テンプレートはイベントルールのターゲットに渡す情報のテンプレートです。AWS Chatbot で通知できるようするため、元の JSON 構造は崩さずに resources に先ほどの変数を追加しています。
{
  "version": <version>,
  "source": <source>,
  "account": <account>,
  "id": <id>,
  "region": <region>,
  "detail-type": <detail-type>,
  "time": <time>,
  "resources": [
    "Stack ID: <stack-id>",
    "Stack Status: <status>",
    "Status Reason: <status-reason>"
  ]
}
CloudFormation Stack Status Change のサンプルイベント、入力パス、入力テンプレートを設定後、出力を生成をクリックして、以下のようにカスタマイズ後の JSON が出力されれば OK です。
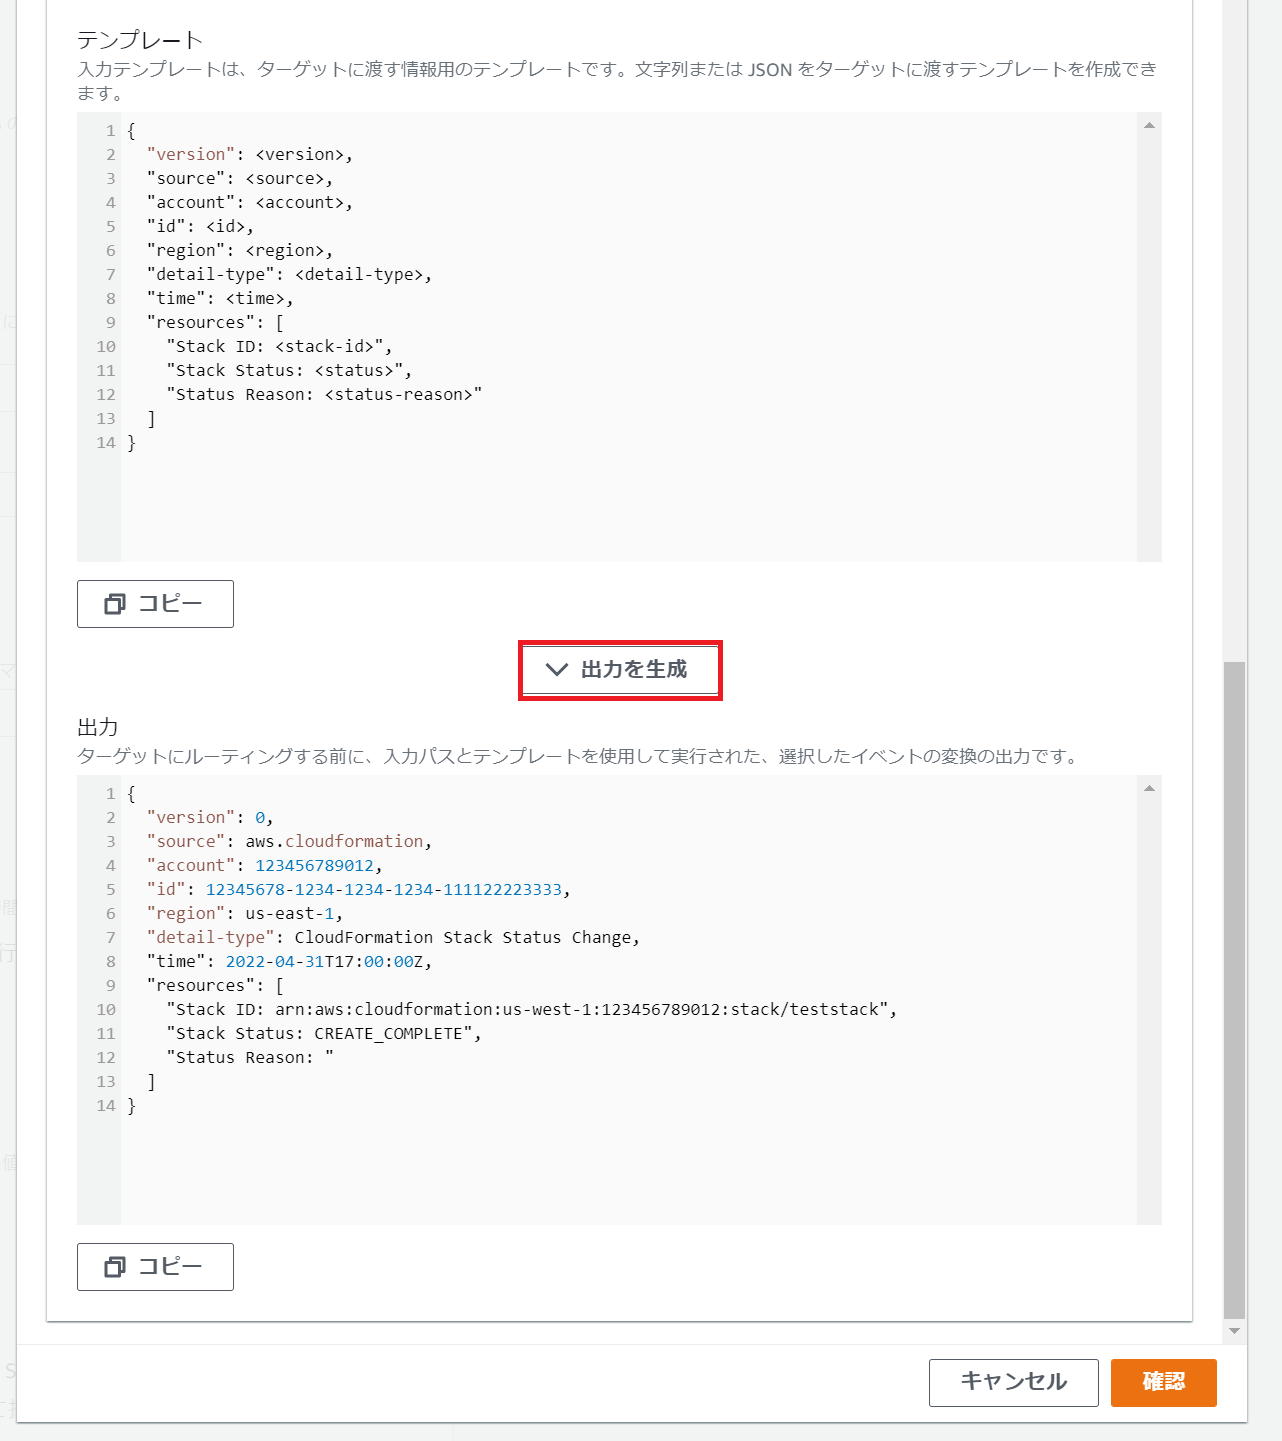
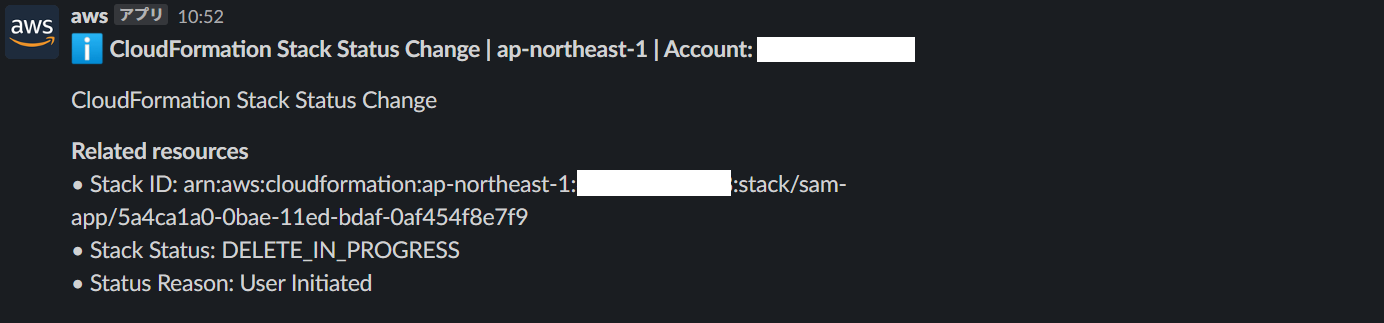
カスタマイズ後の通知例が以下です。スタックステータスがわかるようになりました!
その他のカスタマイズ例
AWS Organizations
冒頭の例です。
CreateAccountResult で正常に作成された AWS アカウントの ID を知りたいケース。
サンプルイベント
{
  "version": "0",
  "id": "999cccaa-eaaa-0000-1111-123456789012",
  "detail-type": "AWS Service Event via CloudTrail",
  "source": "aws.organizations",
  "account": "123456789012",
  "time": "2018-08-30T21:42:18Z",
  "region": "us-east-1",
  "resources": [],
  "detail": {
    "eventVersion": "1.05",
    "userIdentity": {
      "accountId": "123456789012",
      "invokedBy": "AWS Internal"
    },
    "eventTime": "2018-08-30T21:42:18Z",
    "eventSource": "organizations.amazonaws.com",
    "eventName": "CreateAccountResult",
    "awsRegion": "us-east-1",
    "sourceIPAddress": "AWS Internal",
    "userAgent": "AWS Internal",
    "eventID": "0000000-0000-0000-1111-123456789012",
    "readOnly": false,
    "eventType": "AwsServiceEvent",
    "serviceEventDetails": {
      "createAccountStatus": {
        "id": "car-000000000000000000000000000000",
        "state": "SUCCEEDED",
        "accountName": "****",
        "accountId": "123456789012",
        "requestedTimestamp": "Aug 30, 2018 9:42:14 PM",
        "completedTimestamp": "Aug 30, 2018 9:42:18 PM"
      }
    }
  }
}
イベントパターンの例
{
  "source": ["aws.organizations"],
  "detail-type": ["AWS Service Event via CloudTrail"],
  "detail": {
    "eventName": ["CreateAccountResult"],
    "serviceEventDetails": {
      "createAccountStatus": {
        "state": ["SUCCEEDED"]
      }
    }
  }
}
入力パス
{
  "account": "$.account",
  "accountId": "$.detail.serviceEventDetails.createAccountStatus.accountId",
  "detail-type": "$.detail-type",
  "eventName": "$.detail.eventName",
  "id": "$.id",
  "region": "$.region",
  "source": "$.source",
  "state": "$.detail.serviceEventDetails.createAccountStatus.state",
  "time": "$.time",
  "version": "$.version"
}
入力テンプレート
{
  "version": <version>,
  "id": <id>,
  "detail-type": <detail-type>,
  "source": <source>,
  "account": <account>,
  "time": <time>,
  "region": <region>,
  "resources": [
    "Source: <source> | <eventName>",
    "Create Account Status: <state>",
    "Account ID: <accountId>"
  ]
}
通知例
AWS Support
サポートケースのアップデートを知りたいケース。
サンプルイベント
{
  "version": "0",
  "id": "93274b19-a740-0c83-d087-f96dc185f9d3",
  "region": "us-east-1",
  "time": "2020-12-22T18:43:48Z",
  "source": "aws.support",
  "detail-type": "Support Case Update",
  "resources": [],
  "detail": {
    "case-id": "case-986719740728-muen-2022-7c9986eac47e55f4",
    "display-id": "9592853861",
    "communication-id": "",
    "event-name": "CreateCase",
    "origin": ""
  },
  "account": "123456789012"
}
イベントパターンの例
{
  "source": ["aws.support"],
  "detail-type": ["Support Case Update"]
}
入力パス
{
  "account": "$.account",
  "detail-type": "$.detail-type",
  "display-id": "$.detail.display-id",
  "event-name": "$.detail.event-name",
  "id": "$.id",
  "region": "$.region",
  "source": "$.source",
  "time": "$.time",
  "version": "$.version"
}
入力テンプレート
{
  "version": <version>,
  "id": <id>,
  "region": <region>,
  "time": <time>,
  "source": <source>,
  "detail-type": <detail-type>,
  "resources": [
    "Case ID: <display-id>",
    "Event Name: <event-name>",
    "Link: https://support.console.aws.amazon.com/support/home#/case/?displayId=<display-id>"
  ],
  "account": <account>
}
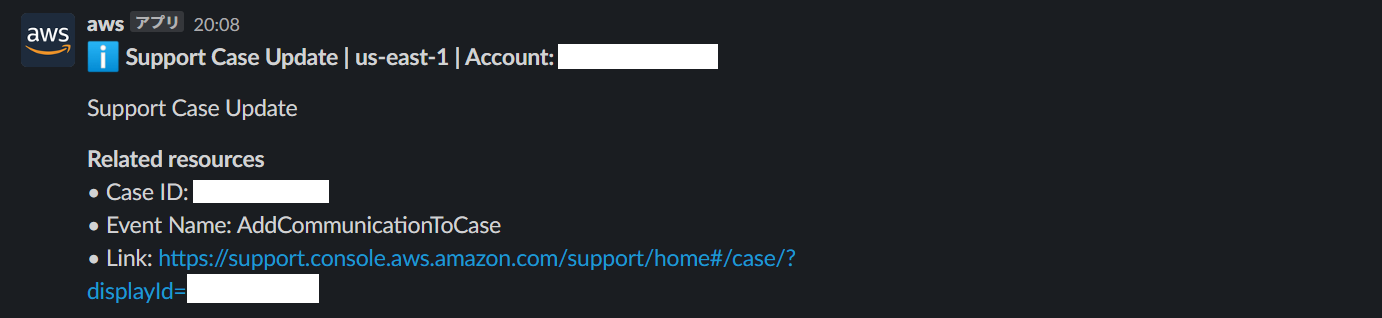
通知例
以上です。
参考になれば幸いです。