概要
Windows10にPython3とVisualStudioCodeをインストールしたので備忘録
動画
動画版もこちらにおいておきます。

手順
1.Python3 インストール
1-1. ダウンロード
下記のURLからダウンロードしてください。
https://www.python.org/


1-2. 実行
ダウンロードしたファイルを実行してください。
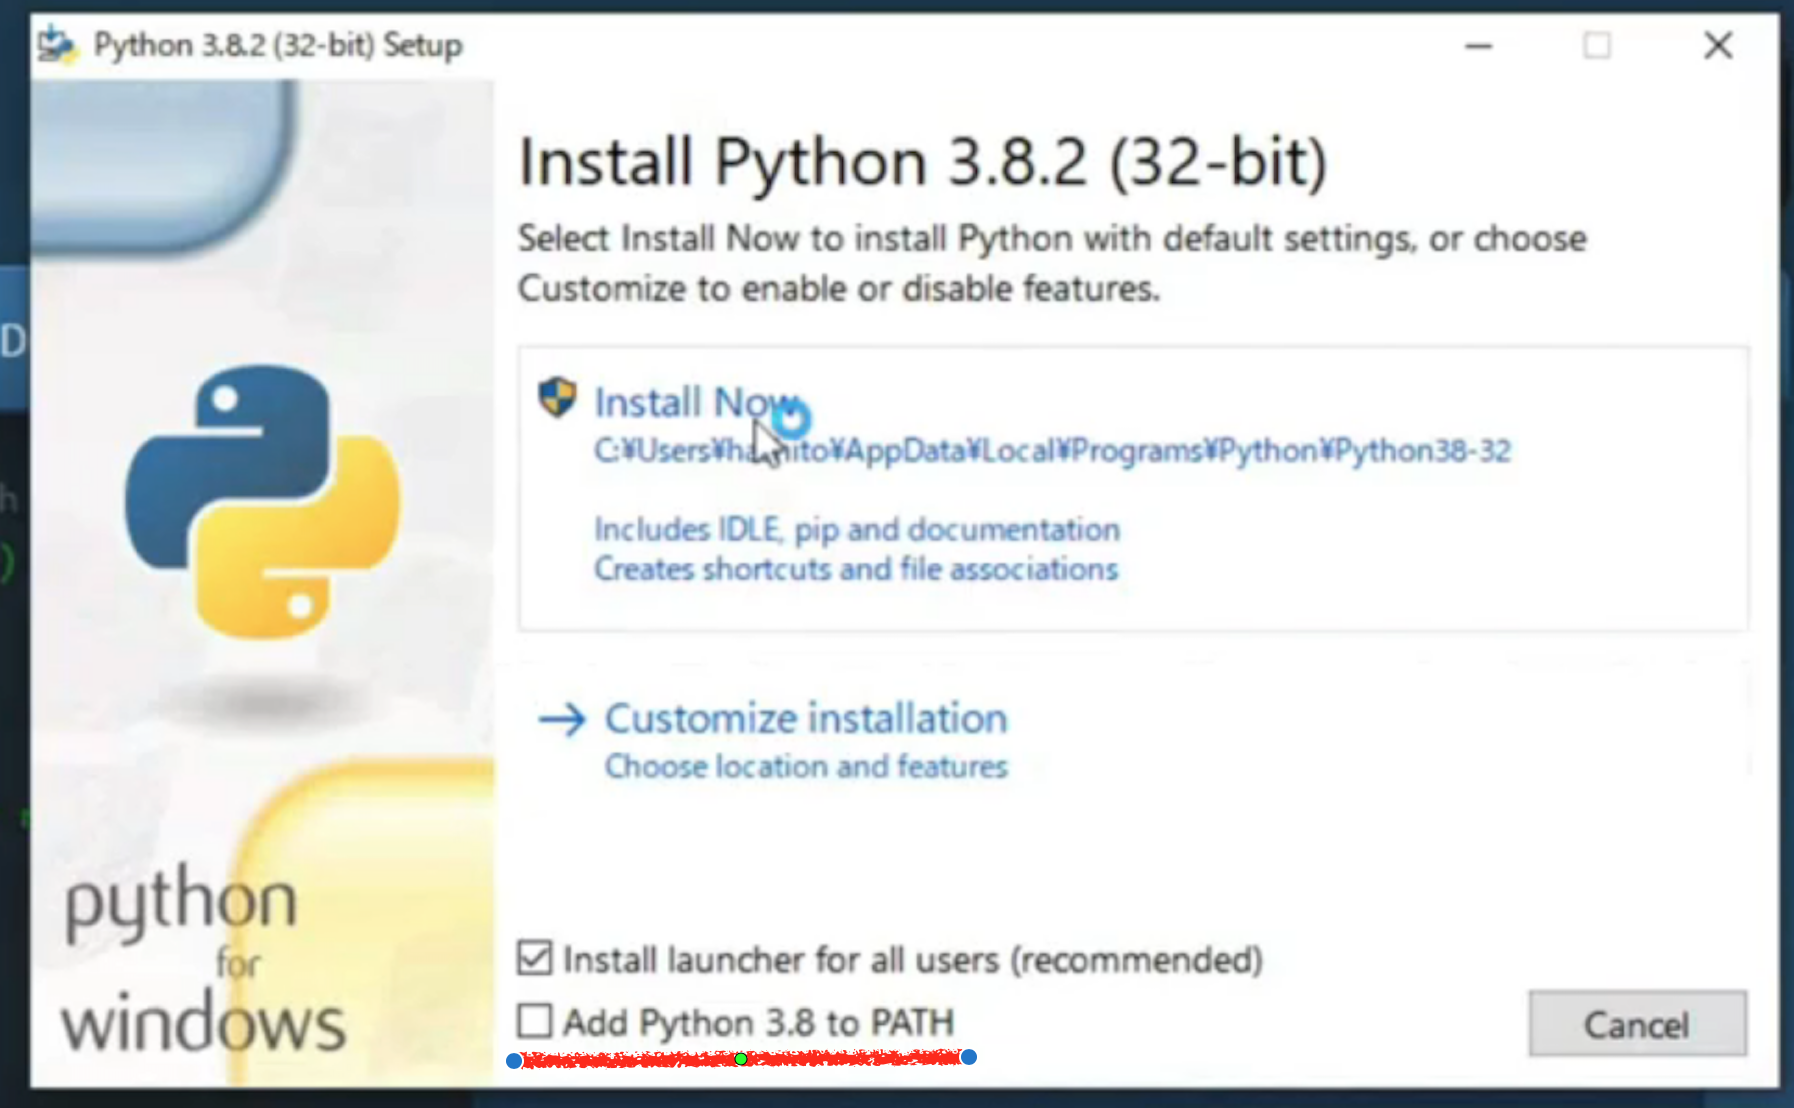
「Add Python3.8 PATH」はチェックを入れてください。

これでPythonのインストールは完了です。
2.VisualStudioCode インストール
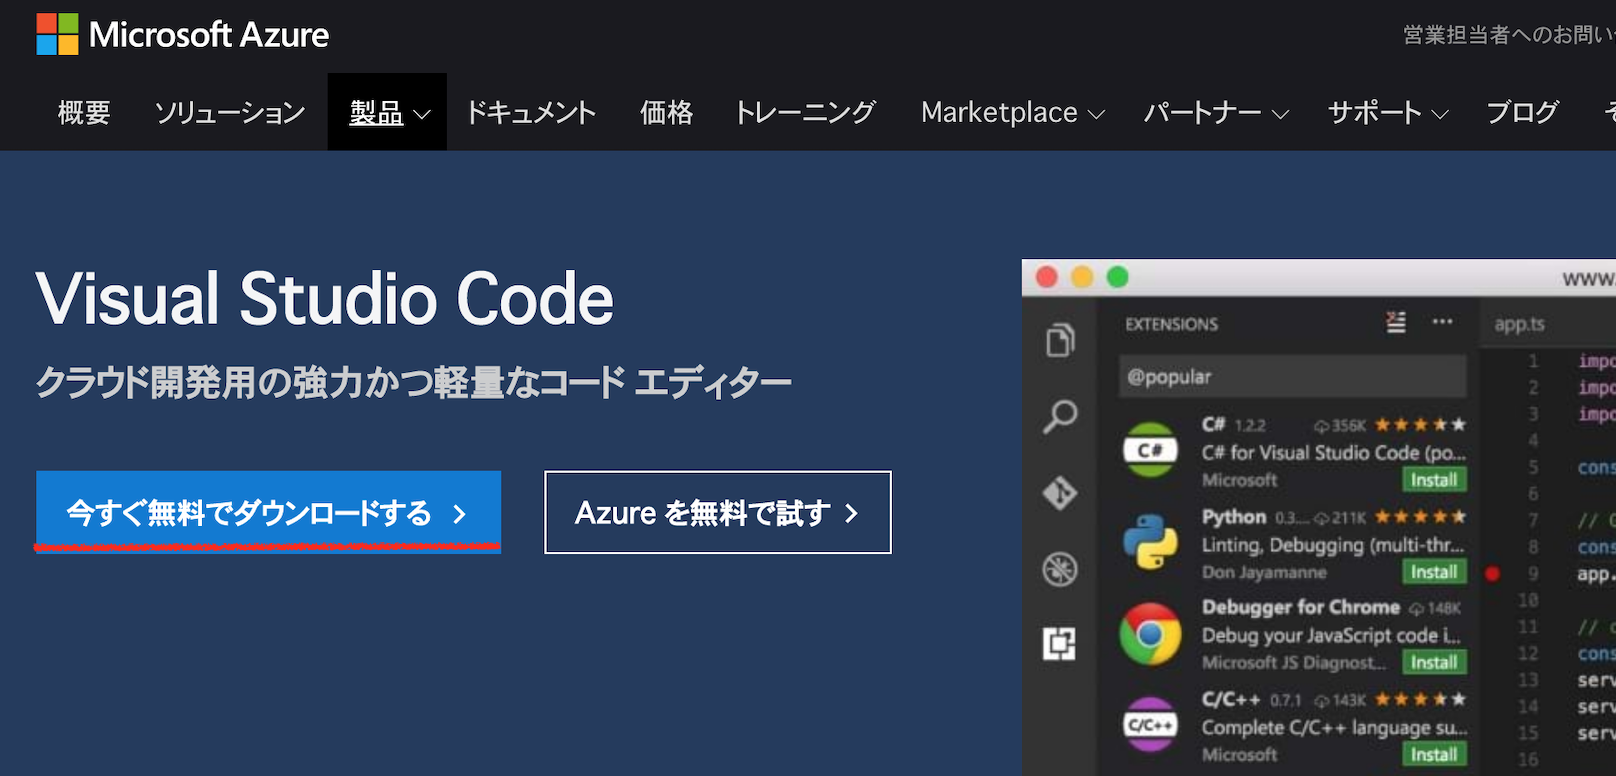
2-1. ダウンロード
下記のURLからダウンロードしてください。


2-2. 実行
ダウンロードしたファイルを実行してください。
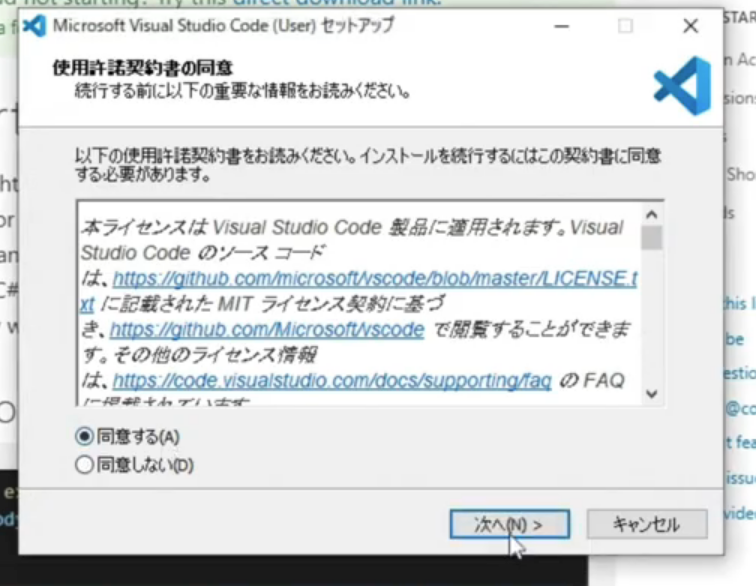


チェック項目に関しては自由に選択してください。

これでインストールは完了です。
2-3.デバッグ設定
VisualStudioCodeを起動してください。

四角が重なったようなアイコンから拡張機能をインストール出来ます。
その中からPythonを選択し、インストールしてください。
インストールが終わるとデバッグが可能になります。

実行したいpythonファイルを開いた状態で、虫のようなマークを選択、その後Run and Debugをクリックすると、下記のような画面になります。
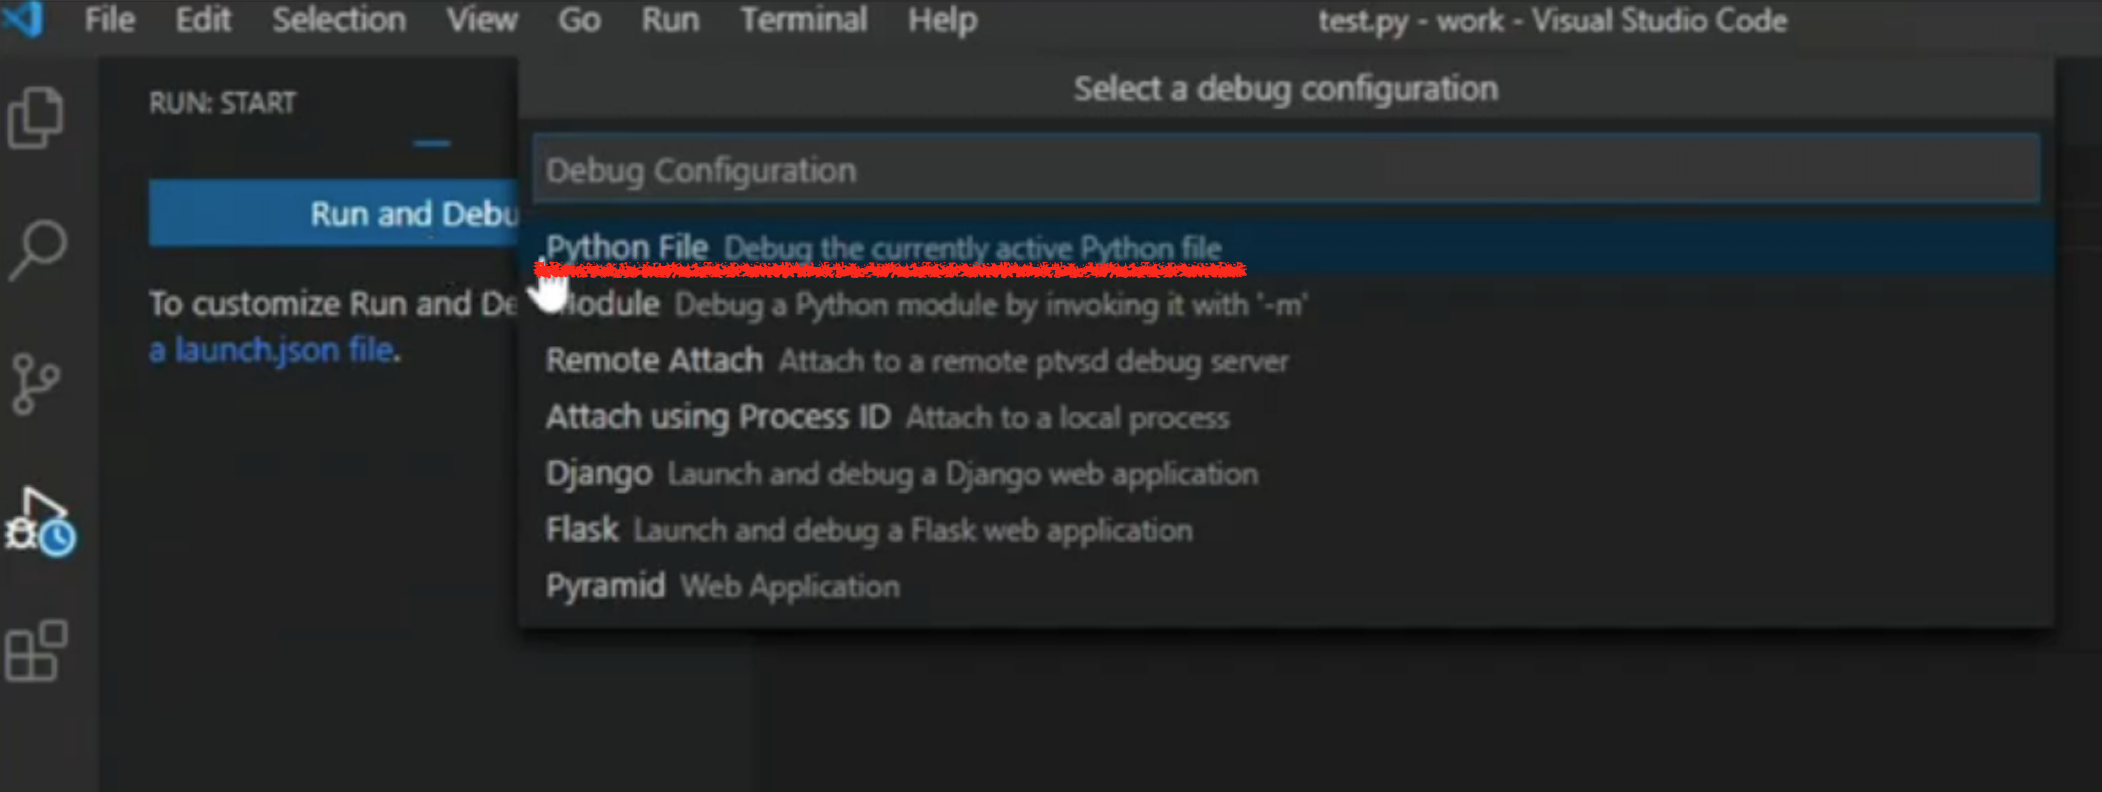
Python Fileを選択するとデバッグすることが出来ます。