データ分析や機械学習で広く使用されているPythonですが、それらを使いこなす前の手慣らしとして、超簡単 なWebページを 極簡単 に実装してみたいと思います。
※Webページ自体の構成や内容は全く頭を使わず、Pythonを使うという一点のみで作成しています
目的
- DBとの連携の仕方を確認する
- Webフレームワーク/テンプレートエンジンの動作を確認する
- Pythonの各種基本構文の確認
作成するWebページの機能
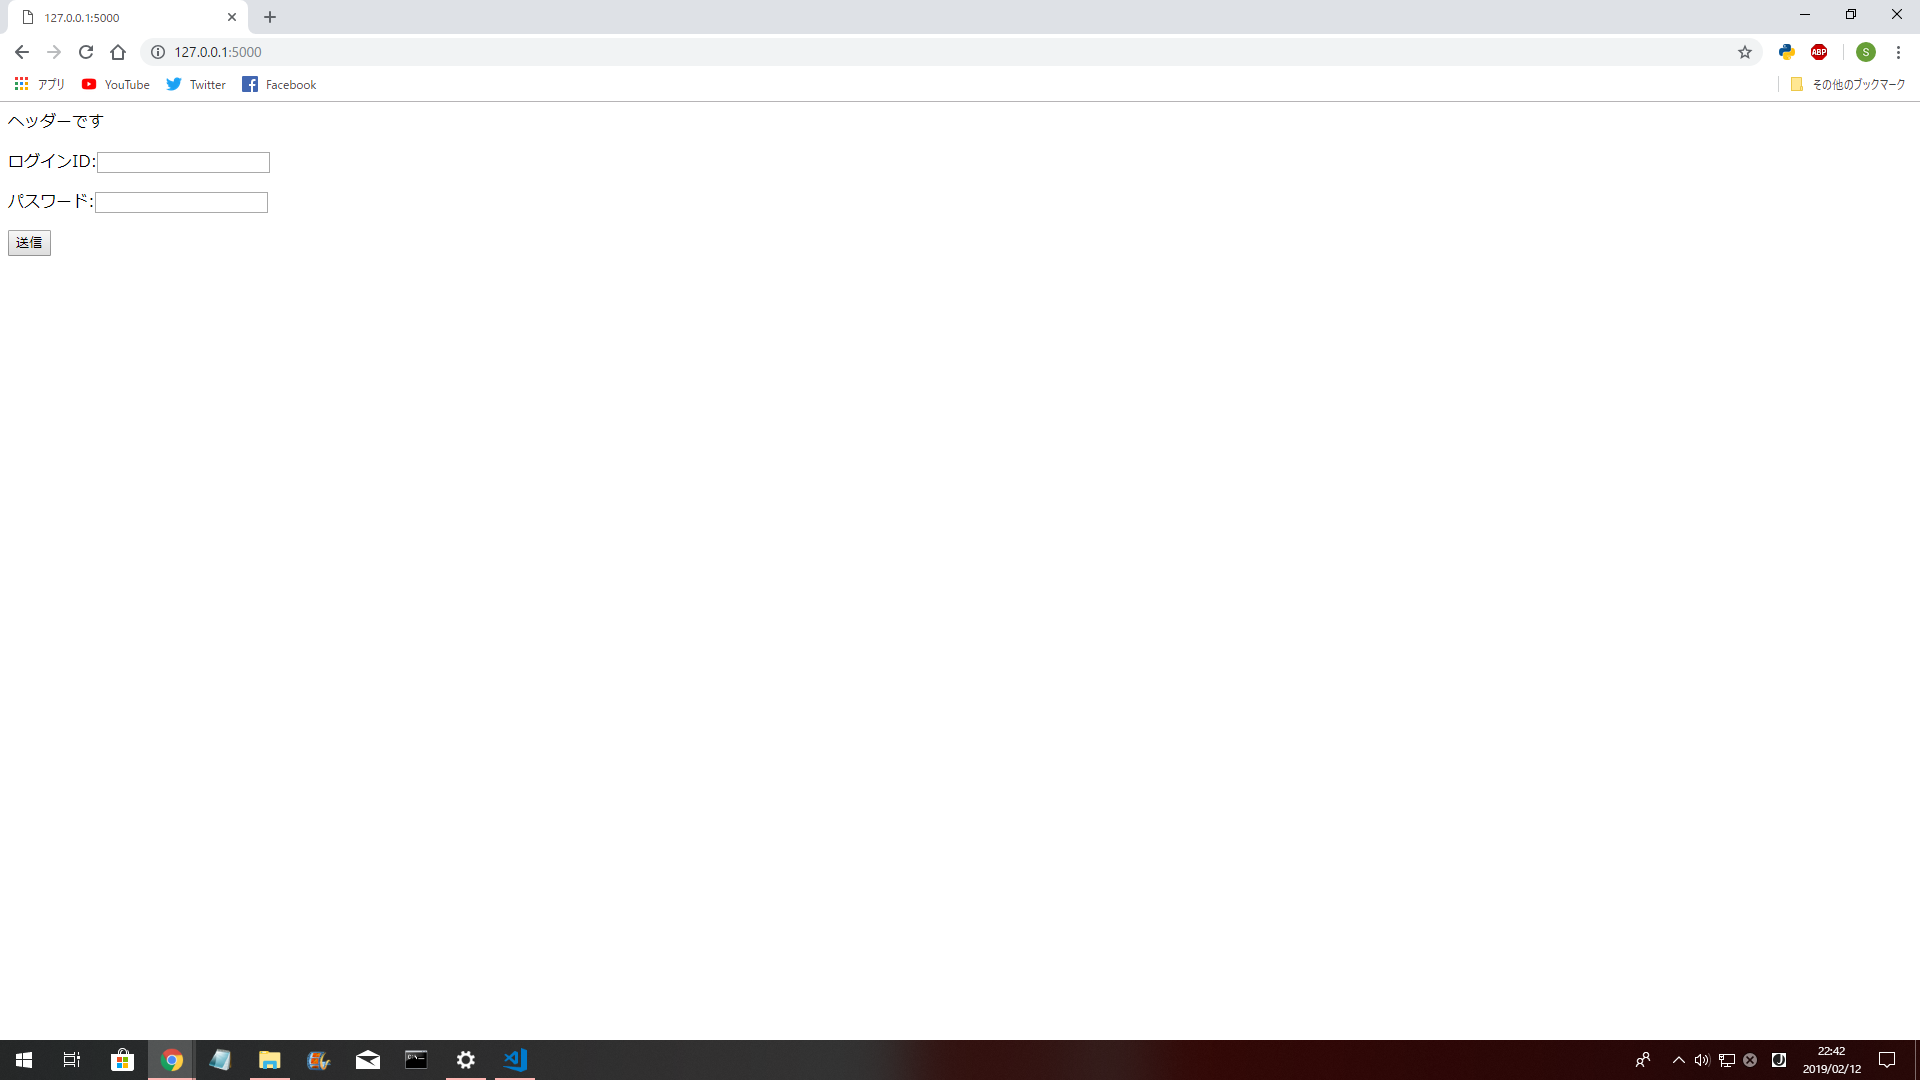
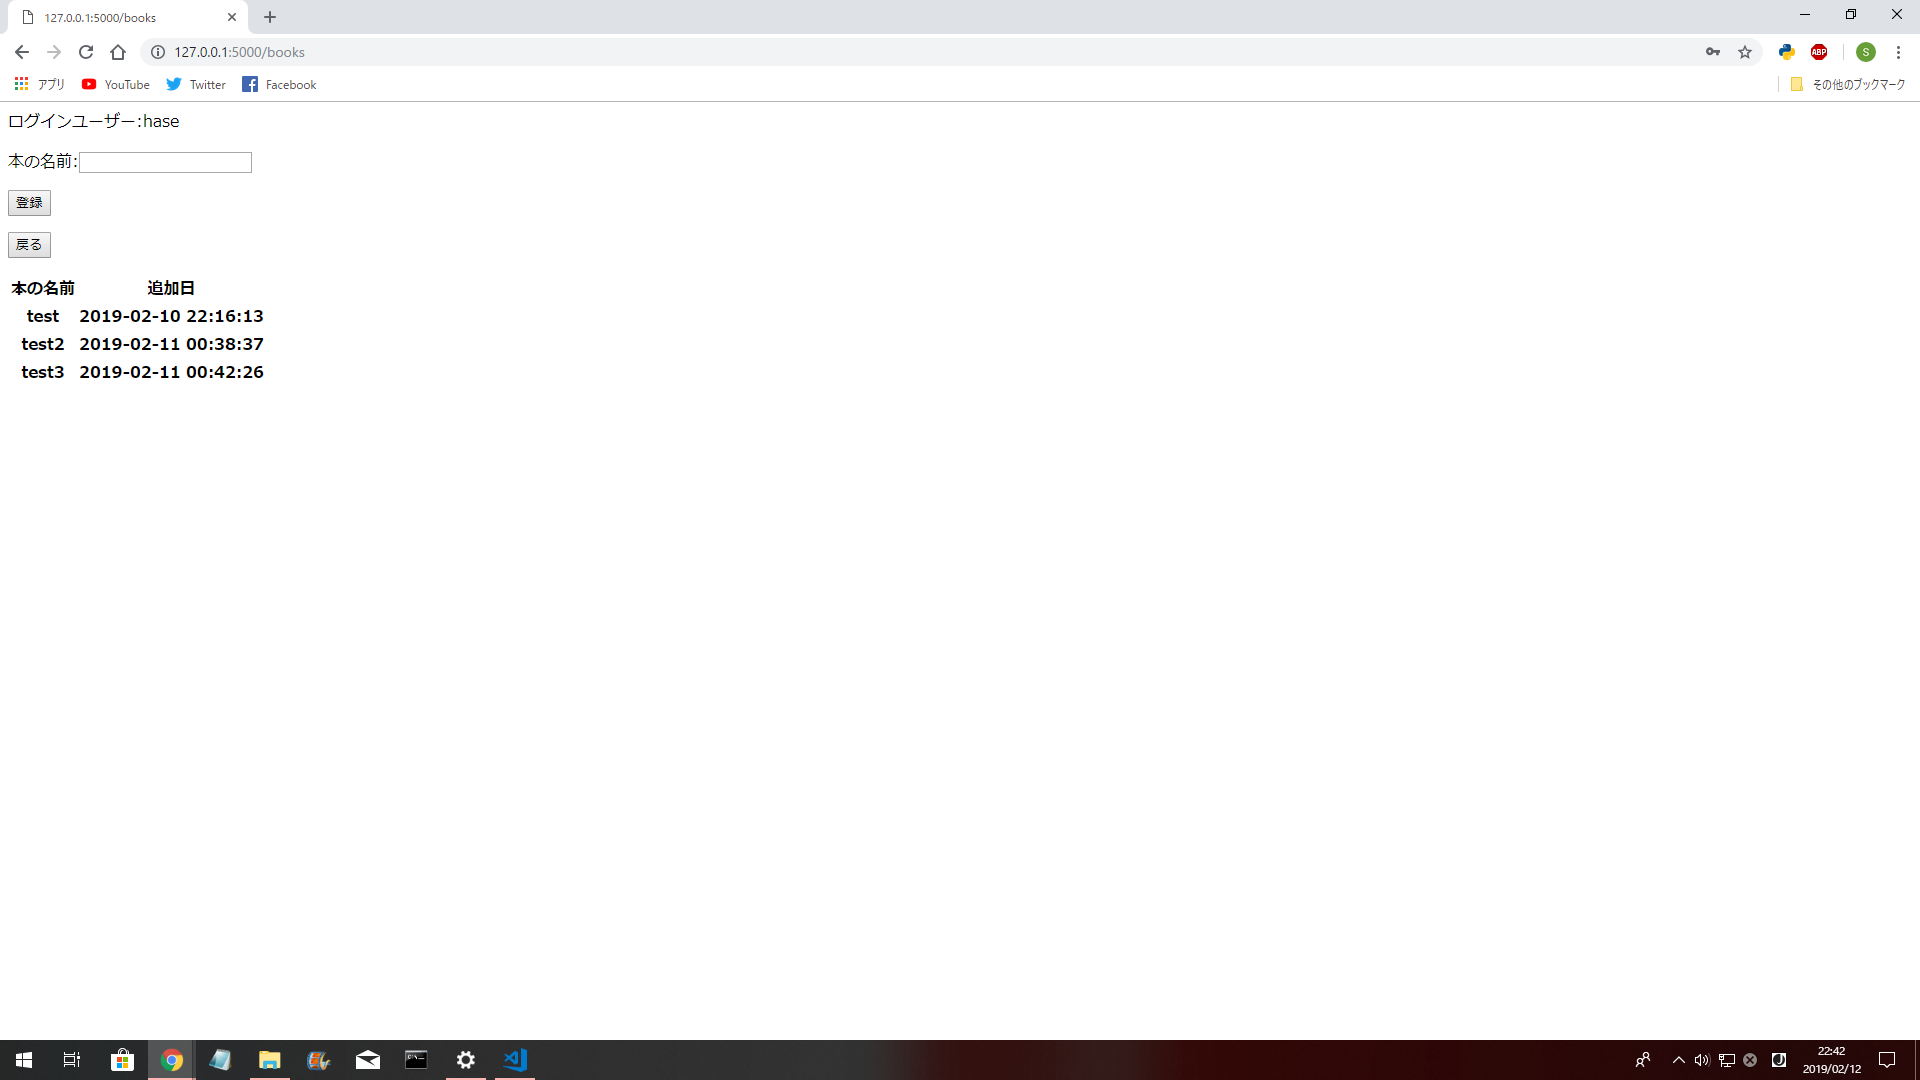
- 画面構成…ログイン(っぽい)画面とメイン(っぽい)画面のみ
- 機能…ログイン画面でloginIDとパスワードを要求してメイン画面に遷移、メイン画面では読了した本の一覧を表示し、同じ画面では新しく本を追加することができるという想定
※ユーザーの新規登録画面は本の追加などと概ね同じなので作成しない
※パスワードのハッシュ化などの普通のWebページとして公開する際に必要なものは省き、上記の機能を シンプル に実装する
環境
- MySQL…8.0.13
- python…3.6.8
- sqlAlchemy…1.2.16(ORM)
- Flask…1.0.2(Webフレームワーク)
- jinja2…2.10(テンプレートエンジン)
webapp
├── templates
|   └── index.html
|   └── book.html
|   └── header.html
├controller.py
├dao.py
├use.py
└book.py
環境構築
-
MySQL…特に特筆すべきことはないので[こちら]
(https://dev.mysql.com/downloads/installer/)からDLして環境構築 -
Python(Anaconda)開発環境の構築(2通り)
①Python.orgからPythonをインストールし、pipを用いて他のライブラリを入れる
②Anacondaというデータ分析や機械学習やその他いろいろなライブラリが導入できるディストリビューションをインストールする
どちらでも問題ないですが、特にAnacondaを使用しない理由もないので、今回はAnacondaをインストールします。
※Pythonのバージョン管理やパッケージ管理にpyenvやvirtualenvを使用することが多いようですが、今回はそこまで必要ないのでやりません。
-
手順
- 上記サイトからインストーラをダウンロード
- exeファイルを起動して画面に従ってポチポチ
- コマンドプロンプトなどで
conda listで入っているライブラリの確認をする
※ライブラリが足りてなければ
conda install <モジュール名>でインストールする
実装
下記の方針でシンプルに実装していく
- controller.pyでリクエストの処理を行う
- dao.pyでDBとのやり取りを行う
- user.py/book.pyはマッピング用のクラス(メタクラス)
Controller
# モジュールのインポート<from パッケージ名 import クラス or メソッド>
from flask import Flask, render_template, request, session, redirect
from dao import user_dao, select_book_dao, insert_book_dao
from user import User

# Flaskのインスタンス化
app = Flask(__name__)
# sessionを利用するためのシークレットキー
app.secret_key = '適当な文字列'

# URL、メソッドによる処理の振り分け
@app.route("/", methods = ["GET","POST"])
def hello_world():
    if request.method == "GET":
     #htmlファイルを返す
        return render_template("index.html")
    else:
        #daoを利用してログインユーザーを取得する
        user = user_dao(request.form["loginID"], request.form["password"])
        if user is not None:
            #sessionにログインユーザーを追加
            session["user"] = user.login_id
            return redirect("/books")
        else:
            return render_template("index.html")

# メイン画面の処理
@app.route("/books", methods = ["GET", "POST"])
def book_list():
    if request.method == "POST":
        insert_book_dao(session.get("user"), request.form["bookname"])
    books = select_book_dao(session.get("user"))
    #books.htmlにパラメータを渡して返す
    return render_template("books.html", books = books)

# controller.pyが実行された際にFlask が持っている開発用サーバー(ローカル)を起動する
if __name__ == "__main__":
    app.run()
PythoのフレームワークとしてはDjangoが有名なようですが、今回はさらに軽量なFlaskを用いて開発を行います
Flaskの基本的な使用方法に関しては上記コードのコメントで書いてありますが、まとめると
-
@app.route("URLのディレクトリ", methods = ["対応するメソッド"])でルーティングして下に記載されているメソッドを実行する -
render_tempate("htmlファイル", htmlに渡すパラメータ)でページを返す - 返されるhtmlはtemplatesフォルダ内に存在するものが自動的にルーティングされる
Flaskのインスタンス化や最下部で唐突に表れる__name__などに関しては、またの機会に…
dao
from sqlalchemy import create_engine, and_
from sqlalchemy.orm import sessionmaker
from user import User
from book import Book


# mysqlとのsessionを開始
engine = create_engine('mysql://ユーザー名:パスワード@MySQLサーバー/接続DB')
Session = sessionmaker(bind = engine)
session = Session()

# Select * from User where login_id = login_id and password = login_password
def user_dao(login_id, login_password):
    user = session.query(User).filter(and_(User.login_id == login_id, User.password == login_password)).first()
    return user

# select * from Book where user = login_id
def select_book_dao(login_id):
    books = session.query(Book).filter(Book.user == login_id).all()
    return books

# insert * into Book value (user, bookname)
def insert_book_dao(user, bookname):
    book = Book()
    book.user = user
    book.bookname = bookname
    session.add(book)
    session.commit()
daoもシンプルに解説すると
-
create_engine(dbサーバーとの接続情報)でデータベースエンジンを生成 -
sessionmaker(bind = エンジン)でセッションクラスを生成 -
Session()でインスタンス生成 - 各メタクラスを使用してSQLを組み立てる
個人的にはJavaのHibernateのような形で分かりやすかったです
User/Book(メタクラス)
from sqlalchemy.ext.declarative import declarative_base
from sqlalchemy import Column, Integer, String

Base = declarative_base()

class User(Base):
    __tablename__ = "users"
    user_id = Column("userID",Integer, primary_key = True)
    login_id = Column("loginID",String)
    password = Column("password",String)
from sqlalchemy.ext.declarative import declarative_base
from sqlalchemy import Column, Integer, String, TIMESTAMP
import time

Base = declarative_base()

class Book(Base):
    def __init__(self):
        self.created_date = time.strftime('%Y-%m-%d %H:%M:%S')

    __tablename__ = "books"
    book_id = Column("idbooks",Integer, primary_key = True)
    user = Column("user",String)
    book_title = Column("bookname",String)
    created_date = Column("created_date", TIMESTAMP)
-
declarative_base()で作成したBaseクラスを継承して各メタクラスを生成する -
__tablename__、Columen("カラム",型,その他設定)で紐づけを行う - デフォルト値などの設定は
__init__で設定する
html
<!DOCTYPE html>
<html lang = "ja">
    {% include "header.html" %}
    <body>
        <form action = "/" method = "post">
          <p>
              ログインID:<input type="text" name ="loginID"/>
          </p>
          <p>
              パスワード:<input type ="password" name = "password"/>
          </p>
          <input type="submit" value="送信">
        </form>
    </body>
</html>
<html>
  <body>
    <p>
        ログインユーザー:{{ session.user }}
    </p>
    <p>
        <form action = "/books" method = "post">
          <p>
              本の名前:<input type="text" name ="bookname"/>
          </p>
          <input type="submit" value="登録">
        </form>
        <form action = "/" method = "get">
          <input type="submit" value = "戻る"/>
        </form>
    </p>
    <table>
        <tr><th>本の名前</th><th>追加日</th></tr>
        {% for book in books %}
        <tr><th>{{ book.book_title }}</th><th>{{ book.created_date}}</th></tr>
        {% endfor %}
    </table>
  </body>
</html>
ヘッダーです
jinja2を使用しているため、html内で文字列の読み込みや分岐、ループを行うことが出来ます
-
{{パラメーター}}で値の埋め込み -
{% %}で式 -
{# #}でコメント
また当然ヘッダーなどのモジュール化もでき、htmlの継承ということもできます。
ローカルサーバーの起動
(Pathが通っている場合は)python {app.run()の存在するディレクトリ}で起動 http://127.0.0.1:5000にアクセス

まとめ
あまりにも殺風景なページですが基本的?な事柄は抑えることが出来たと思います。
このページを作るだけだとPythonである必要が全くないので、今度はもう少し発展的な内容をやっていこうと思います。
