はじめに
最新版のチュートリアル、見た目がスタイリッシュになっています。
今回は「最初のAngularアプリをローカルで構築する」をやっていきます。よろしくお願いします。
筆者も修行の身としてやらせて頂いているので、ご指摘などどんどん書いて欲しいです。
実況開始
(追記)Angular17でやってました。
中身全部英語。そして右下のプレビューが全く動かない。サードパーティークッキーの許可とかしてみたけど駄目でした。Console見てみたらUncaught (in promise)が大量にあるけどこれは本質じゃないやつだろうか。ちょっとサクッと解決出来ないので諦めます。どっちみちローカルで起動するので。
0. イントロダクション
ここはインストールとかいろいろやるだけ。
1. Hello world
1-1. Download the default app
Chromeからダウンロード出来ない。Edgeからならいけた。セーフ。
1-2. Test the default app
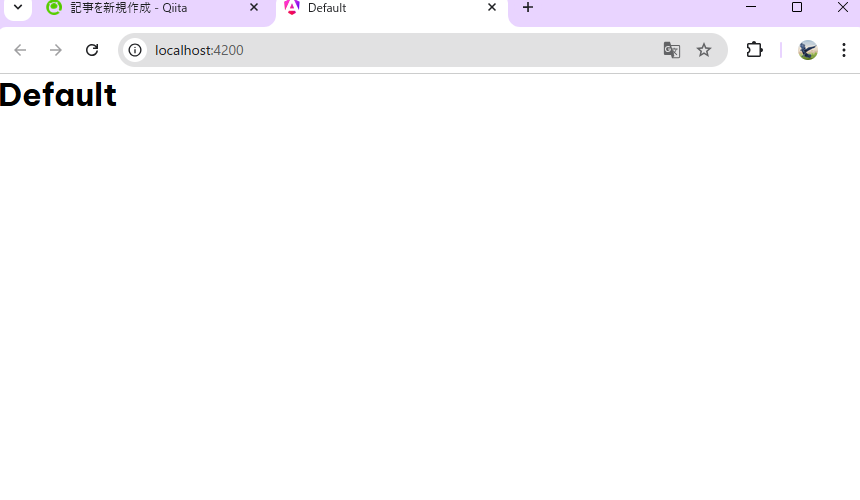
ん?
nixファイルがよく分からないので下記の通りにやってみました。
- 適当なディレクトリに移動。
- そこのディレクトリ直下で
ng new first-app(アプリ名はなんでも良い)を打つ。 - ダウンロードしてきたzipフォルダを解凍し、srcフォルダをコピーして、2.で作ったfirst-appのsrcフォルダをそいつに差し替える。
なんか本質じゃなさそうですが、無事ng serve出来ました。
1-3. Review the files in the project
my-first-appディレクトリに移動し、vscode的なものを開きましょう。srcフォルダの中身が本質です。
1-4. Create Hello World
言われた通りにやると「Hello Workd!」が表示されます。
2. Create home component
いよいよAngularの核心に迫っていきます。コンポーネントを感じましょう。
2-1. Create the Homecomponent
言われた通りでOKです。
2-2. Add the new component to your app's layout
作ったHomecomponentのselectorを用いてアプリに表示させます。
言われた通りでOKのはず。私の環境だと画像が表示されないですが、そこにいるので一旦次へ。
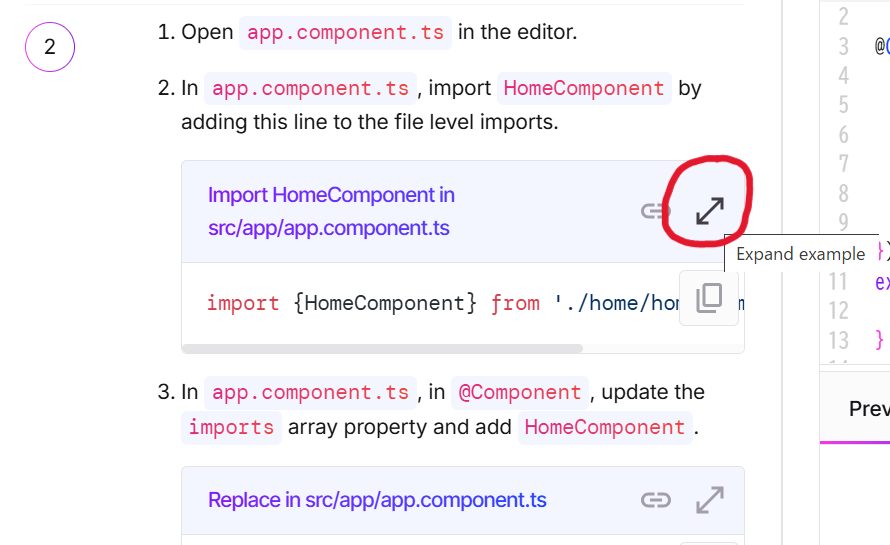
少し分かりづらいですが、各コードは広げて全文表示できます。
2-3. Add features to HomeComponent
Homecomponent編集します。
テンプレートを作成し、スタイルを充てていきます。ここも言われたとおりで大丈夫です。というか多分ここからは言われた通りでいけるはずです。だめならその都度自分なりの解決策を書いていきます。
3. Create the application’s HousingLocation component
またComponentを追加します。どんな部品なのかは作りながら見ていきましょう。
3-1. Create the HousingLocationComponent
はい。
3-2. Add the new component to your app's layout
HomeComponentにHousingLocationComponentを挿入します。
3-3. Add the styles for the component
はい。
4. Creating an interface
次はインターフェースを作ります。
4-1. Create a new Angular interface
HousingLocationの特長一覧を入れておく型のようなものを作成します。
4-2. Add properties to the new interface
特長一覧を書きます。
4-3. Create a test house for your app
HomeComponentにHousingLocationのオブジェクトを直接書き込んでいきます。実際のシステムではデータベースから取得してきた値が使われるはずです。
5. Add an input parameter to the component
HousingLocationの特長をクライアント側から入力出来るようにするための準備をします。
5-1. Import the Input decorator
はい。
5-2. Add the Input property
ほい。
6. Add a property binding to a component’s template
6-1. Update the HomeComponent template
バインディングのための属性を追加します。
6-2. Confirm the code still works
エラー無し!
7. Add an interpolation to a component’s template
7-1. Update HousingLocationComponent template to include interpolated values
HomeComponentからHousingLocationComponentに渡されたデータをHTMLで表示させています。
コンポーネント間のデータの受け渡しが出来ました。
7-2. Confirm the changes render in the browser
OK。
8. Use *ngFor to list objects in component
7章では家の情報を1つだけ渡して表示しましたが、ここではfor文を使ってリスト表示させます。楽しくなってきましたね。
8-1. Add housing data to the HomeComponent
家のデータをたくさん追加します。
8-2. Update the HomeComponent template to use ngFor
それらをfor文で回してHousingLocationに渡していきます。
9. Angular Services
サービスというのを学びます。進めていけば「あ~こういうのか」ってなると思います。
9-1. Create a new service for your app
何はともあれhousingサービスを作ってみます。
9-2. Add static data to the new service
仮の静的なサービスを置いておきます。
9-3. Inject the new service into HomeComponent
作ったサービスをHomeComponentに挿します。
10. Add routes to the application
ページ遷移を追加して、家の詳細ページを作成します。まずはルーティングの設置です。
10-1. Create a default details component
詳細ページ用のコンポーネントを作ります。
10-2. Add routing to the application
まだエラーが出ます。routeConfigを作っていないので。
10-3. Add route to new component
ルーティングを作成します。
11. Integrate details page into application
詳細ページを完成させます。
11-1. Using routerLink for dynamic navigation
とりあえず詳細ページに飛べるようになります。
11-2. Get route parameters
はい。
11-3. Customize the DetailComponent
詳細ページを完全体にします。
11-4. Add navigation to the HomeComponent
いつでもホームページに戻ってこられるようにします。
12. Adding a form to your Angular app
ユーザーからの入力を受け付けられるようにします。
12-1. Add a method to send form data
まずはサービスにユーザー情報を受け取りconsole.logする機能を追加します。
12-2. Add the form functions to the details page
詳細ページにフォーム機能を追加します。
12-3. Add the form's markup to the details page
フォームをそれっぽくします。
12-4. Test your app's new form
ユーザー情報を入力してApply Nowを押すとその情報がコンソールに出力されます。
13. Add the search feature to your app
検索機能を追加します。
13-1. Update the home component properties
なんか追加します。
13-2. Update the home component template
はい。
13-3. Implement the event handler function
はい。検索機能が出来ました。
14. Add HTTP communication to your app
よりWebアプリっぽくしていきます。
14-1. Configure the JSON server
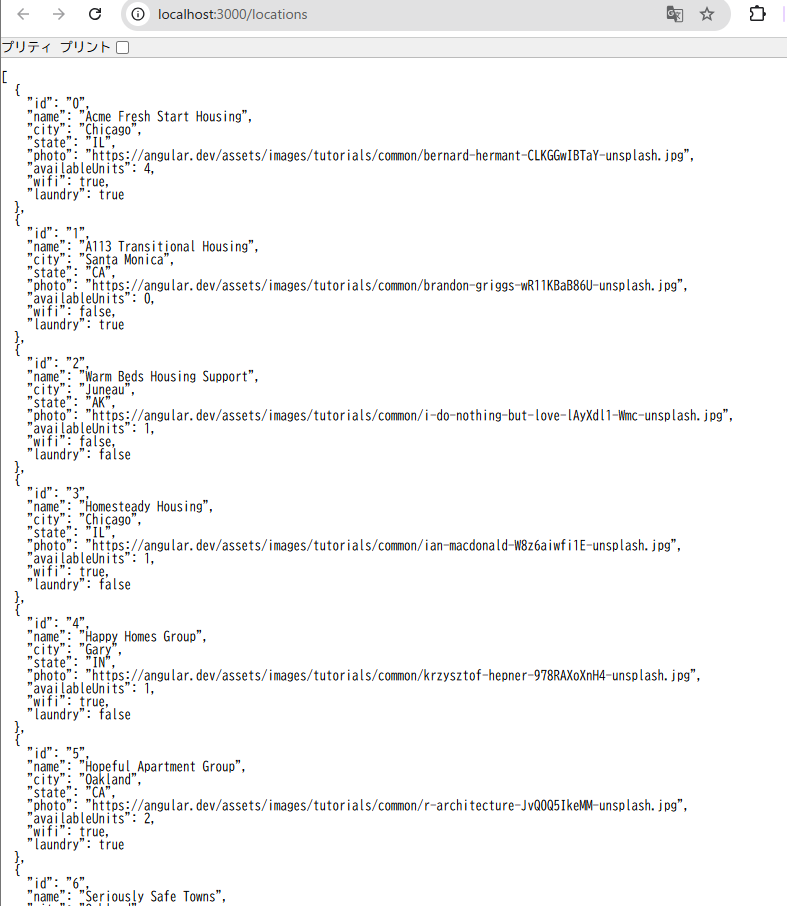
クラスに直書きしていた家の情報をJsonから取得するようにします。
db.jsonは、first-appディレクトリ直下に手動で作成してください。
こんな感じで確認できます。
14-2. Update service to use web server instead of local array
取得するデータをJsonからのものにします。
14-3. Update the components to use asynchronous calls to the housing service
コンポーネントにも修正がいるようです。
おわり
とりあえず一通り動かせました。なんとなくコピペで動かした箇所はまた復習したいです。.nixの使い方教えて下さい。


