これはつづきものです
Starting a Project
ここではVaadinプロジェクトの始め方をみます。
始め方はここに記載があります。
The recommended way to start a new Vaadin project is to use Vaadin Start. It allows you to configure and download a customized starting point for your application.
という記述があるように、「Vaadin Start」というサイトからプロジェクトを作ることを公式が推奨しています。必須ではなく推奨です。
The applications created using Vaadin Start are based on Spring Boot. Vaadin Flow starters for other stacks, such as JavaEE or plain servlet, are available in GitHub.
「Vaadin Start」で作ったプロジェクトはSpring Bootがベースです。Spring Bootも必須ではなく代わりにJavaEEなどにも対応できる旨が書いてあります。
パターンは以下の画像の通りです。
Tutorial
Overview
チュートリアルでは、CRMシステムを想定したアプリケーションを作るようです。ログイン画面、レスポンシブな画面(PC,モバイル向け)、データベースアクセス、一覧画面(ソートやフィルター機能付き)、追加・編集のフォーム画面、ダッシュボード、クラウドへのデプロイ、アプリインストール(?)とのこと。結構盛りだくさんです。
The application is a customer relationship management (CRM) system for managing contacts. It features:
- A login screen to restrict access.
- A responsive layout with side navigation that works on desktop and mobile.
- A database for persistent data storage.
- A list view that can be sorted and filtered.
- A form to edit and add contacts.
- A dashboard view.
- Cloud deployment.
- Application installation on mobile and desktop.
このチュートリアルが4時間で終わるという風に読めるのですがこれだけ盛りだくさんで4時間で終わるのか
This tutorial requires approximately 4 hours to complete.
Helpがほしい人はDiscordで質問できるそうです。
The best place to get help if you have questions is the Vaadin Discord chat server.
なお、このチュートリアルはSpring Bootを使います。このあとの文にも書いてありますが、VaadinはUIでSpringでBackendの構成です。
This tutorial uses Vaadin and Spring Boot, because they are both easy to learn and suitable for production use.
このあたりは個人的にうれしい。
なぜVaadinを使うのか?
公式の答え(抜粋)は
Why Use Vaadin Instead of Spring MVC and Thymeleaf, JSP or Freemarker?
Vaadin is an alternative to using Spring MVC and Thymeleaf, JSP or Freemarker when building web applications with Spring Boot.
The main advantages of Vaadin are:
- Vaadin is designed for building interactive single-page apps (SPA). Spring MVC and templates are better suited for more static content.
- Vaadin handles the communication between the server and the browser automatically; you don’t need to write any JavaScript to update content dynamically.
ということでSPAの話がでてきて、サーバ側とクライアント側のやり取りもvaadinがカバーすることにアドバンテージがあると主張します。
ただ、SPAの話がでてくると必然的にReactとかあるじゃんというのが頭をよぎるわけでして、その点に以下で答えています。1つ目のバックエンドとフロントエンドが分離されるか融合されるのかのどちらが良いのかは個々の事情に寄るでしょう。デザイナー・フロントエンドエンジニア・バックエンドエンジニアのように分業体制がとれるところはseparatelyであるほうが良い傾向にあるでしょうし、分業体制ではないならseparatelyであると手間が増えて良くない傾向になるかもしれません。ちなみに筆者はここであげられたメリットがほんとうに享受できるなら大賛成です。
Why Use Vaadin Instead of REST and React or Angular?
Combining a Spring-Boot-based REST backend with a frontend framework like React or Angular is a popular way of building SPAs. Vaadin allows you to build similar application experiences with less effort.
Advantages of using Vaadin:
- Faster development; you do not need to develop the backend and frontend separately.
- You can write the entire application in type-safe Java.
- Vaadin comes with a large library of customizable UI components.
- Vaadin handles the communication between the server and the browser automatically; you don’t need to write any JavaScript to update content dynamically.
- More secure; the Vaadin application runs on the server and doesn’t expose application code or extra endpoints to the browser.
Vaadin Flow Project Setup
コードを書く準備をします。案内に従ってstarterをダウンロードします。ダウンロードしたファイルをIntelliJで取り込みます。
起動する起点のクラスはApplication.javaです。アノテーションをみるとSpringBootでつけるもの以外にvaadin固有のアノテーションがいくつかついているのに気づきます。
package com.example.application;

import com.vaadin.flow.component.dependency.NpmPackage;
import com.vaadin.flow.component.page.AppShellConfigurator;
import com.vaadin.flow.server.PWA;
import com.vaadin.flow.theme.Theme;
import org.springframework.boot.SpringApplication;
import org.springframework.boot.autoconfigure.SpringBootApplication;
import org.springframework.boot.web.servlet.support.SpringBootServletInitializer;

/**
 * The entry point of the Spring Boot application.
 *
 * Use the @PWA annotation make the application installable on phones, tablets
 * and some desktop browsers.
 *
 */
@SpringBootApplication
@Theme(value = "flowcrmtutorial")
@PWA(name = "Flow CRM Tutorial", shortName = "Flow CRM Tutorial", offlineResources = {"images/logo.png"})
@NpmPackage(value = "line-awesome", version = "1.3.0")
public class Application extends SpringBootServletInitializer implements AppShellConfigurator {

    public static void main(String[] args) {
        SpringApplication.run(Application.class, args);
    }

}
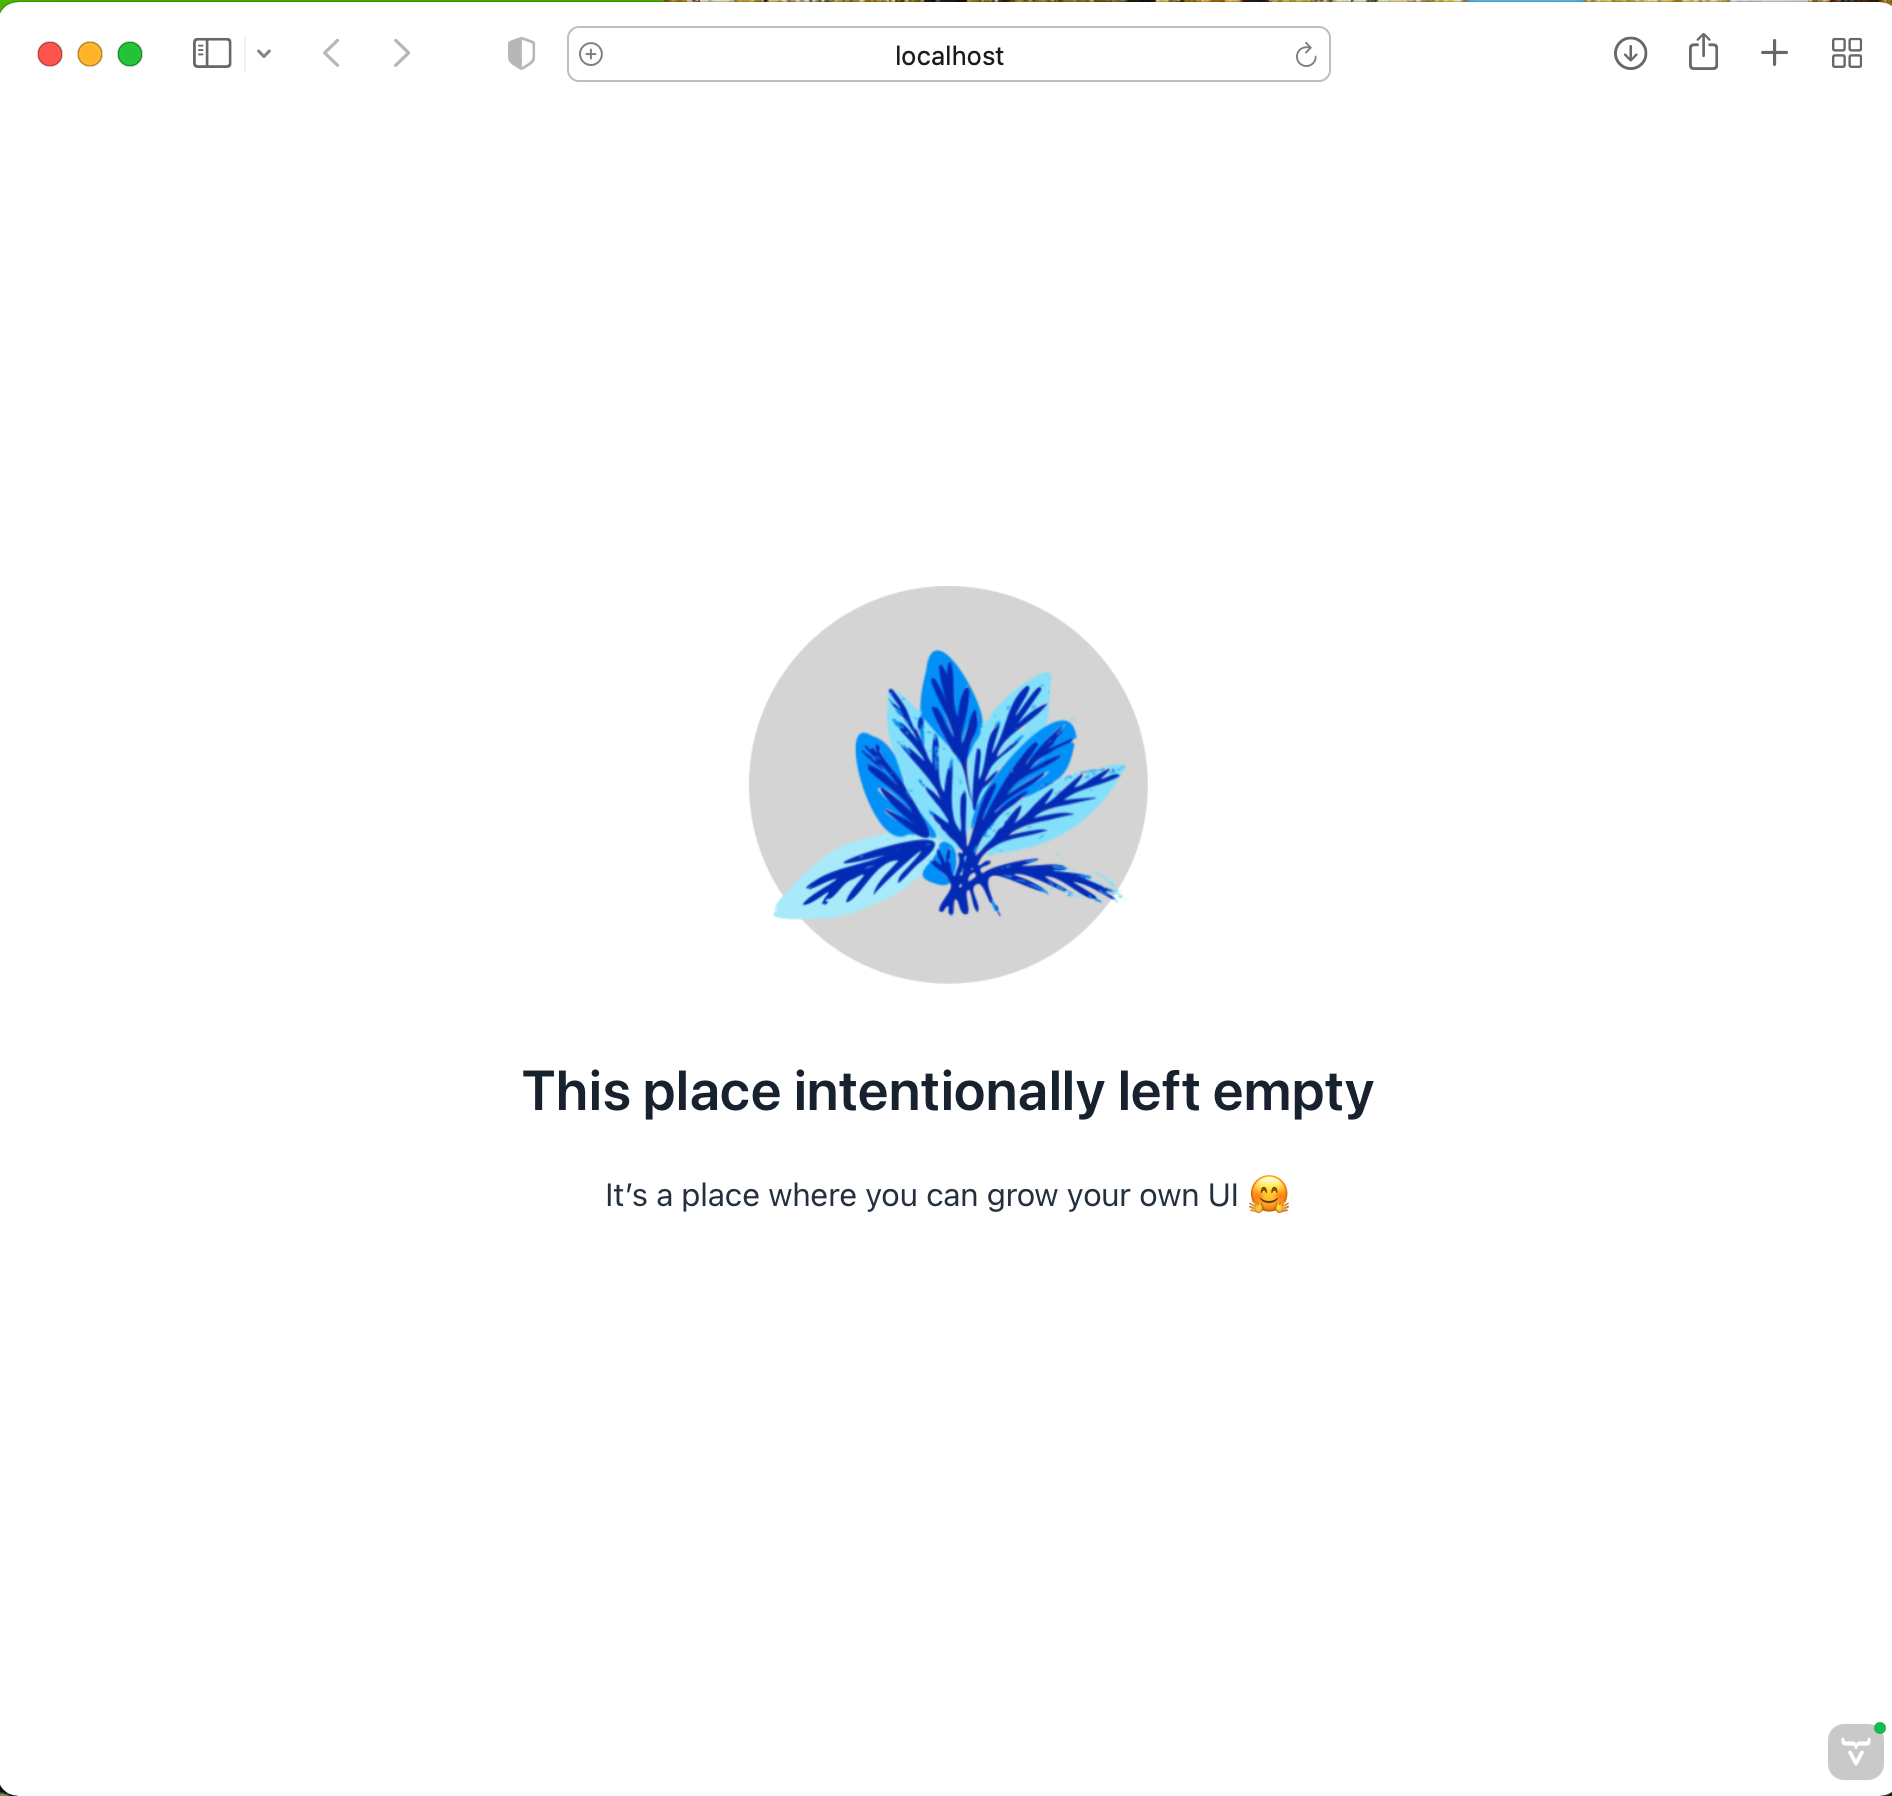
ApplicationクラスをRunするとブラウザが起動します。最初はデプロイ中のメッセージが表示されますがしばらくすると以下の画面が表示されました。
時間がかかったのは以下が理由のようです。
The first time you start a Vaadin application, it downloads frontend dependencies and builds a JavaScript bundle.
毎回時間がかかるわけではないようです。
After starting the application for the first time, IntelliJ will index all the added dependencies. This can take anywhere from a few seconds to several minutes, depending on your computer. This happens only once.
IntelliJの設定を案内してくれます。Vaadinで使うButtonクラスやらはSwing, AWT, or JavaFXにも似た名前のクラスがあってインポートするときに邪魔になることが多いのですがそれを抑止する方法が書いてあります。親切でありがたい。。
Enabling Auto Import in IntelliJ
Creating a Vaadin Flow View With Components
What Is Vaadin Flow?
Vaadin is a Java framework for building web applications. It has a component-based programming model that allows you to build user interfaces.
ボタンを追加するときは
You create a new component by initializing a Java object. For instance, to create a Button, you write:
Button button = new Button("I'm a button");
レイアウトについては、
Layouts determine how components display in the browser window. The most common layout components are HorizontalLayout, VerticalLayout, and Div. The first two set the content orientation as horizontal or vertical, respectively, whereas Div lets you control the positioning with CSS.
ここで、HorizontalLayout VerticalLayout Div がレイアウトにかかわるクラス(コンポーネント)であることが書かれています。
このボタンとレイアウトを組み合わせて画面を構成していくのが基本スタイルですね。
Horizontalという名称から水平方向のレイアウトでしょう。そしてVerticalという名称から垂直方向のレイアウトという感じで、その他をDivとしているイメージを連想しました。
Button button = new Button("I'm a button");
HorizontalLayout layout = new HorizontalLayout(button, new DatePicker("Pick a date"));

layout.setDefaultVerticalComponentAlignment(Alignment.END);
add(layout);
ボタンに動作をつけたければリスナーを登録する。
UI Events
You can add functionality to your application by listening to events, such as click events from buttons, or value-change events from select components.
This example adds the text "Clicked!" to the layout when the button is clicked.
button.addClickListener(clickEvent ->
  add(new Text("Clicked!")));
The Contact List View
それでは画面をさわっていきましょう。最初は一覧画面です。ヘッダーやサイドメニューがありますが、ここでは一覧画面に集中します。
package com.example.application.views.list;

import com.example.application.data.entity.Contact;
import com.vaadin.flow.component.button.Button;
import com.vaadin.flow.component.grid.Grid;
import com.vaadin.flow.component.orderedlayout.HorizontalLayout;
import com.vaadin.flow.component.orderedlayout.VerticalLayout;
import com.vaadin.flow.component.textfield.TextField;
import com.vaadin.flow.data.value.ValueChangeMode;
import com.vaadin.flow.router.PageTitle;
import com.vaadin.flow.router.Route;

@Route(value = "")
@PageTitle("Contacts | Vaadin CRM")
public class ListView extends VerticalLayout {
    Grid<Contact> grid = new Grid<>(Contact.class);
    TextField filterText = new TextField();

    public ListView() {
        addClassName("list-view");
        setSizeFull();
        configureGrid();

        add(getToolbar(), grid);
    }

    private void configureGrid() {
        grid.addClassNames("contact-grid");
        grid.setSizeFull();
        grid.setColumns("firstName", "lastName", "email");
        grid.addColumn(contact -> contact.getStatus().getName()).setHeader("Status");
        grid.addColumn(contact -> contact.getCompany().getName()).setHeader("Company");
        grid.getColumns().forEach(col -> col.setAutoWidth(true));
    }

    private HorizontalLayout getToolbar() {
        filterText.setPlaceholder("Filter by name...");
        filterText.setClearButtonVisible(true);
        filterText.setValueChangeMode(ValueChangeMode.LAZY);

        Button addContactButton = new Button("Add contact");

        HorizontalLayout toolbar = new HorizontalLayout(filterText, addContactButton);
        toolbar.addClassName("toolbar");
        return toolbar;
    }
}
VerticalLayoutを継承しています。これにより、子のコンポーネントは縦に並ぶようになります。
The view extends VerticalLayout, which places all child components vertically.
Gridがどのようなコンポーネントなのかの説明がここではされていません。
探してみると、ここにありました。
https://vaadin.com/docs/latest/ds/components/grid
Gridというとグリッドレイアウトを連想しましたが、どうやら違うようです。
定義は
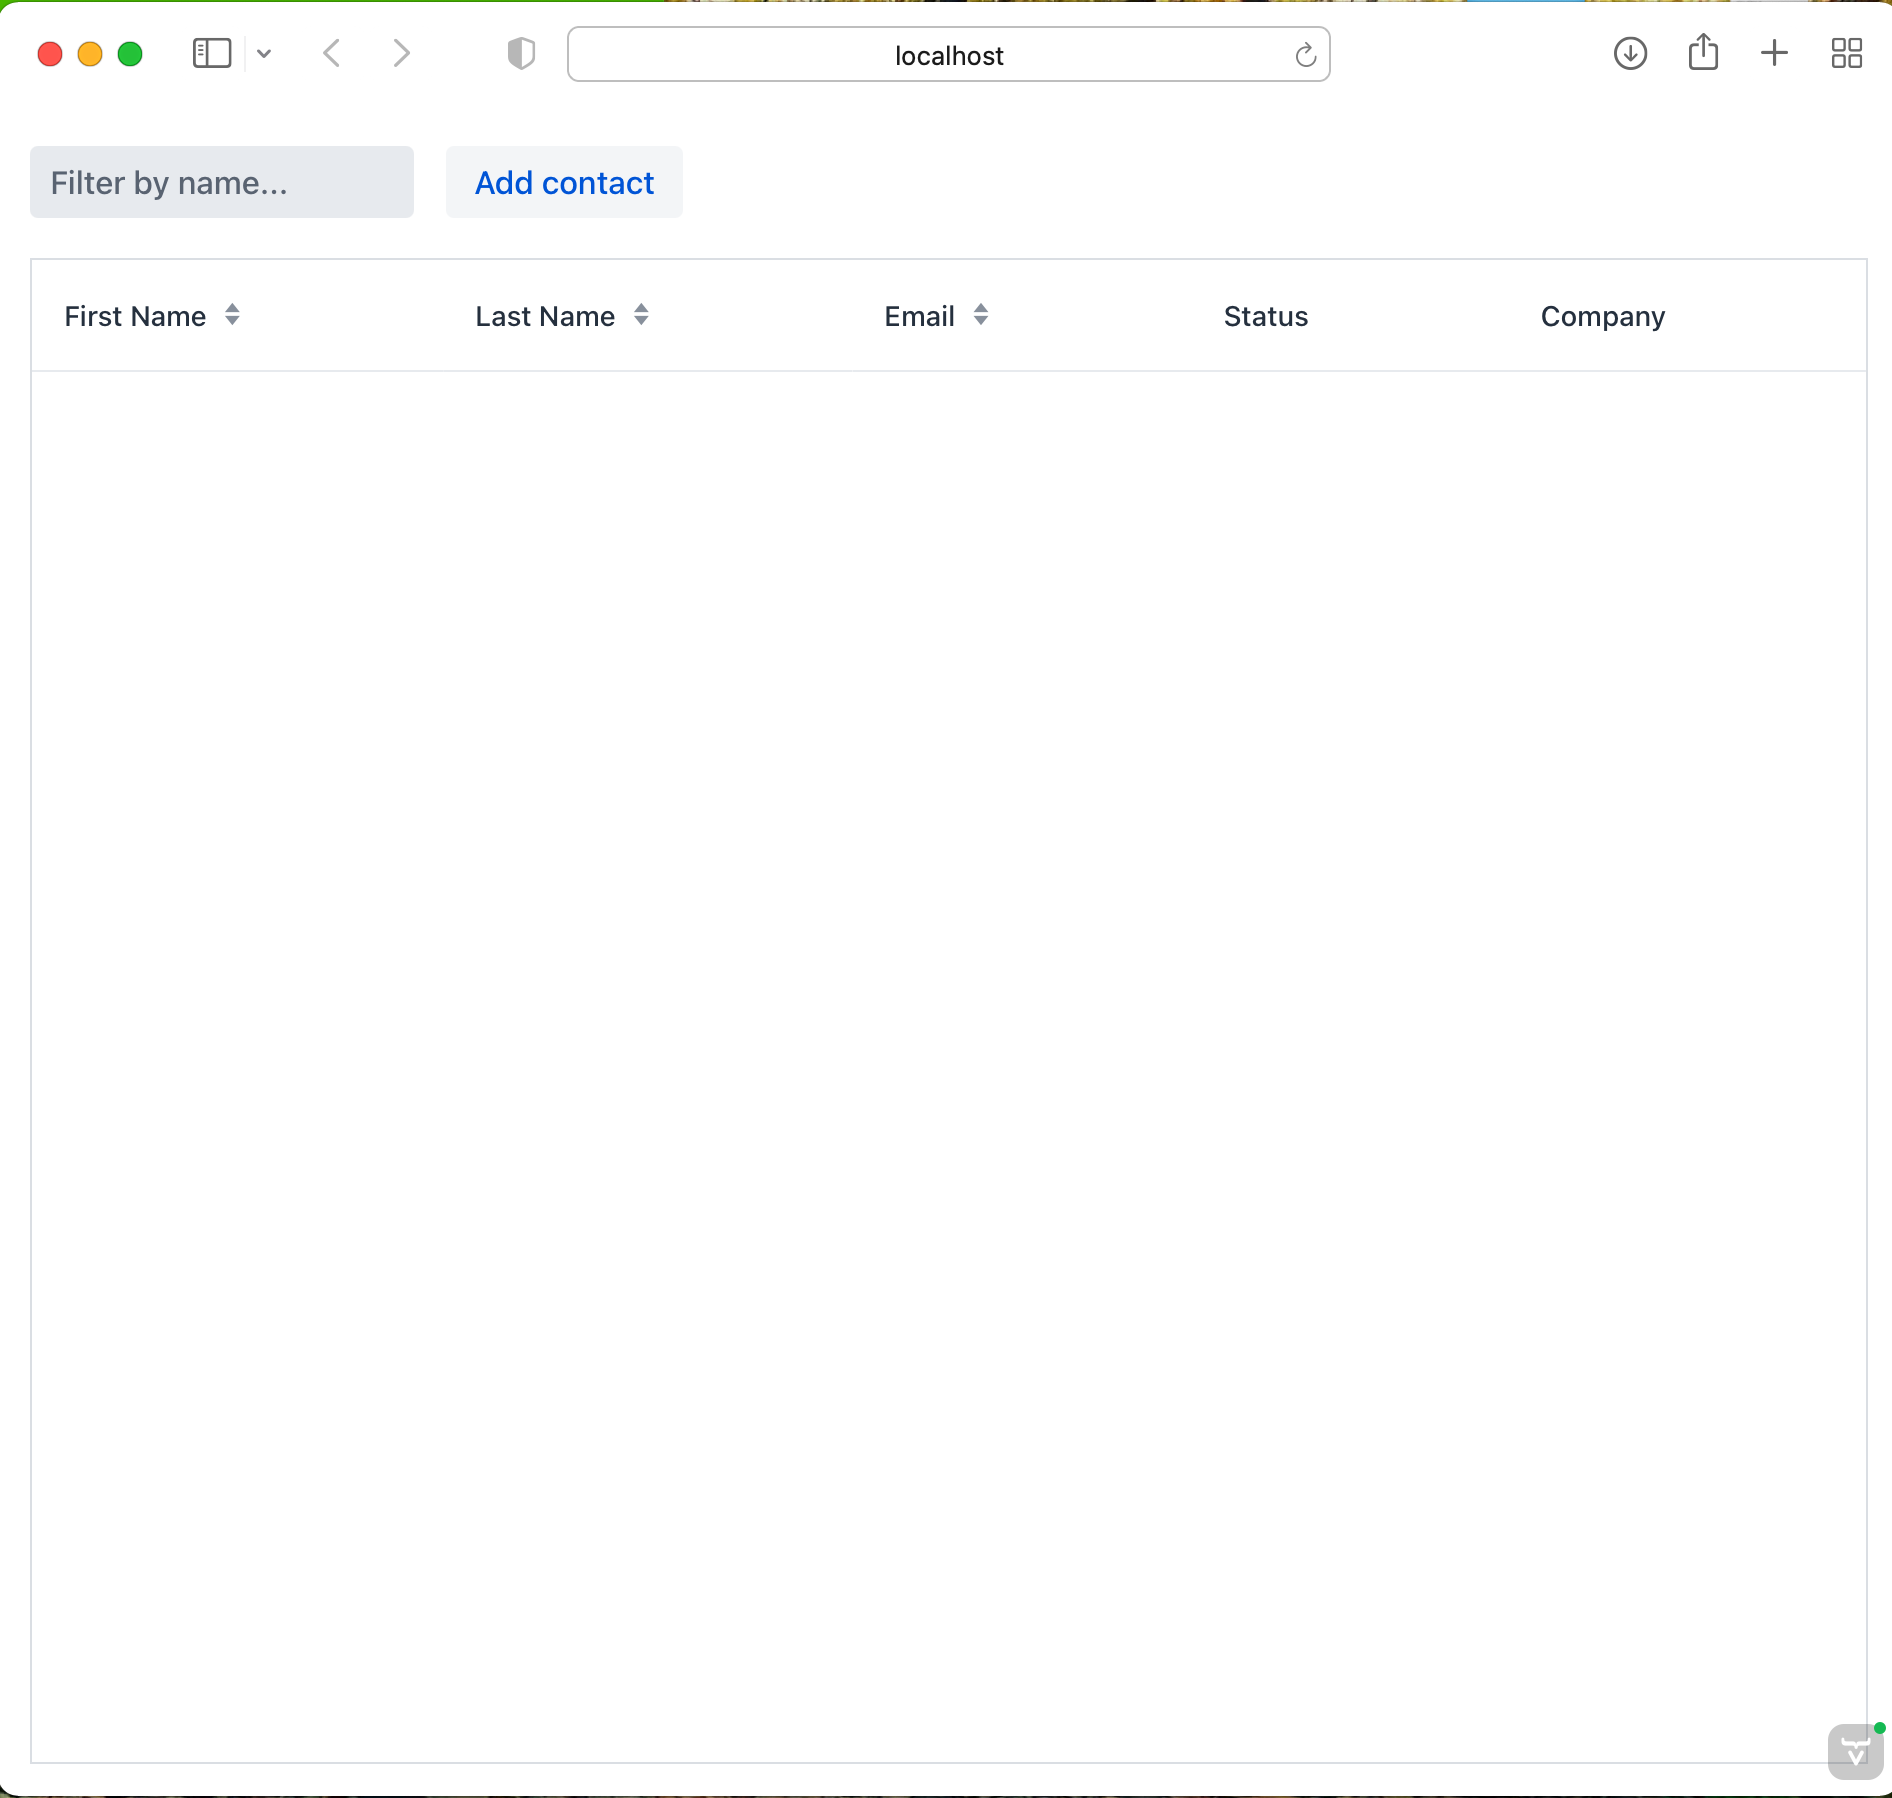
Grid is a component for showing tabular data.
ということで、表形式のコンポーネントを指すようです。
画面の表示はこれです。
Creating a Form Component for Editing Contacts
引き続いて一覧画面をさわっていきます。
一覧画面の内容を入れるためのフォームを追加します。
FormLayoutというクラスが用意されていました。これを継承して、入力フォームのクラスを用意します。
package com.example.application.views.list;

import com.example.application.data.entity.Company;
import com.example.application.data.entity.Status;
import com.vaadin.flow.component.Key;
import com.vaadin.flow.component.button.Button;
import com.vaadin.flow.component.button.ButtonVariant;
import com.vaadin.flow.component.combobox.ComboBox;
import com.vaadin.flow.component.formlayout.FormLayout;
import com.vaadin.flow.component.orderedlayout.HorizontalLayout;
import com.vaadin.flow.component.textfield.EmailField;
import com.vaadin.flow.component.textfield.TextField;

import java.util.List;

public class ContactForm extends FormLayout {
  TextField firstName = new TextField("First name");
  TextField lastName = new TextField("Last name");
  EmailField email = new EmailField("Email");
  ComboBox<Status> status = new ComboBox<>("Status");
  ComboBox<Company> company = new ComboBox<>("Company");

  Button save = new Button("Save");
  Button delete = new Button("Delete");
  Button close = new Button("Cancel");

  public ContactForm(List<Company> companies, List<Status> statuses) {
    addClassName("contact-form");

    company.setItems(companies);
    company.setItemLabelGenerator(Company::getName);
    status.setItems(statuses);
    status.setItemLabelGenerator(Status::getName);

    add(firstName,
        lastName,
        email,
        company,
        status,
        createButtonsLayout());
  }

  private HorizontalLayout createButtonsLayout() {
    save.addThemeVariants(ButtonVariant.LUMO_PRIMARY);
    delete.addThemeVariants(ButtonVariant.LUMO_ERROR);
    close.addThemeVariants(ButtonVariant.LUMO_TERTIARY);

    save.addClickShortcut(Key.ENTER);
    close.addClickShortcut(Key.ESCAPE);

    return new HorizontalLayout(save, delete, close);
  }
}
自分でクラスを用意するときに思うわけですが、独自コンポーネントを構成する要素(ボタンとかの部品)はフィールドに記述します。これはとても納得感あります。
Creates all the UI components as fields in the component.
Adding the Form to the Main View
つづいて、作ったフォームをさっきの一覧画面に追加します。
一覧画面はListViewでした。ListViewの一部を変更します。フィールドにコンポーネントを配置するのでここでもContactFormをフィールドに書き、どのように画面の配置にするかとかの設定をconfigure系のメソッドで記述します。
public class ListView extends VerticalLayout {
    Grid<Contact> grid = new Grid<>(Contact.class);
    TextField filterText = new TextField();
    ContactForm form;

    public ListView() {
        addClassName("list-view");
        setSizeFull();
        configureGrid();
        configureForm();

        add(getToolbar(), getContent());
    }

    private Component getContent() {
        HorizontalLayout content = new HorizontalLayout(grid, form);
        content.setFlexGrow(2, grid);
        content.setFlexGrow(1, form);
        content.addClassNames("content");
        content.setSizeFull();
        return content;
    }

    private void configureForm() {
        form = new ContactForm(Collections.emptyList(), Collections.emptyList());
        form.setWidth("25em");
    }

    // Remaining methods omitted
}
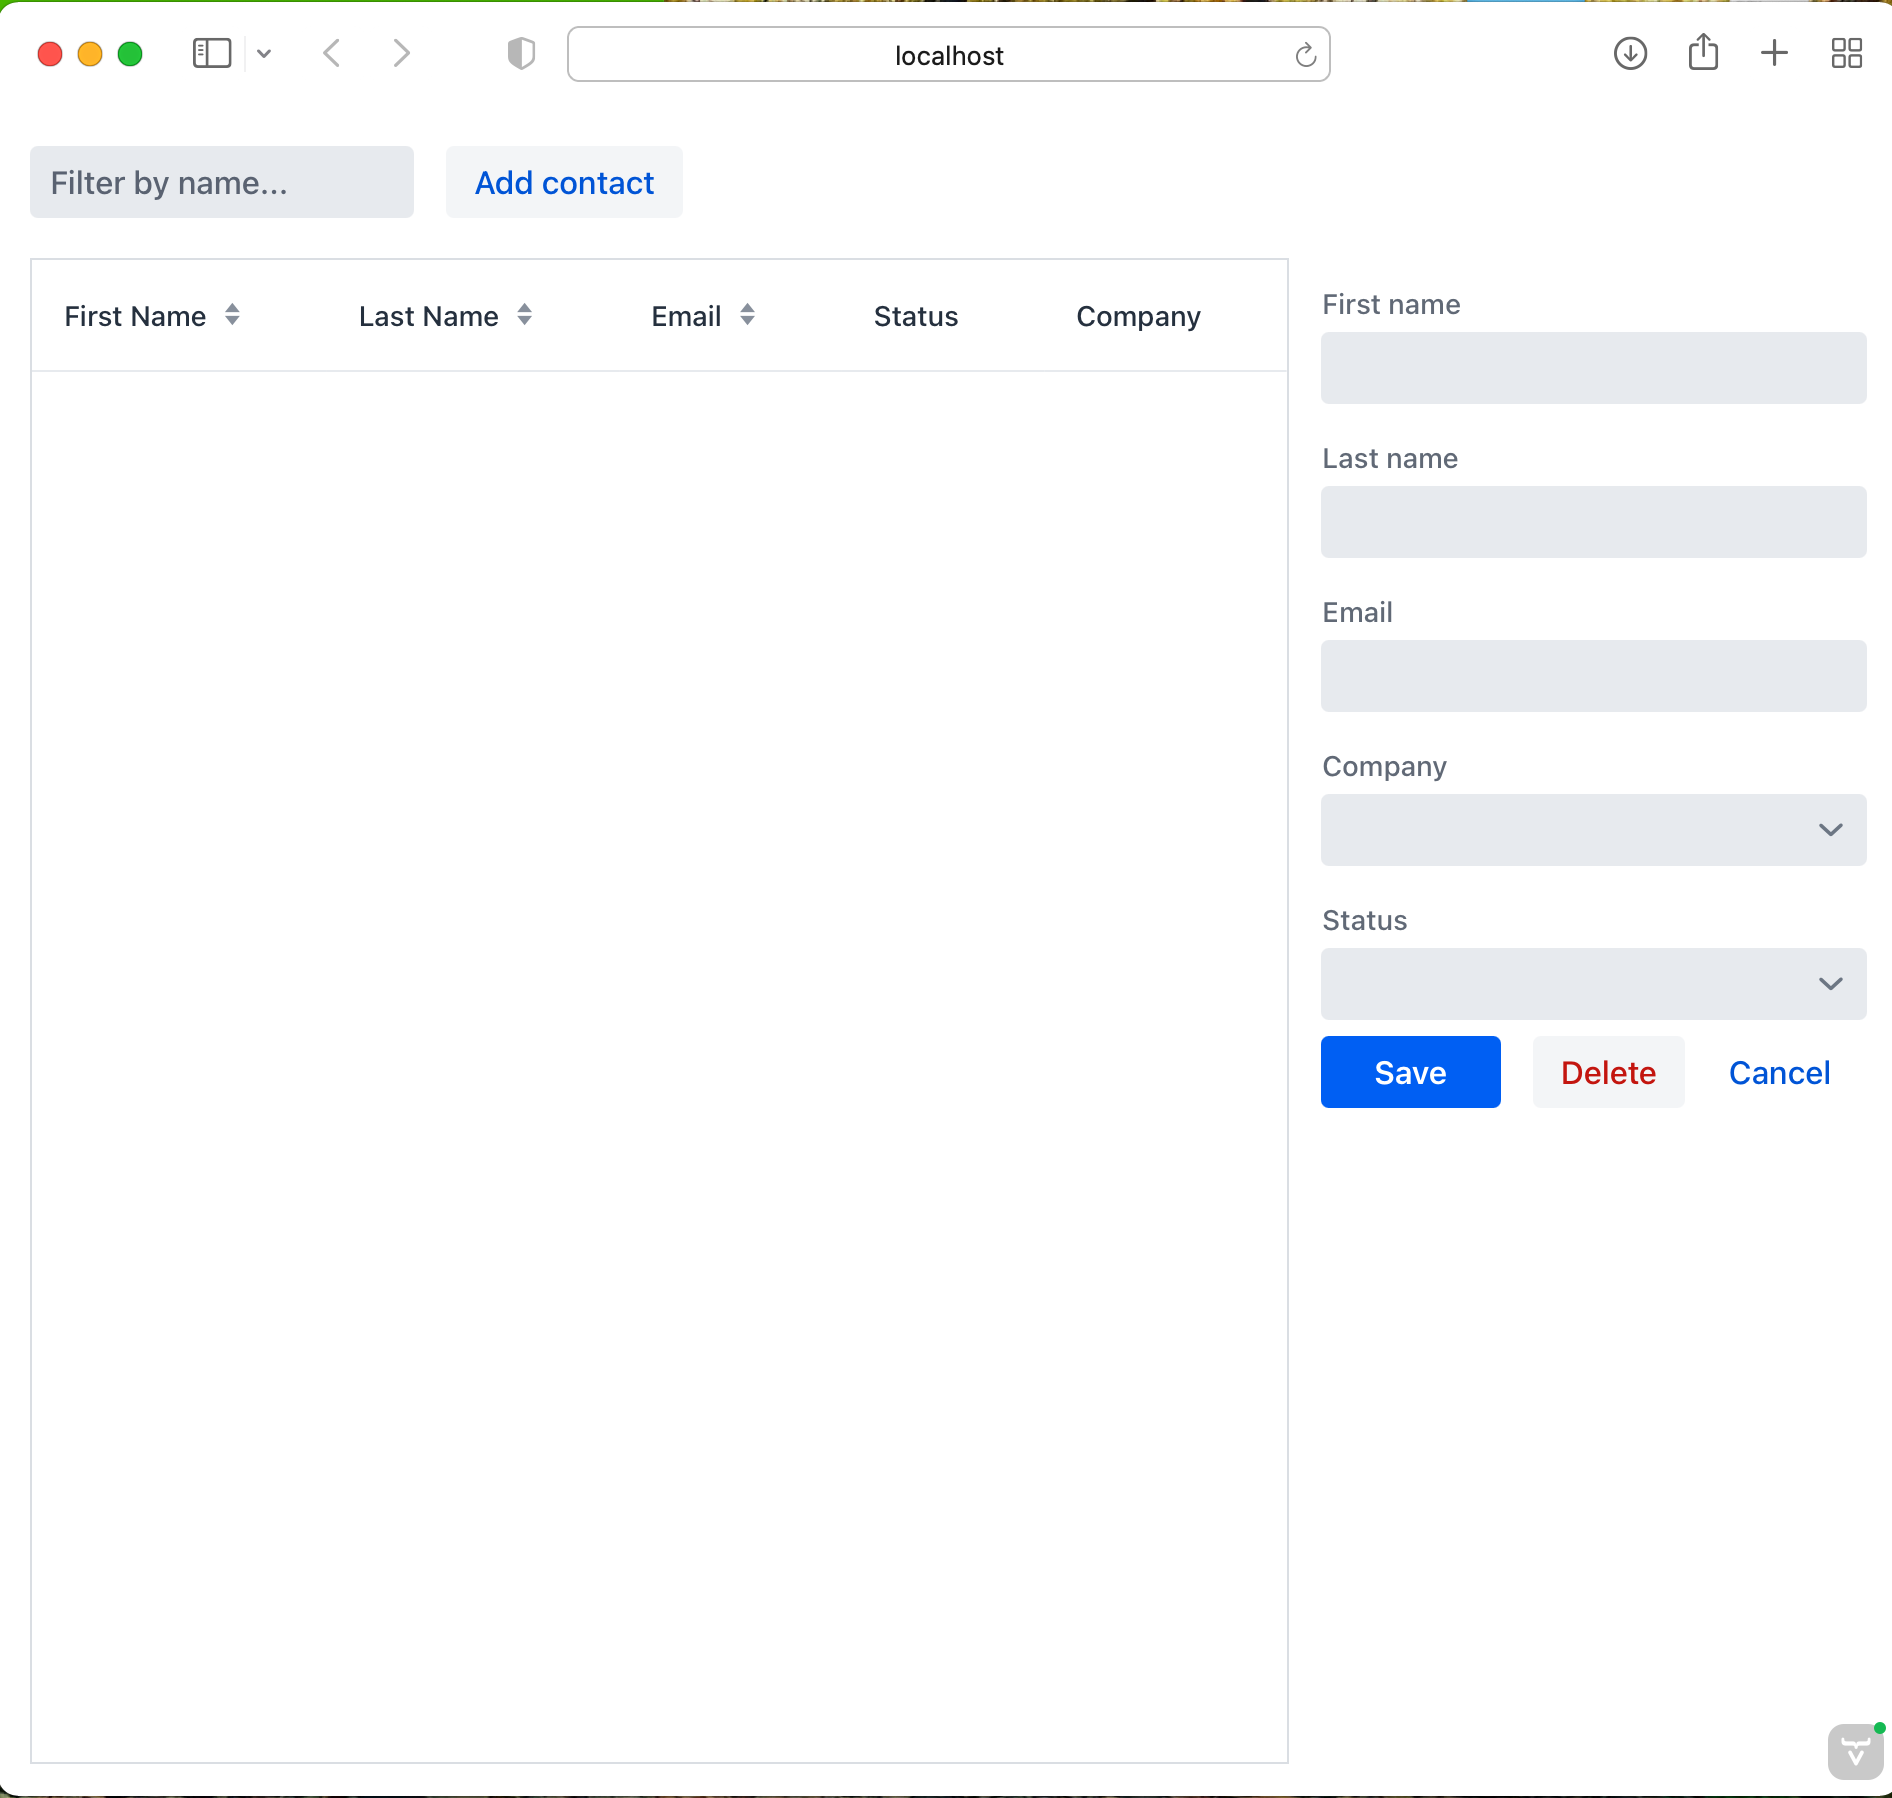
フォームが追加されました。HorizontalLayoutでgridとformを指定しているので水平方向に並んでいますね。
今回はここまで
長くなってきたので一旦ここで切ります。
次はDatabaseアクセスです。JPAなので個人的には飛ばしてもいいかなとは思っていますが。
つづきはその3の記事にて。