はじめに
Jupyter AIは、JupyterLab3.6.5でしか動かないようです。(2023/07/22現在)
JupyterLab -> Jupyter AIの公式手順に従って環境構築をしても動かないので、手順を残します。
前提
- PowerShell等、ターミナル操作の知識が必要です
- 使用するPythonは、バージョン3.8~3.11である必要があります
- 3.11では動かないみたいな投稿も見た気がするので、3.10までの方が安全かもしれません
- 本記事ではOpenAIのAPIをモデルとして使用します
- OpenAIのアカウントを作成し、OpenAI_API_KEYを作成しておいてください
失敗例
-
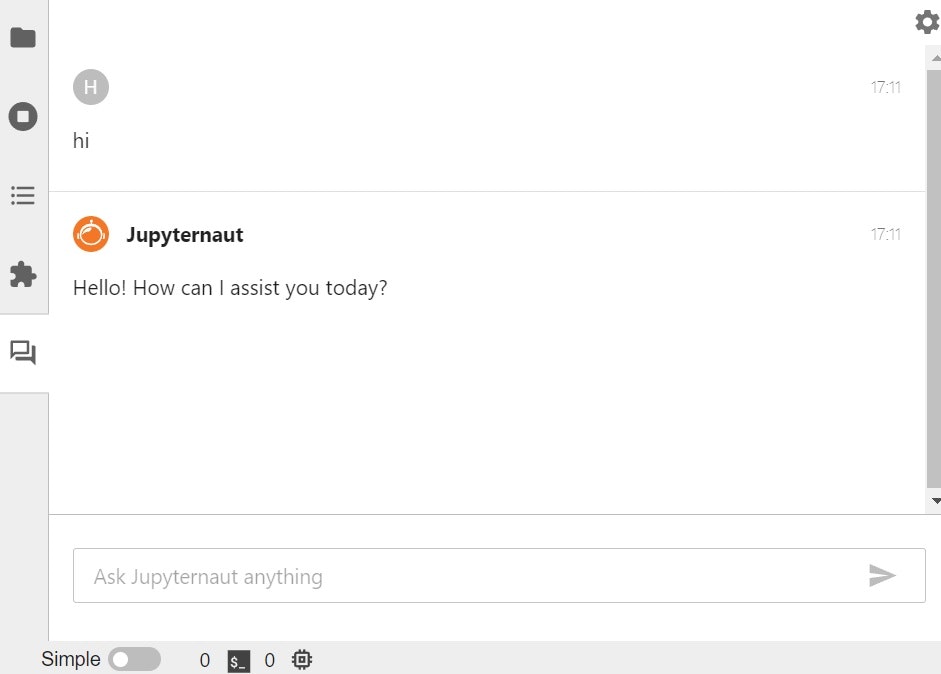
pip install jupyterlabを実行した場合- JupyterLab4系が入り、JupyterAIが対応していないためchat用タブが表示されません
-
jupyter公式のdockerイメージを使おうとした場合
- jupyter4系を使用した場合、上記と同じくchat用タブが表示されません
- jupyter3系は3.6.3までしか用意されておらず、これを使用した場合実行時エラーが発生します
手順
1. venv環境の構築
- まず、作業したいディレクトリを用意します
- その後下記コマンドでvenv環境を作成、ログインします
python -m venv venv
./venv/Scripts/activate
python.exe -m pip install --upgrade pip
2. JupyterLab本体のインストール
JupyterLab本体をインストールします。
下記は、執筆時点の最新である3.6.5のインストールコマンドです。
pip install jupyterlab==3.6.5
3. AI機能のインストールと、環境変数の設定
pip install openai jupyter_ai
$Env:OPENAI_API_KEY={作成したAPIキー}
4. JupyterLabの起動
jupyter lab
