(この記事は、Windows 10 / Substance Painter 2019.2.0 の環境で検証されています。)
Substance Painter でカスタムシェーダー( glsl ) を作る場合、配置場所は
C:\Users\Username\Documents\Allegorithmic\Substance Painter\shelf\shaders
のような場所となりますが、ここに置いた glsl ファイルを編集更新した際に、Substance Painter にそれを認識させるには、Substance Painter を再起動する必要があります。glsl ファイルを別名保存すれば編集済みの内容が新しいシェーダーとして認識させられますが、どちらにしろ面倒か煩わしいです。これを回避する方法が公式のフォーラムのやりとりにありましたので、日本語で記しておきます。
事前準備
-
まず、前述の Documents 以下の shaders フォルダ以外の場所で、glsl ファイルを作成します。(本当はそうでなくでもよいのですが、その方が分かりやすいです。)
-
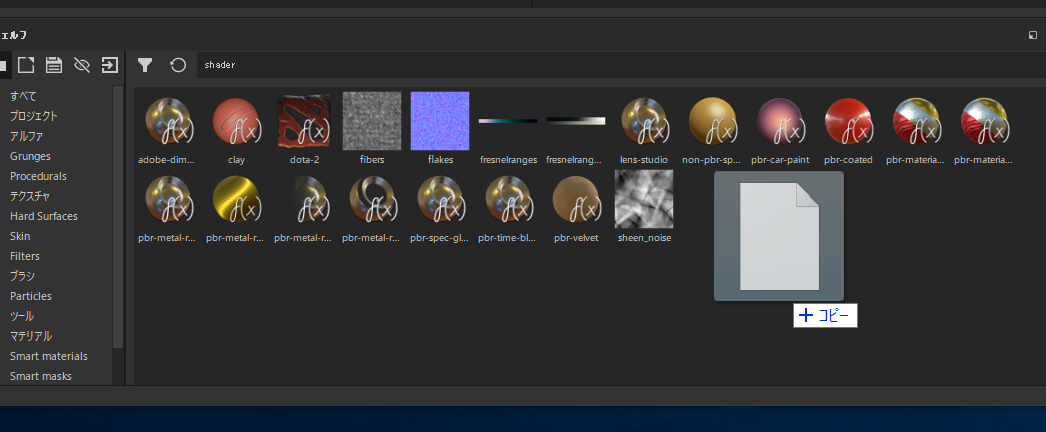
シェーダー開発用のプロジェクトを適当に作成し保存します。適当なメッシュがなければ perview sphere など、サンプルファイルを別名保存しましょう。
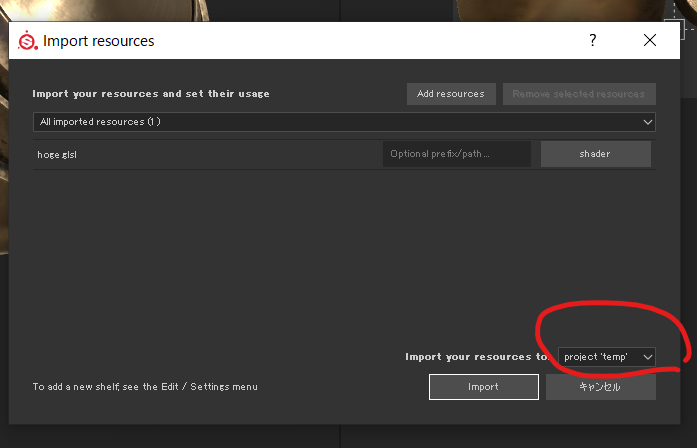
この際に、読込先は必ずプロジェクトを対象にします。ここが重要です。

4.(確認のため)読み込んだシェーダーを実際に適当します。
編集作業
1.適当にglslファイルを編集更新します。
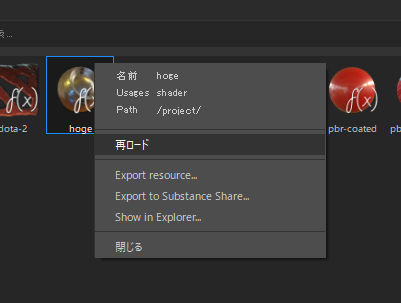
2.シェルフの先ほど読み込んだシェーダーを右クリックすると ”再ロード” のような項目があるのでこれを選択します。

3.シェーダーが更新されます。
編集終了
完成した glsl ファイルを正式な保存場所にコピーしましょう。
以上です。
読み込み対象をプロジェクトにしない場合、再ロードメニューが表示されないので、注意しましょう。
おまけ
プラグインの開発の場合は Plugin メニューからリロードするだけでファイルの更新が適用されます。プラグイン名を変えるには Substance Painter の再起動が必要でした。
