4
6

Delete article

Deleted articles cannot be recovered.

Draft of this article would be also deleted.

Are you sure you want to delete this article?

More than 5 years have passed since last update.

Raspberry Pi Zero WHにカメラを接続し撮影する方法

Last updated at Posted at 2019-05-01

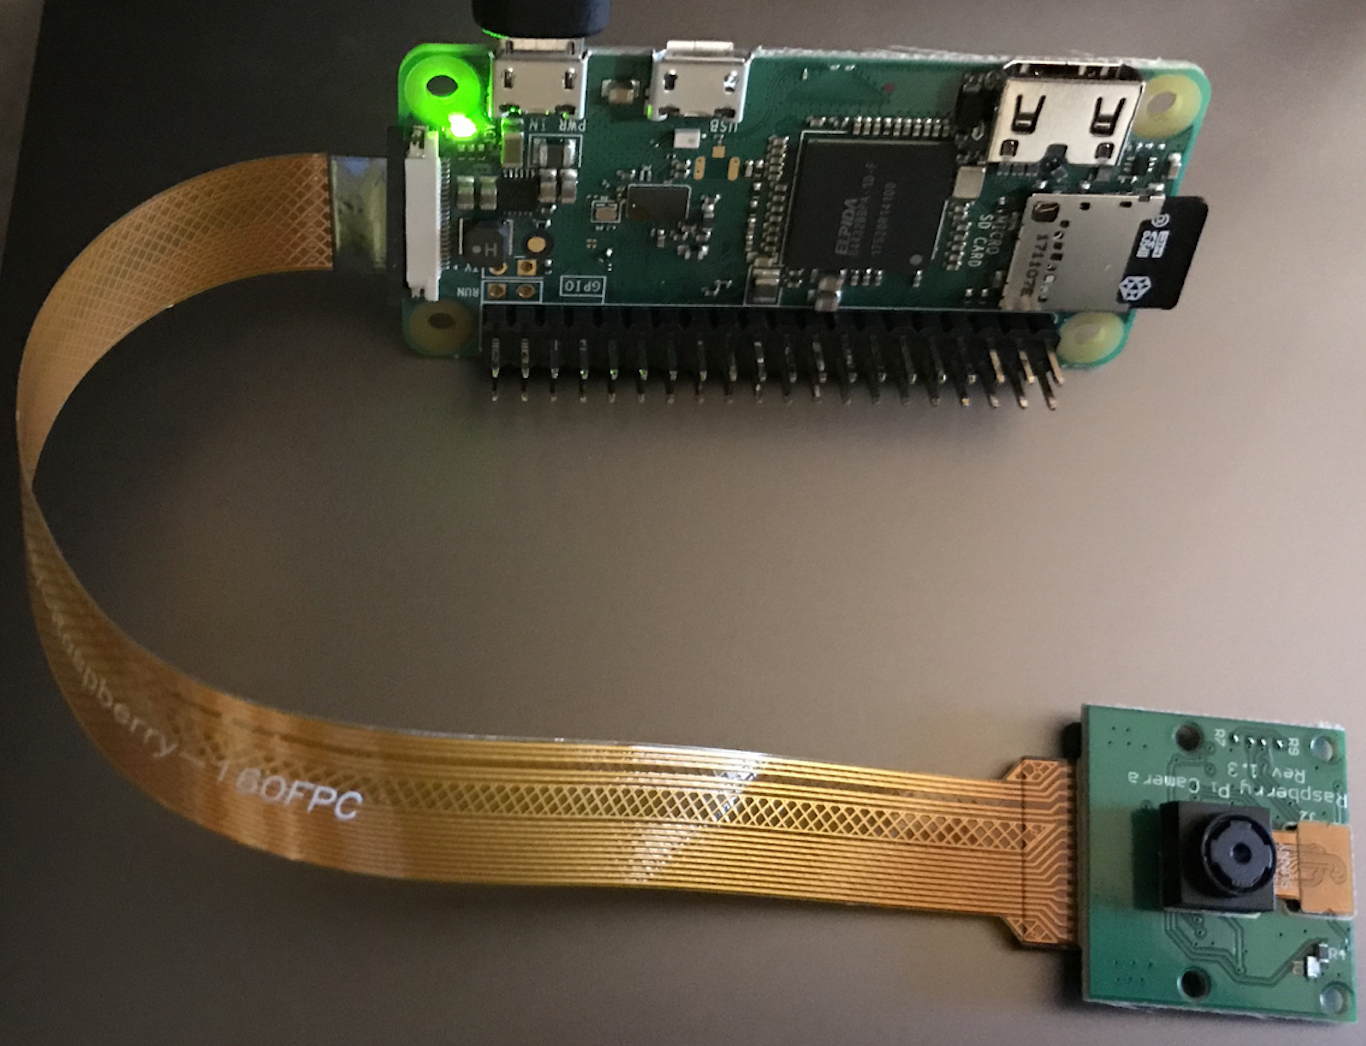
カメラをラズパイに接続

今回接続するカメラはこちらです。
https://www.amazon.co.jp/dp/B07CQKJ86C

このように接続します。
image.png

Raspberry Pi Zeroの場合は最初からカメラに接続されている白いケーブルでは無く、写真の金色のケーブルを使う必要があります。

ラズパイ側の操作

ラズパイの設定画面を表示

SSHで接続語に以下のコマンドを実行すると、設定画面が表示されます。

sudo raspi-config

Interfacing Optionsを選択

image.png

P1 Cameraを選択

image.png

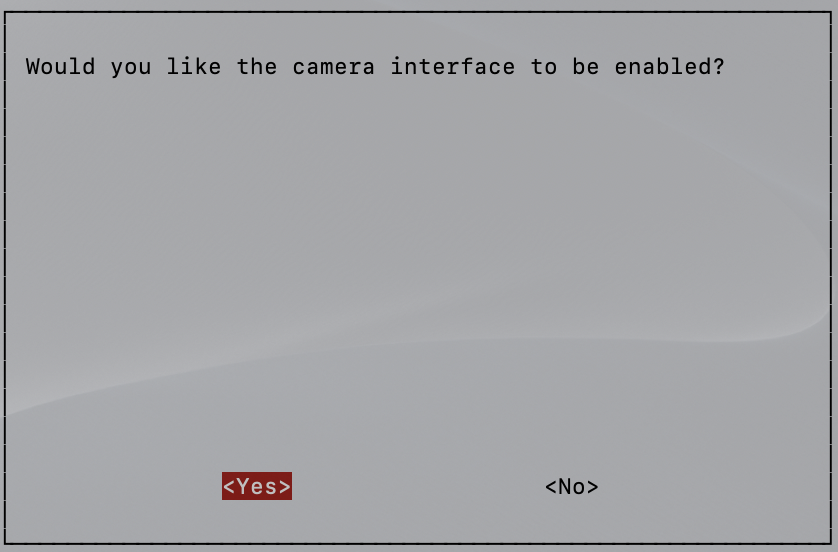
YESを選択

image.png

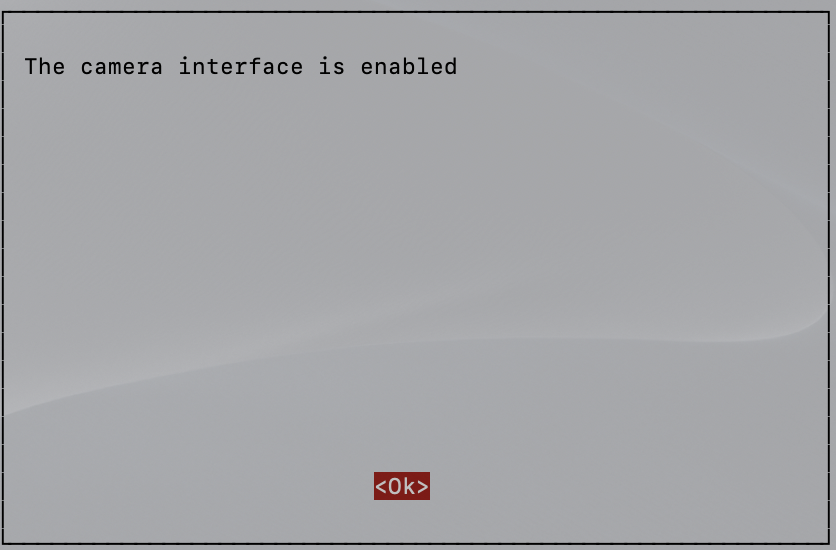
OKを選択

image.png

Finishを選択

image.png

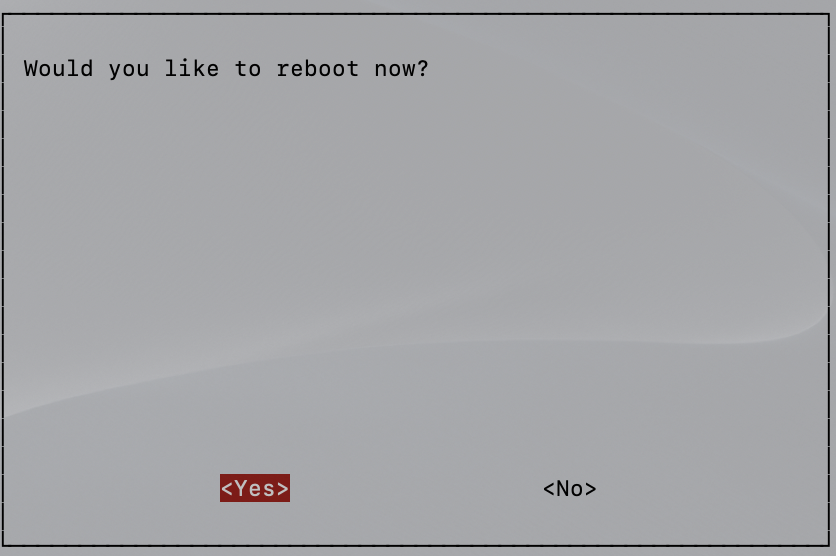
Yesを選択(再起動します)

image.png

静止画の撮影する

以下のコマンドを実行すると撮影できます。
撮影時にはカメラ横のLEDが赤く点灯します。

raspistill -o test.jpg

動画の撮影をする

以下のコマンドを実行すると撮影できます。
静止画と同様、撮影時にはカメラ横のLEDが赤く点灯します。
最後の10000は何ミリ秒撮影するかという指定です。以下では10秒間撮影します。

raspivid -o video.h264 -t 10000

タイムラプスの撮影をする

以下を参考にするとタイムラプスの撮影が可能だそうです。
https://www.raspberrypi.org/documentation/usage/camera/raspicam/timelapse.md

参考URL

Camera Module
https://www.raspberrypi.org/documentation/usage/camera/README.md
4
6
0

Register as a new user and use Qiita more conveniently

  1. You get articles that match your needs
  2. You can efficiently read back useful information
  3. You can use dark theme
What you can do with signing up
4
6

Delete article

Deleted articles cannot be recovered.

Draft of this article would be also deleted.

Are you sure you want to delete this article?