
Unityで3Dのゲームアプリを作る際に、鏡のようなものを作る方法の一つを紹介します。
この方法では、カメラの映像をPlane(板状のオブジェクト)に映し出す仕組みを使います。
鏡だけでなく、監視カメラ風のモニターにも応用可能です。
仕組み
・鏡用に、サブのカメラを正面に設置する
・そのカメラで映した映像を、Plane(板みたいなオブジェクト)に表示する。
手順

1)カメラをHierarchyに設置
・カメラのAudio Listenerコンポーネントは削除します。
(残しておくと実行時に警告が出ます)
2)カメラの前にPlaneを配置
・カメラに映った映像が、手前にあるPlaneに映るように設定していきます。
3)Render Textureを新規作成
・Create→Renderingの中に、Render Textureがあるので作成します。

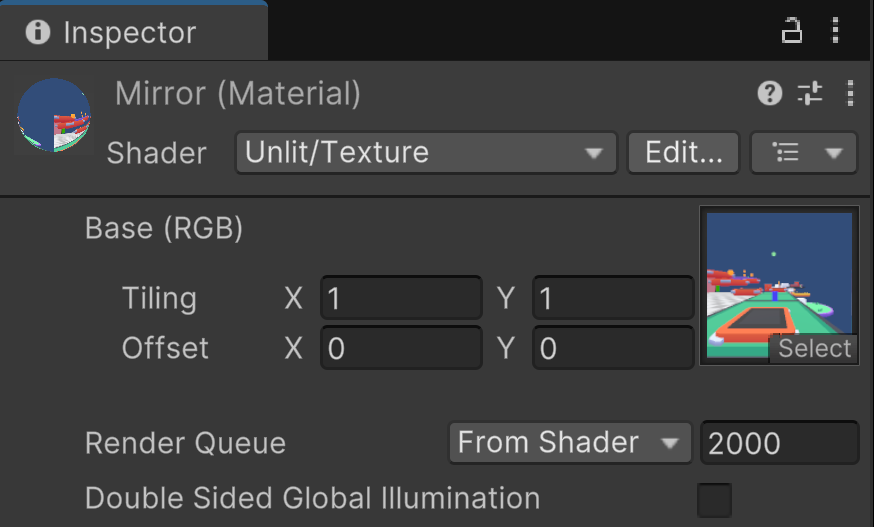
4)Materialを新規作成
・Materialを作ります。
・今回は、MaterialのShaderを「Unity/Texture」にしました。
(URP,Built-inなどで変わるので状況に合わせて設定)
5)MaterialのBase欄にRender Textureをアタッチ
・MaterialのBase欄にTextureをセットできるので、先ほどのRender Textureをセットします。
6)MaterialのBase欄にセットした「Render Texture」をカメラのCameraコンポーネント「Terget Texture」にセットします。

これで、カメラに映った映像が、Planeに映し出されます。
7)反転した画像の修正
・映る画面が鏡のように鏡像ではなく左右が逆になってしまいます。
・そのため、MaterialのTilingをX = -1 に設定して反転させます。
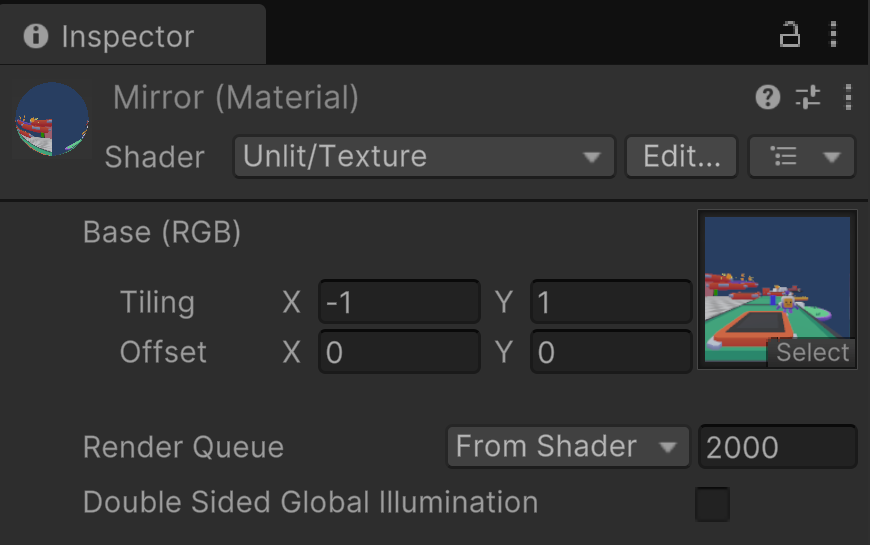
これで、鏡写しの様にPlaneに映るスクリーンができました。
カメラの位置と、Planeの位置を別の場所にすれば監視カメラのように使うこともできます。