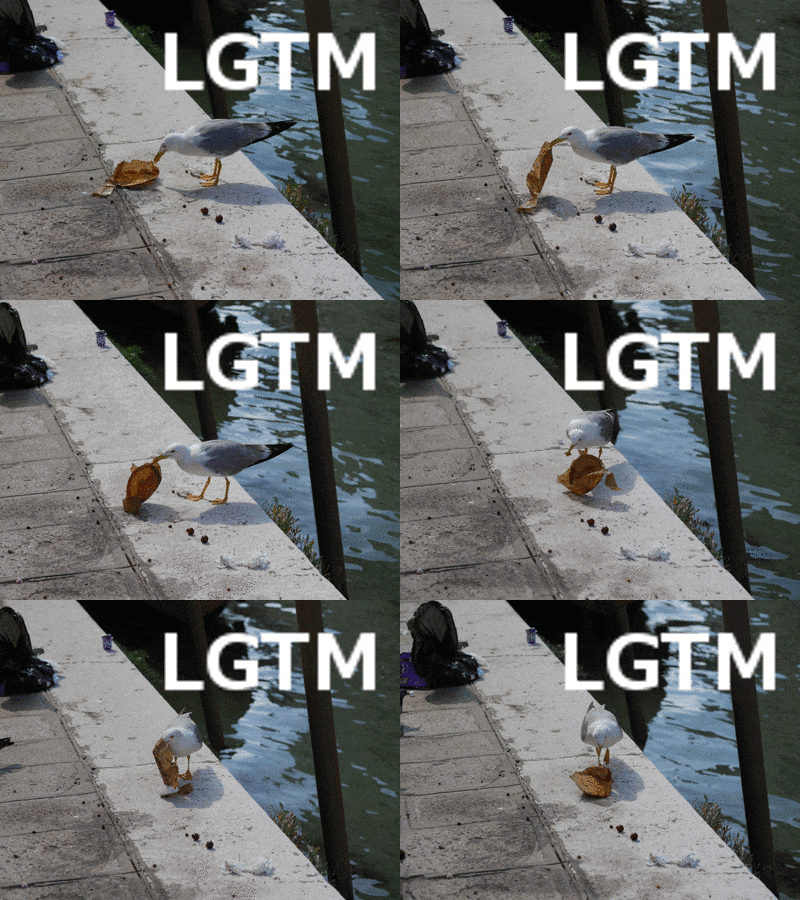
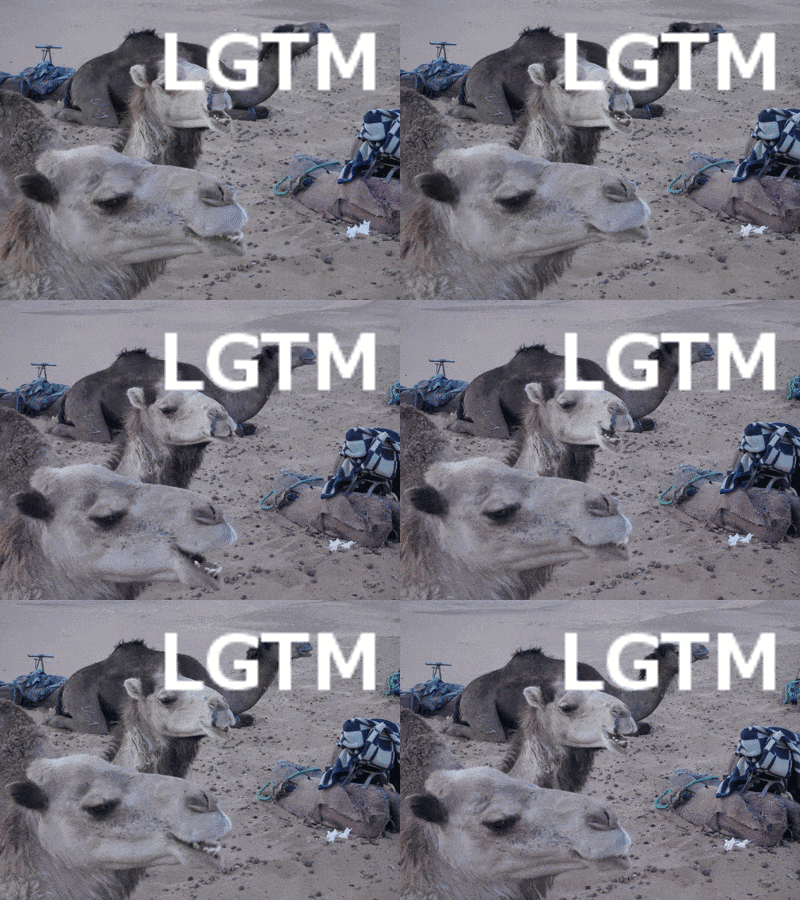
旅先撮った動画や写真からLGTM用のGIFアニメをスクリプトで出力してみました。アンチエイリアスで写真をキレイに縮小記事の続きです。思った以上に手ぶれが激しいので、今後の目標として手ぶれ補正ロジックを追加したいです。画像の特徴点を抽出してパターンマッチングすれば出来るはず...
完成品
処理フロー
- ffmpegで動画から画像に変換
- PILで画像を縮小
- PILでLGTM画像を合成
- imagemagickで画像からGIF動画に変換
インストール
macのpython2.7環境でのみ動作確認済み
# PILのインストール
pip install PIL --allow-external PIL --allow-unverified PIL

# imagemagickのinstall
brew install imagemagick

# install確認
convert --version
>>> Version: ImageMagick 6.9.2-5 Q16 x86_64 2015-11-01 http://www.imagemagick.org
>>> Copyright: Copyright (C) 1999-2015 ImageMagick Studio LLC
>>> License: http://www.imagemagick.org/script/license.php
>>> Features: Cipher DPC Modules
>>> Delegates (built-in): bzlib freetype jng jpeg ltdl lzma png tiff xml zlib

# ffmpegのインストール
brew install ffmpeg
画像にLGTM画像を合成して、GIF動画に変換
lgtm.py
# -*- coding: utf-8 -*-
import commands
import Image
import re

# 縮小する際の画像の高さピクセル
PHOTO_HEIGHT = 300

# 画像があるフォルダ
BASE_DIR = "/Users/XXXX/Desktop/Photos"

# 画像の正規表現名
PHOTO_REGEX = r"P.*.[jpg|JPG]"

# リサイズ後の画像の接頭語
PHOTO_RESIZE_PREFIX = "r_"

# LGTM画像
LGTM_PATH = "/tmp/lgtm.png"

# LGTM画像を合成する座標
LGTM_PASTE_X_Y = (120, 0)


def main():
    # 画像フルパスを取得
    _cmd = "cd {} && ls".format(BASE_DIR)
    l = commands.getoutput(_cmd)
    l = l.split("\n")
    l = [_l for _l in l if re.match(PHOTO_REGEX, _l)]

    # 出力用のフォルダを生成
    assert len(BASE_DIR) > 5, "BASE_DIR is too short"
    commands.getoutput("rm -rf {}/output".format(BASE_DIR))
    commands.getoutput("mkdir {}/output".format(BASE_DIR))

    for _l in l:
        before_path = '{}/{}'.format(BASE_DIR, _l)
        filename = '{}{}'.format(PHOTO_RESIZE_PREFIX, _l)
        after_path = '{}/output/{}'.format(BASE_DIR, filename)
        resize(before_path, after_path, filename=_l)  # 縮小


def resize(before, after, height=PHOTO_HEIGHT, filename="", aa_enable=True, lgtm_enable=True):
    """
    画像をリサイズする
    :param str before: 元画像ファイルパス
    :param str after: リサイズ後の画像ファイルパス
    :param int height: リサイズ後の画像の高さ
    :param bool aa_enable: アンチエイリアスを有効にするか
    :param bool lgtm_enable: lgtm画像の合成を有効にするか
    :return:
    """
    # 画像をreadonlyで開く
    img = Image.open(before, 'r')
    # リサイズ後の画像ピクセルを計算
    before_x, before_y = img.size[0], img.size[1]
    x = int(round(float(height / float(before_y) * float(before_x))))
    y = height
    resize_img = img
    if aa_enable:
        # アンチエイリアスありで縮小
        resize_img.thumbnail((x, y), Image.ANTIALIAS)
    else:
        # アンチエイリアスなしで縮小
        resize_img = resize_img.resize((x, y))

    # lgtm画像合成
    if lgtm_enable:
        lgtm = Image.open(LGTM_PATH)
        resize_img.paste(lgtm, LGTM_PASTE_X_Y, lgtm)  # 座標を合わせて合成してる

    # リサイズ後の画像を保存
    resize_img.save(after, 'jpeg', quality=100)
    print "RESIZED!:{}[{}x{}] --> {}x{}".format(filename, before_x, before_y, x, y)

# 実行
main()

# gifアニメ生成
cmd = "convert -layers optimize -loop 0 -delay 60 {}/output/*.* {}/lgtm.gif".format(BASE_DIR, BASE_DIR)
output = commands.getoutput(cmd)
print output
実行結果
>>>python ./lgtm.py
RESIZED!:P1050400.JPG[4592x3448] --> 400x300
RESIZED!:P1050401.JPG[4592x3448] --> 400x300
RESIZED!:P1050402.JPG[4592x3448] --> 400x300
RESIZED!:P1050403.JPG[4592x3448] --> 400x300
RESIZED!:P1050404.JPG[4592x3448] --> 400x300
RESIZED!:P1050405.JPG[4592x3448] --> 400x300
RESIZED!:P1050406.JPG[4592x3448] --> 400x300
ffmpegで動画をフレーム毎に画像出力
sample
$ ffmpeg -i [INPUT_FILE] -f image2 -vcodec png -r 4 "./%03d.png"
-i インプットファイル
-f フォーマット
-vcodec コーデック
-r 1秒あたりのコマ数
%03d 3桁の数字

