International Nodebot Day 2017 in Tokyo のイベントに参加してきました。Node.jsでハードウェアを動かそうというイベントです。自分は、chibi:bitを動かしてみました。
この記事のアウトライン
- chibi:bitについて
- chibi:bitにBLE連携用ファームウェアを書き込む
- node.jsのライブラリ bbc-microbit をインストール
- openWeatherMap APIにアカウント登録し、APIキーを取得
- 気象情報をchibi:bitのLEDに表示
アウトプット
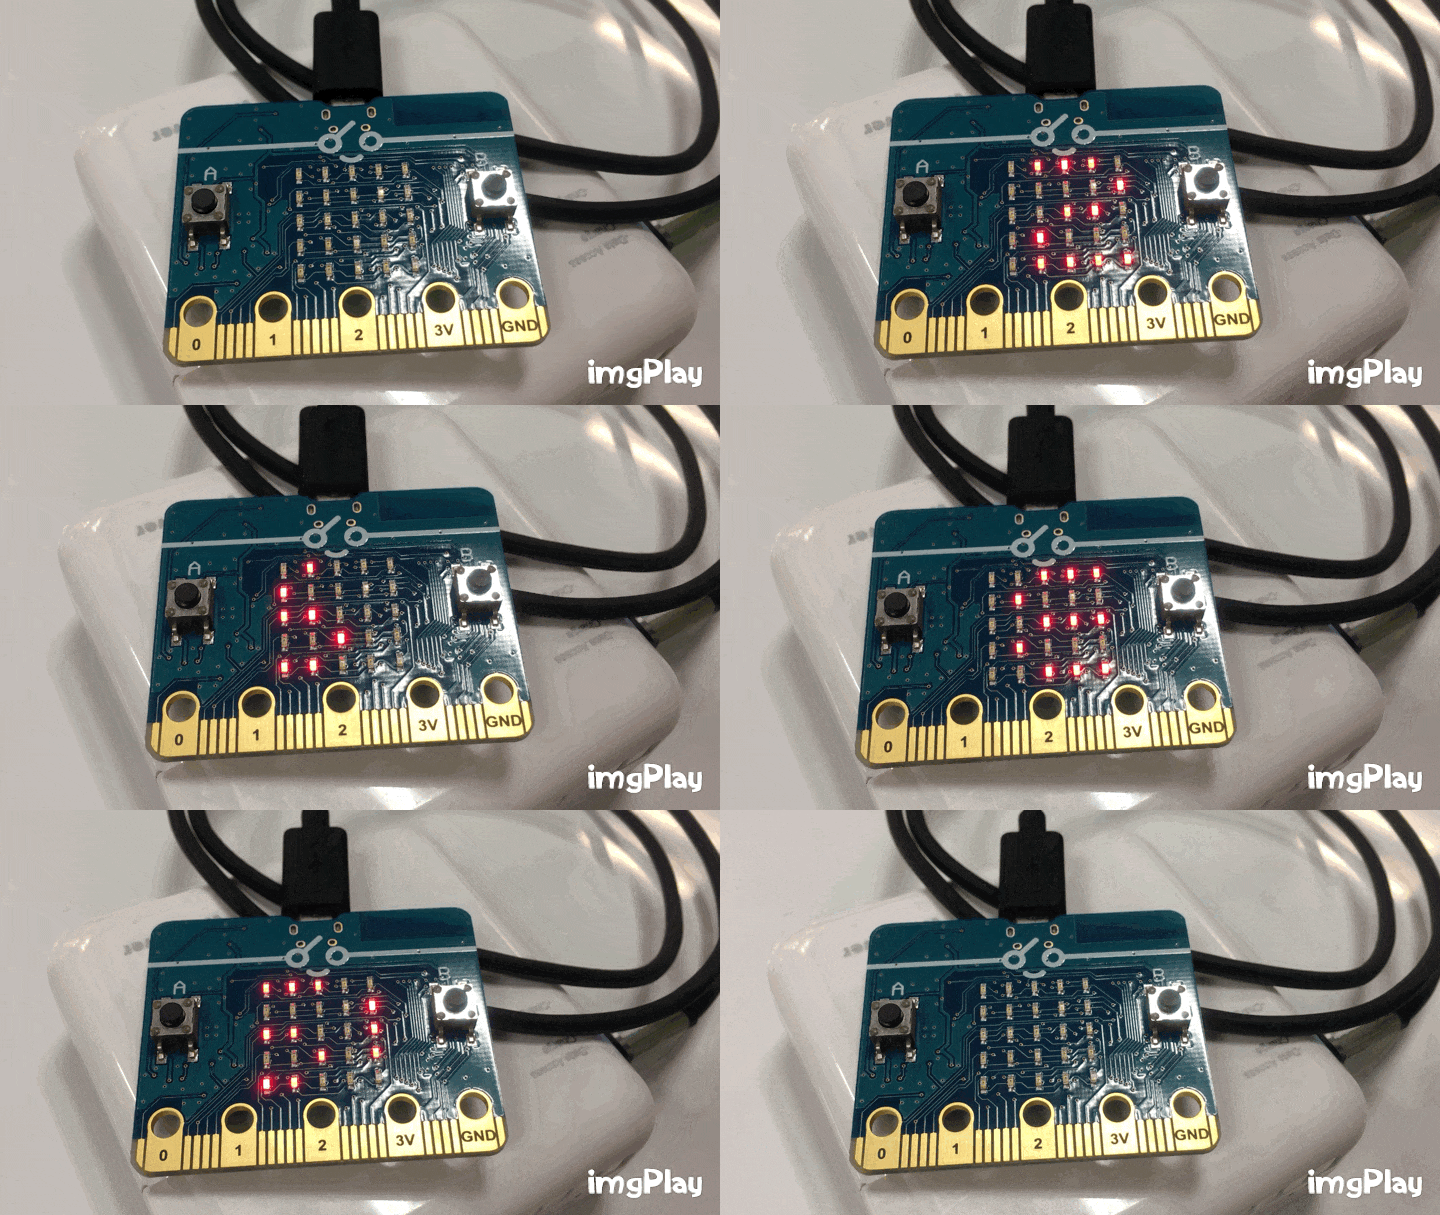
東京の現在の気温を表示します。
動作環境
- macOS Sierra 10.12.6
- node.js v7.2.1
- chibi:bit基板 (下記)
chibi:bitについて
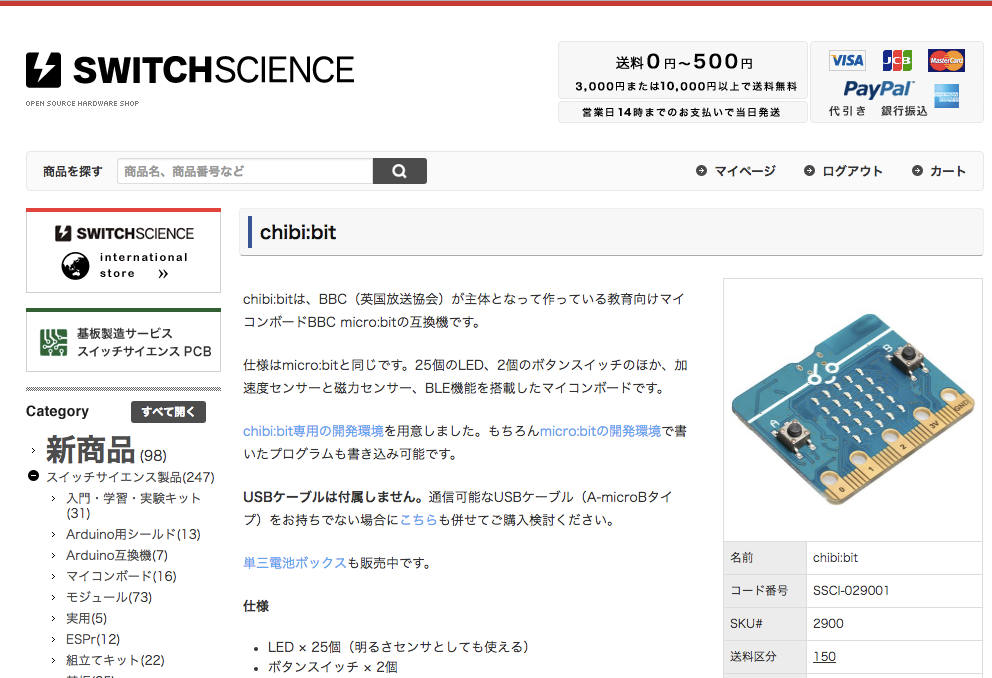
イギリスの子供向け学習用ボードであるBBS micro:bitの互換機です。web上でブロックを組み合わせてプログラミングできます。micro:bitは日本の電波法に適合していないため、スイッチサイエンスさんがchibi:bitという名前の互換機を製造、販売されてます。
https://www.switch-science.com/catalog/2900/

node.jsでchibi:bitのLEDにテキストを表示
chibi:bitにBLE連携用ファームウェアを書き込む
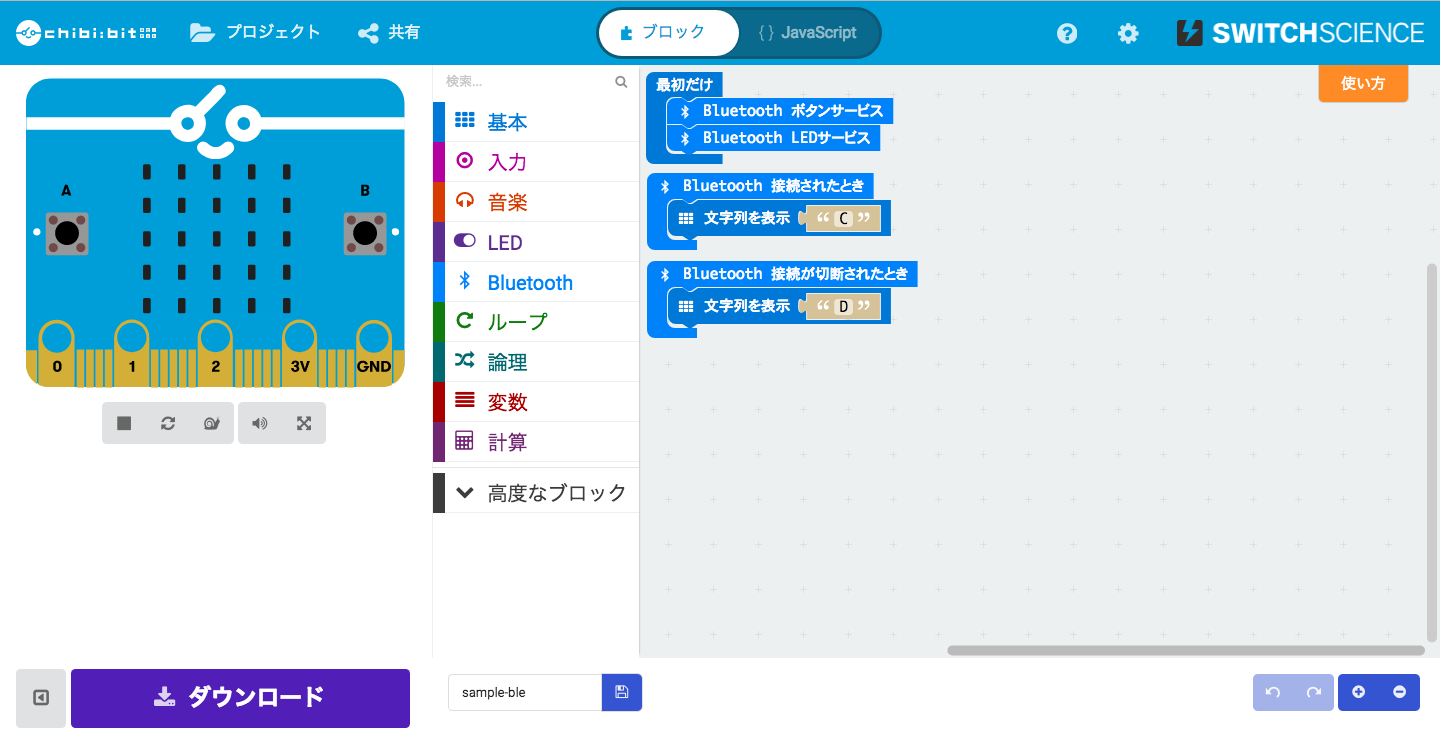
chibi:bit側にはBLEを受信してLEDを表示するファームウェアを書き込みます。LEDの表示内容については、node.jsで制御します。chibi:bitは受信したデータを表示するだけです。
こちらの記事がとてもわかりやすいので
https://www.indetail.co.jp/blog/170619/
こちらを参考に進めます。
「最初だけ」のブロックに「Bluetooth LEDサービス」を入れておくのがポイントです。
node.jsのライブラリbbc-microbitをインストール
LEDの表示内容を制御するために、node.jsのライブラリである bbc-microbit をインストールします。
ターミナル上で一発でインストールできます。適当な作業用フォルダを作成し、そのフォルダ内で下記コマンドを実行してください。
npm install bbc-microbit
ライブラリにサンプルコードがたくさん入っています。LEDにテキストを表示するには以下のようにしてみてください。
node node_modules/bbc-microbit/examples/led-text.js
参考:Githubにソースコードが上がっています
https://github.com/sandeepmistry/node-bbc-microbit
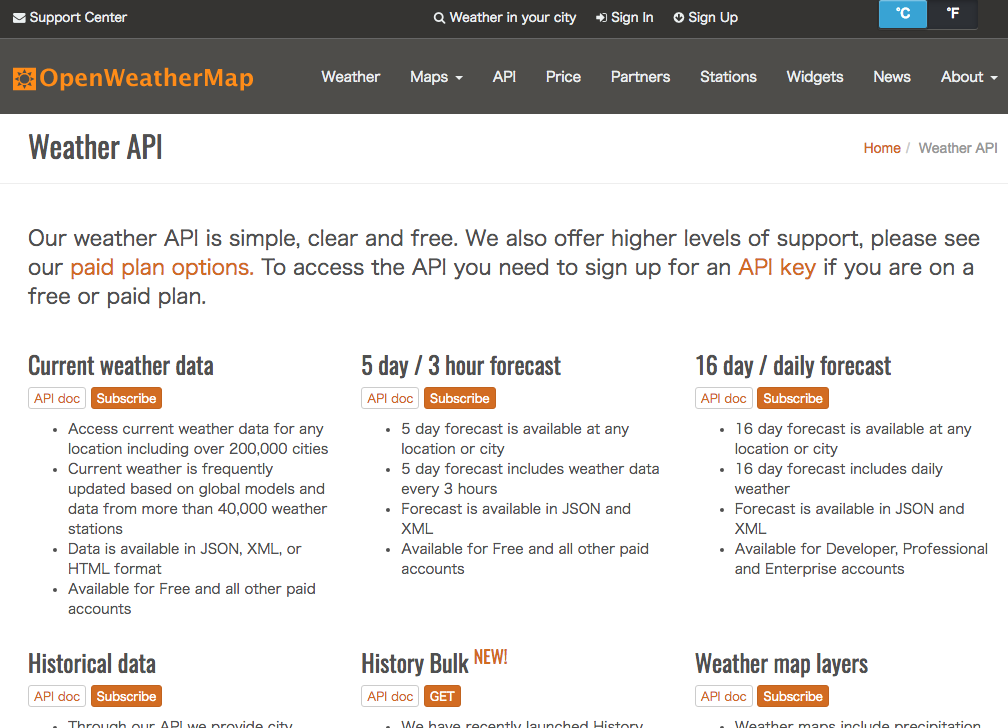
気象情報APIとしてopenWeatherMapを利用
Yahooとかもあるが、日本語になってしまうので、chibi:bitでの表示が面倒になりそうでした。そのため、openWeatherMapを使うことにしました。
https://openweathermap.org/api

APIキーを取得
サイト上部の「Sign Up」からユーザー登録をして、APIキーを取得します。
無料のFree PlanではAPIを1分間に60回まで呼び出すことができます。
キーを作成してから10分くらい待たないと動かないので注意してください。
APIの利用
こちらのサイト
https://yoheikoga.github.io/2016/08/14/open-weather-map-by-nodejs/
に掲載されているサンプルコードを使うことにします。
東京の気象情報がJSON形式で取得できます。
var http = require('http');
var location = "Tokyo, JP";
var units = 'metric';
var APIKEY = "取得したAPIキーをこちらに入力";
var URL = 'http://api.openweathermap.org/data/2.5/weather?q='+ location +'&units='+ units +'&appid='+ APIKEY;
http.get(URL, function(res) {
  var body = '';
  res.setEncoding('utf8');
  res.on('data', function(chunk) {
    body += chunk;
  });
  res.on('data', function(chunk) {
    res = JSON.parse(body);
    console.log(res);
  });
}).on('error', function(e) {
  console.log(e.message);
});
上記を openWeatherMap.js として保存し、ターミナルでコマンド入力しましょう。
node openWeatherMap.js
ターミナル上の出力結果は下記のようになります。
{ coord: { lon: 139.69, lat: 35.69 },
  weather:
   [ { id: 521, main: 'Rain', description: 'shower rain', icon: '09d' },
     { id: 300,
       main: 'Drizzle',
       description: 'light intensity drizzle',
       icon: '09d' } ],
  base: 'stations',
  main:
   { temp: 28.59,
     pressure: 1006,
     humidity: 74,
     temp_min: 27,
     temp_max: 30 },
  visibility: 10000,
  wind: { speed: 6.2, deg: 70 },
  clouds: { all: 75 },
  dt: 1501308660,
  sys:
   { type: 1,
     id: 7612,
     message: 0.009,
     country: 'JP',
     sunrise: 1501271213,
     sunset: 1501321684 },
  id: 1850147,
  name: 'Tokyo',
  cod: 200 }
JSONをパース
必要なところを使うためにJSONをパースします。たとえば気温データを使いたい場合は、openWeatherMap.jsの console.log の部分を書きえましょう。
// console.log(res); //openWeatherMap.jsのこの部分を変更。下記のようにすればよい
console.log("temp: " + res.main.temp + "C");
すると、ターミナル上の出力結果はこのようになります。
temp: 28.59C
気象情報をchibi:bitに表示
上記方法で取得したテキストデータを、chibi:bitへ表示すれば完了です。さきほどの作業用フォルダに下記ファイルを保存して実行してみてください。
var BBCMicrobit = require('bbc-microbit');
var msg = "";

// openWeatherMap API から情報を取得
var http = require('http');
var ledDisplayName = "TOKYO"
var location = "Tokyo, JP";
var units = 'metric';
var APIKEY = "APIキーをここに入力";
var URL = 'http://api.openweathermap.org/data/2.5/weather?q='+ location +'&units='+ units +'&appid='+ APIKEY;

http.get(URL, function(res) {
  var body = '';
  res.setEncoding('utf8');
  res.on('data', function(chunk) {
    body += chunk;
  });
  res.on('end', function(chunk) {
    res = JSON.parse(body);
    msg = res.main.temp; // 温度を表示したい場合
    // msg = res.weather[0].main; // 天気を表示したい場合
    console.log("openWeatherMap respose: location " + location + " is " + msg );
  });
}).on('error', function(e) {
  console.log(e.message);
});

// chibi:bitに表示
console.log('Scanning for microbit');
BBCMicrobit.discover(function(microbit) {
  console.log('\tdiscovered microbit: id = %s, address = %s', microbit.id, microbit.address);

  microbit.on('disconnect', function() {
    console.log('\tmicrobit disconnected!');
    process.exit(0);
  });

  console.log('connecting to microbit');
  microbit.connectAndSetUp(function() {
    console.log('\tconnected to microbit');

    console.log('sending text: "%s"', msg);
    microbit.writeLedText(ledDisplayName + ":" + msg, function() {
      console.log('\ttext sent');

      console.log('disconnecting');
      microbit.disconnect();
    });
  });
});
出力結果は、本記事の最初の画像のようになります。
後は、天気に合わせたLEDの表示パターンを考えれば、もっとオシャレになりそうですね。

