4
6

Delete article

Deleted articles cannot be recovered.

Draft of this article would be also deleted.

Are you sure you want to delete this article?

More than 5 years have passed since last update.

TangoのPointCloudのシェーダーで遊ぼう(前編)

Last updated at Posted at 2017-06-07

環境

  • MacBookPro 15inch mid2015
  • Lenovo Phab2 Pro
  • Unity5.6.1f1
  • TangoSDK Hopak

1. TangoでPointCloudを動かす

1-0. 前提条件

下記に従ってUnityの環境を準備する。

1-1. Tango Managerの設定

TangoSDKのPrefabからTango ManagerをHierarchyに置き、下記のとおり設定する。

  • Enable DepthをOn
  • Enable Video OverlayをOff
スクリーンショット 2017-06-06 19.52.58.png

1-2. Tango Cameraの設定

TangoSDKのPrefabからTango CameraをHierarchyに置き、下記のとおり設定する。

  • Tango AR Screen(Script)をOff
スクリーンショット 2017-06-06 19.53.19.png

1-3. Tango Point Cloudの設定

TangoSDKのPrefabからTango Point CloudをHierarchyに置き、下記のとおり設定する。

  • Mesh RendererをOn
  • Tango Point Cloud(Script)のUpdate Points MeshをOn
スクリーンショット 2017-06-06 19.53.35.png

1-4. 起動

PCで動作確認後、Lenovo Phab2 ProをUSBケーブルで接続し、Build & Run実行
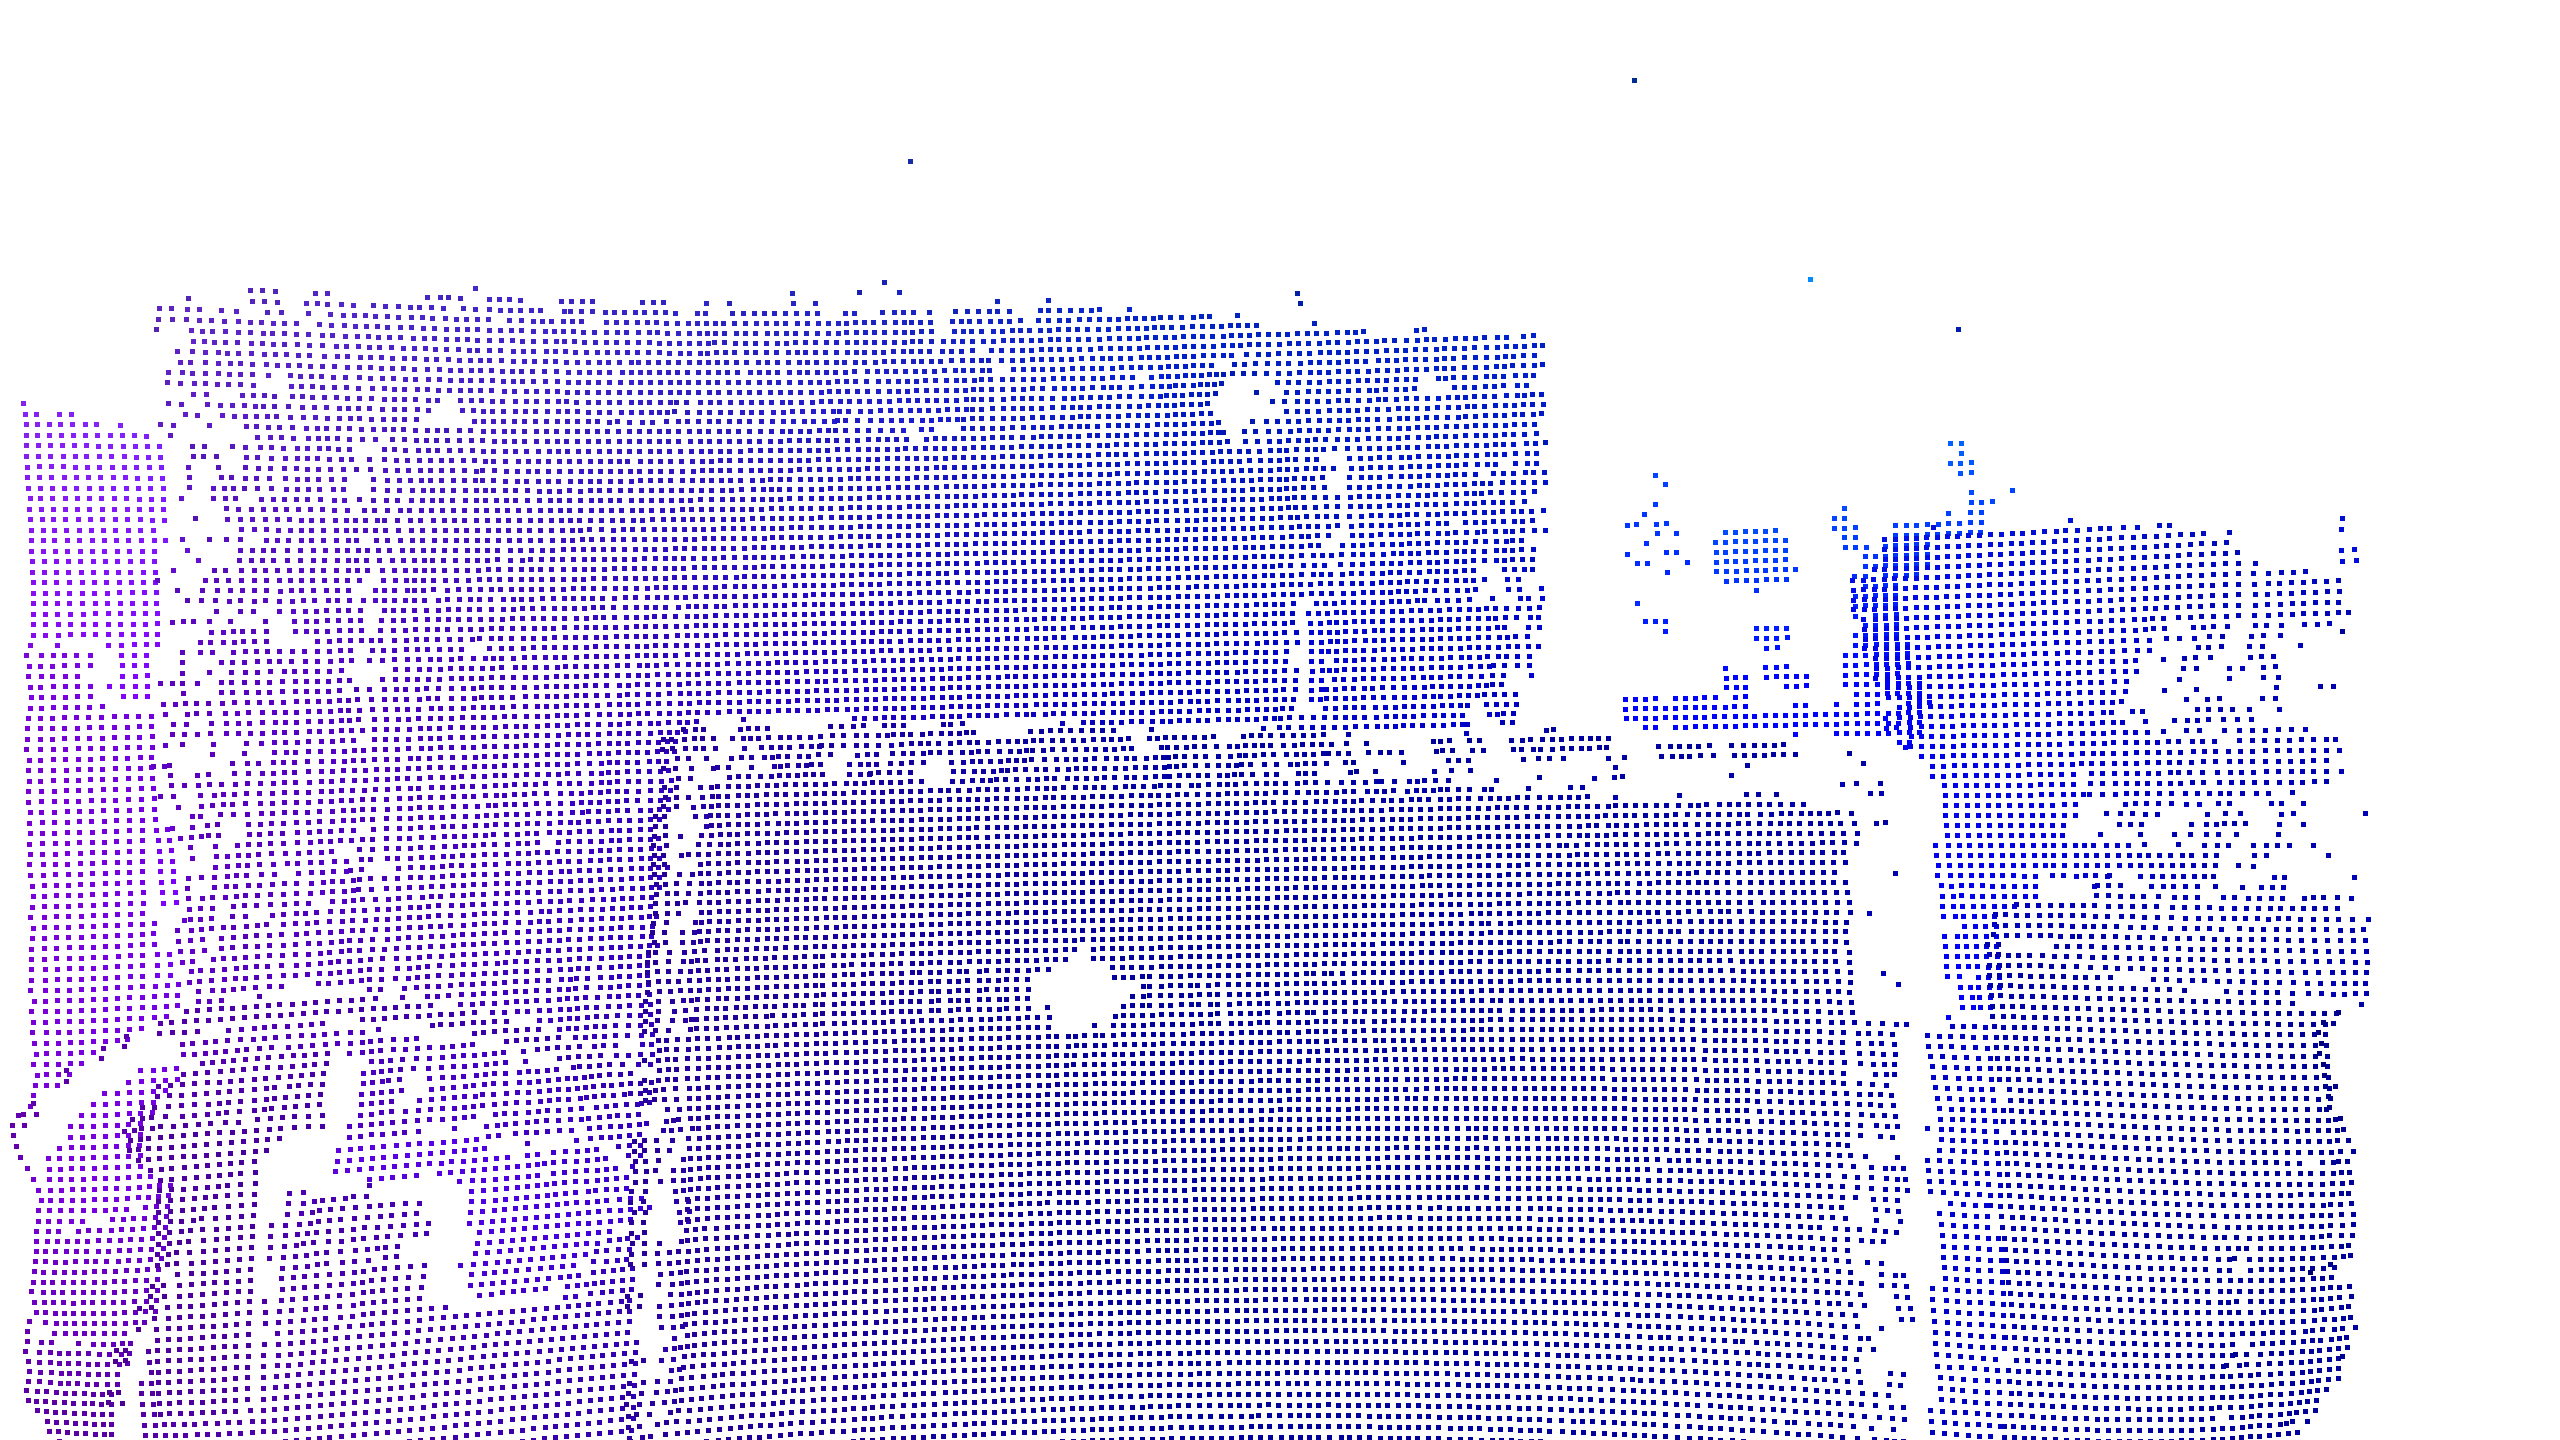
Screenshot_20170606-200211.png

カメラ上にPointCloudを表示する場合は、

  • Tango ManagerのEnable Video OverlayをOn、Texture and Raw Bytes選択
  • Tango CameraのTango AR Screen(Script)をOn

にする。

TangoのPointCloudのシェーダーで遊ぼう(後編)
へ続く。

4
6
0

Register as a new user and use Qiita more conveniently

  1. You get articles that match your needs
  2. You can efficiently read back useful information
  3. You can use dark theme
What you can do with signing up
4
6

Delete article

Deleted articles cannot be recovered.

Draft of this article would be also deleted.

Are you sure you want to delete this article?