はじめに
Cloud BuildでPHPのアプリケーションでphpunit動かしてslackに通知するやつをやります
参考
GCP公式ドキュメント
準備
- Googleアカウント(要GCP無料トライアル)
-
Cloud SDK をインストールして
gcloudコマンドが利用できるように - 対象とするPHPアプリケーションのGitHubリポジトリ
今回は以下のリポジトリをサンプルとして利用します
手順
1. GCPプロジェクト作成


できあがり
2. Cloud Build API有効化


有効にします
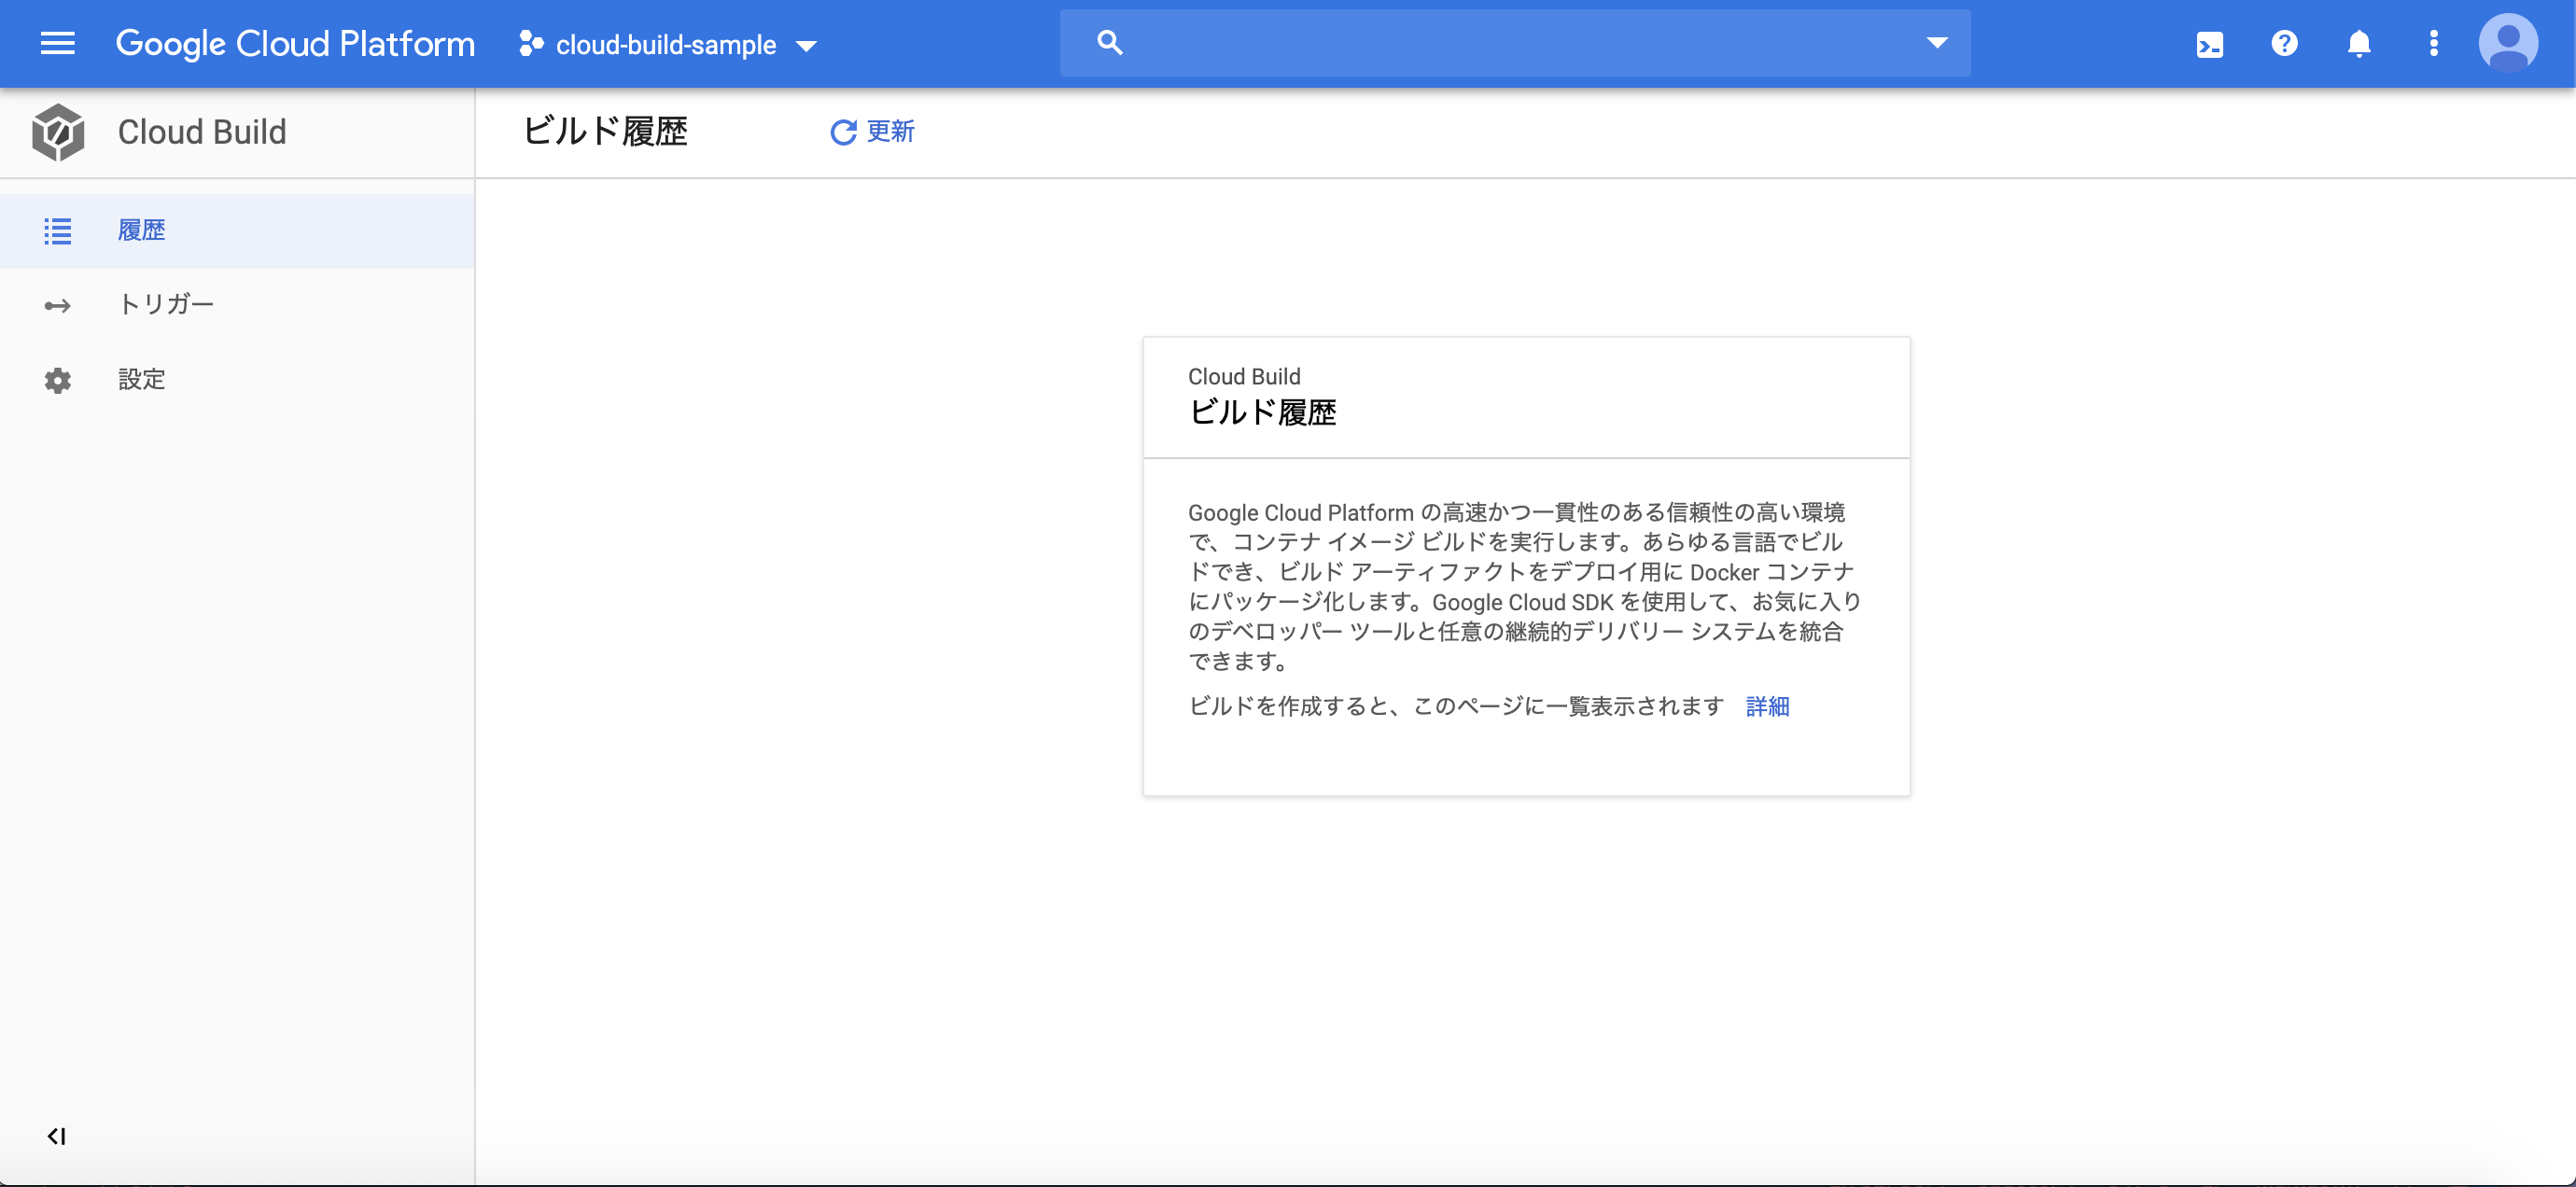
有効になりました
3. GitHub側でCloud Build Appのセットアップ
GitHub marketplaceで Google Cloud Build applicationを有効化します
対象リポジトリはあとから変更できますが、とりあえずOnly select repositoriesにしておくのがよさそう

この設定が完了すれば、ひとまずPull Request作成時にCloud Buildが動く状態にはなります
4. cloudbuild.yamlを作成
Cloud BuildはDockerfileかcloudbuild.yamlファイルをベースにビルドを実行しますが、Dockerfileを利用する手順はドキュメントにも記載されているので、ここではcloudbuild.yamlファイルを使ってみます
Cloud Buildでやりたい処理は以下
- ソースコードをclone
- composer install
- phpunit実行
追加するcloudbuild.yamlの中身はこんな感じ
steps:
- name: 'gcr.io/cloud-builders/git'
  args: ['clone', 'https://github.com/halnique/cloud-build-sample']
  id: git clone
- name: 'gcr.io/${PROJECT_ID}/composer'
  args: ['install', '--no-interaction', '--no-suggest']
  id: composer install
- name: 'gcr.io/${PROJECT_ID}/composer'
  args: ['test']
  id: phpunit
timeout: 500s
※ composer.jsonにphpunitの実行を test コマンドとしてscriptsに追加しています
gcr.io/${PROJECT_ID}/composer というイメージはCloud Builders コミュニティで提供されているものなので、自分でイメージビルドしてプロジェクトの Container Registry に登録しておく必要があります
gcr.io/cloud-builders/git の方は公式提供なのでそのまま利用可能です
5. Container Registryにイメージを登録
コミュニティのGitHubリポジトリ のREADMEを参考にします
git clone https://github.com/GoogleCloudPlatform/cloud-builders-community.git
cd cloud-builders-community/composer
PROJECT_ID=xxxxxxxx
gcloud --project ${PROJECT_ID} builds submit --config cloudbuild.yaml .
※ PROJECT_IDは自分のものに変更してください
終わったらConteiner Registryにアクセスしてみます
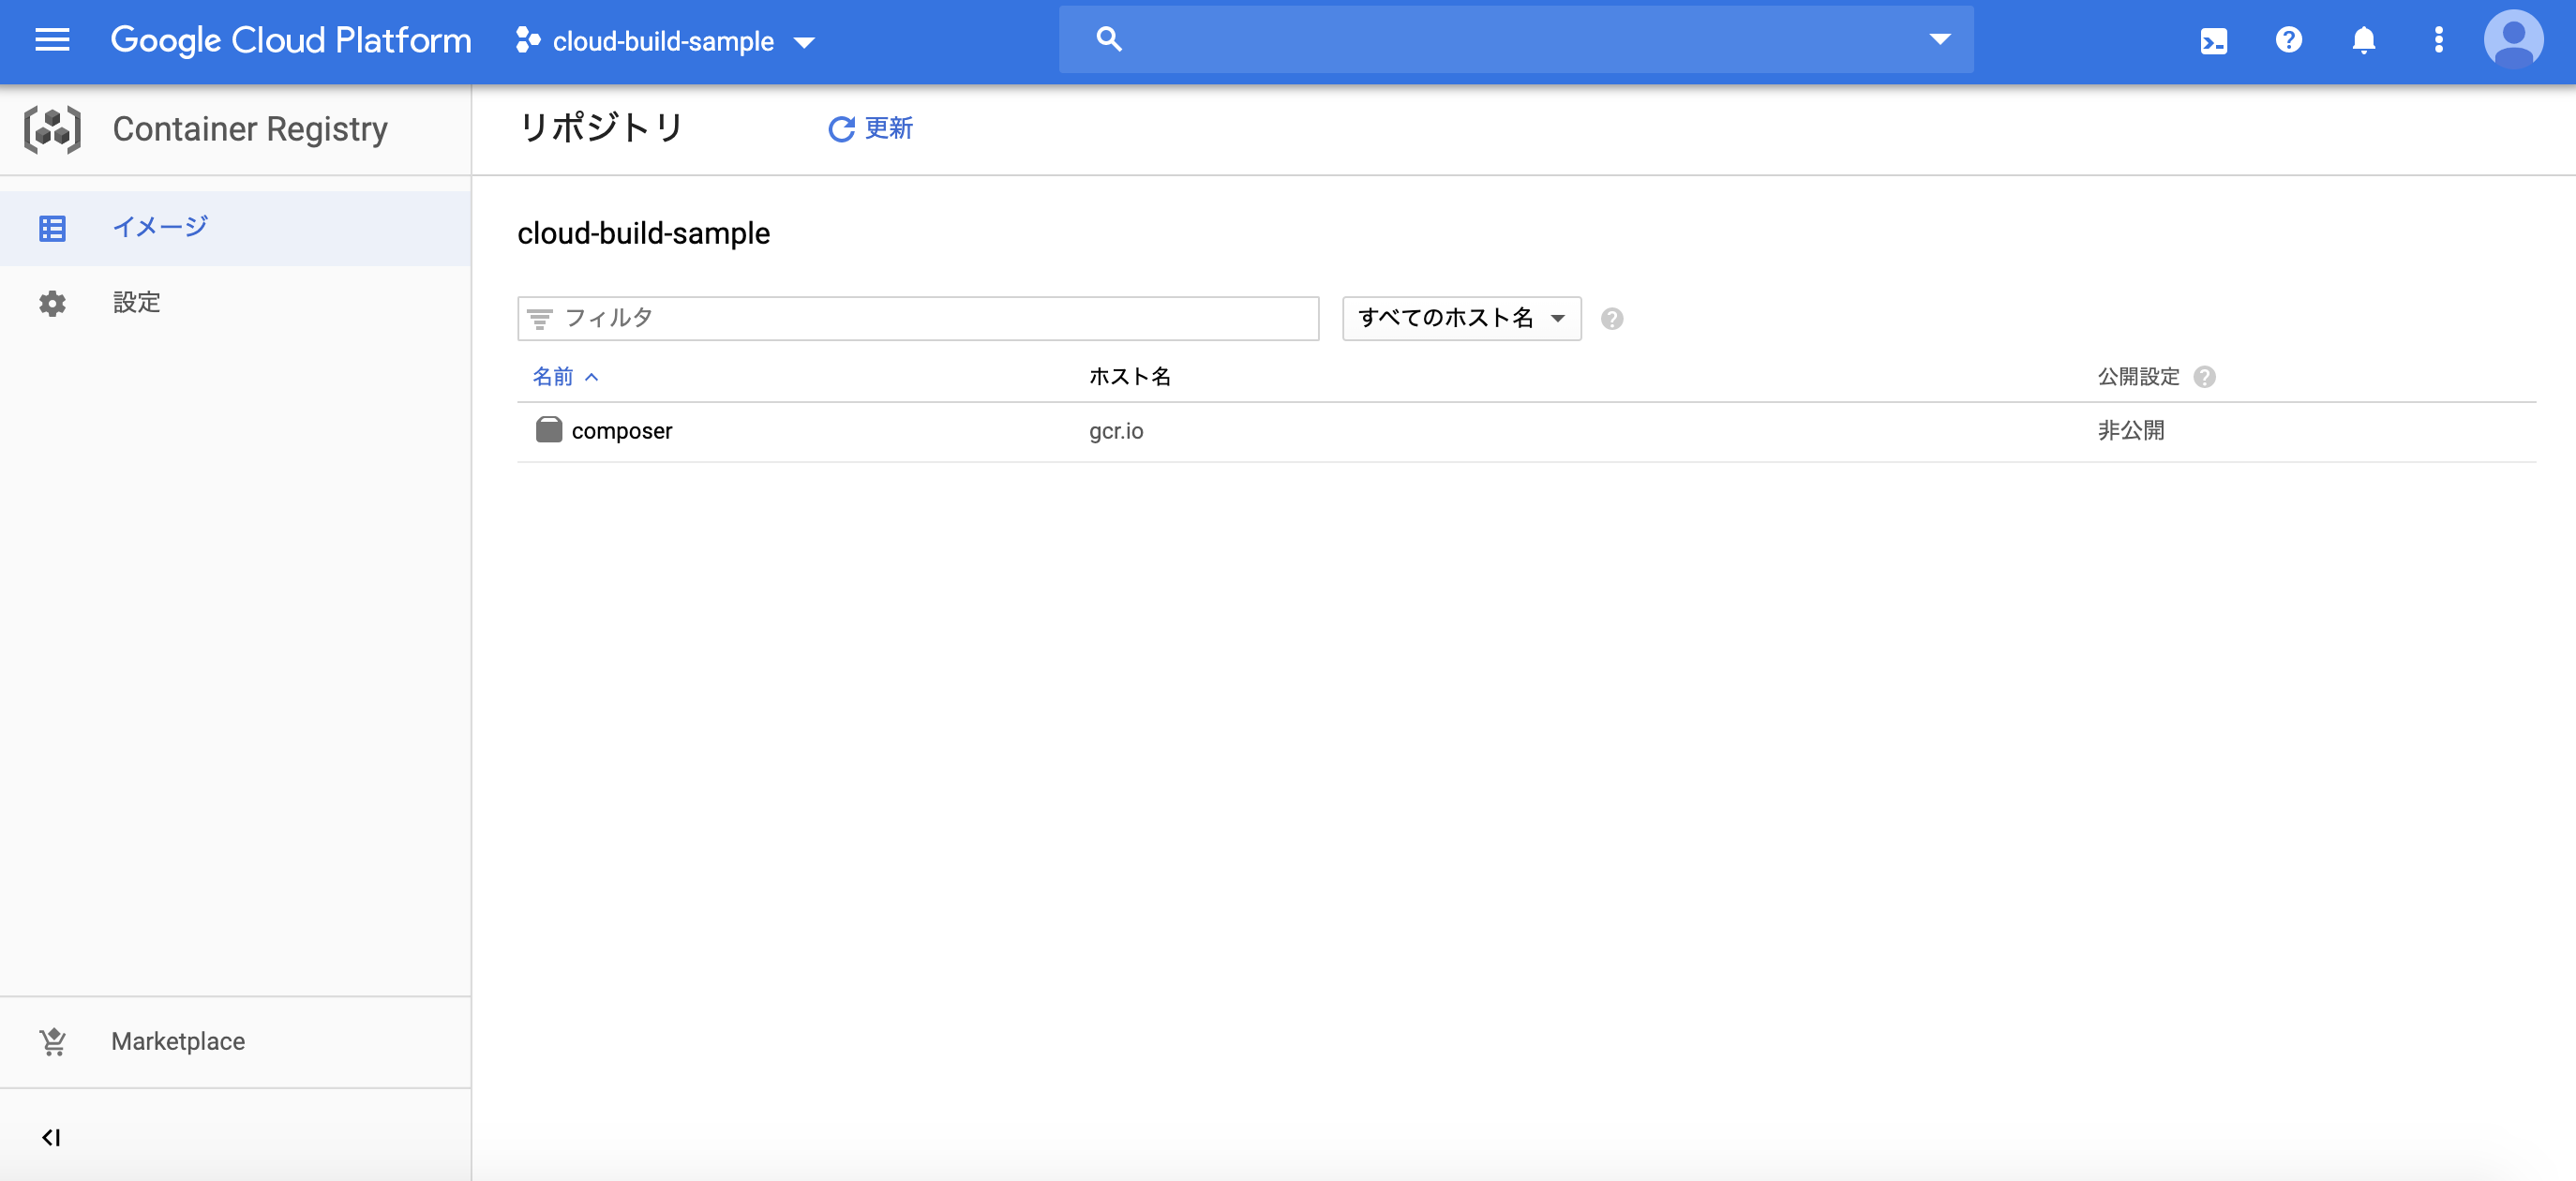
登録されたみたいです
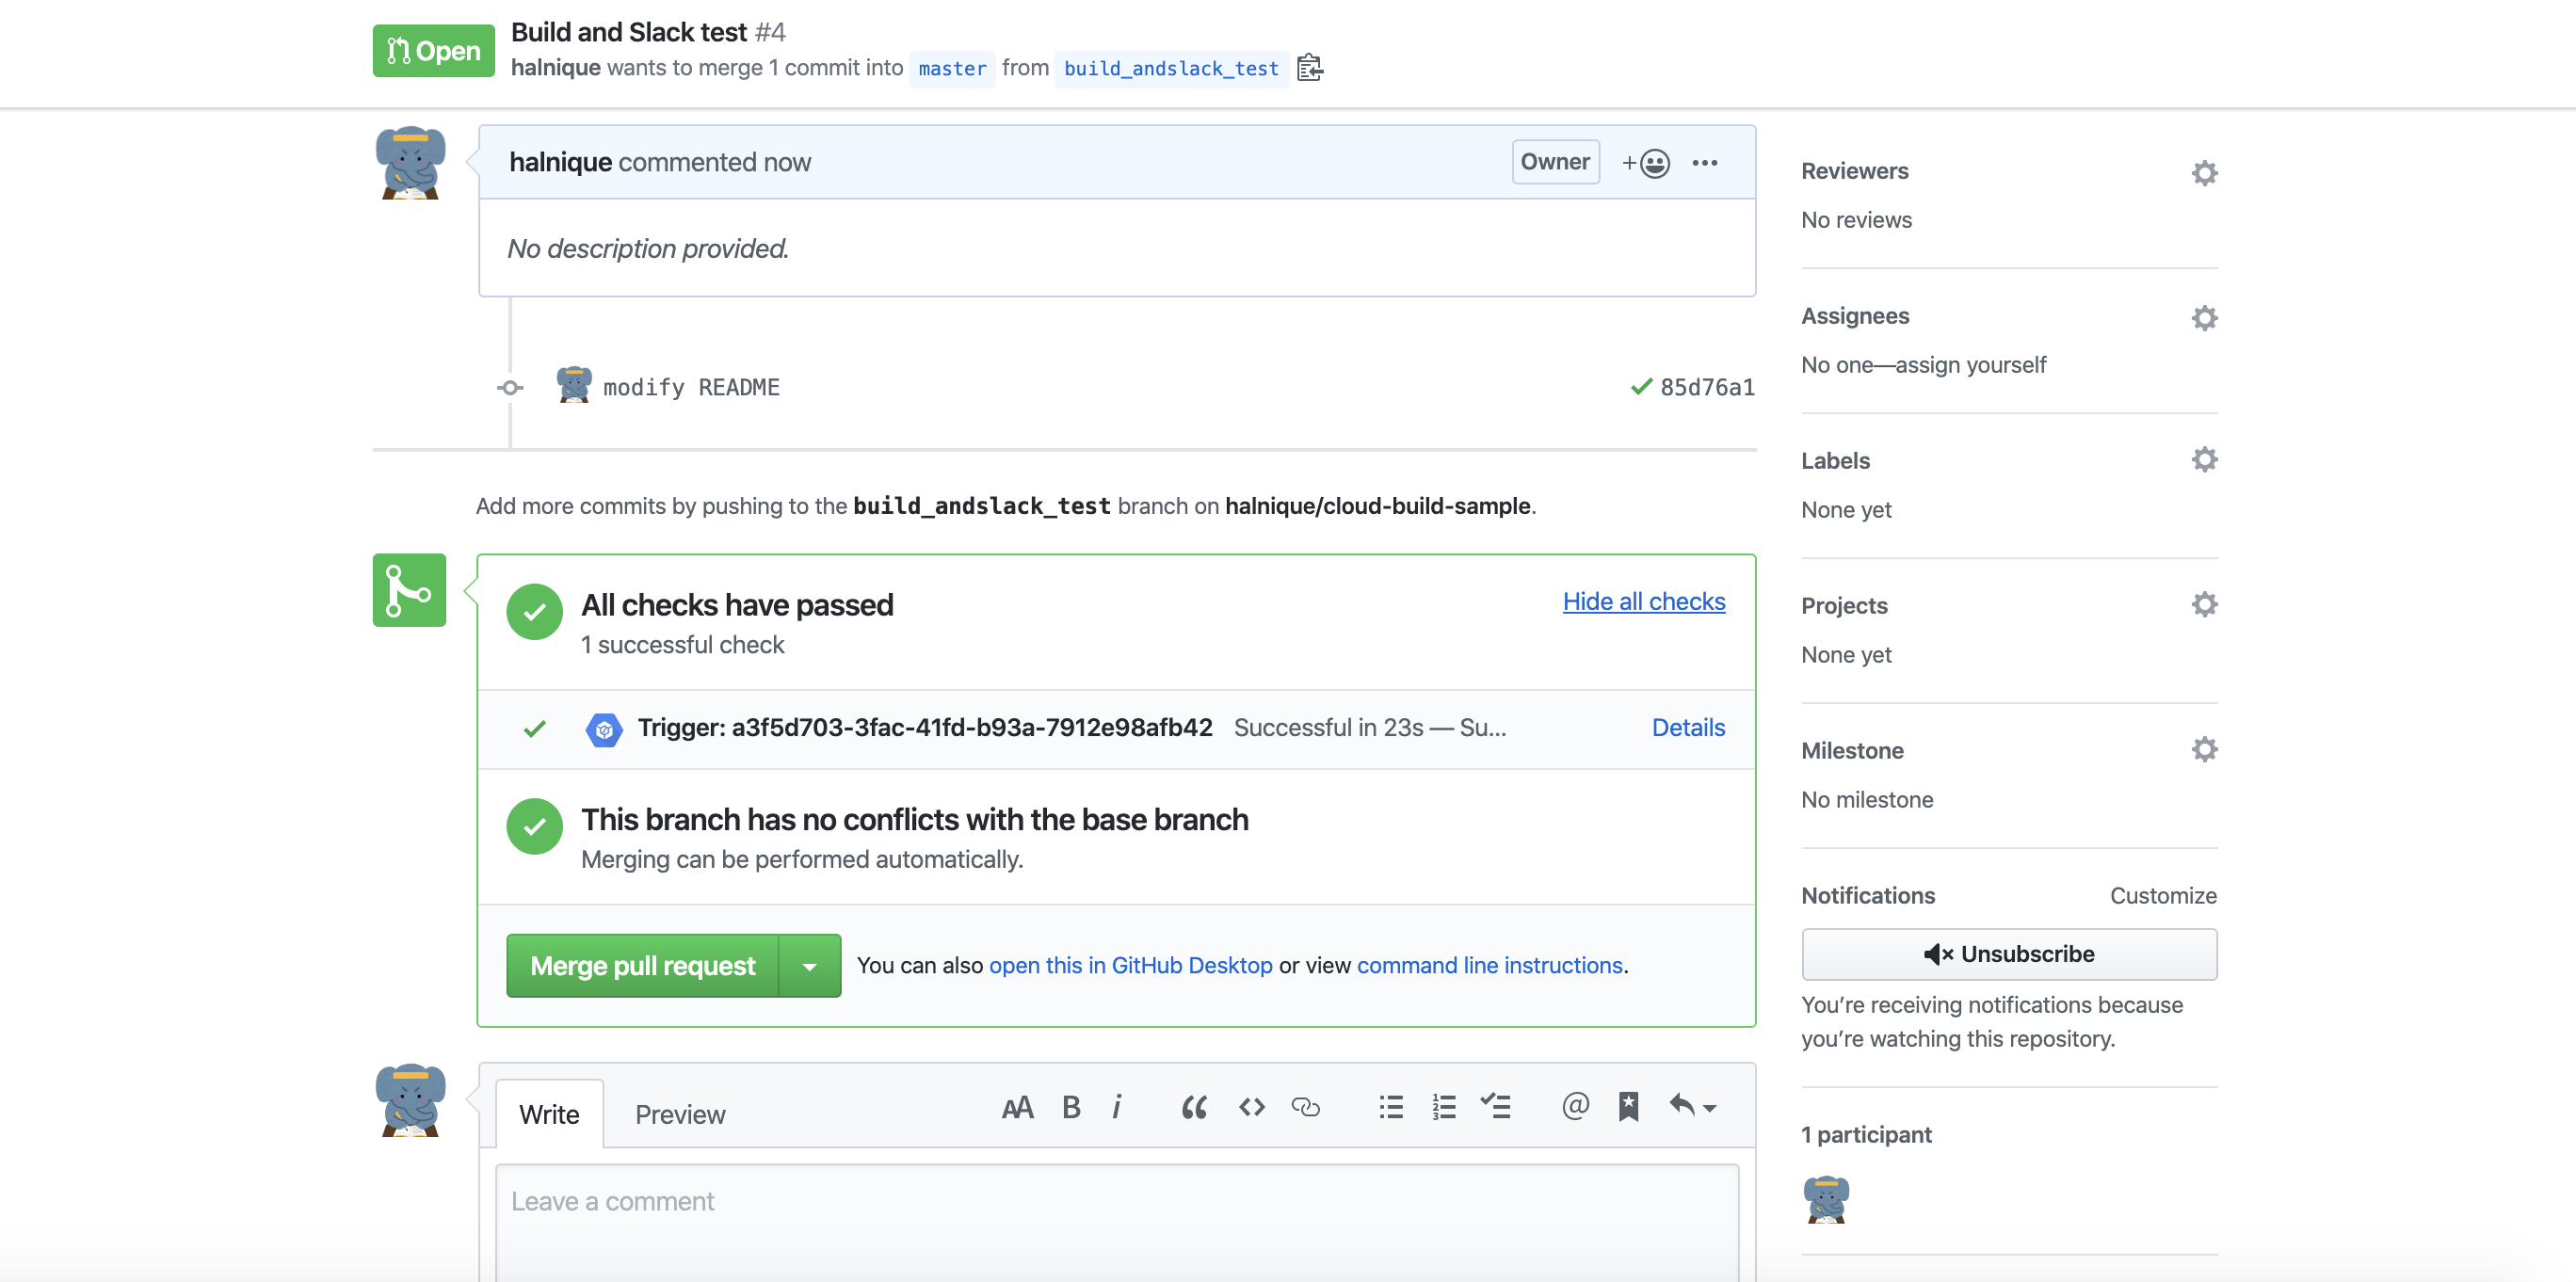
この状態でCloud Buildが通るはずなので、先ほどのcloudbuild.yamlを含めた状態で一度適当なPull Requestを作ってみます


動いたようです
6. Slackアプリを作成
Slack Appの提供は現状ないみたいなので、自分で作成します

適当に作成し、Incoming Webhookを有効にします

Add New Webhook to Workspace からCloud Buildが通知するチャンネルを選択します

これでWebhook用のURLが手に入ります
7. Webhookを叩くCloud Functionsを作成
Cloud Buildをトリガーに実行される Cloud Functions を作成し、その中でSlackのWebhookを叩くという流れです
※ AWS詳しい人はLambdaみたいなイメージ
Cloud Functionsへのデプロイは リポジトリ を用意しておいたので使うと楽かもしれません
git clone https://github.com/halnique/cloud-function-slack-sample.git
cd cloud-function-slack-sample

PROJECT_ID=xxxxxxxx
SLACK_WEBHOOK_URL=yyyyyyyy

gcloud --project ${PROJECT_ID} functions deploy subscribeSlack --trigger-topic cloud-builds --runtime nodejs10 --set-env-vars "SLACK_WEBHOOK_URL=${SLACK_WEBHOOK_URL}"
PROJECT_IDとSLACK_WEBHOOK_URLをよしなに変更して実行してください

完了したらCloud Functionsで確認すると、なにやらできあがってます
これで完成です
Pull Requestを作成してみます

できた
まとめ
基本的に公式ドキュメント見ながらやればできますが、思っていたより簡単でした
記事に上げているGCPプロジェクトは削除済みですが、GitHubリポジトリの方は公開してますので参考にしてもらって大丈夫です