環境
- Xcode(11.0 Beta)
- macOSCatalina(10.15 Beta)
背景を設定する
⌘+クリックからのインスペクターから、backGround設定できるやん。
と気づいて生成された結果がこちら
struct ContentView: View {
    var body: some View {
        VStack {
            Text("Hello World")
        }
        .background(Color.blue)
    }
}
ちょっと調べてみた
+ボタンからパーツを選択するときにZStackとか言うものがあるみたい
(チュートリアルはまだ途中までしかやってないので知らず...)
公式にこんな事が書いてました。
「ZStack A view that overlays its children, aligning them in both axes.」
ようは重ねる事ができるってことですね。
画像の上にテキスト表示するときとかで使えそうですね。
Zstackでやってみた結果がこちら
struct ContentView: View {
    var body: some View {
        ZStack {
            Color.red
            Text("Hello World")
        }
    }
}
外枠の部分も表示しよう
struct ContentView: View {
    var body: some View {
        ZStack {
            Color.red.edgesIgnoringSafeArea(.all)
            Text("Hello World")
        }
    }
}

グラデーションの設定
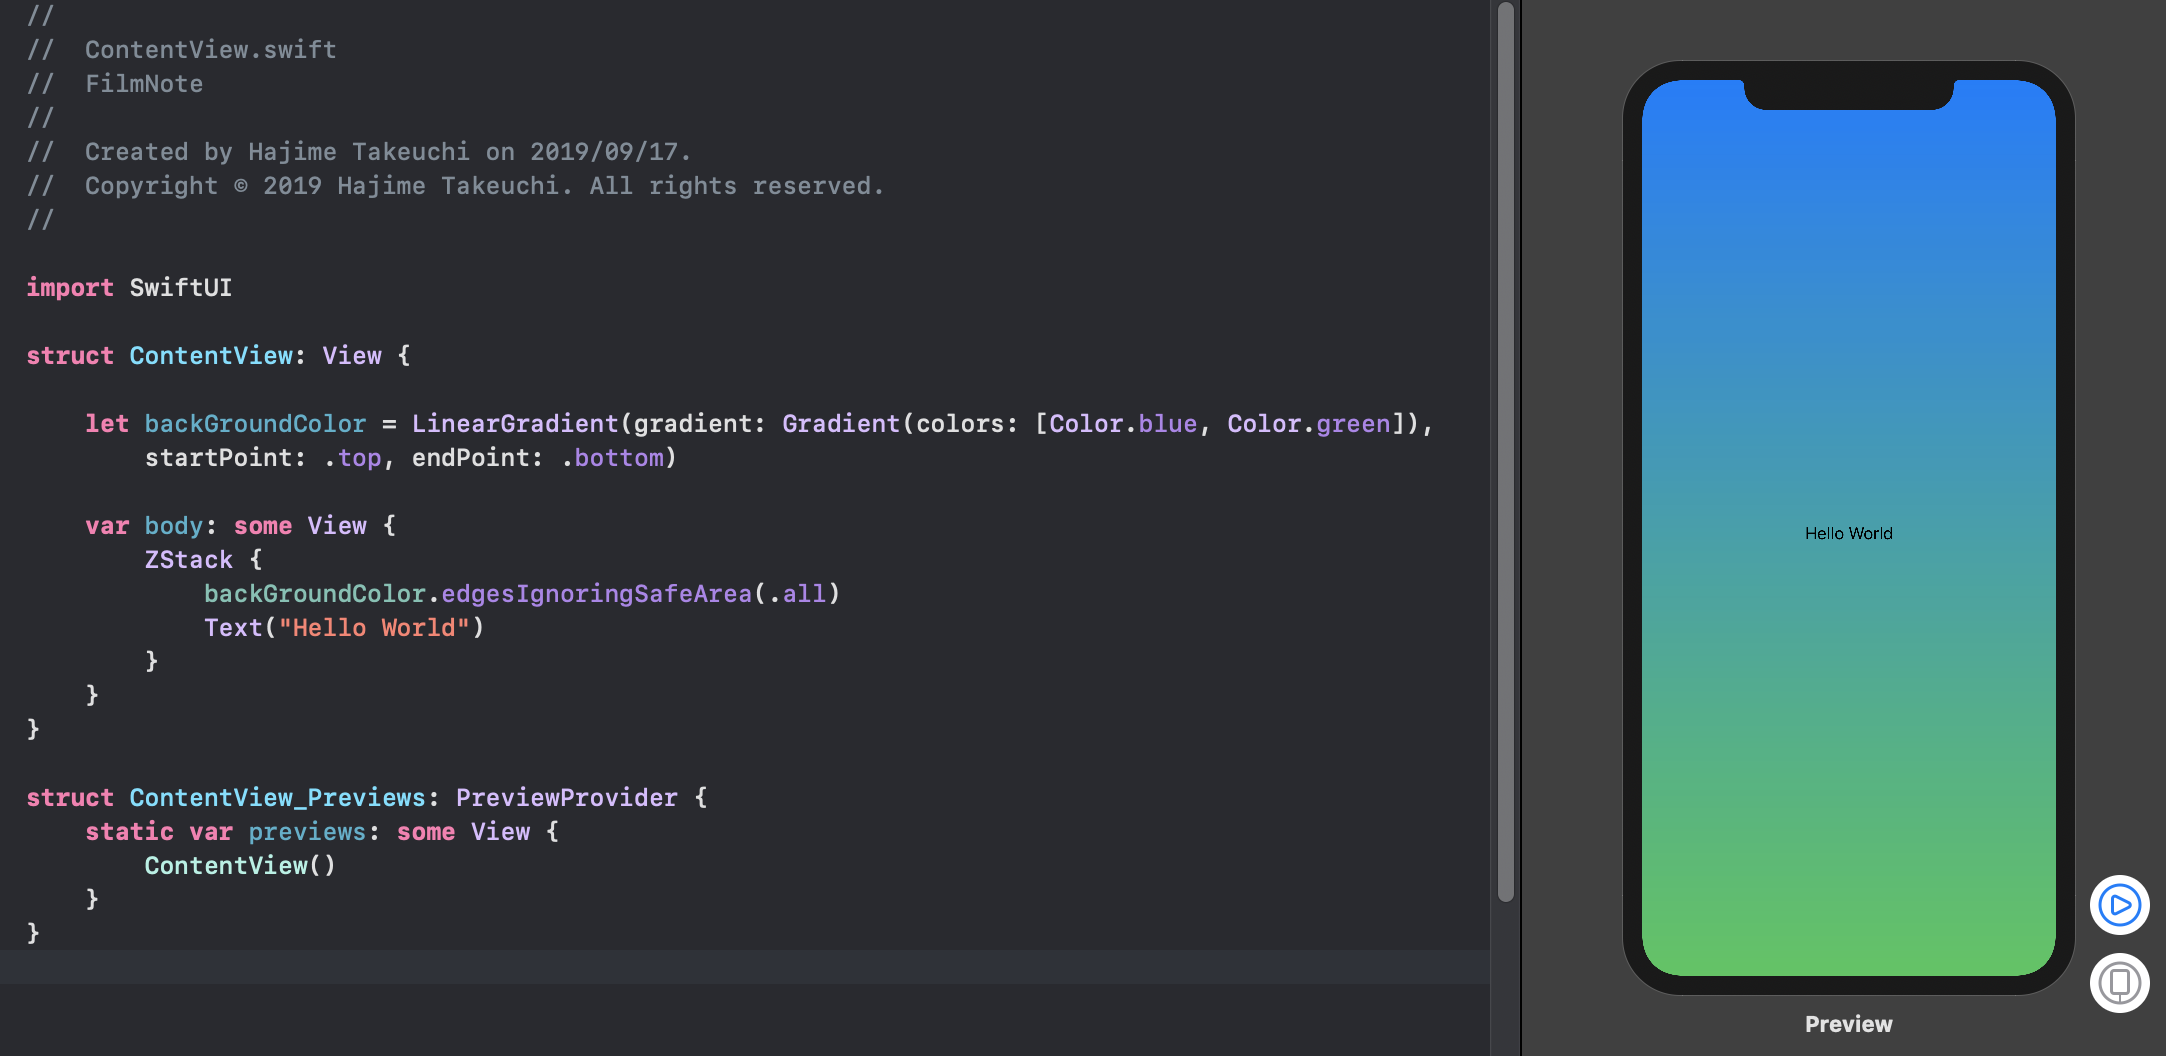
LinerGradientってそれっぽい名前のものがあったから、言われるがままに引数を埋めてみた。
struct ContentView: View {

    let backGroundColor = LinearGradient(gradient: Gradient(colors: [Color.blue, Color.green]), startPoint: .top, endPoint: .bottom)

    var body: some View {
        ZStack {
            backGroundColor.edgesIgnoringSafeArea(.all)
            Text("Hello World")
        }
    }
}

完成形(斜めのグラデーション)
import SwiftUI

struct ContentView: View {

    var body: some View {
        ZStack {
            self.backGroundColor().edgesIgnoringSafeArea(.all)
            Text("Hello World")
        }
    }

    /// 背景グラデーションを作成する
    private func backGroundColor() -> LinearGradient {
        // 左上から右下にポイントを設定する。
        let start = UnitPoint.init(x: 0, y: 0) // 左上(始点)
        let end = UnitPoint.init(x: 1, y: 1) // 右下(終点)

        // 「Color」は以前の「UIColor」からの変換もできるぞ! 助かる。
        let colors = Gradient(colors: [Color(UIColor.blue), Color(UIColor.green)])

        let gradientColor = LinearGradient(gradient: colors, startPoint: start, endPoint: end)

        return gradientColor
    }
}

struct ContentView_Previews: PreviewProvider {
    static var previews: some View {
        ContentView()
    }
}

あとがき
まだSwiftUIチュートリアル2章までしか終わってないけど、やってみたかったので作りました。
まだまだ勉強中ですが使いこなせれば、今までのStoryBoardよりもメンテしやすい設計にできると思います。
MassiveViewControllerからは卒業しよう!

