Parrot
セキュリティに特化し、イタリア製の見た目が美しいOSとの記事を見かけてMintから乗り換えました。日本語(mozc)の設定、その他nvm、git、yarn、VScodeなど普段使う環境のインストールコマンドのメモです。
#Linux #parrot
— はっしゅ│Linux/Docker/Gatsby/(Flutter) (@hash2666) October 6, 2020
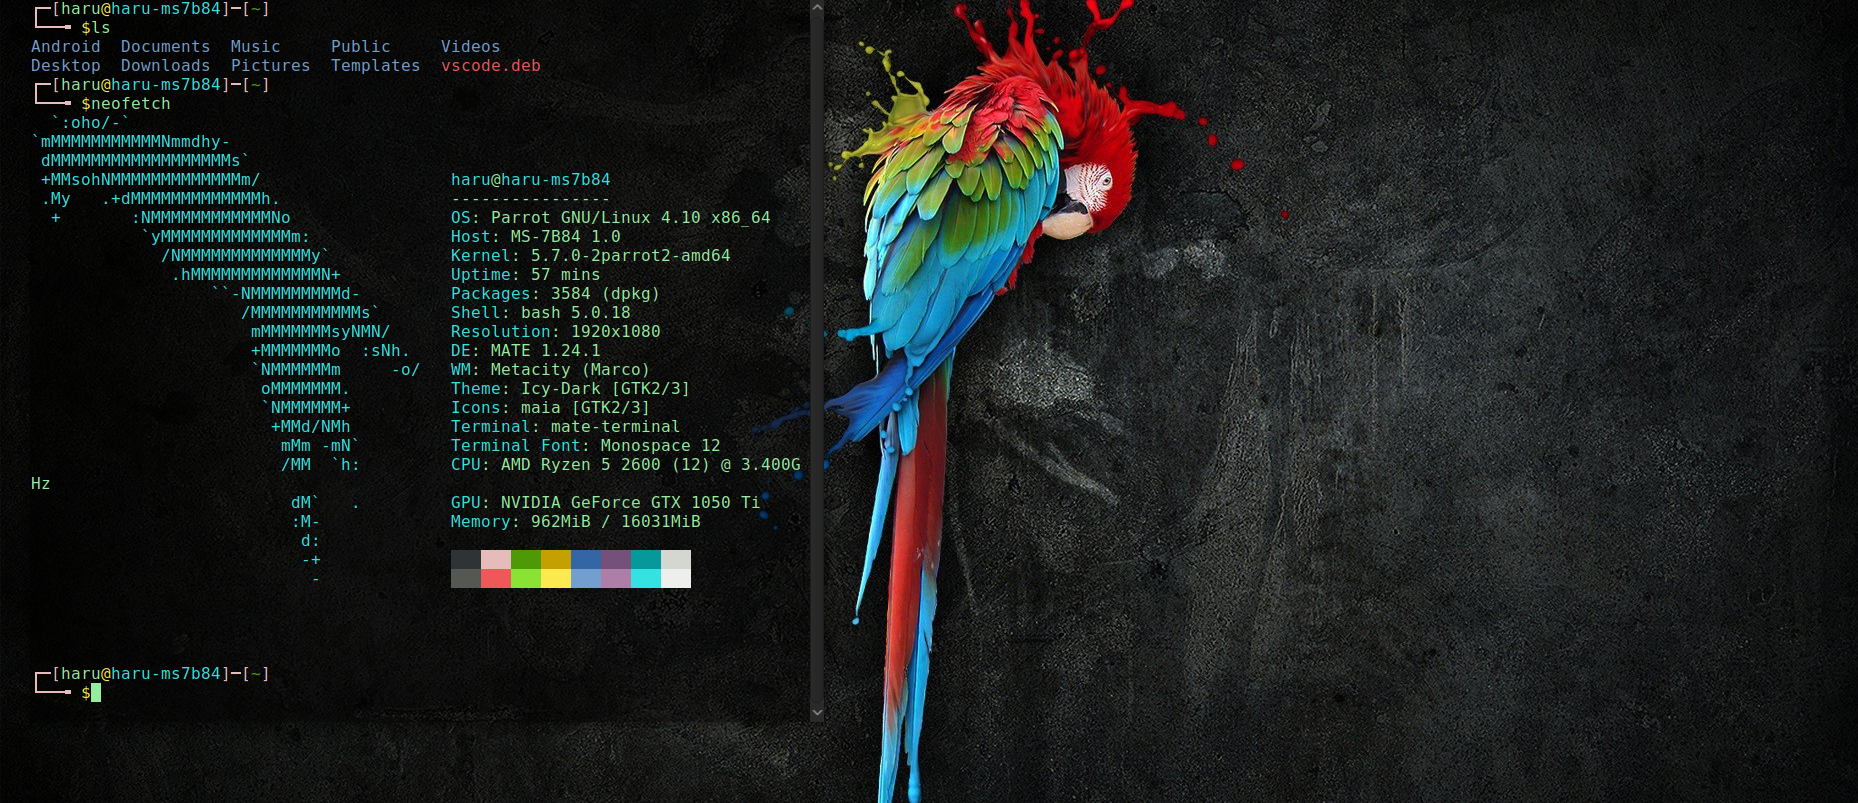
Linuxの実機をMintからParrotに乗り換えw
Debian系なのであまり変わらんけどターミナルが独特。最初からセキュリティツールが入ってる。
イタリア製で美しいOSと言われている。らしい。。
GitHubCliがまだ未対応←😇
日本語情報少ない←😇 pic.twitter.com/CfQ3VjxY9o
Parrot OS, the flagship product of Parrot Security is a GNU/Linux distribution based on Debian and designed with Security and Privacy in mind. It includes a full portable laboratory for all kinds of cyber security operations, from pentesting to digital forensics and reverse engineering, but it also includes everything needed to develop your own software or keep your data secure.
(ParrotSecurityの主力製品であるParrotOSは、Debianに基づくGNU / Linuxディストリビューションであり、セキュリティとプライバシーを念頭に置いて設計されています。ペネトレーションテストからデジタルフォレンジクス、リバースエンジニアリングまで、あらゆる種類のサイバーセキュリティ操作のための完全なポータブルラボが含まれていますが、独自のソフトウェアを開発したり、データを安全に保つために必要なすべてのものも含まれています。)
parrotsec.orgより
インストール
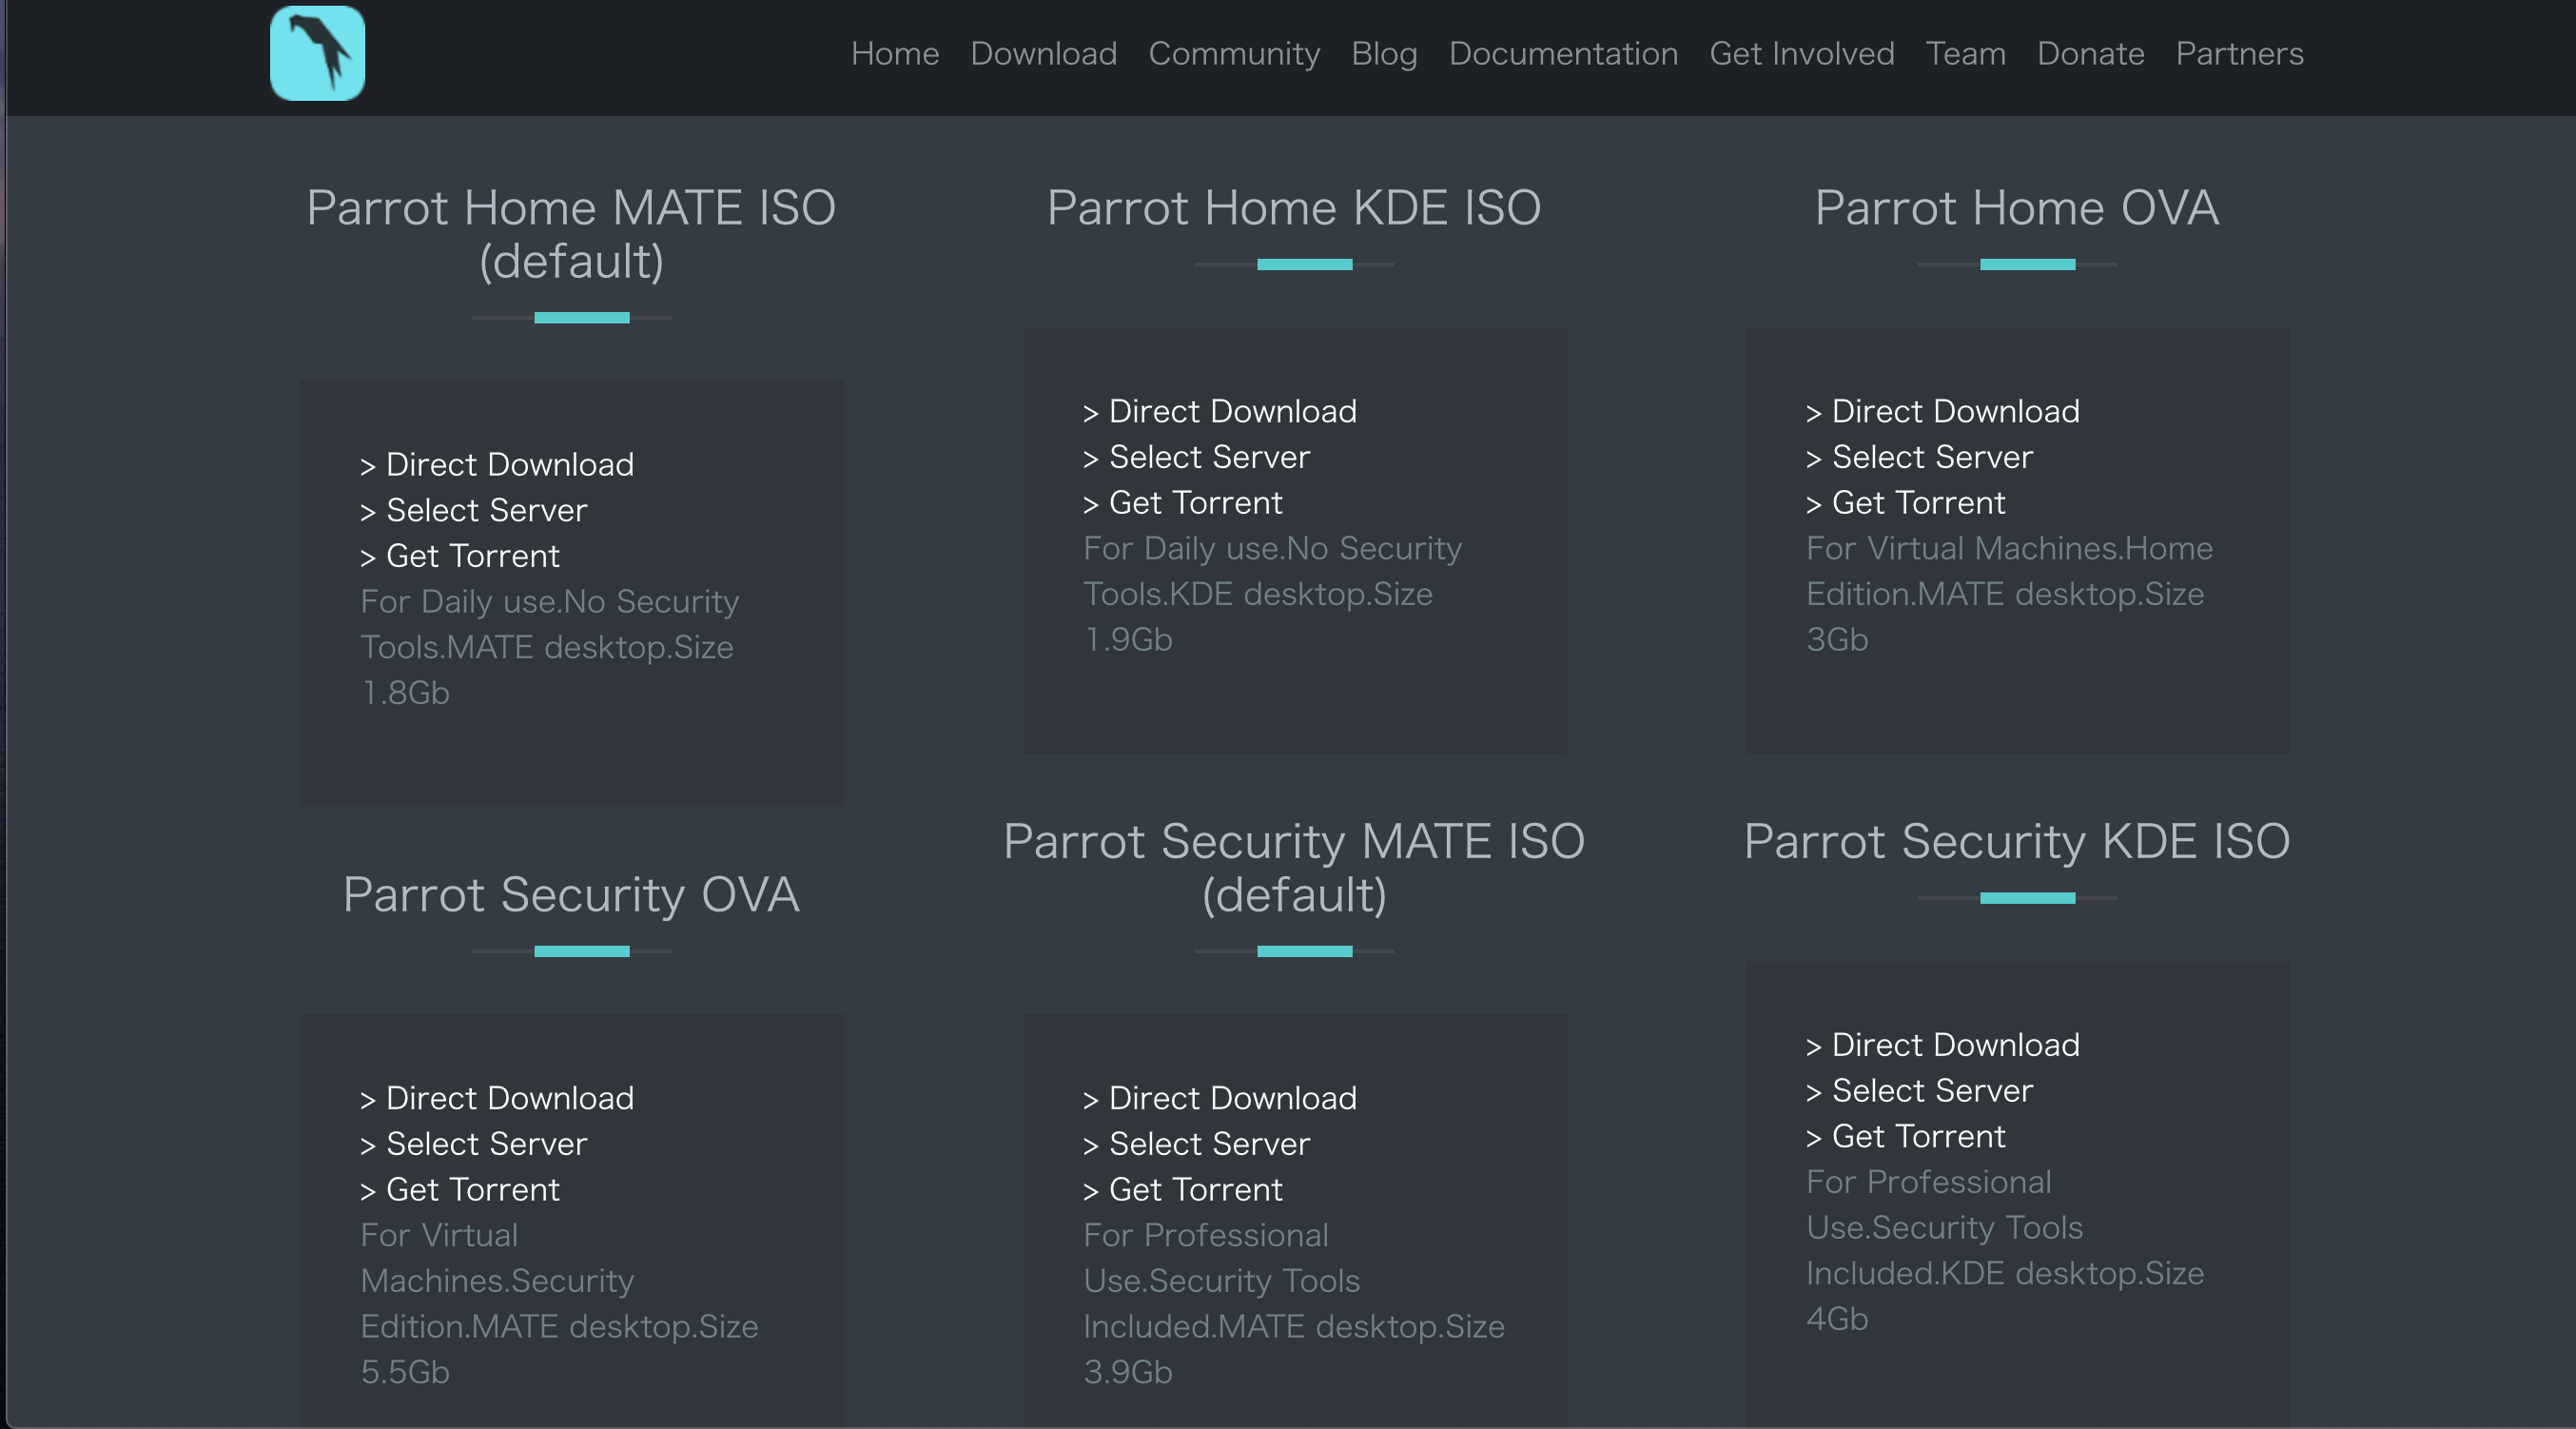
インストール方法の詳細は「Linux USB」などで調べるとたくさん出てくるので割愛。
公式よりダウンロードしたISOイメージファイルからrufusを使ってライブ USB メモリの作成。Windowsのデスクトップパソコンに増設したSSDにインストールしました。よく分かっていませんが最初からセキュリティツールが入っている「Parrot Security MATE ISO」を使用。
日本語入力の設定
$ sudo apt install -y ibus-mozc
Ubuntu20.04のMozcでかな切り替えをCtrl+Spaceにする
Google Chrome
How to install Google Chrome in Parrot OS | Linux | Debian
nvm
$ curl -o- https://raw.githubusercontent.com/nvm-sh/nvm/v0.36.0/install.sh | bash

$ wget -qO- https://raw.githubusercontent.com/nvm-sh/nvm/v0.36.0/install.sh | bash
## ~/.profile, or ~/.bashrc に追記
export NVM_DIR="$([ -z "${XDG_CONFIG_HOME-}" ] && printf %s "${HOME}/.nvm" || printf %s "${XDG_CONFIG_HOME}/nvm")"
[ -s "$NVM_DIR/nvm.sh" ] && \. "$NVM_DIR/nvm.sh" # This loads nvm
node.js
$ nvm install --lts
$ nvm use --lts
yarn
$ curl -sS https://dl.yarnpkg.com/debian/pubkey.gpg | sudo apt-key add -
$ echo "deb https://dl.yarnpkg.com/debian/ stable main" | sudo tee /etc/apt/sources.list.d/yarn.list
$ sudo apt-get update && sudo apt-get install yarn
Git
$ sudo apt-get install git
*GitHubにSSHで接続↓
GitHub Docs
Docker
$ sudo apt install docker.io docker-compose
$ sudo gpasswd -a $USER docker
$ service docker restart
VScode
$ sudo apt install curl
$ curl -L https://go.microsoft.com/fwlink/?LinkID=760868 -o vscode.deb
$ sudo apt install ./vscode.deb
または
sudo snap install --classic code
Gatsby CLI
sudo yarn global add gatsby-cli
AndroidStudio
公式サイトからインストールして展開しておく
$ sudo mv android-studio /usr/local/
$ cd /usr/local/android-studio/bin/
$ ./studio.sh
neofetch
$ sudo apt install neofetch
aptコマンドメモ
## パッケージ一覧を更新(リポジトリ追加・削除時には必ず実行)
sudo apt update
## パッケージを更新(通常のパッケージ更新時)
sudo apt upgrade