Turnサーバーの分離
前回の記事ではEC2インスタンス上でPixelStreamingサービスを動かせるようにしました。
Docker ComposeでTurnサーバー、シグナルサーバー、UEコンテナを一つのインスタンスで起動させていましたが、本記事ではTurnサーバーを独立したEC2インスタンス上で動作させます。
ちょうど、TurnサーバーをArmインスタンス上で運用しているという記事を見かけたため、ArmアーキテクチャのAmazon Linux 2023でCoturnをビルドして運用します。
IAMロールの作成

以下のポリシーを付与します。Route53を使用してSSL証明書の取得を行うための設定です。
Route53Access
{
    "Version": "2012-10-17",
    "Id": "certbot-dns-route53 sample policy",
    "Statement": [
        {
            "Effect": "Allow",
            "Action": [
                "route53:ListHostedZones",
                "route53:GetChange"
            ],
            "Resource": [
                "*"
            ]
        },
        {
            "Effect": "Allow",
            "Action": [
                "route53:ChangeResourceRecordSets"
            ],
            "Resource": [
                "arn:aws:route53:::hostedzone/************"
            ]
        }
    ]
}
セキュリティーグループの作成
セキュリティーグループを作成しインバウンドルールを以下のように設定します。

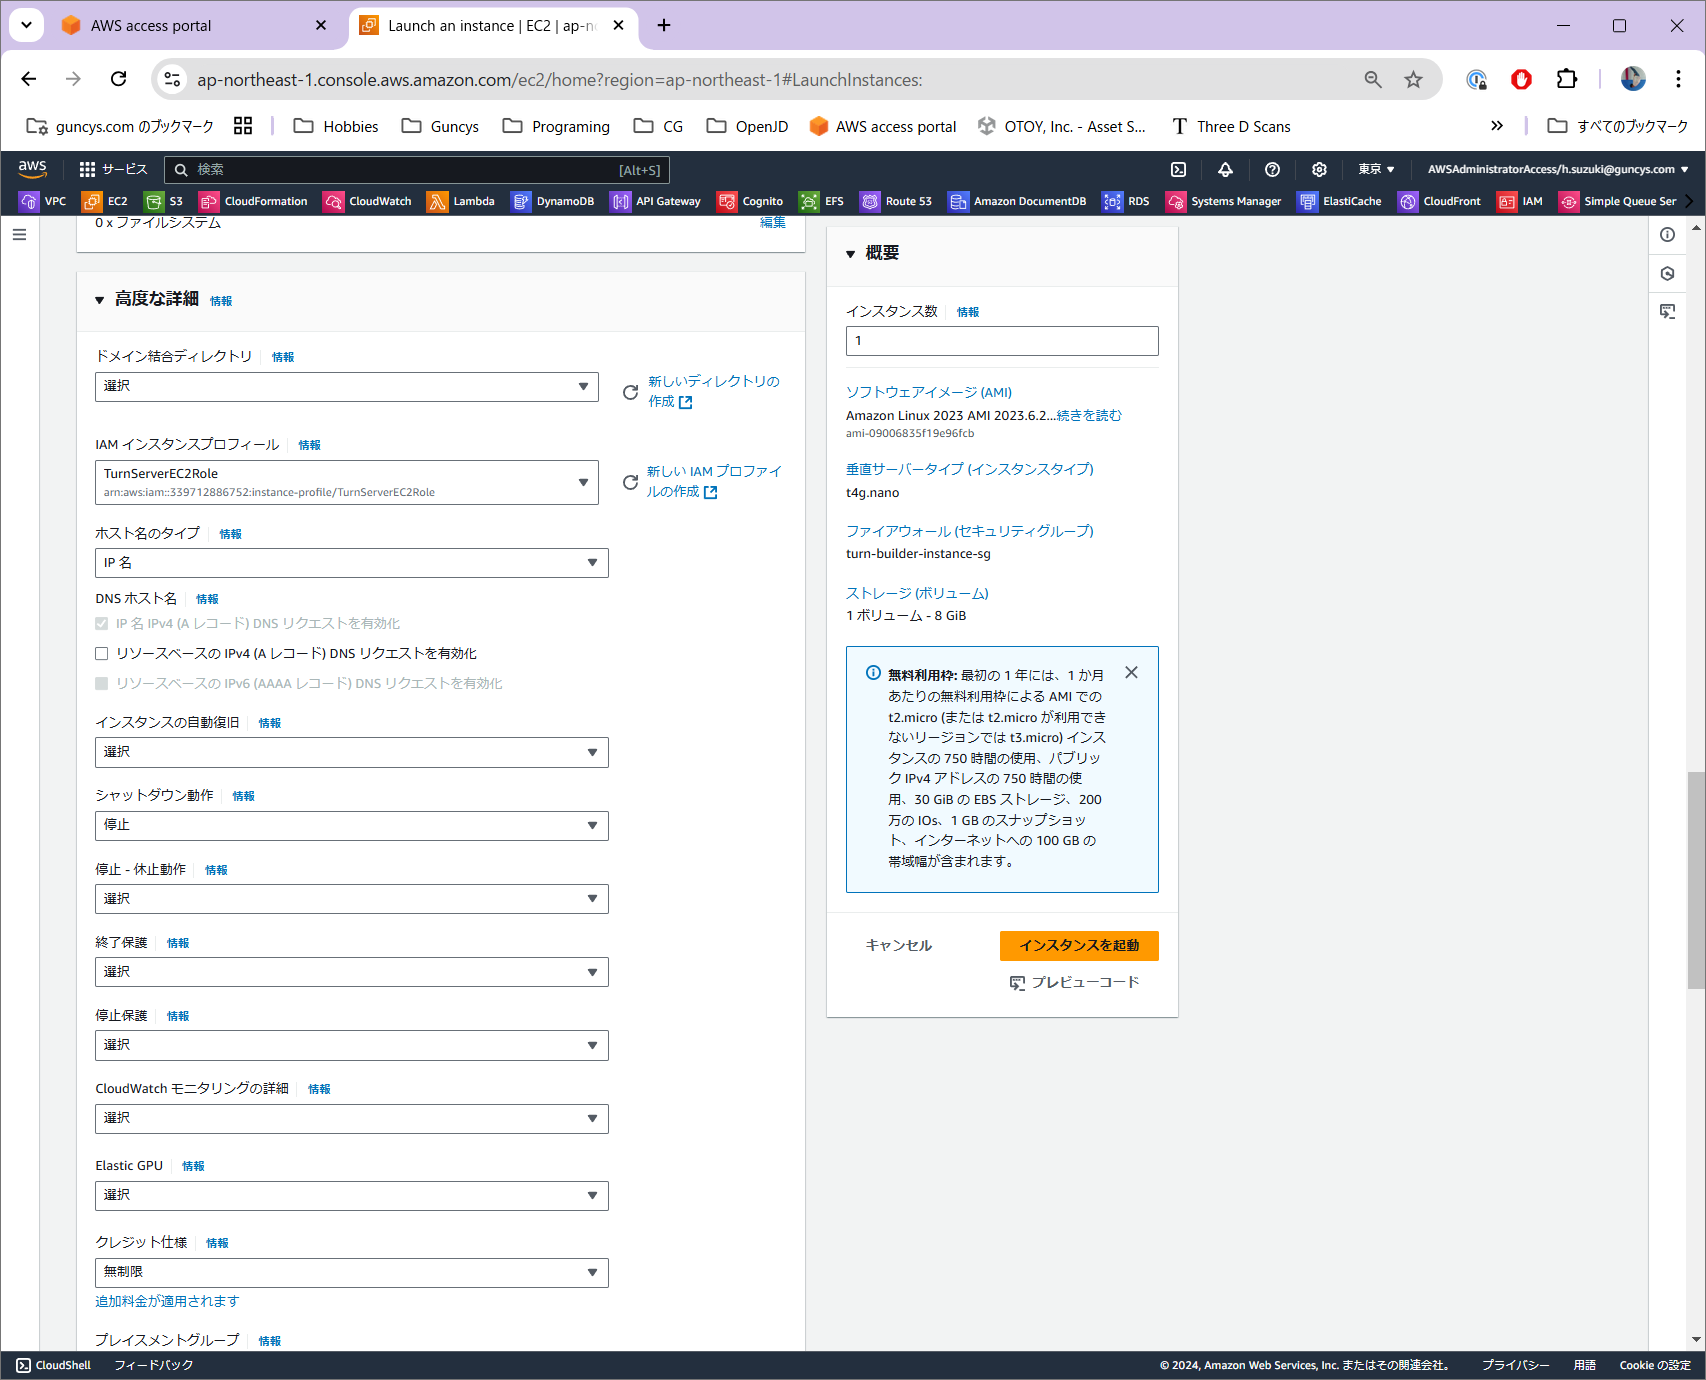
EC2インスタンスの起動
マシンイメージにAmazon Linux 2023, Armアーキテクチャを選択


パブリックサブネットを選択し、パブリックIPの自動割り当てを有効化、作成したセキュリティーグループを選択

IAMインスタンスプロフィールから作成したIAMロールを選択
coturnのビルド&インストール
sudo dnf install gcc cmake git openssl openssl-devel libevent libevent-devel

git clone https://github.com/coturn/coturn.git
cd coturn
./configure
sudo make install
ドメインの紐づけ
Route53でAレコードを作成して、起動したEC2インスタンスにルーティングします

SSL証明書の取得
sudo dnf install certbot python3-certbot-dns-route53
sudo certbot certonly --dns-route53 -d ***********
TurnServerの起動
sudo turnserver -a -v -n -u user:password -r default-realm --cert /etc/letsencrypt/live/***********/fullchain.pem --pkey /etc/letsencrypt/live/***********/privkey.pem
ストリーミングインスタンスの更新
Pixel Streamingのインスタンスでdocker-compose.ymlを以下のように更新します。
Coturnのコンテナを削除して、シグナルサーバーが分離したTurnサーバーを参照するように変更します。
docker-compose.yml
services:

#    # The WebRTC TURN server (note that you will need TCP and UDP ports 3478 and 49152-65535 exposed for TURN relaying to function correctly)
#    turnserver:
#     image: "coturn/coturn:4.5.2"
#     init: true
#     network_mode: "host"
#     command: ["-a", "-v", "-n", "-u", "user:password", "-p", "3478", "-r", "default-realm", "--no-dtls", "--no-tls"]

  # The Cirrus signalling server
  # (Note that we use the short release number, e.g. "5.1" rather than "5.1.0", to match the new signalling server image tagging scheme)
  signalling:
    image: "ghcr.io/epicgames/pixel-streaming-signalling-server:${UNREAL_ENGINE_RELEASE_SHORT}"
    init: true
    network_mode: "host"
    command:
      - "--publicIp=${PUBLIC_IP}"
      - >-
        --peerConnectionOptions={
            "iceServers":[
              {
                "urls": ["stun:stun.l.google.com:19302"]
              },
              {
                "urls": ["turn:turn.pixel-streaming-demo.testgcs.com:5349"],
                "username": "user",
                "credential": "password"
              }
            ]
            ${EXTRA_PEERCONNECTION_OPTIONS}
          }
    # depends_on:
    #   - turnserver

  # The Pixel Streaming demo project
  project:
    image: "runtime-pixel-streaming"
    network_mode: "host"
    command: ["-RenderOffscreen", "-Windowed", "-ForceRes", "-ResX=1920", "-ResY=1080", "-PixelStreamingIP=127.0.0.1", "-PixelStreamingPort=8888"]

    depends_on:
      - signalling

    deploy:
      resources:
        reservations:
          devices:
          - driver: nvidia
            capabilities: [gpu]
            count: 1
PixelStreamingサービスを起動して、ブラウザからアクセスできることを確認します。
設定パネルからForceTurnにチェックを入れると、Turnサーバー経由で通信を行ってくれます。
./run.sh
まとめ
以上です。