Pixel StreamingをAWS上にデプロイするまでの手順です。
本記事ではPixelStreamingRuntimeイメージをビルドして、EC2インスタンス上で起動を確認するところまでになります。
Pixel Streaming Runtimeコンテナのビルド
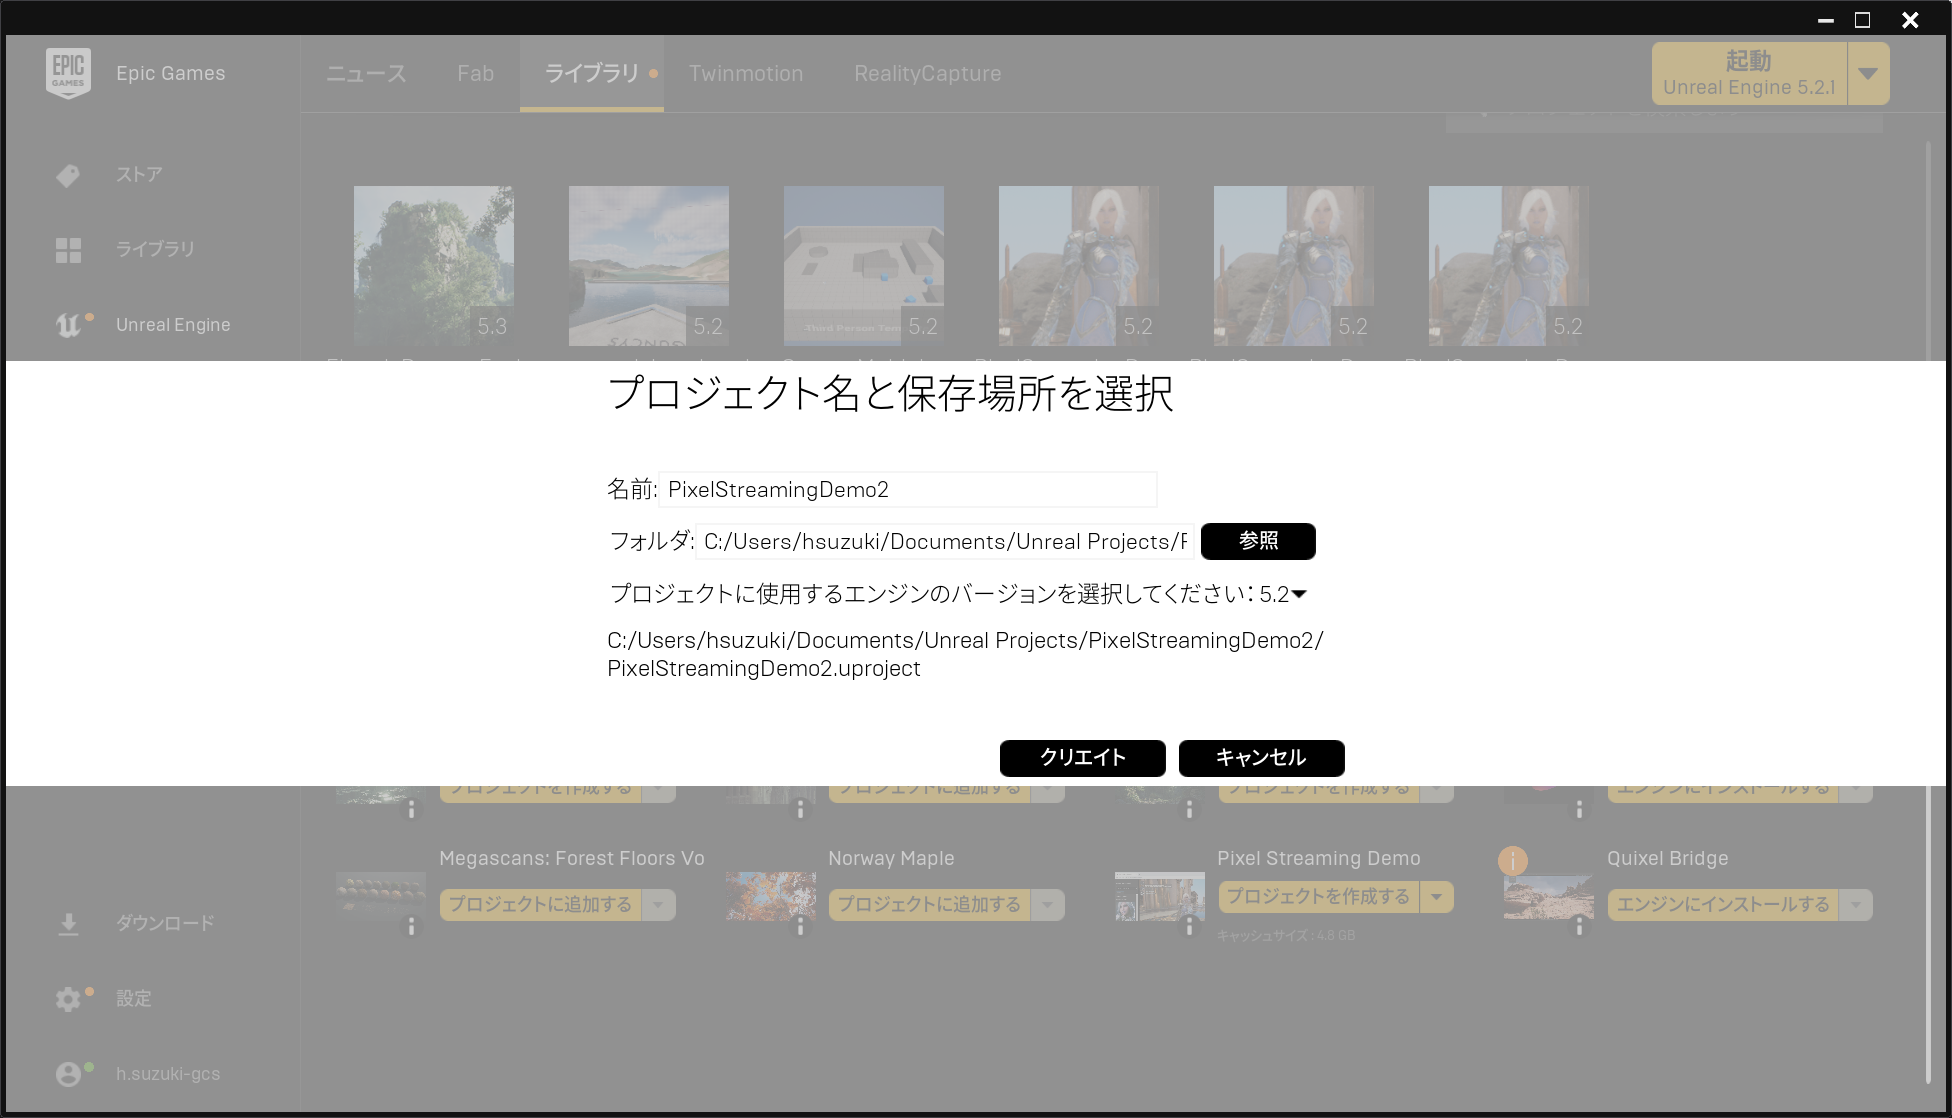
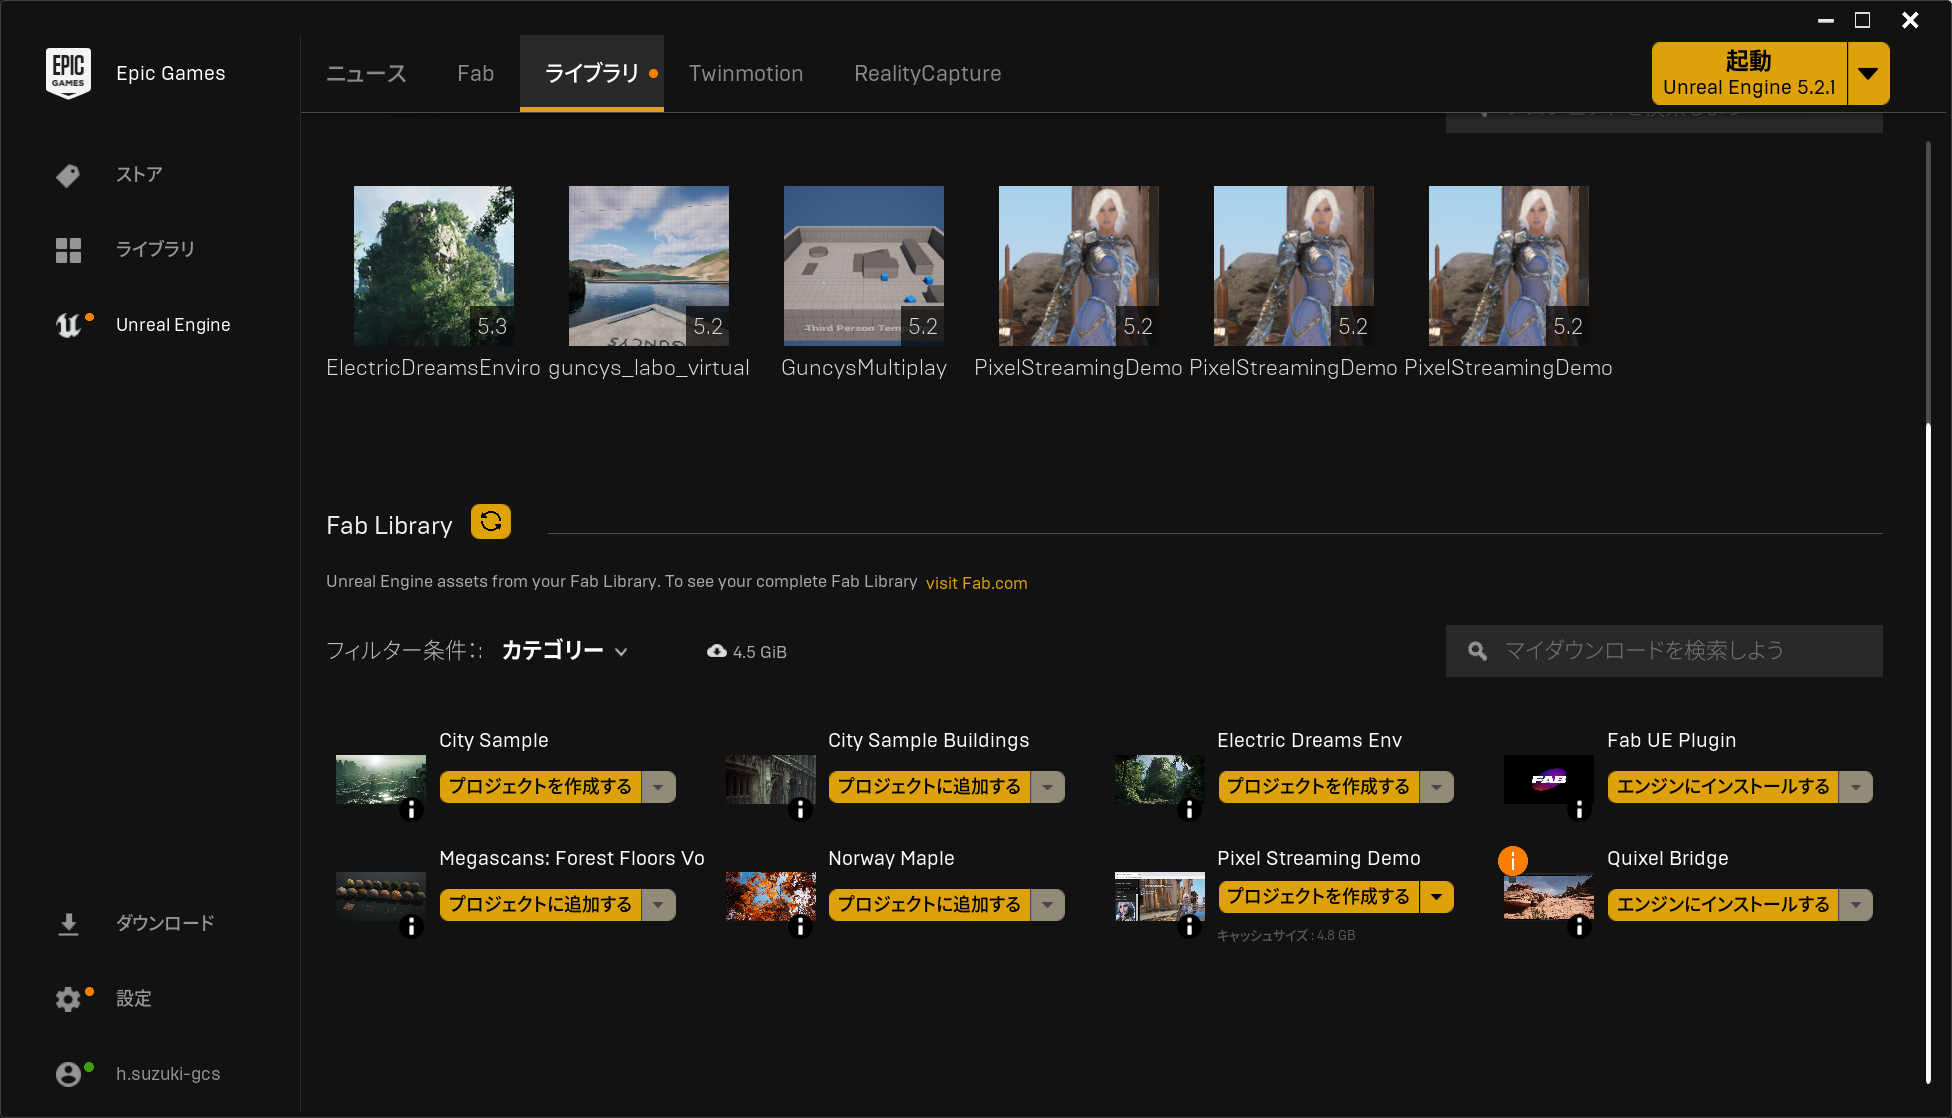
以下からPixelStreamingのデモプロジェクトをダウンロードします。
Epic Games Launcherからダウンロードできます。
プロジェクトの直下にDockerfileを作成します
ARG RELEASE
FROM ghcr.io/epicgames/unreal-engine:dev-${RELEASE} as builder

# Copy the source code for the example Unreal project
COPY --chown=ue4:ue4 . /tmp/project

# Package the example Unreal project
RUN /home/ue4/UnrealEngine/Engine/Build/BatchFiles/RunUAT.sh BuildCookRun \
	-clientconfig=Development -serverconfig=Development \
	-project=/tmp/project/PixelStreamingDemo.uproject \
	-utf8output -nodebuginfo -allmaps -noP4 -cook -build -stage -prereqs -pak -archive \
	-archivedirectory=/tmp/project/dist \
	-platform=Linux

# Copy the packaged project into the Pixel Streaming runtime image
FROM ghcr.io/epicgames/unreal-engine:runtime-pixel-streaming
COPY --from=builder --chown=ue4:ue4 /tmp/project/dist/Linux /home/ue4/project

# Set the project as the container's entrypoint
ENTRYPOINT ["/home/ue4/project/PixelStreamingDemo.sh"]
docker buildコマンドでイメージを作成します。
docker build -t runtime-pixel-streaming-demo --build-arg RELEASE=5.2 .
コンテナイメージのPush
AWSコンソールにアクセスしてECRレポジトリを作成します。

)
ビルドしたイメージをECRにPushします。
※ ${AWSアカウントID}を各自置き換えてください。
aws ecr get-login-password --region ap-northeast-1 | docker login --username AWS --password-stdin ${AWSアカウントID}.dkr.ecr.ap-northeast-1.amazonaws.com

docker tag runtime-pixel-streaming-demo:latest ${AWSアカウントID}.dkr.ecr.ap-northeast-1.amazonaws.com/runtime-pixel-streaming:official-demo-0.1

docker push ${AWSアカウントID}.dkr.ecr.ap-northeast-1.amazonaws.com/runtime-pixel-streaming:official-demo-0.1
ローカルでの作業はここまでです。
EC2インスタンスの作成
インスタンスを作成する前にIAM Roleを作成しておきます。
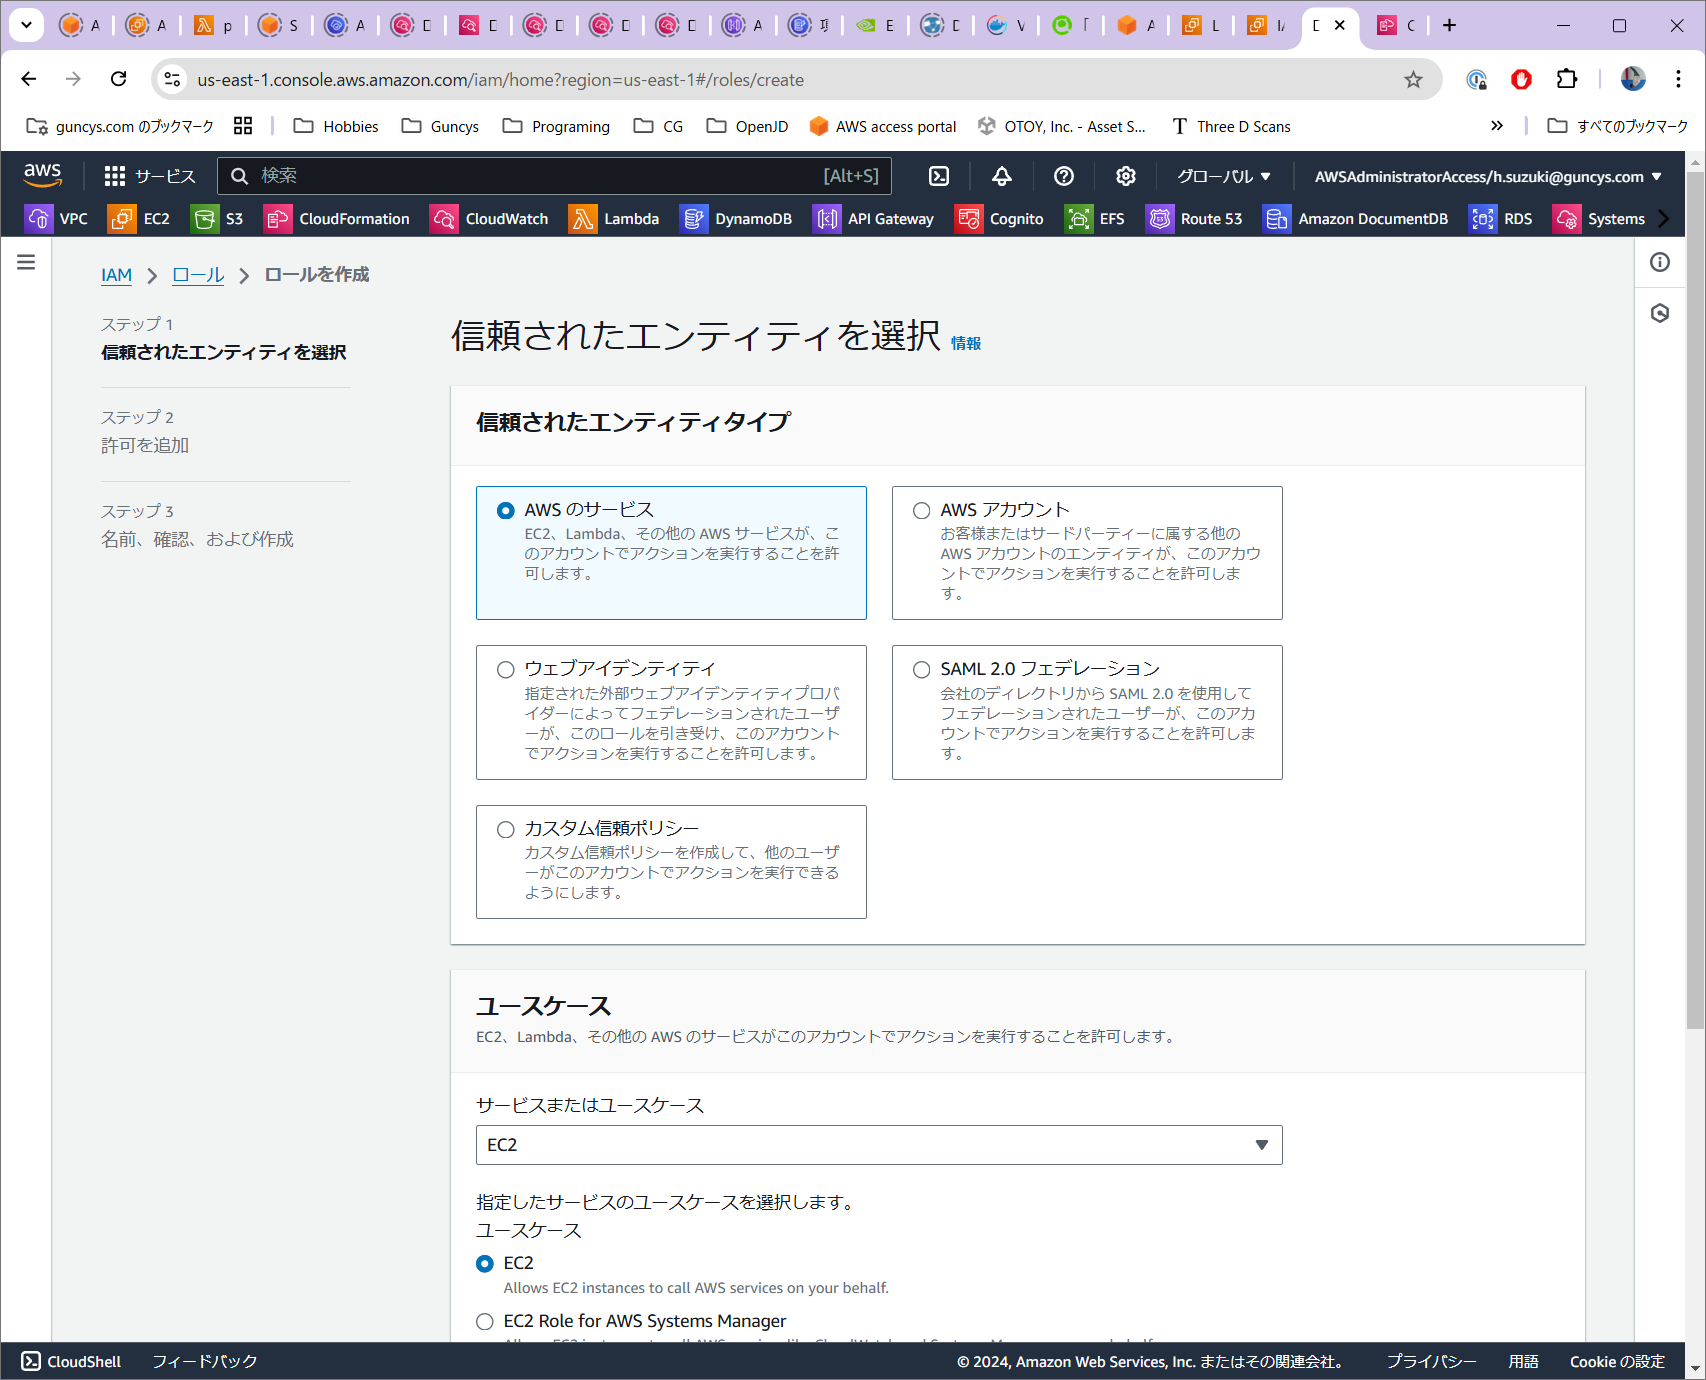
Nvidiaドライバーダウンロード用にS3ReadOnly、上記でアップロードしたコンテナイメージのプル用にECRPullOnlyのポリシーをそれぞれ付与しておきます。

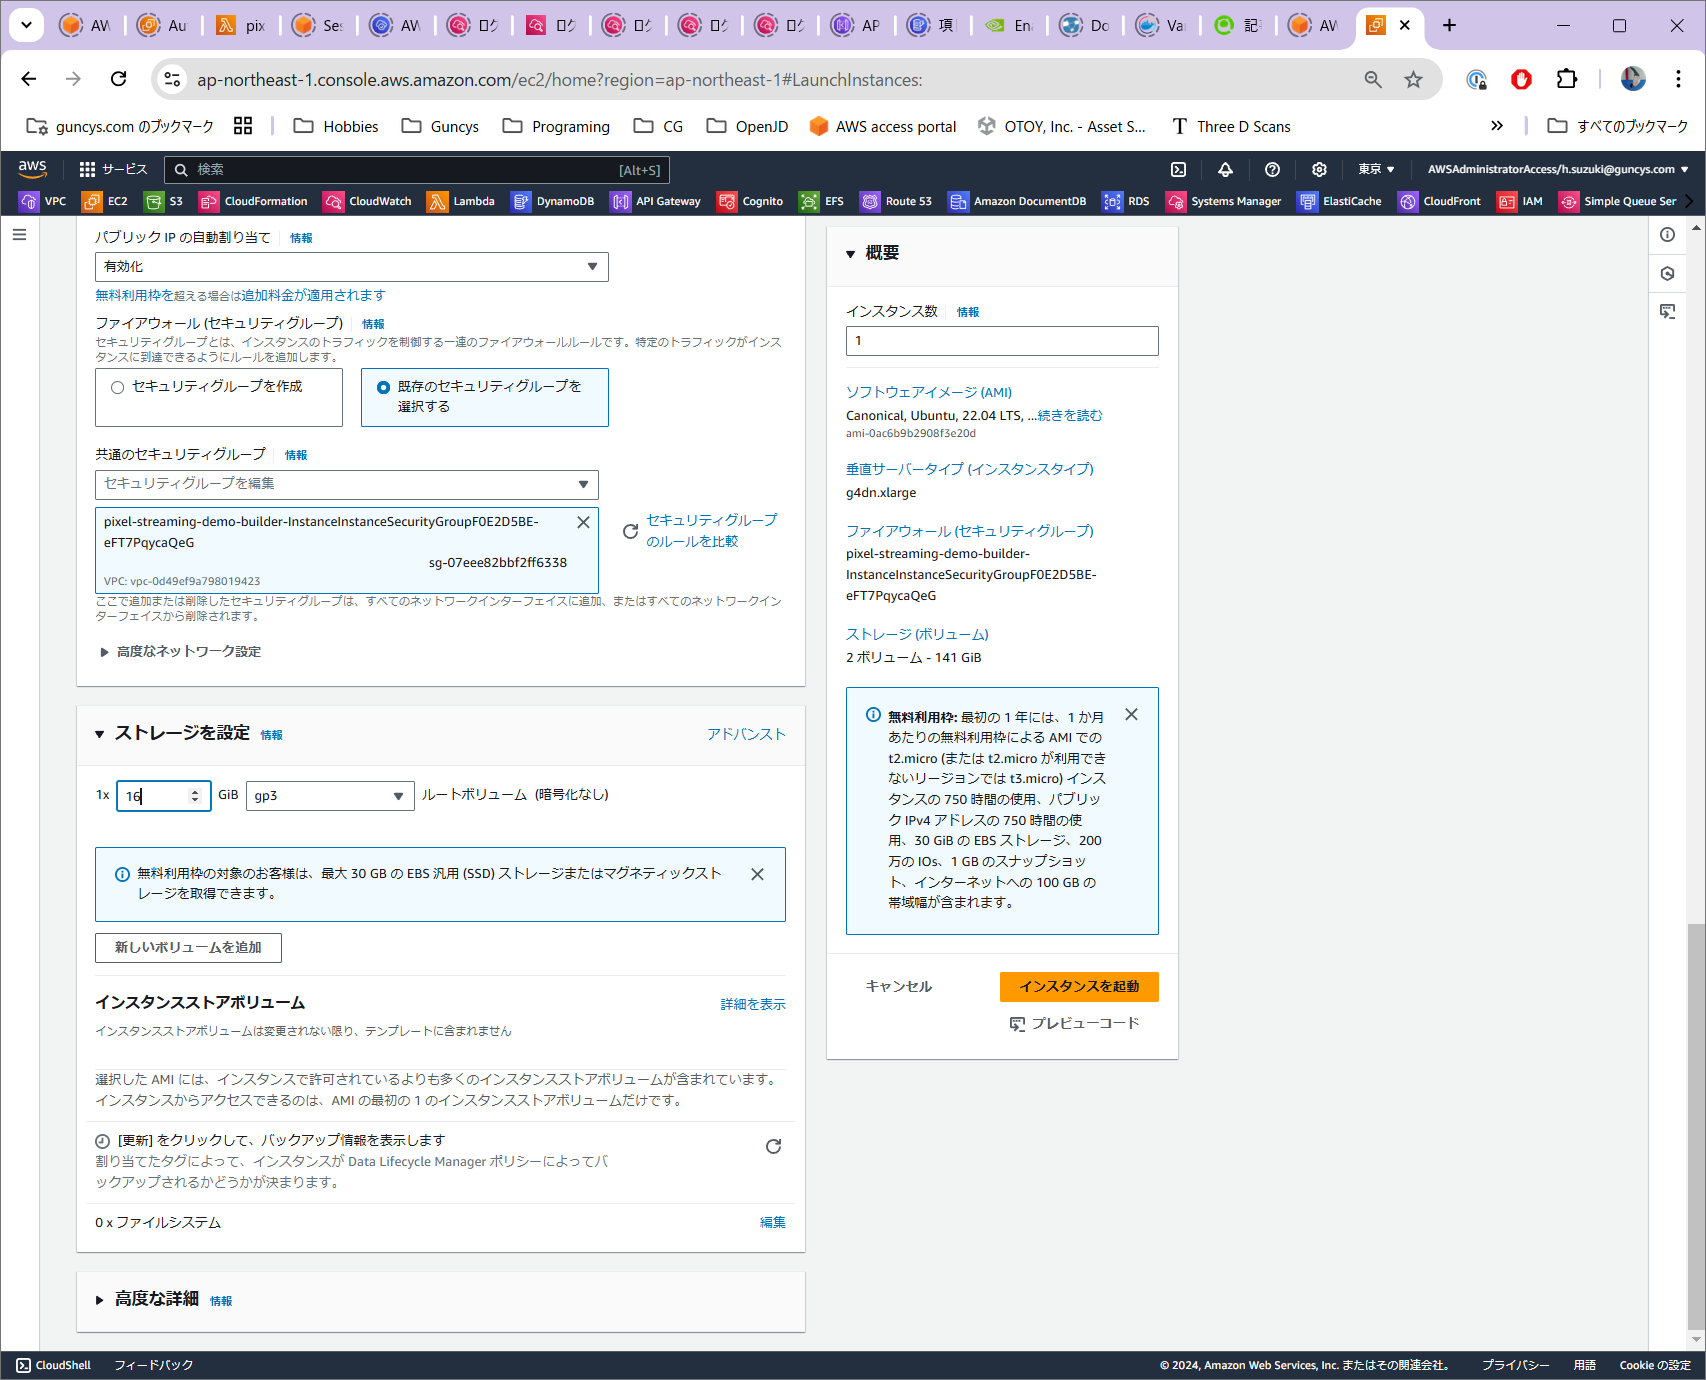
同じくセキュリティーグループも事前に作成します。
SSHポートに加えて80番ポートを空けておきます。

EC2インスタンスを起動します。自分が試した限りでは、Amazon LinuxではPixelStreamingコンテナが動作せず、Vulkanドライバーのエラーによって終了します。
よってUbuntu22.04のAMIを選択して起動しています(24.04でも動作確認済み)。

インスタンスタイプはg4dn.xlarge、ネットワークでパブリックサブネットを指定しパブリックIPV4の自動割り当てを有効化、セキュリティーグループは作成したものを指定

IAMインスタンスプロフィールから先ほど作成したIAMロールを選択
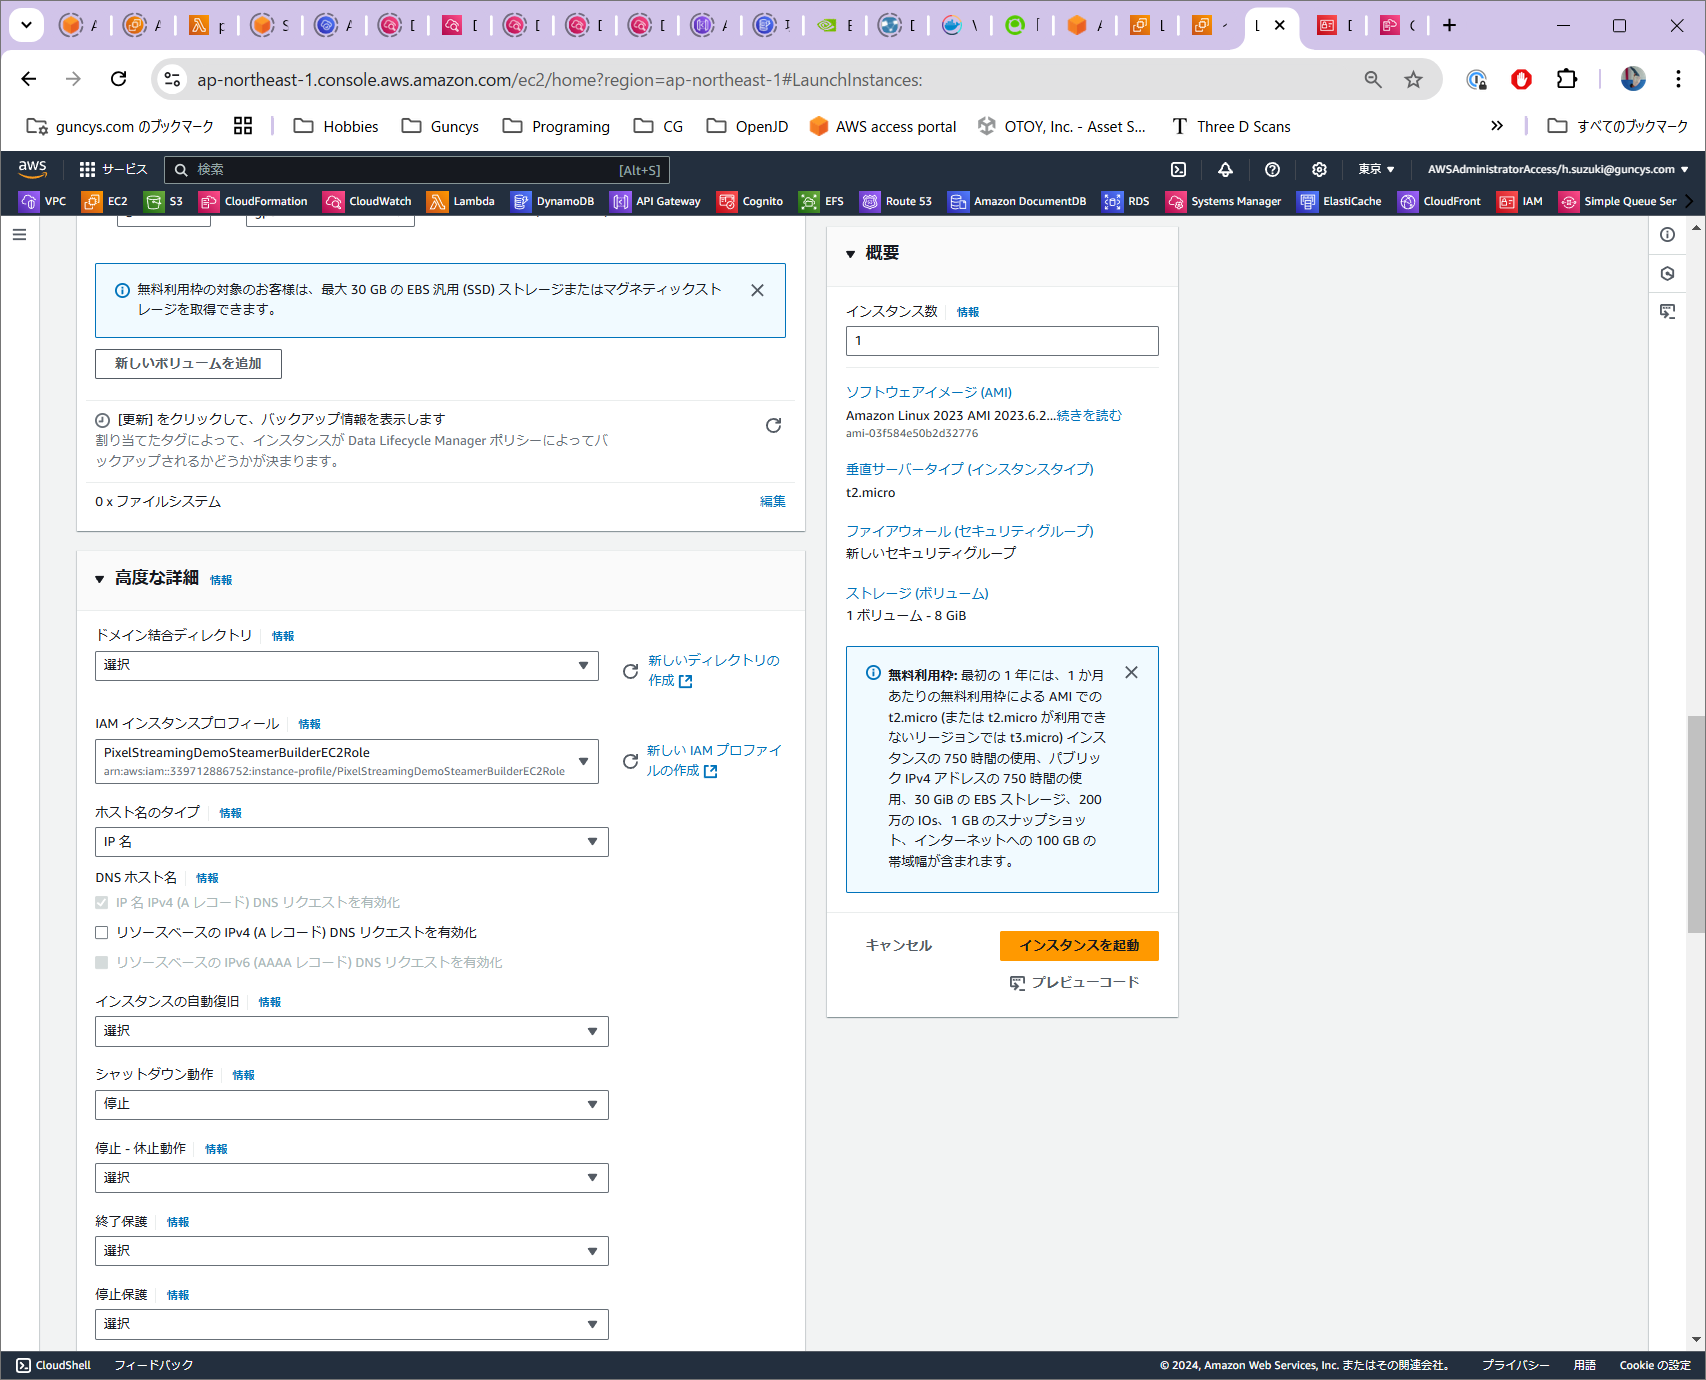
インスタンスのセットアップ
ここからはEC2インスタンスにSSHアクセスして作業を行います
AWS CLIのインストール
https://docs.aws.amazon.com/ja_jp/cli/latest/userguide/getting-started-install.html
sudo apt update
sudo apt-get install unzip
curl "https://awscli.amazonaws.com/awscli-exe-linux-x86_64.zip" -o "awscliv2.zip"
unzip awscliv2.zip
sudo ./aws/install
Nvidia GRID Driverのインストール
https://docs.aws.amazon.com/ja_jp/AWSEC2/latest/UserGuide/install-nvidia-driver.html#nvidia-GRID-driver
22.04だとgcc-11がデフォルトでインストールされ、Nvidiaドライバーのインストール時にエラーになります。gcc-12をインストールしてデフォルトのバージョンに指定します
sudo apt-get install -y gcc gcc-12 make
sudo ln -s -f /usr/bin/gcc-12 /usr/bin/gcc
sudo apt-get upgrade -y linux-aws
sudo apt-get upgrade -y
sudo reboot
sudo apt-get install -y linux-headers-$(uname -r)

cat << EOF | sudo tee --append /etc/modprobe.d/blacklist.conf
blacklist vga16fb
blacklist nouveau
blacklist rivafb
blacklist nvidiafb
blacklist rivatv
EOF

echo 'GRUB_CMDLINE_LINUX="rdblacklist=nouveau"' | sudo tee -a /etc/default/grub

sudo update-grub

aws s3 cp --recursive s3://ec2-linux-nvidia-drivers/latest/ .
chmod +x NVIDIA-Linux-x86_64*.run
sudo /bin/sh ./NVIDIA-Linux-x86_64*.run
sudo touch /etc/modprobe.d/nvidia.conf
echo "options nvidia NVreg_EnableGpuFirmware=0" | sudo tee --append /etc/modprobe.d/nvidia.conf
sudo reboot
Nvidia Container Toolkitのインストール
distribution=$(. /etc/os-release;echo $ID$VERSION_ID) \
  && curl -fsSL https://nvidia.github.io/libnvidia-container/gpgkey | sudo gpg --dearmor -o /usr/share/keyrings/nvidia-container-toolkit-keyring.gpg \
  && curl -s -L https://nvidia.github.io/libnvidia-container/$distribution/libnvidia-container.list | \
     sed 's#deb https://#deb [signed-by=/usr/share/keyrings/nvidia-container-toolkit-keyring.gpg] https://#g' | \
     sudo tee /etc/apt/sources.list.d/nvidia-container-toolkit.list
sudo apt-get update
sudo apt-get install -y nvidia-container-toolkit
curl https://get.docker.com | sh \
 && sudo systemctl --now enable docker
sudo nvidia-ctk runtime configure --runtime=docker
sudo systemctl restart docker
sudo usermod -aG docker $USER
newgrp docker
CUDAコンテナを実行してここまでのセットアップに問題がないか確認
sudo docker run --rm --runtime=nvidia --gpus all nvidia/cuda:11.6.2-base-ubuntu20.04 nvidia-smi
下記のような出力がされていれば成功
+-----------------------------------------------------------------------------------------+
| NVIDIA-SMI 550.127.05             Driver Version: 550.127.05     CUDA Version: 12.4     |
|-----------------------------------------+------------------------+----------------------+
| GPU  Name                 Persistence-M | Bus-Id          Disp.A | Volatile Uncorr. ECC |
| Fan  Temp   Perf          Pwr:Usage/Cap |           Memory-Usage | GPU-Util  Compute M. |
|                                         |                        |               MIG M. |
|=========================================+========================+======================|
|   0  Tesla T4                       On  |   00000000:00:1E.0 Off |                    0 |
| N/A   30C    P8             14W /   70W |       1MiB /  15360MiB |      0%      Default |
|                                         |                        |                  N/A |
+-----------------------------------------+------------------------+----------------------+

+-----------------------------------------------------------------------------------------+
| Processes:                                                                              |
|  GPU   GI   CI        PID   Type   Process name                              GPU Memory |
|        ID   ID                                                               Usage      |
|=========================================================================================|
|  No running processes found                                                             |
+-----------------------------------------------------------------------------------------+
Docker Composeのインストール
DOCKER_CONFIG=${DOCKER_CONFIG:-$HOME/.docker}
mkdir -p $DOCKER_CONFIG/cli-plugins
curl -SL https://github.com/docker/compose/releases/download/v2.30.1/docker-compose-linux-x86_64 -o $DOCKER_CONFIG/cli-plugins/docker-compose
chmod +x $DOCKER_CONFIG/cli-plugins/docker-compose
PixelStreaimngRuntimeコンテナイメージのPull
aws ecr get-login-password --region ap-northeast-1 | docker login --username AWS --password-stdin ${AWSアカウントID}.dkr.ecr.ap-northeast-1.amazonaws.com
docker pull ${AWSアカウントID}.dkr.ecr.ap-northeast-1.amazonaws.com/runtime-pixel-streaming:official-demo-0.1
docker tag 339712886752.dkr.ecr.ap-northeast-1.amazonaws.com/runtime-pixel-streaming:official-demo-0.1 runtime-pixel-streaming
Githubコンテナレジストリの認証
※パーソナルアクセストークンが必要です
docker login ghcr.io
Docker Compose設定ファイル
services:

  # The WebRTC TURN server (note that you will need TCP and UDP ports 3478 and 49152-65535 exposed for TURN relaying to function correctly)
  turnserver:
    image: "coturn/coturn:4.5.2"
    init: true
    network_mode: "host"
    command: ["-a", "-v", "-n", "-u", "user:password", "-p", "3478", "-r", "default-realm", "--no-dtls", "--no-tls"]

  # The Cirrus signalling server
  # (Note that we use the short release number, e.g. "5.1" rather than "5.1.0", to match the new signalling server image tagging scheme)
  signalling:
    image: "ghcr.io/epicgames/pixel-streaming-signalling-server:${UNREAL_ENGINE_RELEASE_SHORT}"
    init: true
    network_mode: "host"
    command:
      - "--publicIp=${PUBLIC_IP}"
      - >-
        --peerConnectionOptions={
            "iceServers":[
              {
                "urls": ["stun:stun.l.google.com:19302"]
              },
              {
                "urls": ["turn:${PUBLIC_IP}:3478"],
                "username": "user",
                "credential": "password"
              }
            ]
            ${EXTRA_PEERCONNECTION_OPTIONS}
          }
    depends_on:
      - turnserver

  # The Pixel Streaming demo project
  project:
    image: "runtime-pixel-streaming"
    network_mode: "host"
    command: ["-RenderOffscreen", "-Windowed", "-ForceRes", "-ResX=1920", "-ResY=1080", "-PixelStreamingIP=127.0.0.1", "-PixelStreamingPort=8888"]

    depends_on:
      - signalling

    deploy:
      resources:
        reservations:
          devices:
          - driver: nvidia
            capabilities: [gpu]
            count: 1
起動スクリプト
UNREAL_ENGINE_RELEASEでUEのバージョンを適宜変更できます。ローカルでビルドする際に指定したバージョンと同じものを指定
#!/usr/bin/env bash

# Determine which release of the Unreal Engine we will be running container images for
UNREAL_ENGINE_RELEASE="5.2"
if [[ ! -z "$1" ]]; then
	UNREAL_ENGINE_RELEASE="$1"
fi

# Extract the short version of the release number (i.e. just `major.minor` rather than `major.minor.hotfix`)
UNREAL_ENGINE_RELEASE_SHORT=`echo "$UNREAL_ENGINE_RELEASE" | grep --extended-regexp --only-matching -e '[0-9]+\.[0-9]+'`

# Determine whether we are instructing Docker Compose to rebuild the project container image even if it already exists
COMPOSE_FLAGS=""
if [[ "$*" == *"--rebuild"* ]]; then
	COMPOSE_FLAGS="--build"
fi

# Determine whether we are forcing the use of TURN relaying (useful for testing purposes)
EXTRA_PEERCONNECTION_OPTIONS=""
if [[ "$*" == *"--force-turn"* ]]; then
	EXTRA_PEERCONNECTION_OPTIONS=', "iceTransportPolicy": "relay"'
fi


# Verify that either curl or wget is available
if which curl 1>/dev/null; then
	HTTPS_COMMAND="curl -s"
elif which wget 1>/dev/null; then
	HTTPS_COMMAND="wget -O - -q"
else
	echo "Please install curl or wget"
	exit 1
fi

# Determine whether to use the old, standalone version of Docker Compose or the new plugin version
COMPOSE_COMMAND='docker compose'
if [[ ! -z `which docker-compose` ]]; then
	COMPOSE_COMMAND='docker-compose'
fi

# Retrieve the public IP address of the host system
PUBLIC_IP=$($HTTPS_COMMAND 'https://api.ipify.org')

# Run the Pixel Streaming example
export UNREAL_ENGINE_RELEASE
export UNREAL_ENGINE_RELEASE_SHORT
export EXTRA_PEERCONNECTION_OPTIONS
export PUBLIC_IP
export PWD=$(pwd)
$COMPOSE_COMMAND up --force-recreate $COMPOSE_FLAGS
PixelStreamingサービスの起動
chmod +x ./run.sh
./run.sh
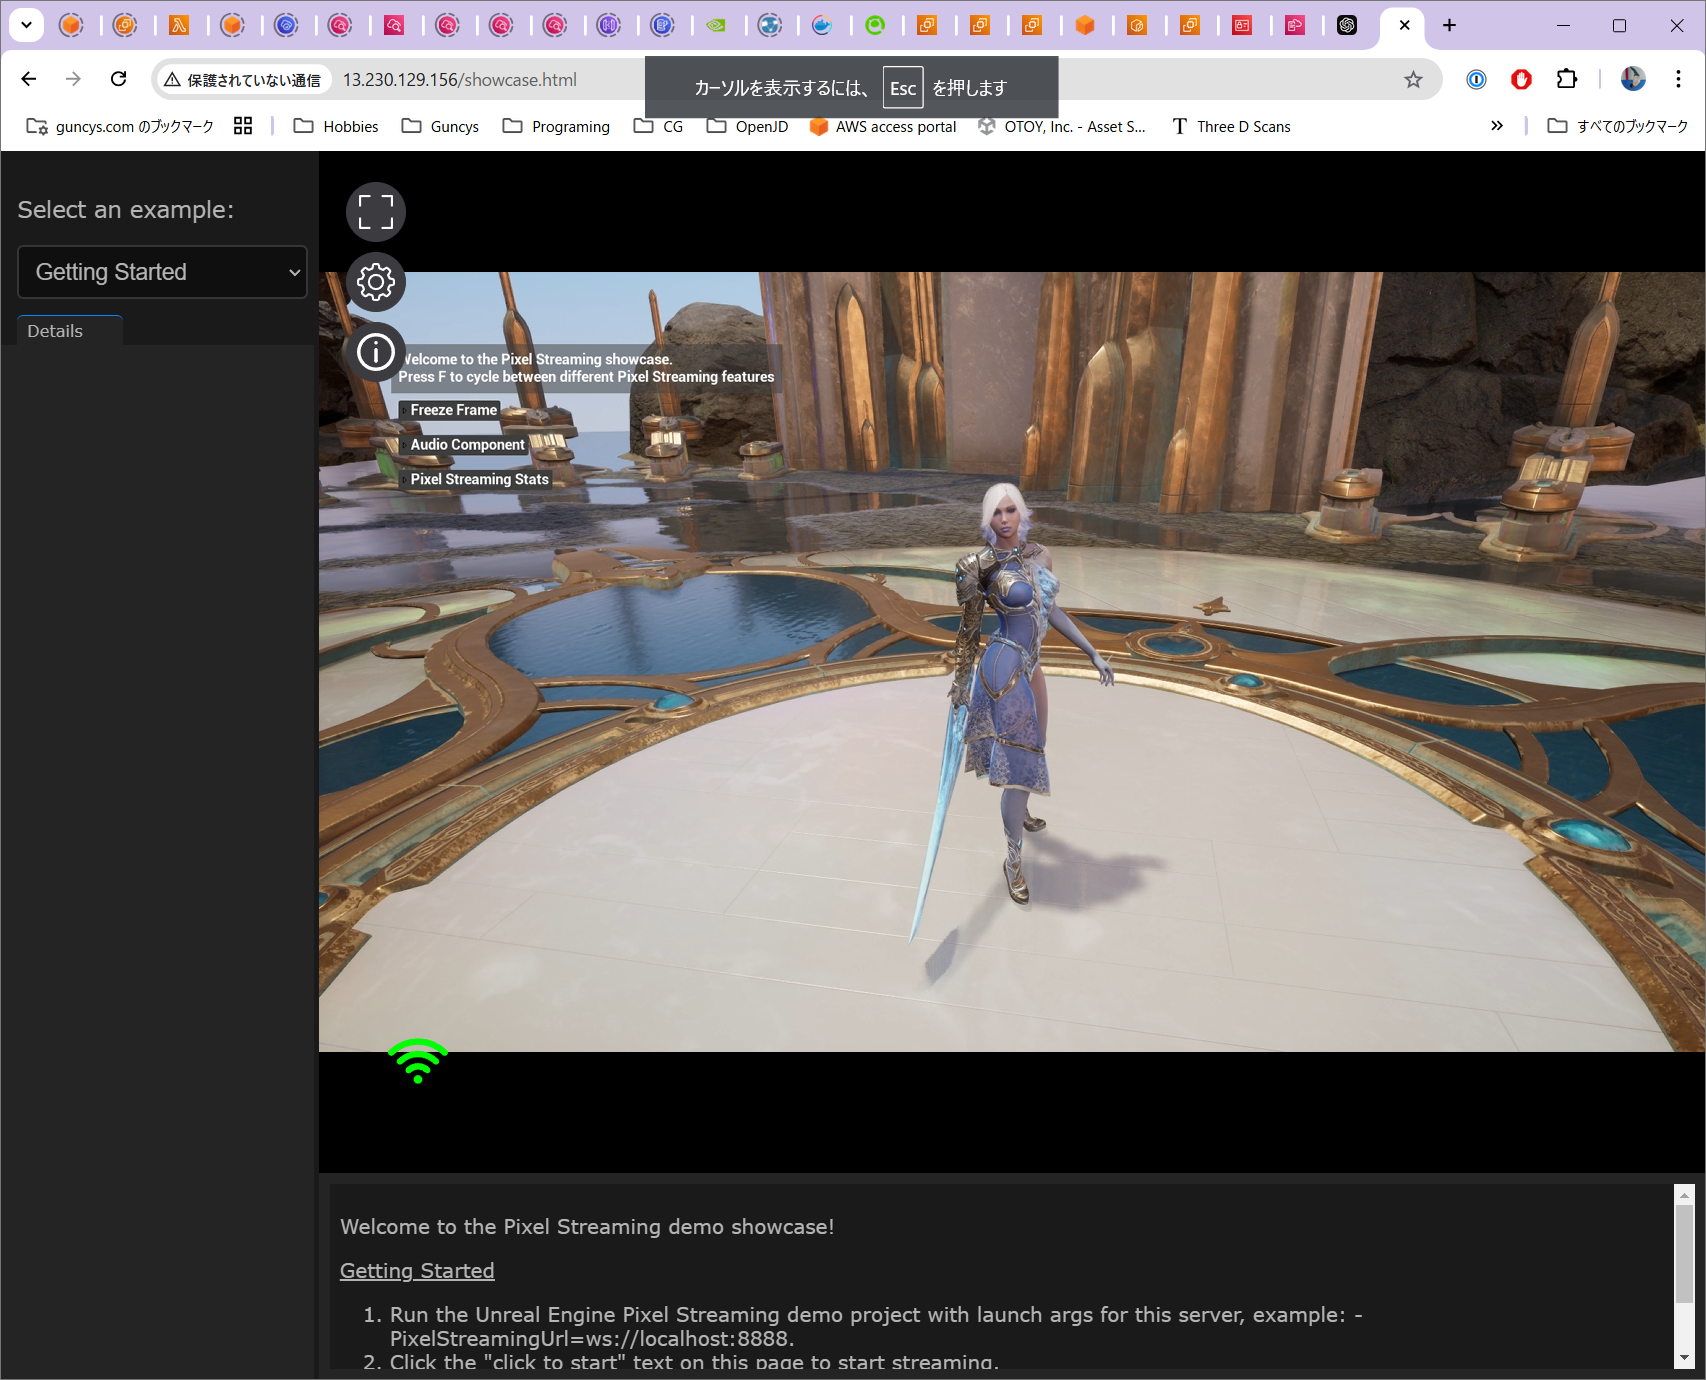
ブラウザからhttp://{インスタンスのPublic IP}/showcase.htmlにアクセスして確認します。
まとめ
以上です。起動したEC2インスタンスは使用後は停止することを忘れずに。

