FNCT創造工学演習、予備実験向けにハンズオンを作成しました。
(2020/5/18 更新)
Firebaseを準備する
GmailなどのGoogleアカウントを所有していることを前提として、記事を読みすすめてもらいたい。
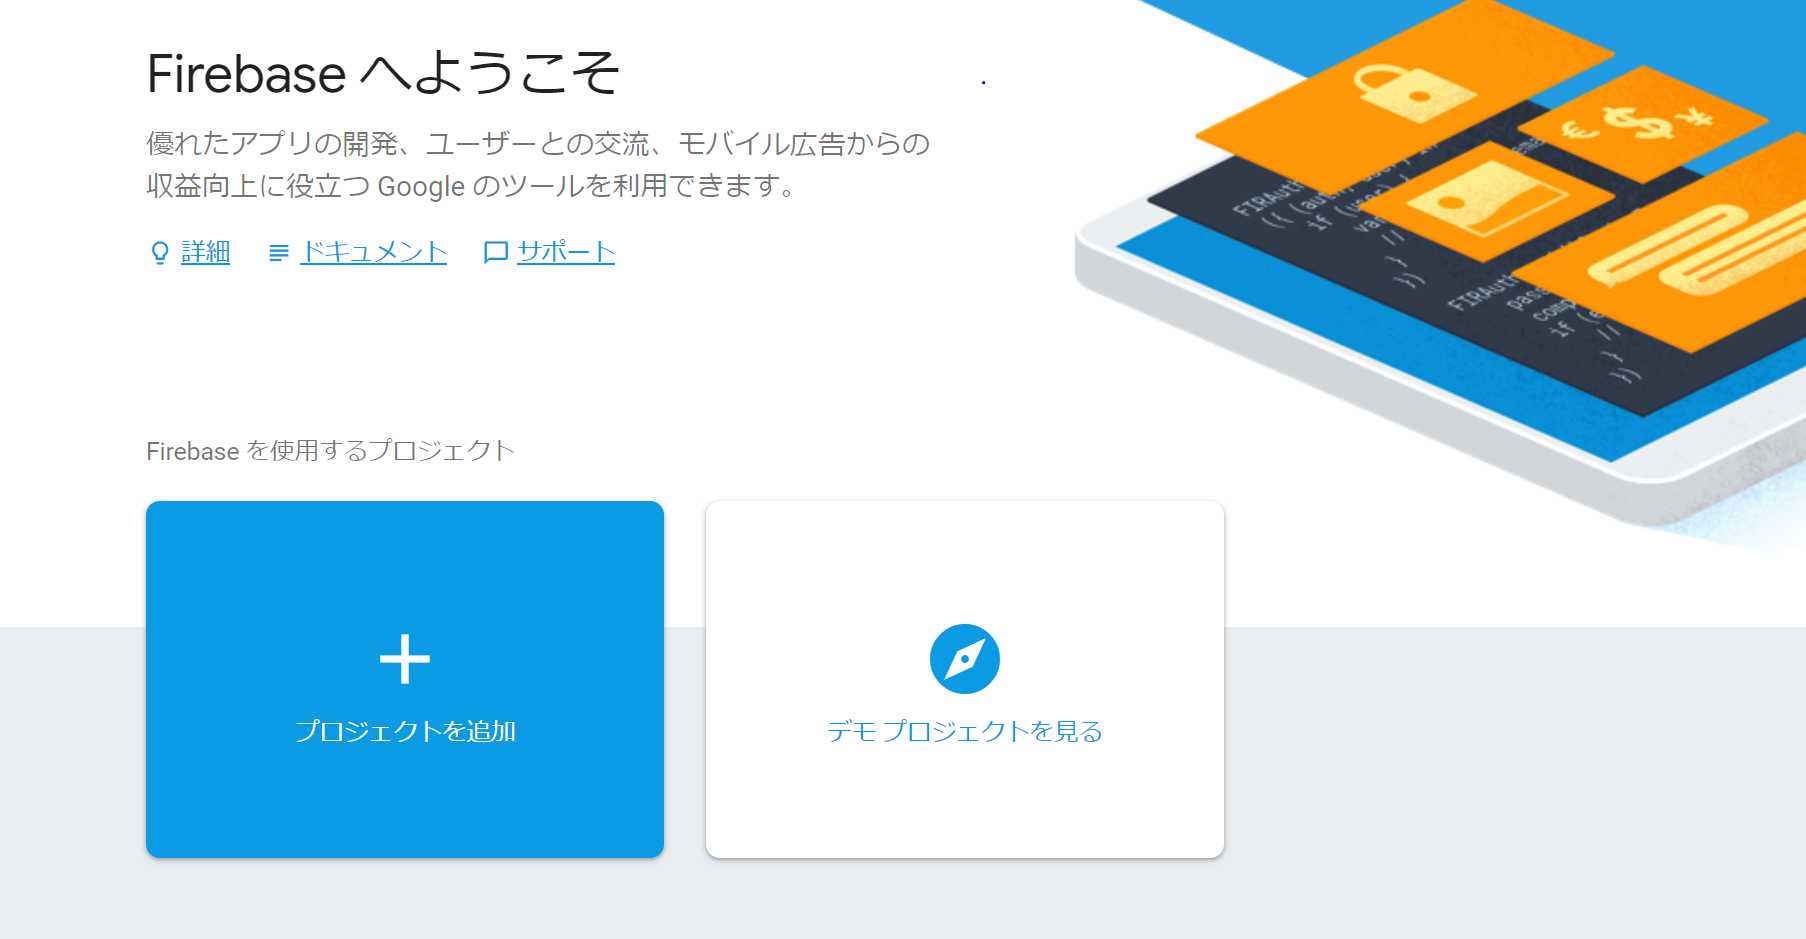
Googleアカウントでログインした状態で、Firebase Consoleにアクセスしてみよう。
https://console.firebase.google.com/u/0/?hl=ja
「プロジェクトを追加」をクリックして、サンプルプロジェクトを作成する。
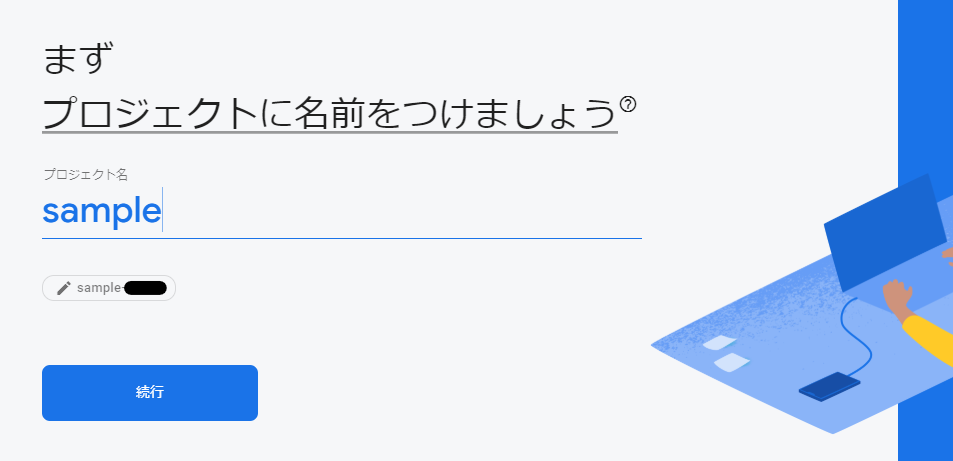
「sample」と名前を入力して、サンプルプロジェクトを作成。
続いてGoogle Analyticsの設定になるが、いったん無効にしておこう。本番ではアクセス状況などを確認するために、有効にしておくことをお勧めする。
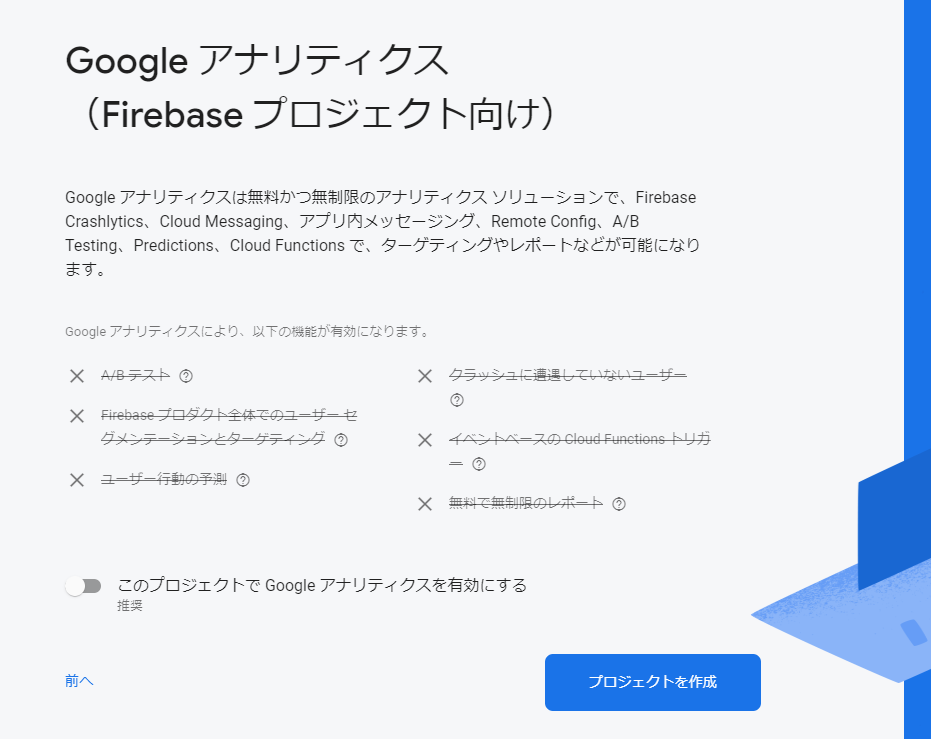
ここまでで、Firebaseの前準備は完了だ。
開発環境を準備する
node.jsをインストールする
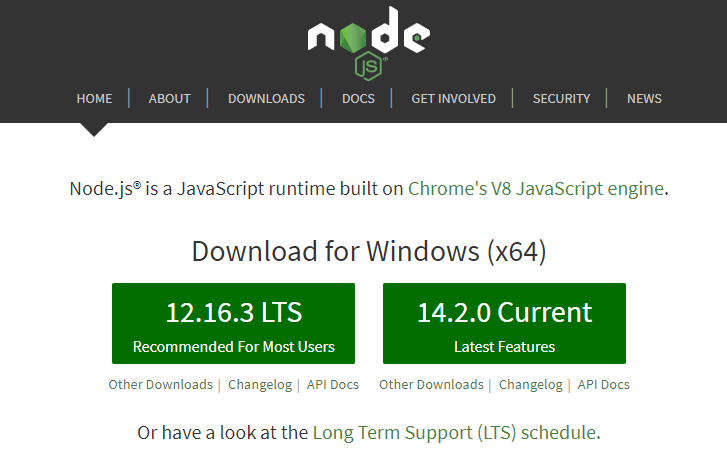
開発環境のベースとして、まずはnode.jsをインストールする。
こちらの公式サイトからインストーラをダウンロードする。
https://nodejs.org/en/
左側にある、「Recommended For Most Users」と書いてあるボタンから。
ダウンロードしたインストーラを起動して、node.js一式をインストールする。
選択肢はデフォルトのままでOK。
インストール後、コマンドプロンプトから下記コマンドを実行。バージョンが表示されればインストール成功だ。
> node --version
v12.16.3
Firebaseツールをインストールする
続いて、Firebaseの開発環境を準備していこう。
npmを使って、次のコマンドでFirebaseツールをインストールする。
> npm install -g firebase-tools
次に、Firebaseアカウントにログインする。
> firebase login
エラーレポートについて訊ねられるので、いちおうYesを選んでおこう。
? Allow Firebase to collect anonymous CLI usage and error reporting information? (Y/n)
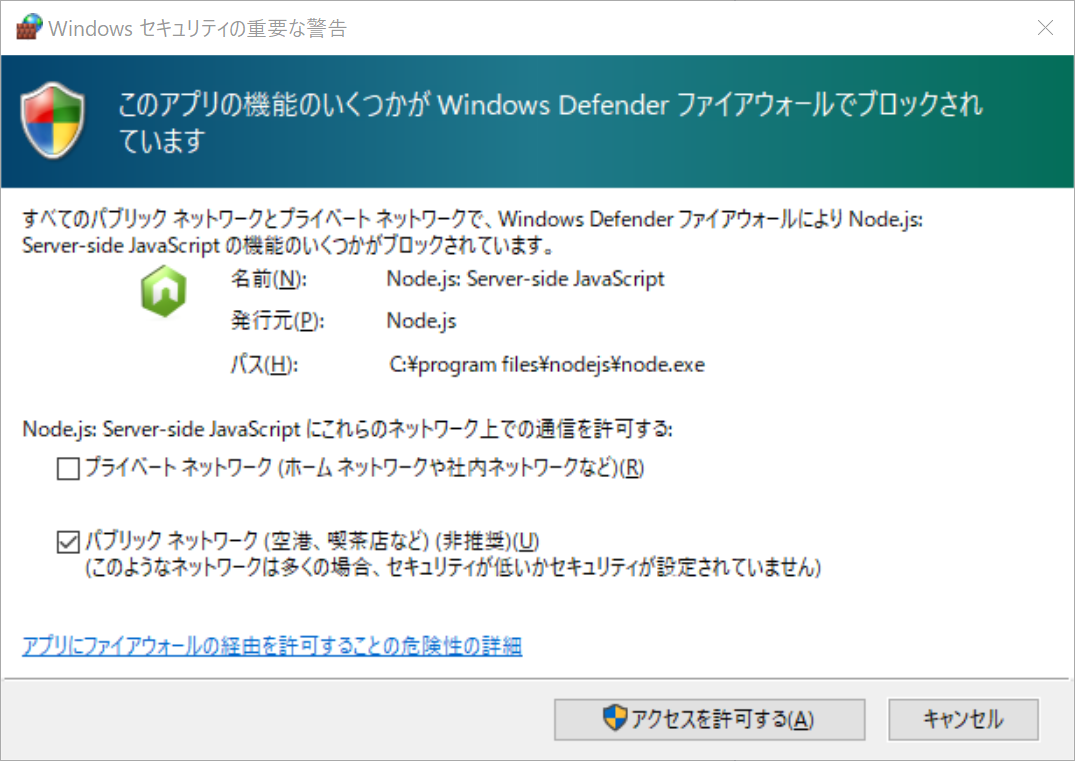
Windowsファイアウォールのアクセス許可を求められるかもしれないが、その場合は「アクセスを許可する」を選んでおく。
ブラウザ画面上でGoogleログインを促されるので、適切なGoogleアカウントでログインする。
CloudFunctions開発環境をセットアップする
下記のコマンドで、Functionsセットアップに進もう。
適当なところに新しくフォルダを作成して、そこで下記コマンドを実行。
> firebase init functions
続けていいか聞かれるので、当然Yesを。
? Are you ready to proceed? (Y/n)
どのプロジェクトを使用するか選択を求められるので、先程Firebase上で作成したsampleプロジェクトを指定しよう。
=== Project Setup

First, let's associate this project directory with a Firebase project.
You can create multiple project aliases by running firebase use --add,
but for now we'll just set up a default project.

? Select a default Firebase project for this directory:
  [don't setup a default project]
> sample-00000 (sample)
  [create a new project]
使用する言語を聞かれるので、まずはJavaScriptを選択しておこう。
=== Functions Setup

A functions directory will be created in your project with a Node.js
package pre-configured. Functions can be deployed with firebase deploy.

? What language would you like to use to write Cloud Functions? (Use arrow keys)
> JavaScript
  TypeScript
文法・構文などをチェックしてくれるESLintというツールの使用を訊ねられるが、いったんNoを選んでおこう。
? Do you want to use ESLint to catch probable bugs and enforce style? (y/N)
必要な依存ライブラリ等をインストールするか聞かれるので、Yesを選んでおこう。
? Do you want to install dependencies with npm now? (Y/n)
ファイル・フォルダがいくつか自動で作成されるので、下記のように /functions/index.js ファイルの下半分がコメントアウトされている部分を、コメント除去する。
なおコード編集には、Visual Studio Codeの利用がオススメ。
const functions = require('firebase-functions');

// ↓コメント除去
// Create and Deploy Your First Cloud Functions
// https://firebase.google.com/docs/functions/write-firebase-functions

exports.helloWorld = functions.https.onRequest((request, response) => {
response.send("Hello from Firebase!");
});
ローカル環境で実行を確認する
下記のコマンドを実行すると、ローカルのPC内に仮想サーバが起動し、Functionsのデバッグ実行が可能となる。
> firebase serve --only functions
すると下記のようにメッセージが表示され、下の行にアドレスが記載されているので、これをコピーしてブラウザでアクセスしてみる。
メッセージが表示されるのを確認しよう。
=== Serving from 'C:\xxxxxxxx\Functions'...

i  functions: Preparing to emulate functions.
Warning: You're using Node.js v10.15.3 but Google Cloud Functions only supports v6.11.5.
+  functions: helloWorld: http://localhost:5000/sample-00000/us-central1/helloWorld
次にパラメータを使った関数を作成してみる。
helloWorld 関数を、以下のように書き換えてみよう。
exports.helloWorld = functions.https.onRequest((request, response) => {
  const name = request.query.name;
  response.send(`Hello, ${name}!`);
});
書き換えて保存したら、ブラウザのURLを helloWorld?name=hoge のように変更してアクセスしてみる。表示されるメッセージが変わったはずだ。
ローカルデバッグを終了するときは、Ctrl+Cを押すこと。
Firebaseにデプロイする
ローカルでの動作が確認できたので、下記コマンドでFirebaseにこのプログラムを送信しよう。
> firebase deploy
しばらく待つとデプロイが完了する。
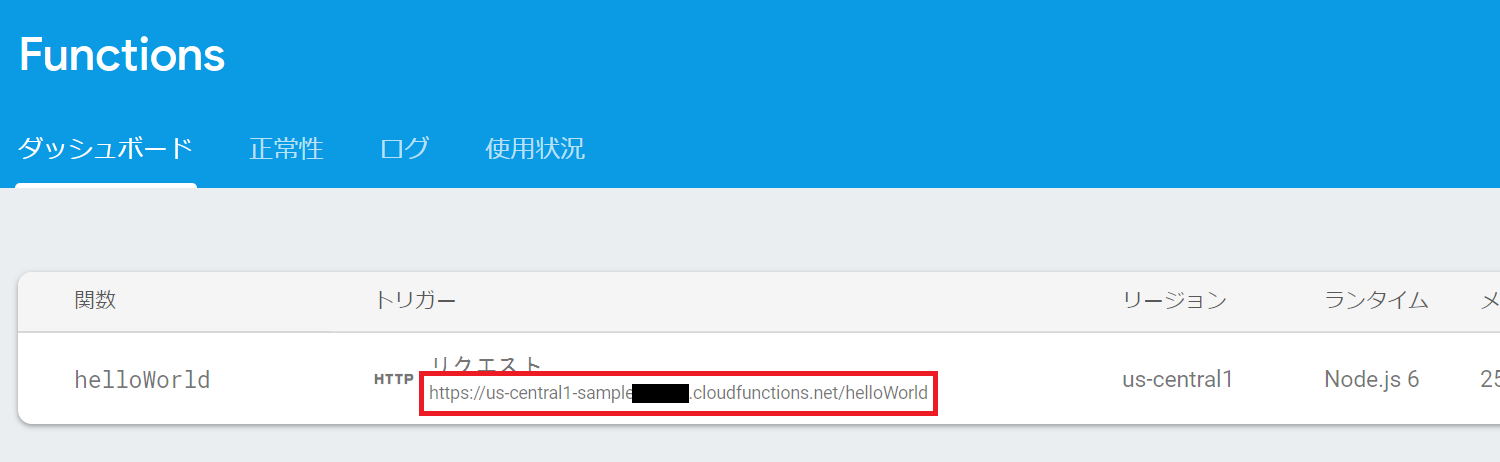
デプロイしたFunctionは、Firebase Consoleからアドレスが確認できる。
このアドレスをブラウザから開いて、動作を確認しよう。
以上で、Firebase CloudFunctionsの簡単なサンプルが実行できた。
他の動きに書きかえる、関数を増やすなどして、Functionsの使い方を続けて探っていってみよう。