Heroku上にSpring Bootをデプロイしてみた。
自分用メモ。
環境
- Mac BigSur 11.1
- Eclipse/maven
- Spring Boot 2.4.5
- Java 1.8
Heroku
- Heroku cliインストール
brew tap heroku/brew && brew install heroku
- git/commit
git init
git add xxxxxx
git commit -m "first commit."
- heroku app
- Herokuアプリ作成
- ログインを問われるのでHerokuにログイン
heroku create <appname>
Spring Boot
Eclipseにてプロジェクト作成
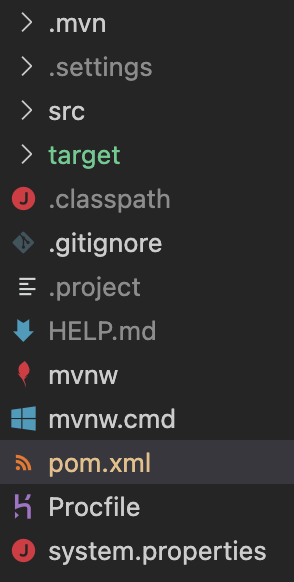
- file構成はこんな感じ
- Procfile
- [app-name]は、pom.xml記載の下記部分。[artifactId]-[version].jarになる
web: java -Dserver.port=$PORT -jar target/[app-name].jar
pom.xml
<artifactId>demo</artifactId>
<version>0.0.1-SNAPSHOT</version>
- system.properties
- 使用するruntimeバージョン
system.properties
java.runtime.version=1.8
Webapp Runner を使用するために必須ではありませんが、アプリケーションでの実行が必要になるため、ビルドツールに自動的に Webapp Runner をダウンロードさせることをお勧めします
- maven-compiler-pluginは、java実行環境バージョンを合わせるための記載
pom.xml
  <build>
    <plugins>
      <plugin>
        <groupId>org.springframework.boot</groupId>
        <artifactId>spring-boot-maven-plugin</artifactId>
      </plugin>
      <plugin>
        <groupId>org.apache.maven.plugins</groupId>
        <artifactId>maven-compiler-plugin</artifactId>
        <configuration>
          <source>1.8</source>
          <target>1.8</target>
        </configuration>
      </plugin>
      <plugin>
        <groupId>org.apache.maven.plugins</groupId>
        <artifactId>maven-dependency-plugin</artifactId>
        <executions>
          <execution>
            <phase>package</phase>
            <goals>
              <goal>copy</goal>
            </goals>
            <configuration>
              <artifactItems>
                <artifactItem>
                  <groupId>com.heroku</groupId>
                  <artifactId>webapp-runner</artifactId>
                  <version>9.0.30.0</version>
                  <destFileName>webapp-runner.jar</destFileName>
                </artifactItem>
              </artifactItems>
            </configuration>
          </execution>
        </executions>
      </plugin>
    </plugins>
  </build>
Herokuへデプロイ
git push heroku master
- 既にheroku上にアプリが存在している場合
heroku git:remote --app=<アプリ名>
Heroku Postgresql
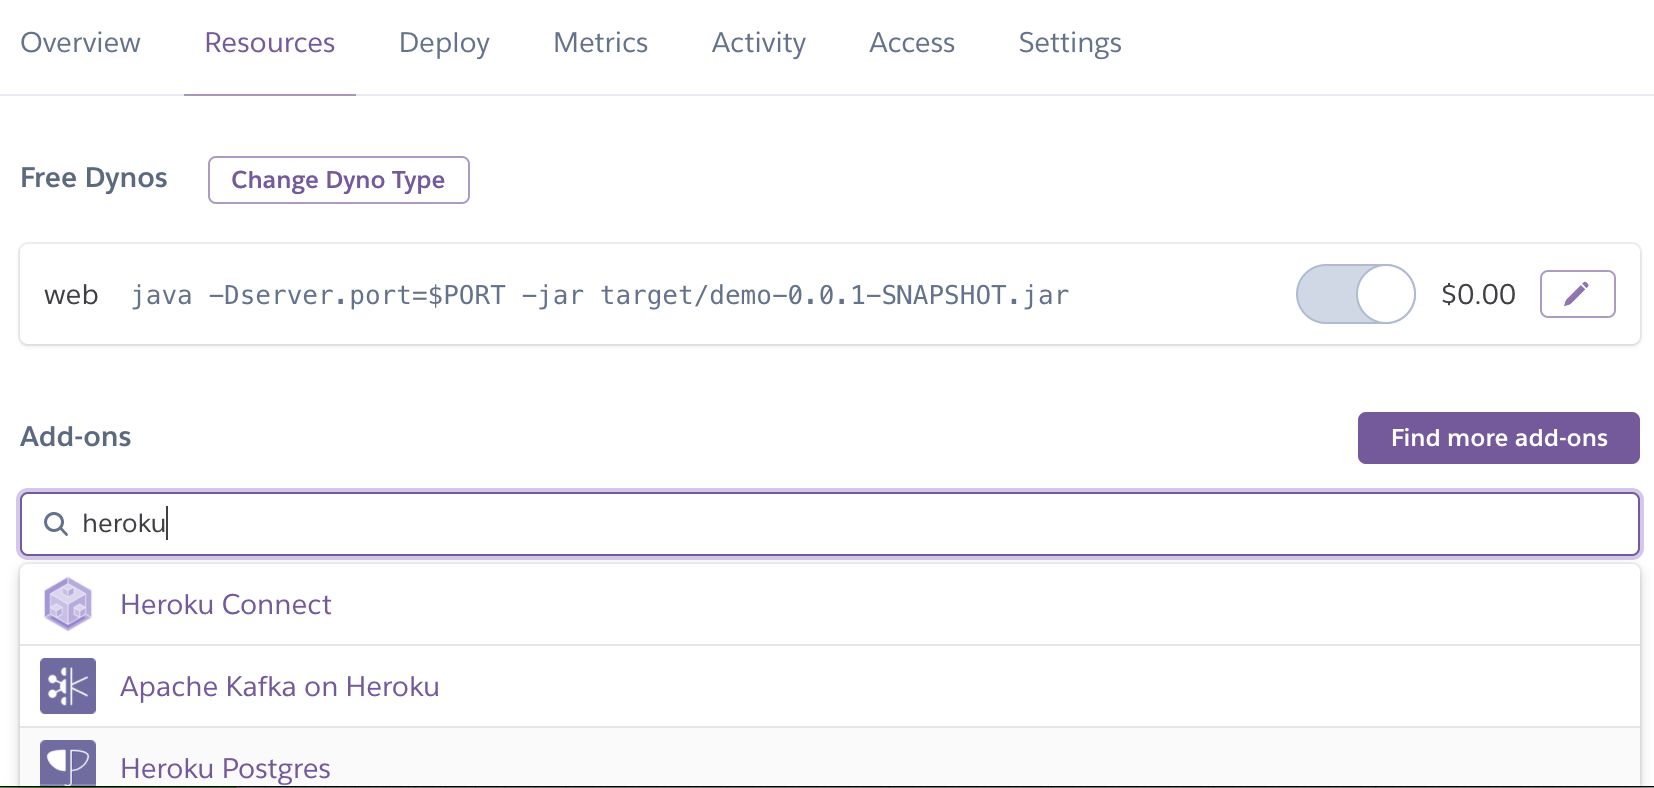
- pomに追加
pom.mxl
 <dependency>
   <groupId>org.postgresql</groupId>
   <artifactId>postgresql</artifactId>
   <scope>runtime</scope>
 </dependency>
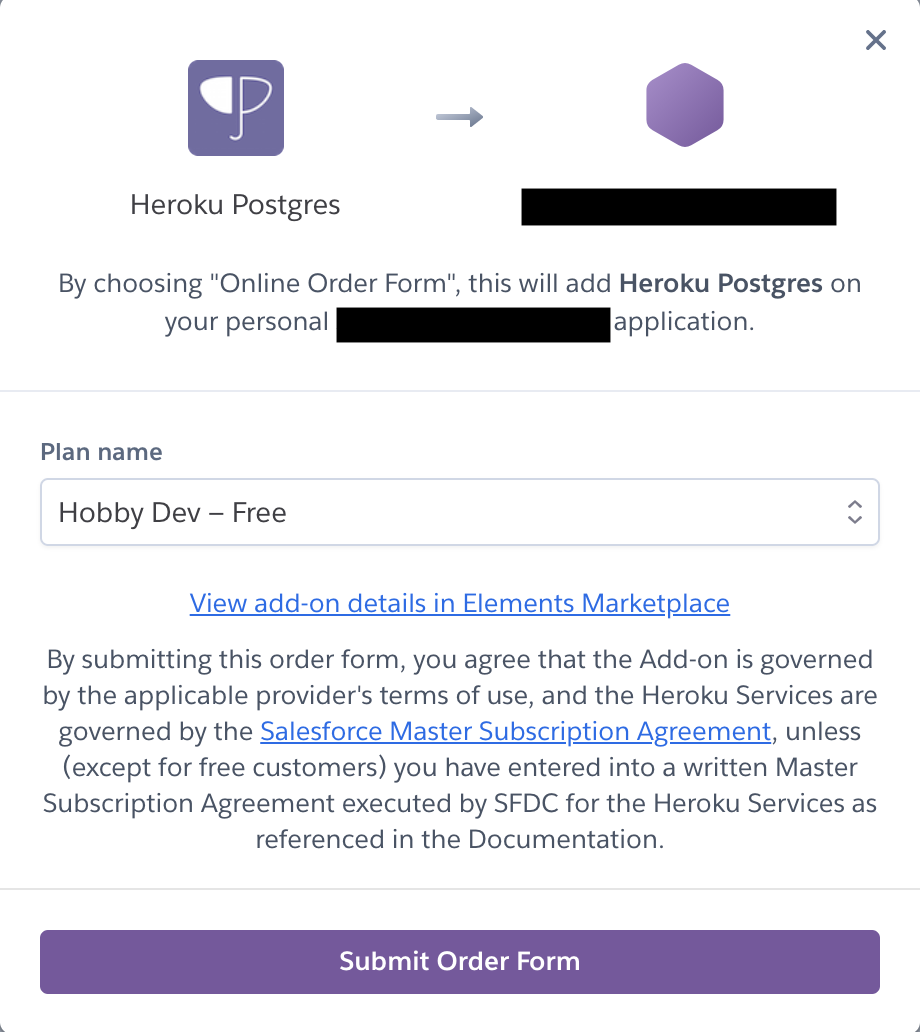
- Heroku上でCredential生成

- Heroku CLIからDBを操作可能
heroku pg:psql [DB名] --app [アプリ名]
- Heroku上とローカルでDBを切り替える
- application.propertiesをローカル用とHeroku用に用意
- Procfileにて、"-Dspring.profiles.active=heroku"を指定
web: java -Dspring.profiles.active=heroku -Dserver.port=$PORT -jar target/[アプリ名].jar
application.properties
# デフォルトlocalに
spring.profiles.active=local
application-local.properties
# for Local Deploy
spring.mvc.view.prefix=/WEB-INF/views/
spring.mvc.view.suffix=.jsp

spring.datasource.driver-class-name=org.h2.Driver
spring.datasource.url=jdbc:h2:[DBパス]
spring.datasource.username=[]
spring.datasource.password=[]
spring.h2.console.enabled=true
application-heroku.properties
## for Heroku Deploy
spring.mvc.view.prefix=/WEB-INF/views/
spring.mvc.view.suffix=.jsp
spring.profiles.includeは使えなくなった??
その他メモ
- 下記エラーが発生が発生した場合
javax.management.InstanceAlreadyExistsException: org.springframework.boot:type=Admin,name=SpringApplication
- Ecpliseで実行の構成で「JMXを使用可能にする」のチェックをオフに。
- JMXの仕組みがよくわかってないので改めて追記

- Starter
Spring Bootの仕組み。
各機能を実現するために必要なライブラリの依存関係が集約されている。
pom.xml
    <dependency>
      <groupId>org.springframework.boot</groupId>
      <artifactId>spring-boot-starter-web</artifactId>
    </dependency>
上記の例だと、Web関連の依存関係が集約され、以下が組み込まれる。
- Spring Boot
- Spring MVC
- Tomcat
- Bean Validation
- Jackson
- SLF4J + Logback
pom.xml
  <parent>
    <groupId>org.springframework.boot</groupId>
    <artifactId>spring-boot-starter-parent</artifactId>
    <version>2.4.3</version>
    <relativePath />
  </parent>
- アプリで使用するSpring Bootのバージョン
- 上記は各依存ライブラリのバージョンを解決するparentの定義。