前段!
以下のイベントの前段の記事です。LIFFでアンケートフォームを作成し、送信結果をスプレッドシートに蓄積します。
動画はこちら!チャンネル登録もポチとお願いします
完成イメージ


公式アカウントだけでは収集できない属性を取得可能となるため、マーケティング等に役立つのではないでしょうか!
アンケートは当該LINEユーザーのUID(識別子)を取得できているため、UIDを指定して属性ごとにメッセージ配信なども可能となります。
この前段を実施しない場合は、以下を友達登録していただけるとLINE(LIFF)側のアンケートフォームをお試し頂けます。
*イベント終了後は削除するかもしれません。

準備
当ハンズオン内では、 LINE Developers と Replit を使用します。
イベント内ではアカウント作成は致しませんので、必要に応じてご準備ください。
それでは Let's キノコ🍄
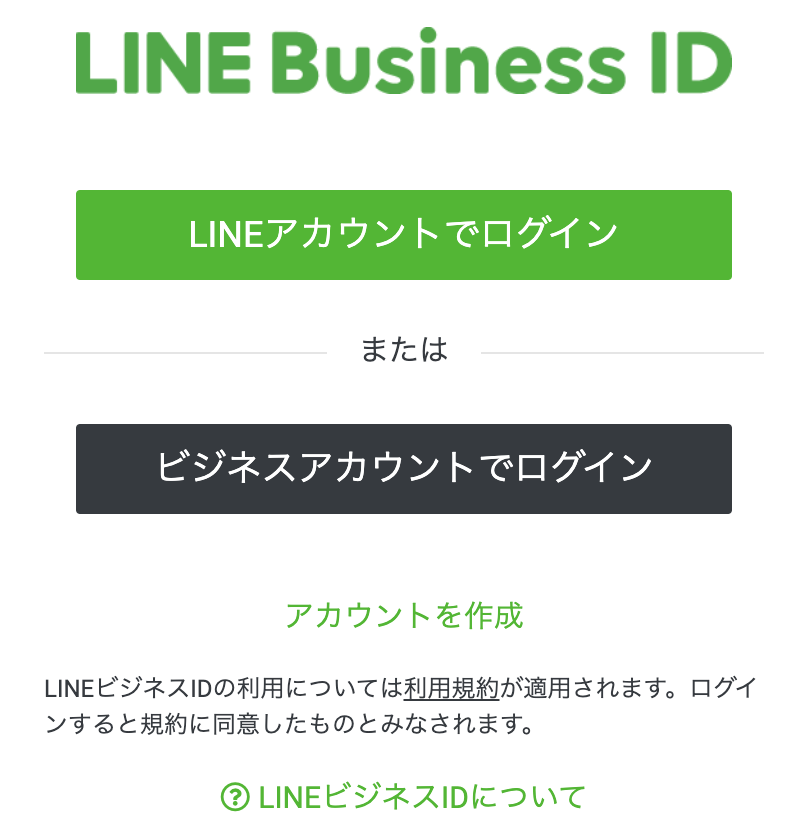
LINE Developersコンソールにログイン

プロバイダー作成
プロバイダーを作成します。
プロバイダー = LINEアカウントを管理するエンティティや組織を指し、個人や企業、団体などが該当する

LINEログインチャネル作成
続いてチャネルを作成します。
チャネル = LINEのサービスと外部サービスやアプリケーションを結びつけるための通信路を指し、LINE Messaging APIを使用するためには、チャネルを作成する必要がある

以下の設定をし作成
| 項目 | 設定値 | 備考 |
|---|---|---|
| チャネルの種類 | (LINEログイン) | デフォルト値 |
| プロバイダー | (作成・選択したプロバイダー) | デフォルト値 |
| 会社・事業者の所在国・地域 | 日本 | |
| チャネル名 | まっしゅるセミナーアンケート | |
| チャネル説明 | まっしゅるセミナーアンケート | |
| アプリタイプ | ウェブアプリ |
LINEログインチャネルの設定
| タブ | 項目 | 設定 |
|---|---|---|
| LINEログイン設定 | コールバックURL | GASデプロイ時に発行されるウェブアプリURL |
| LIFF | 追加 | あとで追加 |
公開
「開発中」をクリックし公開


Messaging APIチャネルを作成
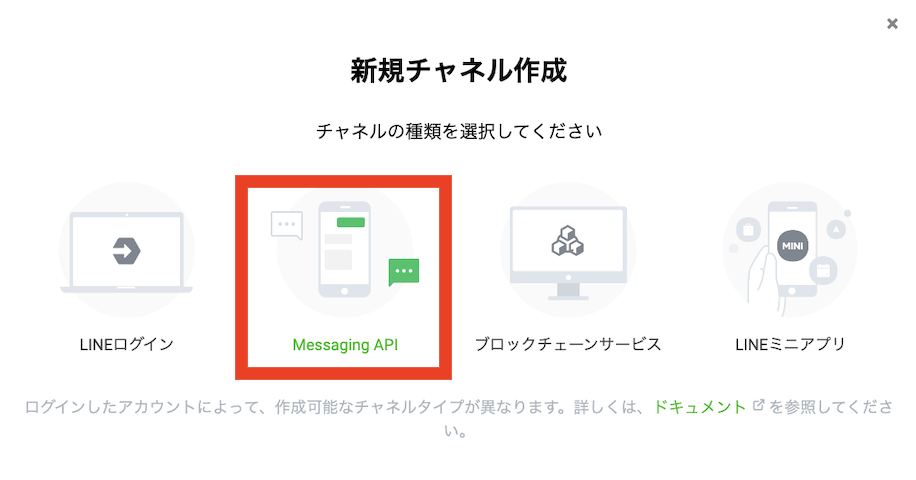
以下を設定し、作成
| 項目 | 設定値 | 備考 |
|---|---|---|
| チャネルの種類 | (Messaging API) | デフォルト値 |
| プロバイダー | (作成・選択したプロバイダー) | デフォルト値 |
| 会社・事業者の所在国・地域 | 日本 | |
| チャネル名 | まっしゅるセミナーアンケート | |
| チャネル説明 | まっしゅるセミナーアンケート | |
| 大業種 | 個人 | |
| 小業種 | 個人(その他) |
Messaging APIの設定
Messaging API設定タブよりチャネルアクセストークンを発行する

GASの準備
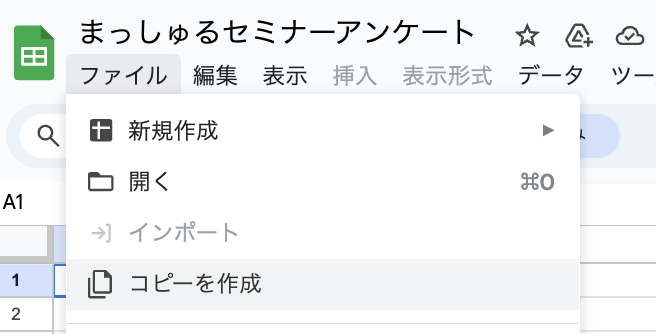
スプレッドシートを自身のGoogleドライブにコピー

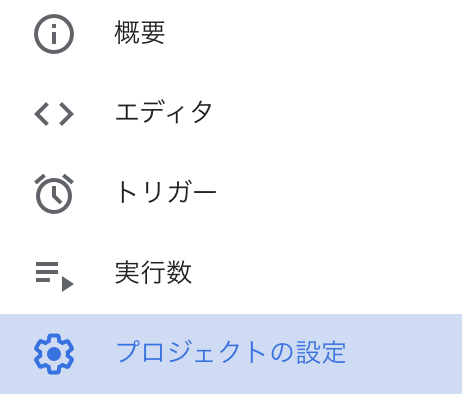
拡張機能より AppsScriptを起動


GAS
スクリプトプロパティを追加
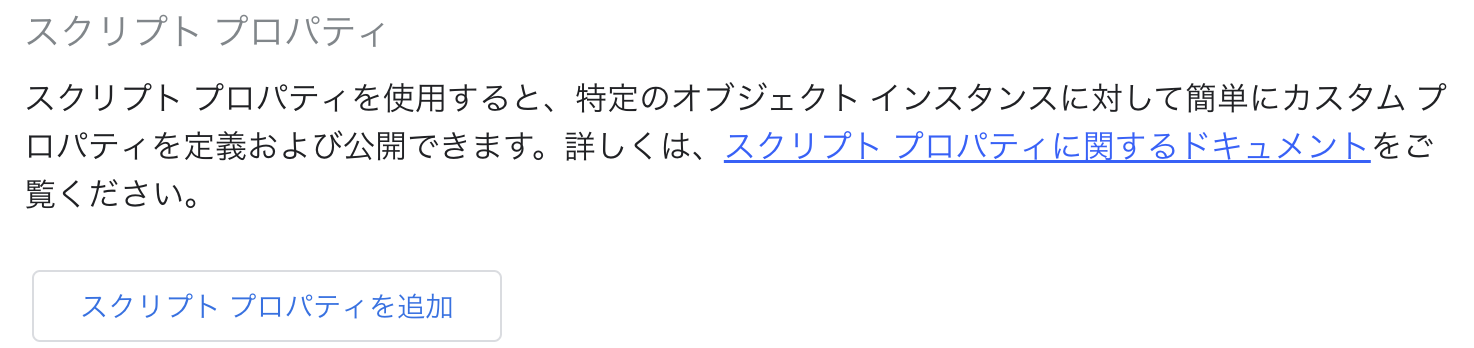
| プロパティ名 | 設定値 | 備考 |
|---|---|---|
| LINE_ACCESS_TOKEN | Messaging APIで発行したチャネルアクセストークン |

デプロイ
デプロイを管理よりデプロイ

デプロイメントの作成(ウェブアプリとしてデプロイ)

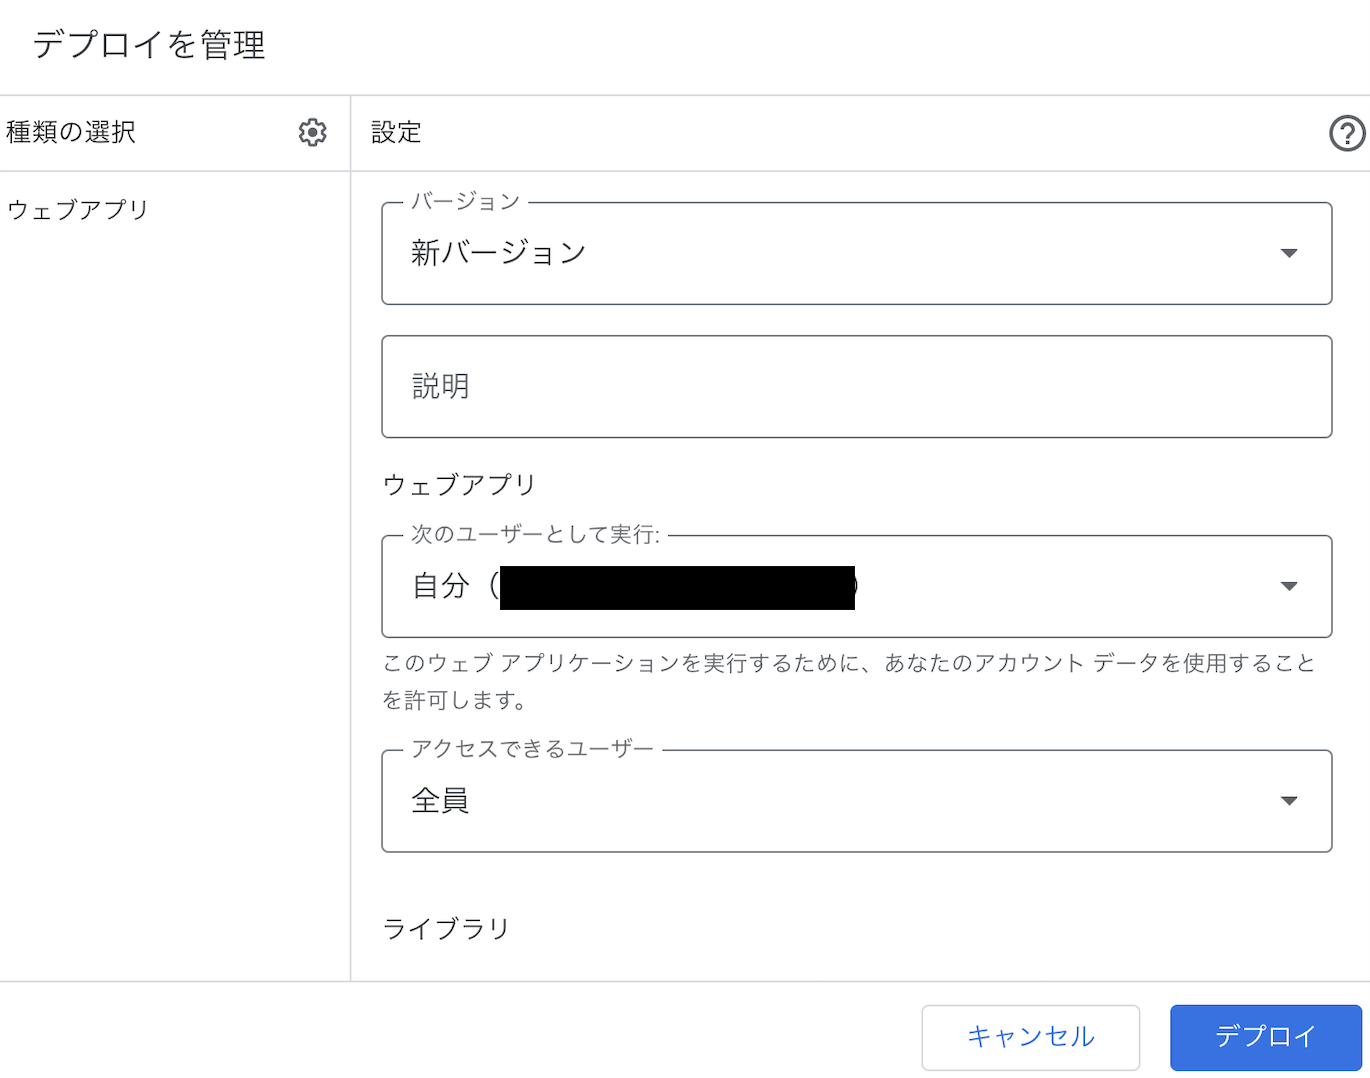
| 項目 | 設定値 | 備考 |
|---|---|---|
| 次のユーザーとして実行 | 自分 | |
| アクセスできるユーザー | 全員 |
デプロイ押下後、アクセス承認


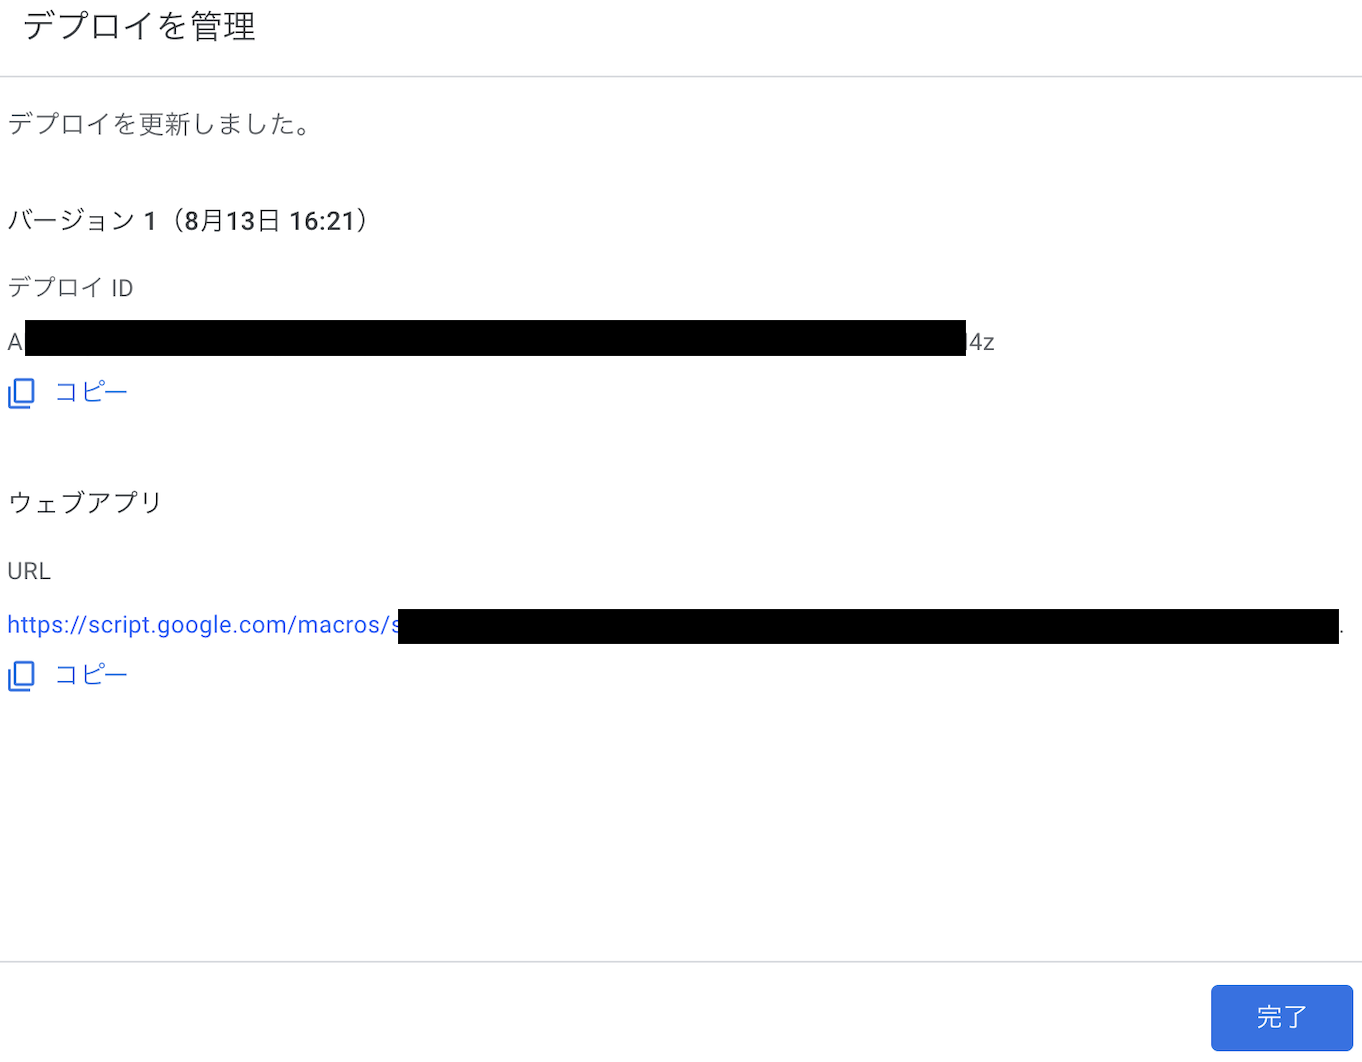
上記 ウェブアプリURL は、 Replit の設定、および LINEログイン設定のコールバックURL に使用
再度デプロイする場合は!
「デプロイを管理」から「新バージョン」を選択してデプロイします。「新しいデプロイ」をすると、デプロイ後のウェブURLが変わってしまうので、その際は該当箇所を合わせて修正してください。


デプロイURLをコールバックURLに設定
LINEログイン設定にてコールバックURLに設定

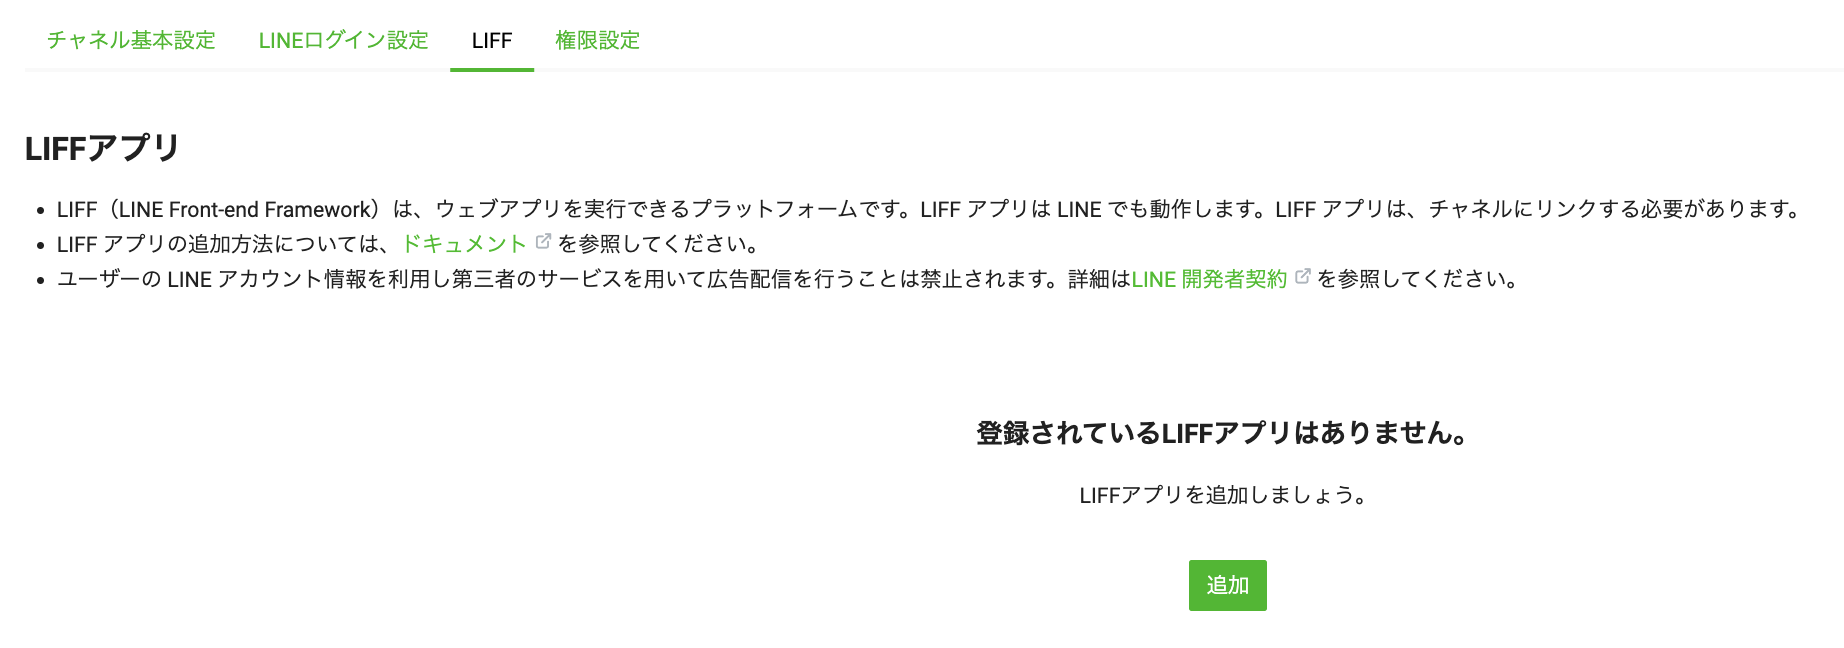
LIFFアプリの追加
LINEログインに戻り
| 項目 | 設定値 | 備考 |
|---|---|---|
| LIFFアプリ名 | まっしゅるセミナーアンケート | |
| サイズ | Tall | |
| エンドポイントURL | Replit デプロイURL | 仮で https://example.com を指定(後ほど更新) |
| Scope | profile | |
| ボットリンク機能 | Off |
LIFFアプリが追加される

Replit
新規作成にて、 React Javascript を選択し作成
Replit を準備していない方は以下のURLを指定を頂くと、アンケート送信までをお試し頂けます。
*実際の送信データはこちら側のスプレッドシートに蓄積されます。
https://ancke.happy2mylife.repl.co

作成直後

以下を参考に、 index.html, App.jsx, App.css の3ファイルを修正します。
liff sdk 追加
<script src="https://static.line-scdn.net/liff/edge/versions/2.12.0/sdk.js"></script>
コピペ用
<!DOCTYPE html>
<html lang="en">
  <head>
    <meta charset="UTF-8" />
    <link rel="icon" type="image/svg+xml" href="/favicon.svg" />
    <meta name="viewport" content="width=device-width, initial-scale=1.0" />
    <title>まっしゅるアンケート</title>
    <script src="https://static.line-scdn.net/liff/edge/versions/2.12.0/sdk.js"></script>

  </head>
  <body>
    <div id="root"></div>
    <script type="module" src="/src/index.jsx"></script>

    <!--
    This script places a badge on your repl's full-browser view back to your repl's cover
    page. Try various colors for the theme: dark, light, red, orange, yellow, lime, green,
    teal, blue, blurple, magenta, pink!
    -->
    <script src="https://replit.com/public/js/replit-badge-v2.js" theme="dark" position="bottom-right"></script>
  </body>
</html>
App.jsx 修正
コピペ後、それぞれ設定してください。
const LIFF_ID = 【LIFF ID】;
const GAS_URL = 【GASデプロイURL】;
コピペ用
import React, { useEffect, useState } from 'react';
import './App.css'

export default function App() {
  const LIFF_ID = 【LIFF ID】;
  const GAS_URL = 【GASデプロイURL】;

  const ageOptions = ['10代', '20代', '30代', '40代', '50代', '60代以上'];
  const genderOptions = ['男性', '女性', 'その他'];
  const courseOptions = ['Aコース(500円)', 'Bコース(1,000円)', 'Cコース(1,500円)'];

  const [name, setName] = useState('');
  const [userId, setUserId] = useState('');
  const [age, setAge] = useState(ageOptions[0]);
  const [date, setDate] = useState('');
  const [gender, setGender] = useState(genderOptions[0]);
  const [course, setCourse] = useState(courseOptions[0]);
  const [otherText, setOtherText] = useState('');

  useEffect(() => {
    liff.init({ liffId: LIFF_ID }).then(() => {
      if (liff.isLoggedIn()) {
        liff.getProfile().then((profile) => {
          setName(profile.displayName);
          setUserId(profile.userId);
        });
      } else {
        liff.login();
      }
    });
  }, []);

  const handleAgeChange = (e) => setAge(e.target.value);
  const handleDateChange = (e) => setDate(e.target.value);
  const handleGenderChange = (e) => setGender(e.target.value);
  const handleCourseChange = (e) => setCourse(e.target.value);
  const handleOtherTextChange = (e) => setOtherText(e.target.value);

  const handleSubmit = (e) => {
    e.preventDefault();

    if (date.length === 0) {
      alert('参加希望日を選択してください。');
      return;
    }
    fetch(GAS_URL, {
      method: 'POST',
      body: JSON.stringify({ userId, name, age, date, gender, course, otherText }),
    })
      .then((response) => {
        if (response.ok) {
          alert('送信しました。');
          liff.closeWindow();
          return response.json();
        } else {
          alert('送信に失敗しました。もう一度お試しください。');
        }
      })
      .then((json) => {
        console.log(json);
      })
      .catch((error) => {
        console.error('Error:', error);
      });
  };

  return (
    <>
      <h1>まっしゅるブラザーズセミナー</h1>
      <div id="profile">お名前: {name}</div>
      <div id="form-container">
        <form id="survey-form" onSubmit={handleSubmit}>
          <label htmlFor="date">参加希望日: </label>
          <input type="date" id="date" name="date" value={date} onChange={handleDateChange} /><br />
          <label htmlFor="age">年代: </label>
          <select id="age" name="age" value={age} onChange={handleAgeChange}>
            {ageOptions.map((ageOption, index) =>
              <option value={ageOption} key={index}>{ageOption}</option>
            )}
          </select><br />
          <label>性別: </label>
          {genderOptions.map((option, index) => (
            <React.Fragment key={index}>
              <input type="radio" id={option} name="gender" value={option} checked={gender === option} onChange={handleGenderChange} />
              <label htmlFor={option} className="gender-label">{option}</label>
            </React.Fragment>
          ))}
          <label htmlFor="course">コース選択: </label>
          <select id="course" name="course" value={course} onChange={handleCourseChange}>
            {courseOptions.map((couseOption, index) =>
              <option value={couseOption} key={index}>{couseOption}</option>
            )}
          </select><br />
          <label htmlFor="text">その他: </label>
          <input type="text" id="text" name="text" value={otherText} onChange={handleOtherTextChange} /><br />
          <button id="submit" type="submit">送信</button>
        </form>
      </div></>
  );
}
App.css 修正
コピペ用
.App {
  font-size: xx-large;
  font-family: Arial, sans-serif;
  color: #333;
  height: 100%;
  width: 100%;
  margin: 0;
  padding: 20px;
  background-color: #f4f4f4;
}

h1 {
  color: #555;
  text-align: center;
}

#profile {
  text-align: center;
}

#form-container {
  display: flex;
  justify-content: center;
  align-items: center;
  flex-direction: column;
}

#survey-form {
  width: 60%;
  background: #ffffff;
  padding: 20px;
  border-radius: 5px;
  box-shadow: 0 0 10px rgba(0, 0, 0, 0.1);
}

button[type="submit"] {
  font-size: 1.5em;
  padding: 10px;
  width: 100%;
  background-color: #4caf50;
  color: white;
  border: none;
  border-radius: 5px;
  cursor: pointer;
  margin-top: 20px;
  transition: background-color 0.3s;
}

button[type="submit"]:hover {
  background-color: #45a049;
}

label,
input,
select {
  margin: 10px 0;
  display: block;
}

input[type="radio"] {
  display: inline-block;
}

.gender-label {
  display: inline-block;
  margin-left: 5px;
  margin-right: 15px;
}
実行


LIFF エンドポイントURLに設定
上記 Replit のデプロイURLをエンドポイントURLに設定

リッチメニュー作成
メニュー - トークルーム管理 からリッチメニューを選択

タイトルやメニュー表示期間を設定

テンプレートと画像の設定


画像をアップロードすることも可能ですが、ここでは直接画像を作成します。

アクションの設定
| 項目 | 設定 |
|---|---|
| タイプ | リンク |
| URL | LIFF URL |
| アクションラベル | アンケート |

設定したら保存
ボット友達追加
Messaging APIの設定より


- LINEログインにて自動的にログイン


- 許可設定

- アンケートフォーム
-
お名前にユーザーの名前が表示されていることが分かる
-
- 送信完了&LINEに申し込み内容が通知される


- スプレッドシートに記録されていく
ということで
続いて、Google Looker StudioにてLet's集計!!