Scratch
プログラミング教育のツールとして多くの小学校やプログラミング教室で導入されているアレですね。ローカルでビルドして拡張ブロックで遊べることを知ったので、お!と思いやってみました。
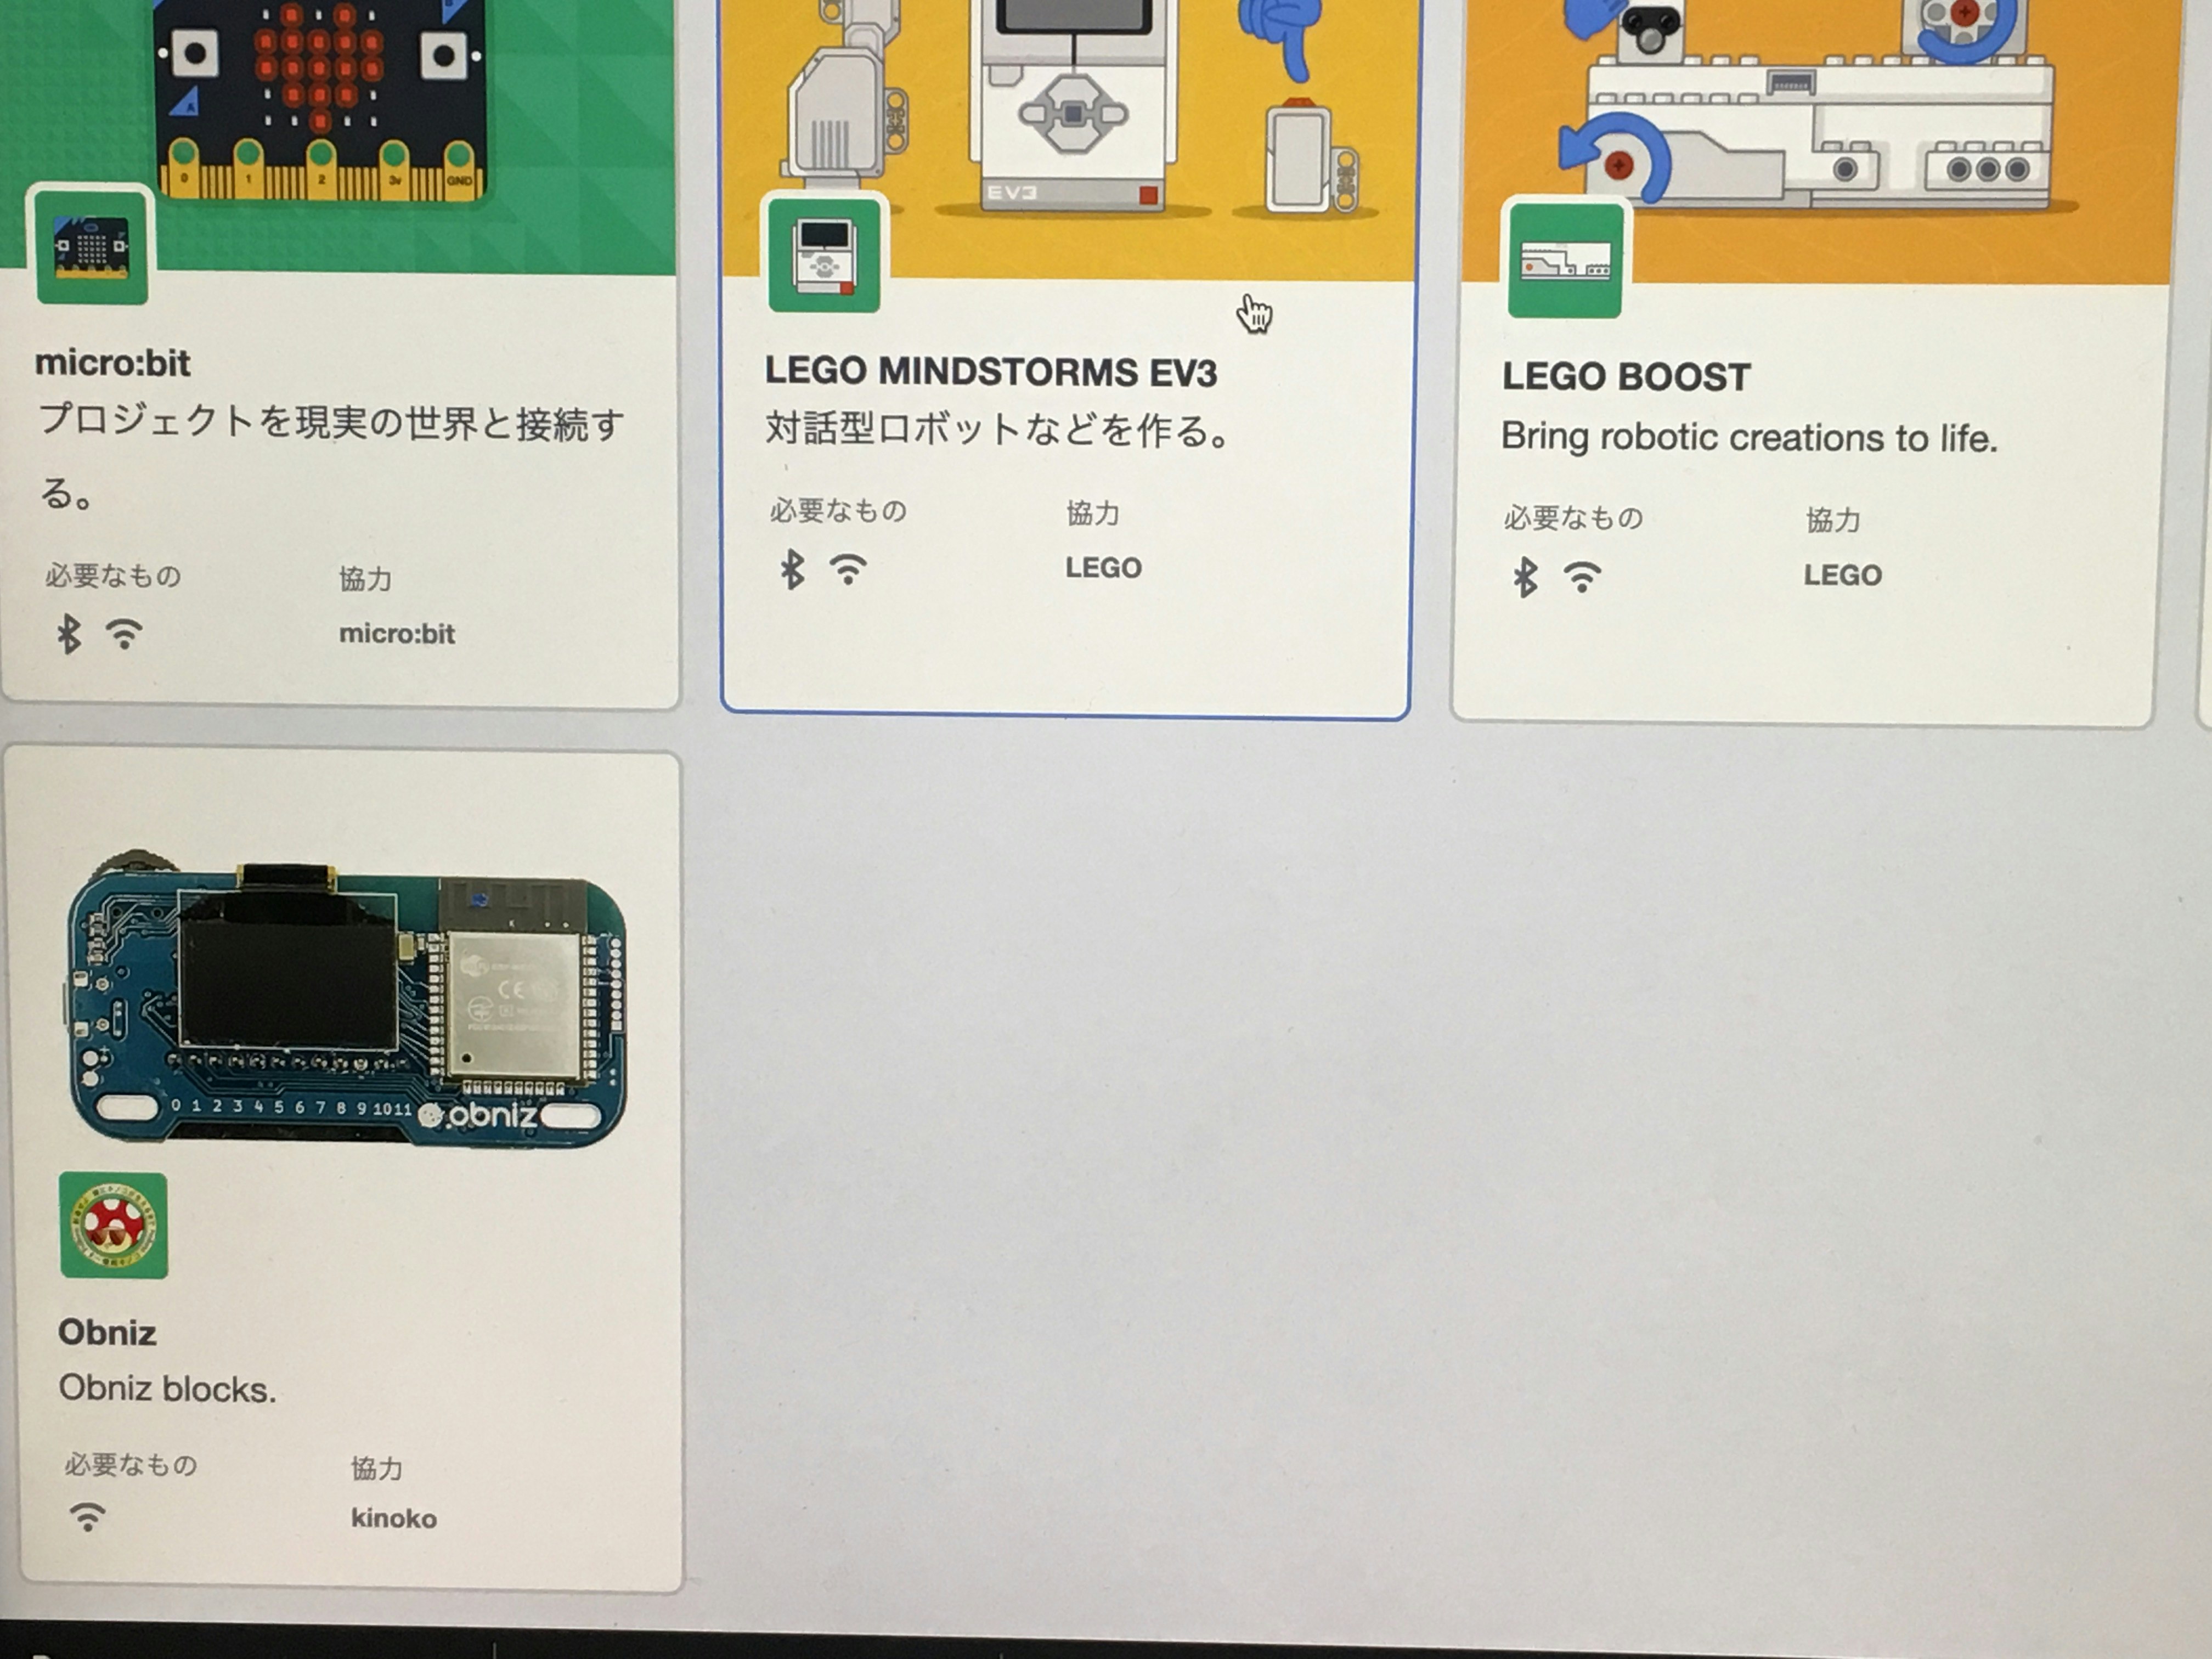
obniz
https://obniz.io/ja/
「Webの技術でハードとソフトをつなぐ」アレです。
Webベース(Javascript等)でIoTデバイスの制御ができるアレですね。
実施環境
Mac Mojave 10.14.4
ローカルの環境構築
ソースをclone
git clone --depth 1 https://github.com/llk/scratch-vm.git
git clone --depth 1 https://github.com/llk/scratch-gui.git
scratch-vmをnodeモジュールとしてscratch-guiから参照しますので、npm link を使って同時に開発できるようにします。
cd scratch-vm && npm install && npm link
cd scratch-gui && npm link scratch-vm && npm install
実行
cd scratch-gui && npm run start
これでローカル環境でScratchが実行されます。
ex: http://localhost:8601
obniz 拡張ブロックの追加
拡張ブロックの追加方法はこちらをおもいっきり参考にさせて頂きました。ありがとうございます!
https://qiita.com/Hiroyuki_OSAKI/items/a46e1c881d3aed4661f7
scratch-vm/src/extensions/scratch3_obniz/Scratch3Obniz.js
const ArgumentType = require('../../extension-support/argument-type');
const BlockType = require('../../extension-support/block-type');
const Cast = require('../../util/cast');


class Scratch3Obniz {
    constructor (runtime) {
        this.runtime = runtime;
        this.obniz = null;
    }

    getInfo () {
        return {
            id: 'obniz',
            name: 'Obniz Blocks',
            blocks: [
                {
                    opcode: 'connect',
                    blockType: BlockType.COMMAND,
                    text: 'obniz id [TEXT]',
                    arguments: {
                        TEXT: {
                            type: ArgumentType.STRING,
                            defaultValue: "xxxx-xxxx"
                        }
                    }
                },
                {
                    opcode: 'displayMessage',
                    blockType: BlockType.COMMAND,
                    text: 'Display [TEXT]',
                    arguments: {
                        TEXT: {
                            type: ArgumentType.STRING,
                            defaultValue: "hello"
                        }
                    }
                }

            ],
            menus: {
            }
        };
    }

    connect (args) {
        const text = Cast.toString(args.TEXT);
        this.obniz = new window.Obniz(text);
    }

    displayMessage (args) {
        const text = Cast.toString(args.TEXT);
        this.obniz.display.clear();
        this.obniz.display.print(text);
    }
}

module.exports = Scratch3Obniz;
scratch-gui/src/playground/index.ejs
<!DOCTYPE html>
<html>
  <head>
    <meta charset="UTF-8">
    <meta name="viewport" content="width=device-width, initial-scale=1">
    <meta name="google" value="notranslate">
    <link rel="shortcut icon" href="static/favicon.ico">
    <title><%= htmlWebpackPlugin.options.title %></title>

    <!-- ****追加**** -->
    <script src="https://unpkg.com/obniz/obniz.js"></script>

    <% if (htmlWebpackPlugin.options.sentryConfig) { %>
        <!-- Sentry error logging to help with finding bugs -->
        <script src="https://cdn.ravenjs.com/3.22.1/raven.min.js" crossorigin="anonymous"></script>
        <script>
            Raven.config(<%= htmlWebpackPlugin.options.sentryConfig %>).install();
        </script>
        <!-- /Sentry -->
    <% } %>
  </head>
  <body>
  </body>
</html>
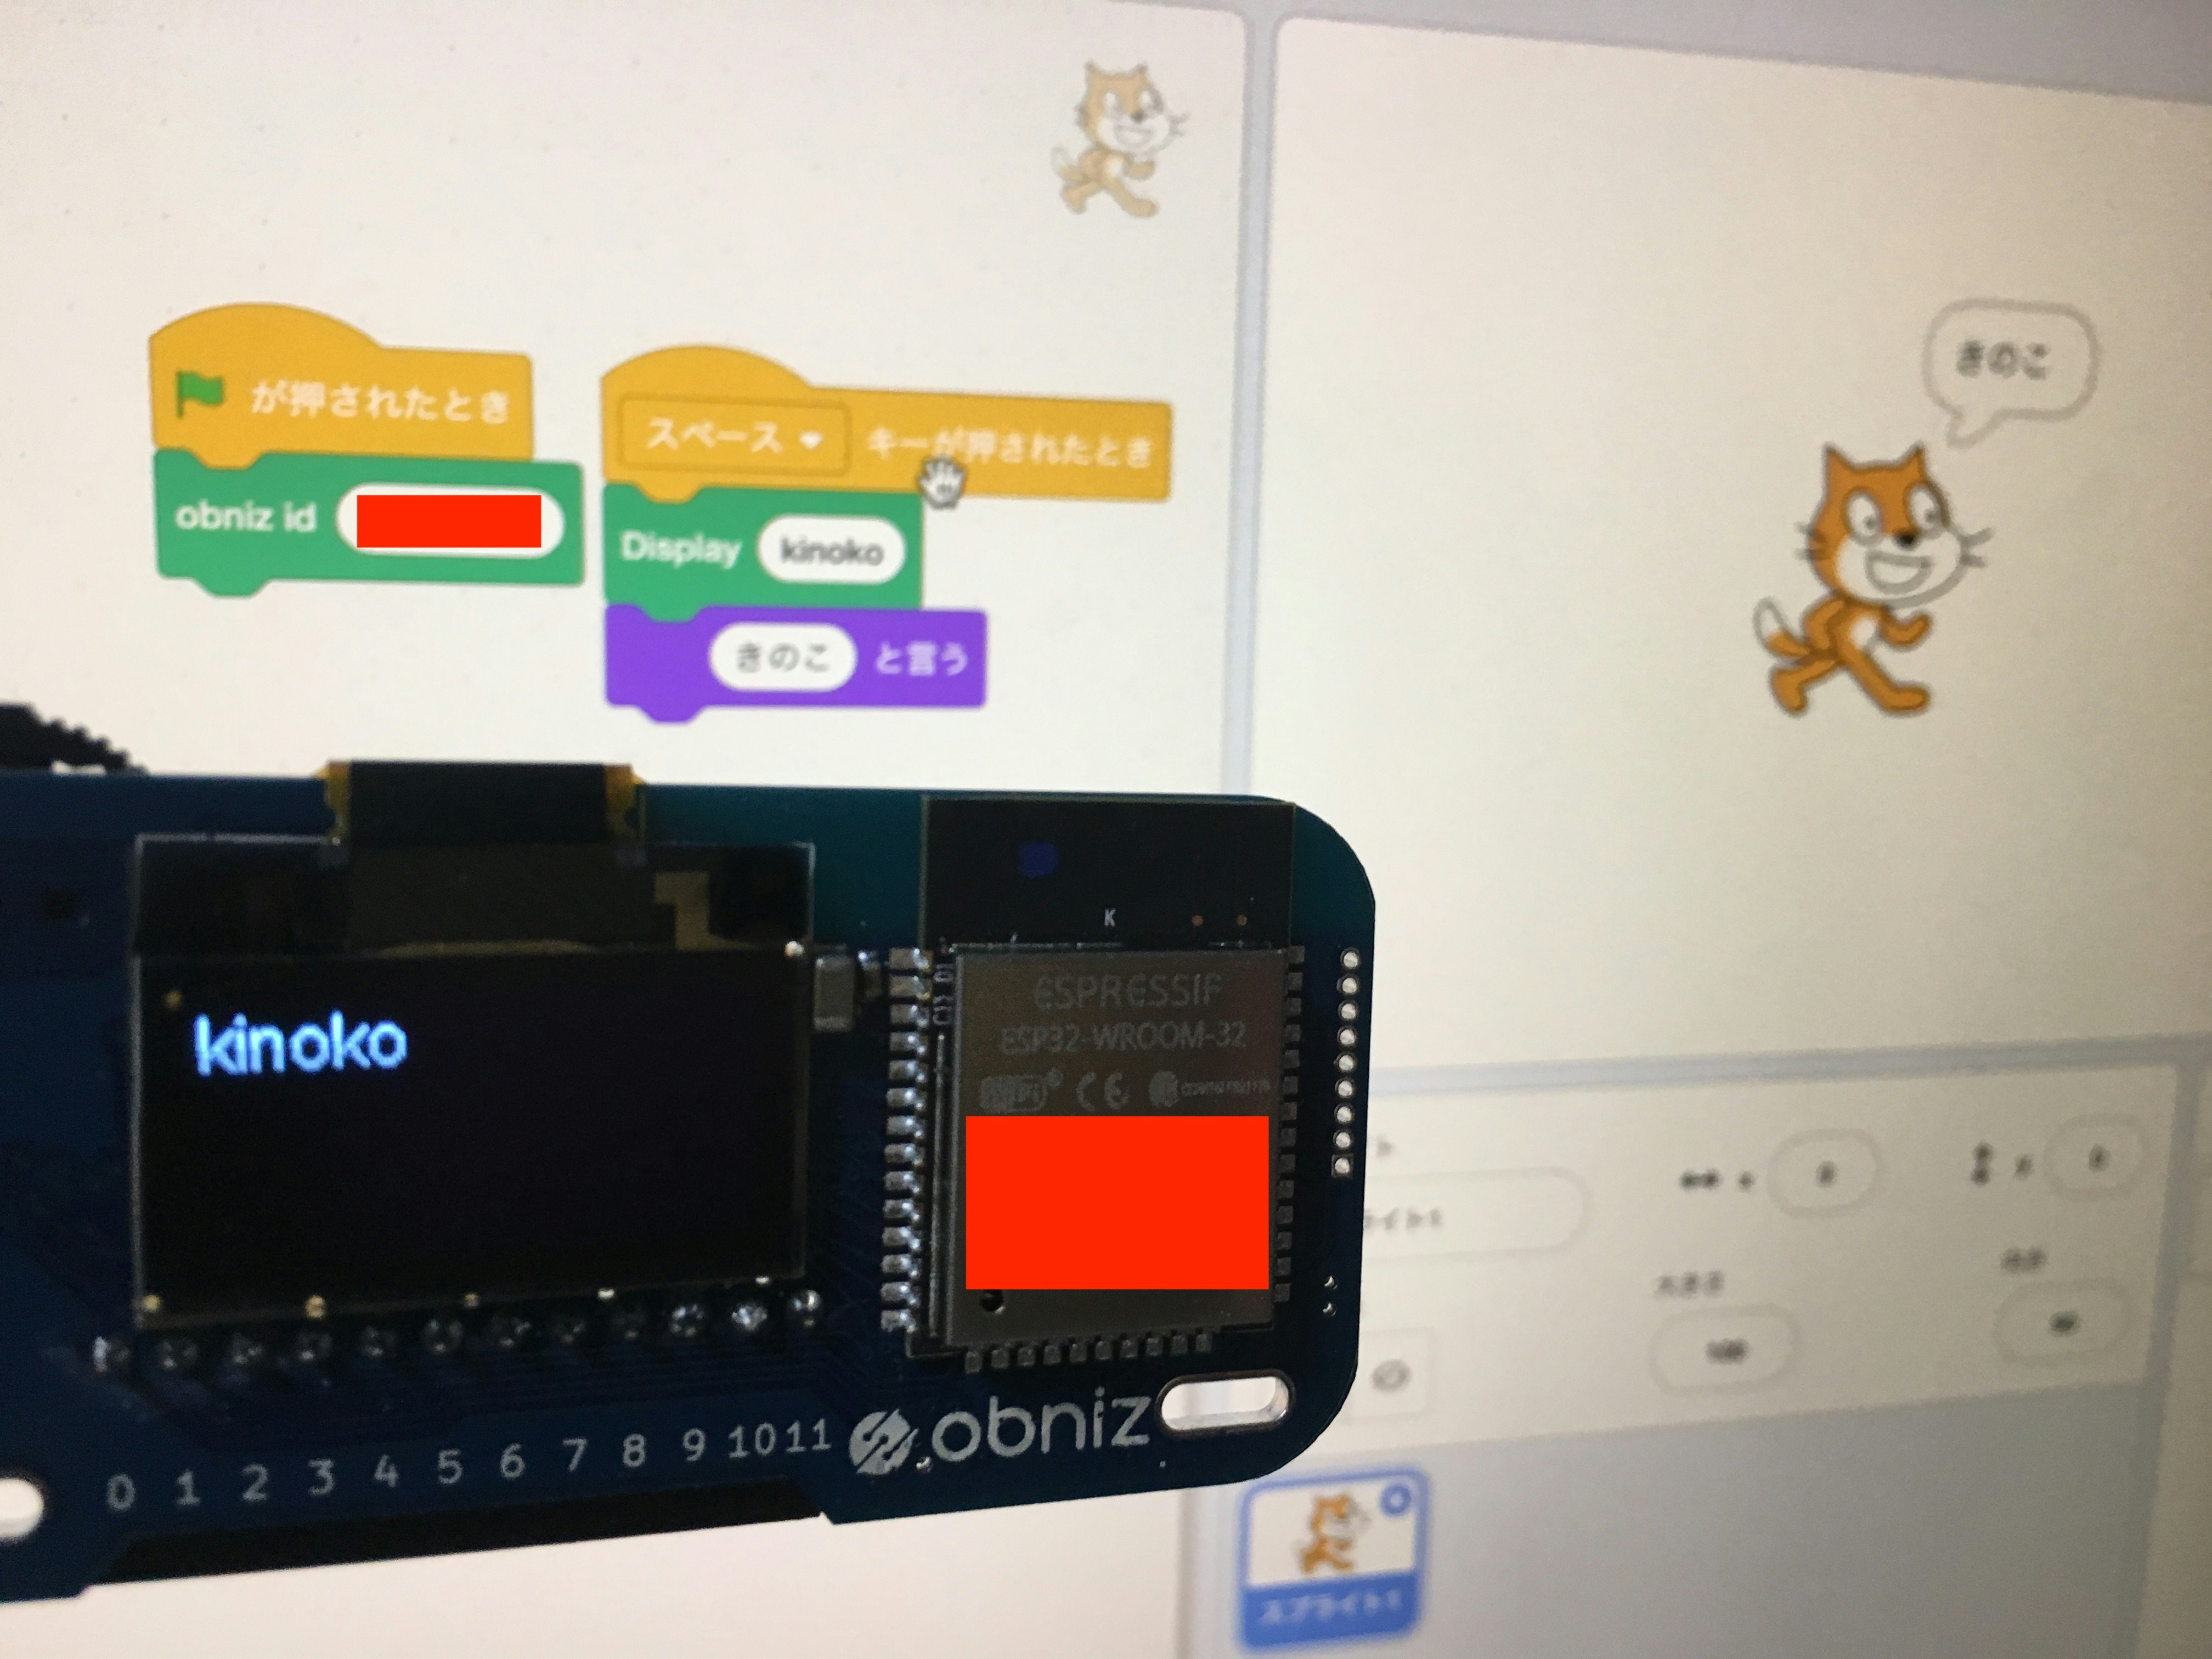
最初の画像にあるように、obniz id を入力して旗をクリックすると接続され、スペースで任意の文字がLEDに表示されます。
Scratch + obniz 他にも色々楽しめそうです!
おまけ