今日のアドベントカレンダーが空いていたので、これはいかんと思いちょっと試してみました。
ScratchにLINEプッシュメッセージの拡張ブロックを追加し、Scratchからプッシュメッセージを送ってみました。
ということで、下記アドベントカレンダー8日目の記事でもあります。
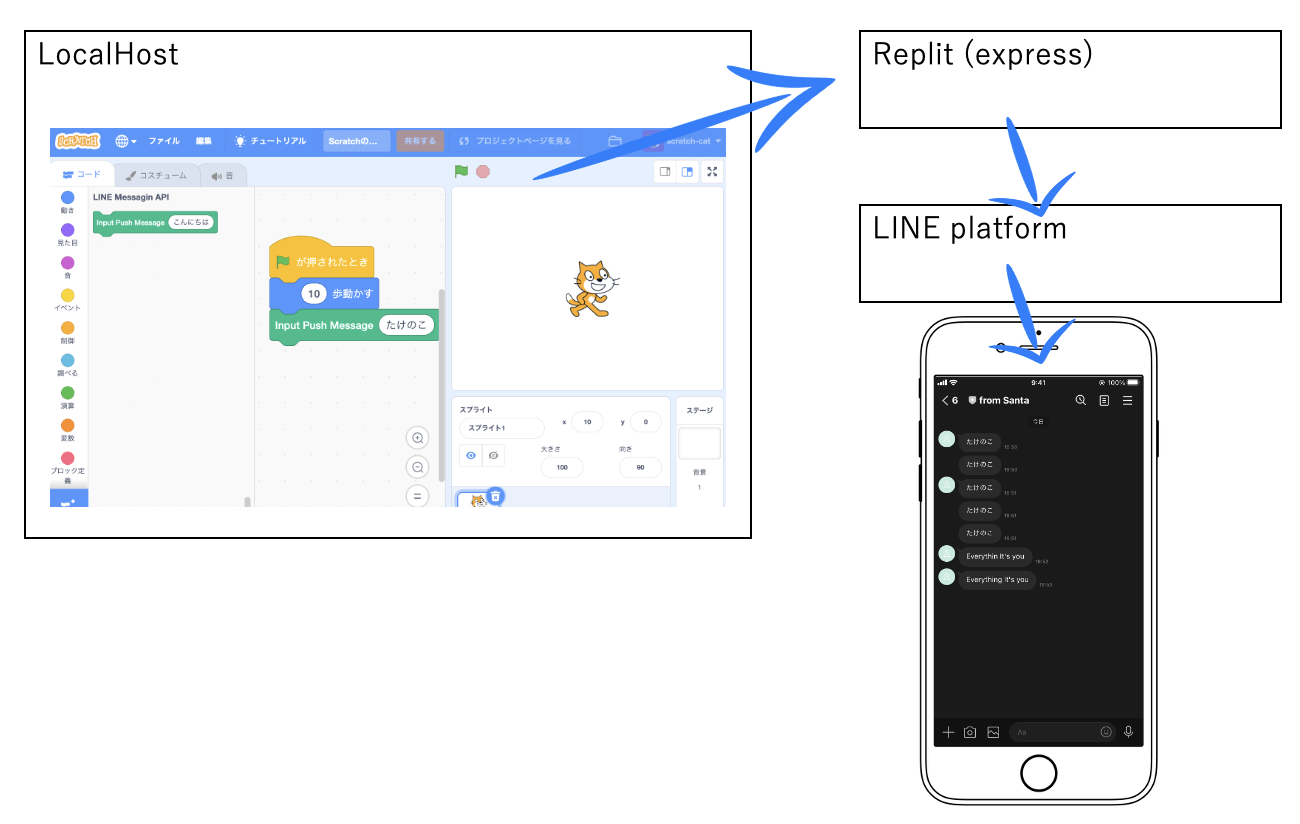
構成はこんな感じです。
一度Replitを経由しているのは CORS を回避したく・・
環境
- OS: macMonterey 12.6
- npm: 6.14.15
- node: v14.18.3
ざっくりやることは
- Scratch のプロジェクトをクローン&拡張ブロックを実装
- ローカルで Scratch 起動
- LINE Developers Console ログイン&Messaging APIチャネル作成 (簡単に言うとBotの準備)
- Replit にてバックエンド起動
- Bot をお友達登録し、ローカルで起動している Scratch からメッセージをプッシュ!
Scratch拡張ブロック
Scratchは学校など多くの子供たちが使っているブロックプログラミングエディタですが、拡張ブロックを自作できます。
以前に obniz の拡張ブロックを組み込んだ際の記事を自ら参考にしつつ、 LINEプッシュメッセージブロックを作りました。
とりあえず動かしただけで、実装までちゃんと理解しておりません。。
2つのプロジェクトを clone します
- (LLK/scratch-vm)[https://github.com/LLK/scratch-vm]: Scratch の VirtualMachine (VM)
- (LLK/scratch-gui)[https://github.com/LLK/scratch-gui]: フロントエンド
git clone --depth 1 https://github.com/llk/scratch-vm.git
git clone --depth 1 https://github.com/llk/scratch-gui.git
拡張ブロックを実装
scratch-vm/src/extensions に他の拡張ブロックがあるので参考にしつつ、専用のフォルダを作成し、 index.js を以下のように実装
const ArgumentType = require('../../extension-support/argument-type');
const BlockType = require('../../extension-support/block-type');
const Cast = require('../../util/cast');
const log = require('../../util/log');
const http = require('https');

class Scratch3LineMessagingApi {
    constructor(runtime) {
        this.runtime = runtime;
    }

    getInfo() {
        return {
            id: 'lineblocks',
            name: 'LINE Messagin API',
            blocks: [
                {
                    // ブロック動作時のメソッド
                    opcode: 'pushMessageRequest',
                    // ブロック種別
                    blockType: BlockType.COMMAND,
                    // ブロックに表示する項目 [TEXT] とある部分が ユーザーINPUT のボックスになる
                    text: 'Input Push Message [TEXT]',
                    arguments: {
                        // 上記 [TEXT] の型とデフォルト値
                        TEXT: {
                            type: ArgumentType.STRING,
                            defaultValue: 'こんにちは',
                        },
                    },
                },
            ],
            menus: {},
        };
    }

    // 上記 `opcode` に記載したメソッド
    // Scratch上でブロックが動作した際に実行される
    pushMessageRequest(args) {
        const text = Cast.toString(args.TEXT);
        log.log(text);

        const headers = {
            'Content-Type': 'application/json;charset=utf-8',
        };

        const options = {
            // 一度 replit に投げてから line push apiをコール
            // ブラウザから直接 push api を呼び出すと CORS エラーとなる
            hostname: 'xxxxx.repl.co',
            port: 443,
            path: '/push',
            method: 'post',
            headers: headers,
        };

        const req = http.request(options, (res) => {
            log.log('Status: ' + res.statusCode);
            log.log('Headers: ' + JSON.stringify(res.headers));
            res.setEncoding('utf8');
            res.on('data', (body) => {
                log.log('Body: ' + body);
            });
        });

        const pushConfig = {
            messages: [
                {
                    type: 'text',
                    text: text,
                },
            ],
        };

        req.on('error', function (e) {
            log.log('error request: ' + e.message);
        });

        req.write(JSON.stringify(pushConfig));
        req.end();
    }
}

module.exports = Scratch3LineMessagingApi;
上記拡張ブロックを extension として認識させます
const builtinExtensions = {
    // 【追加】
    lineblocks: () => require('../extensions/scratch3_line_messagin_api'),
};
GUI側の実装。拡張ブロックが表示されます
// ファイル先頭付近でロゴをインポート
import lineBlockImage from './linedc_logo1.png';
import lineBlockButtonImage from './linedc_logo2.png';

// 以下のブロック定義を追加
{
    name: 'LINE Messaging API',
    extensionId: 'lineblocks',
    collaborator: 'Kinoko',
    iconURL: lineBlockImage,
    insetIconURL: lineBlockButtonImage,
    description: (
        <FormattedMessage
            defaultMessage="LINE Messaging API."
            description="push message to LINE Bot."
            id="gui.extension.line-api.description"
        />
    ),
    featured: true,
    disabled: false,
    internetConnectionRequired: true,
    bluetoothRequired: false,
    helpLink: 'https://mashandroom.org',
},
vmとguiのプロジェクトをビルドし、起動します。
cd scratch-vm
yarn install
yarn build
yarn link

cd ../scratch-gui
yarn link scratch-vm
yarn install
yarn start
http://localhost:8601 で Scratch にアクセス。
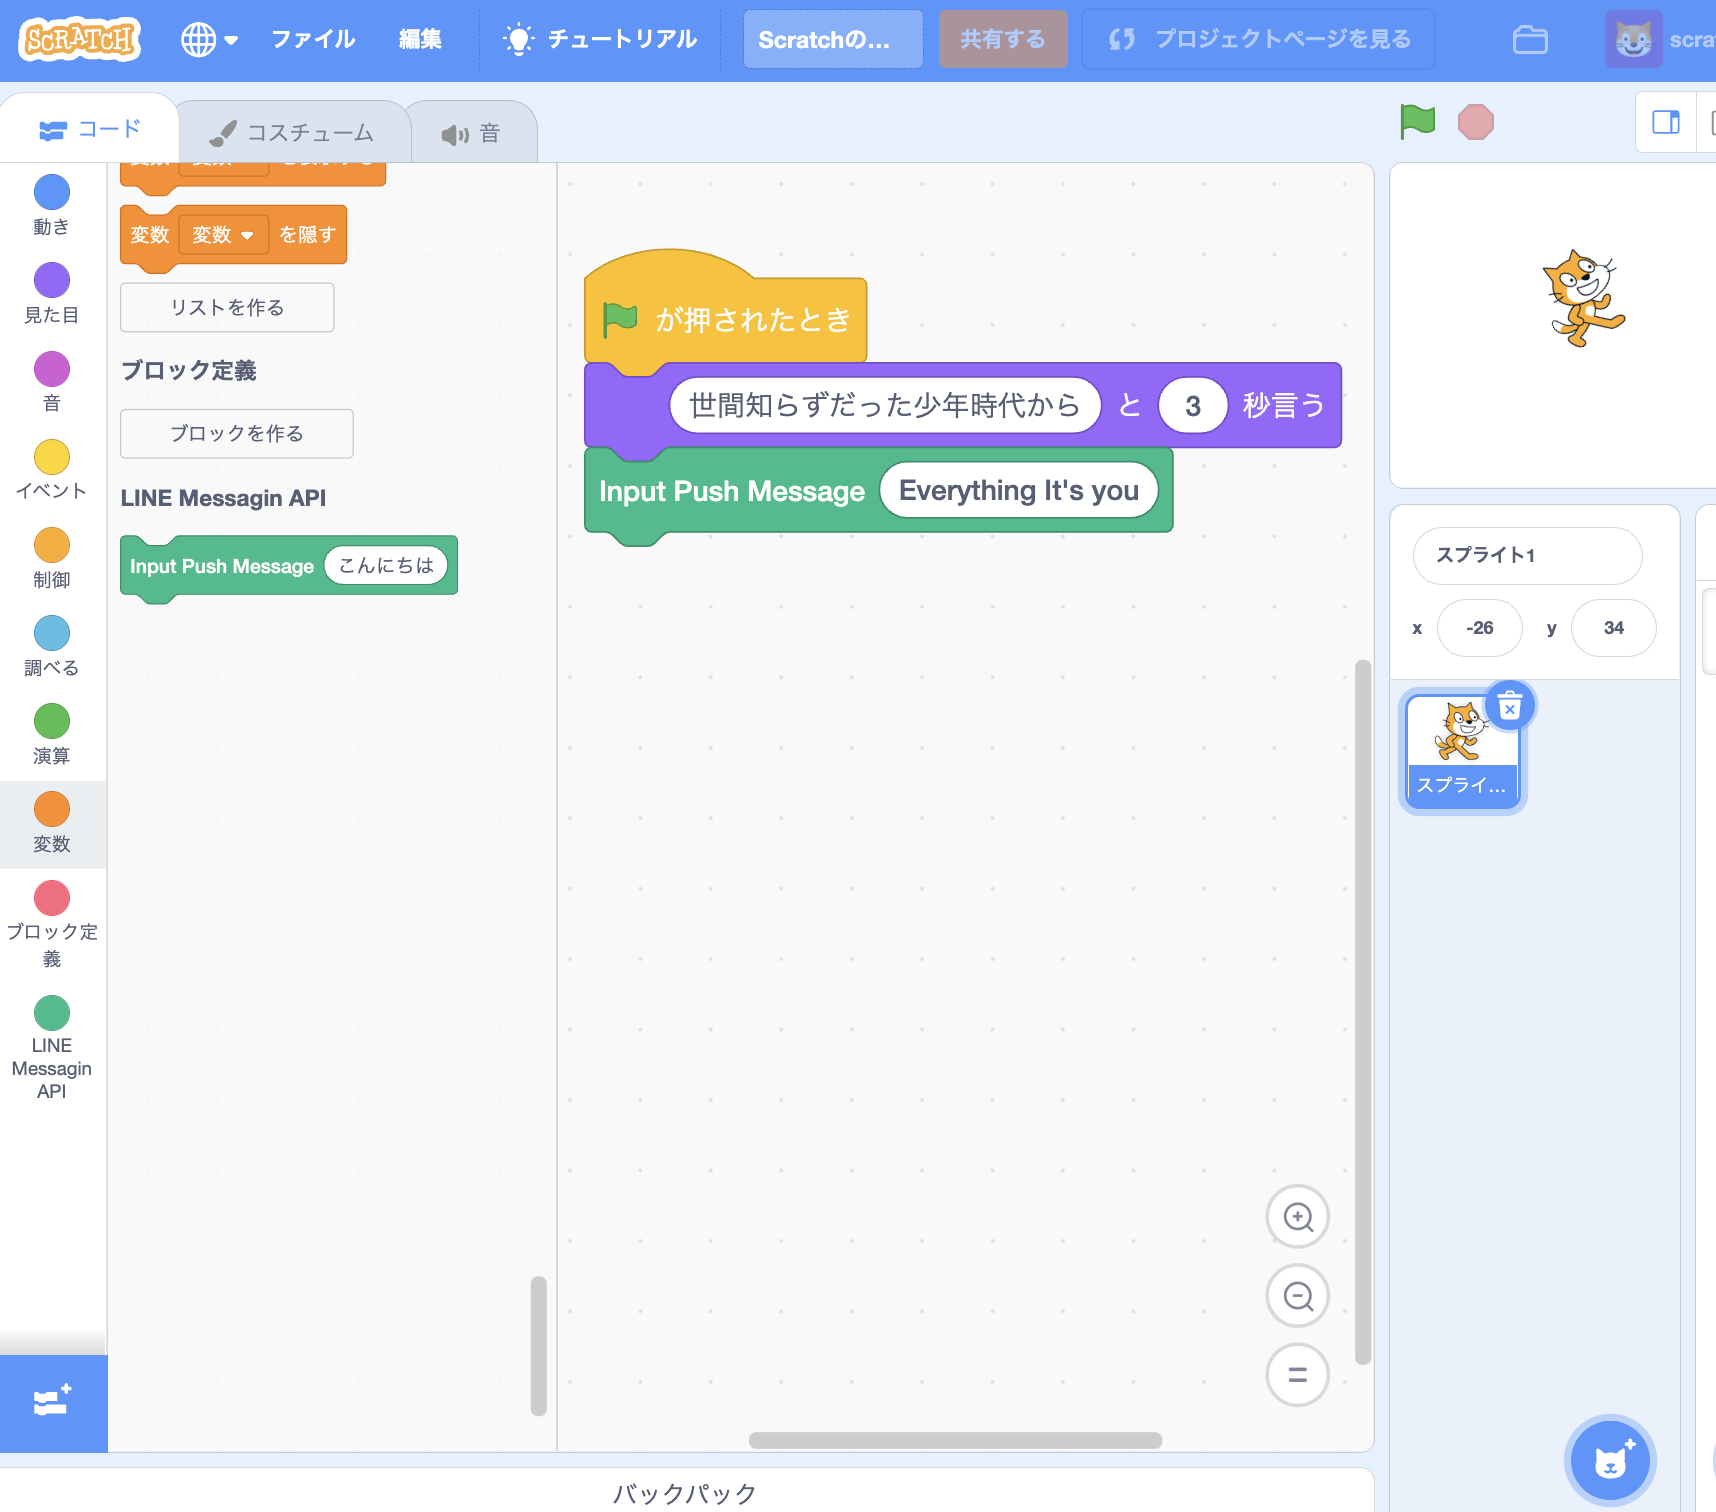
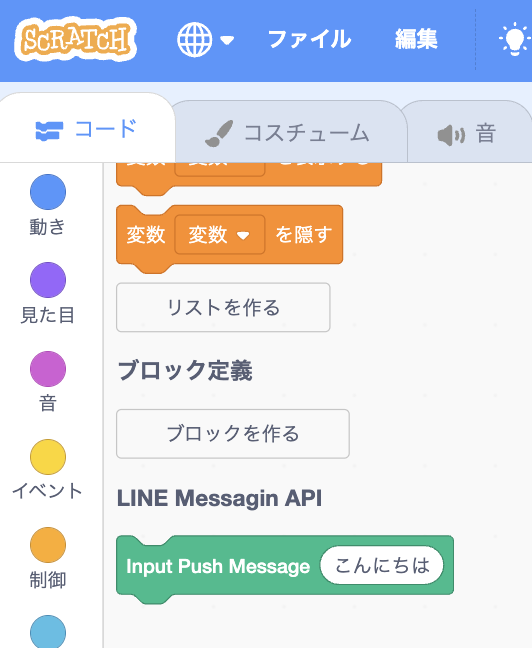
追加された拡張ブロック。ロゴはせっかくなので LINEDC のロゴにしてみました!
Replit
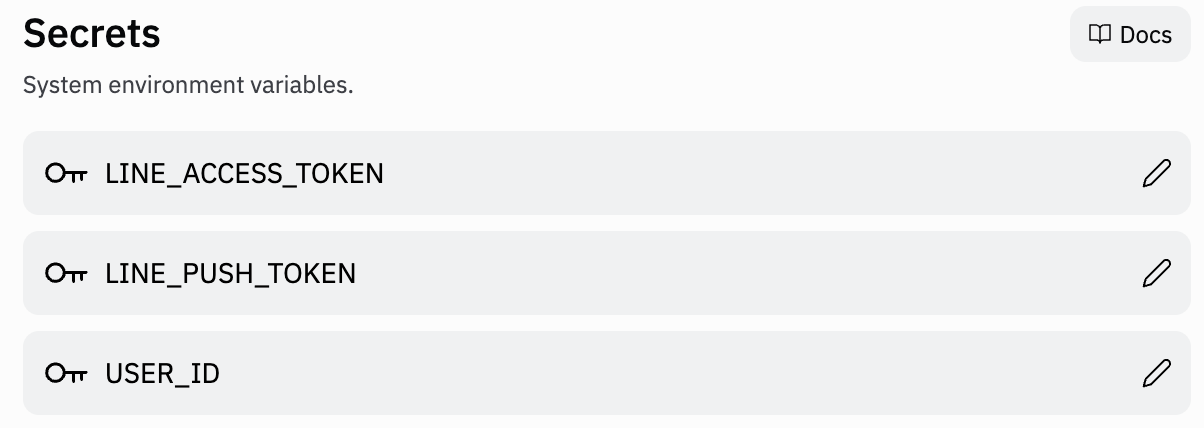
アドベントカレンダー5日目で投稿した記事を参考に、
const https = require("https")
const express = require("express")
const app = express()
const PORT = process.env.PORT || 3000
const TOKEN = process.env.LINE_ACCESS_TOKEN

app.use(express.json())
app.use(express.urlencoded({
  extended: true
}))

// [追加] CORSの許可を追加
const allowCrossDomain = function(req, res, next) {
  res.header('Access-Control-Allow-Origin', '*')
  res.header('Access-Control-Allow-Methods', 'GET,PUT,POST,DELETE')
  res.header(
    'Access-Control-Allow-Headers',
    'Content-Type, Authorization, access_token'
  )

  if ('OPTIONS' === req.method) {
    res.sendStatus(200)
  } else {
    next()
  }
}
app.use(allowCrossDomain)

// [追加] /push を受ける
app.post("/push", function(req, res) {
  res.send("push requested!")

  const push = JSON.stringify({
    to: process.env.USER_ID,
    messages: [
      {
        "type": "text",
        "text": req.body.messages[0].text
      }
    ]
  })

  // リクエストヘッダー
  const headers = {
    "Content-Type": "application/json",
    "Authorization": "Bearer " + process.env.LINE_PUSH_TOKEN
  }

  // リクエストに渡すオプション
  const webhookOptions = {
    "hostname": "api.line.me",
    "path": "/v2/bot/message/push",
    "method": "POST",
    "headers": headers,
  }

  // リクエストの定義
  const request = https.request(webhookOptions, (res) => {
    res.on("data", (d) => {
      process.stdout.write(d)
    })
  })

  // エラーをハンドル
  request.on("error", (err) => {
    console.error(err)
  })

  // データを送信
  request.write(push)
  request.end()
})


// ここから下は5日目の記事のもの
app.get("/", (req, res) => {
  res.sendStatus(200)
})

app.post("/webhook", function(req, res) {
  res.send("HTTP POST request sent to the webhook URL!")
  // ユーザーがボットにメッセージを送った場合、返信メッセージを送る
  if (req.body.events[0].type === "message") {
    // 文字列化したメッセージデータ
    const dataString = JSON.stringify({
      replyToken: req.body.events[0].replyToken,
      messages: [
        {
          "type": "text",
          "text": "Hello, user"
        },
        {
          "type": "text",
          "text": "May I help you?"
        }
      ]
    })

    // リクエストヘッダー
    const headers = {
      "Content-Type": "application/json",
      "Authorization": "Bearer " + TOKEN
    }

    // リクエストに渡すオプション
    const webhookOptions = {
      "hostname": "api.line.me",
      "path": "/v2/bot/message/reply",
      "method": "POST",
      "headers": headers,
      "body": dataString
    }

    // リクエストの定義
    const request = https.request(webhookOptions, (res) => {
      res.on("data", (d) => {
        process.stdout.write(d)
      })
    })

    // エラーをハンドル
    request.on("error", (err) => {
      console.error(err)
    })

    // データを送信
    request.write(dataString)
    request.end()
  }
})

app.listen(PORT, () => {
  console.log(`Example app listening at http://localhost:${PORT}`)
})
準備完了
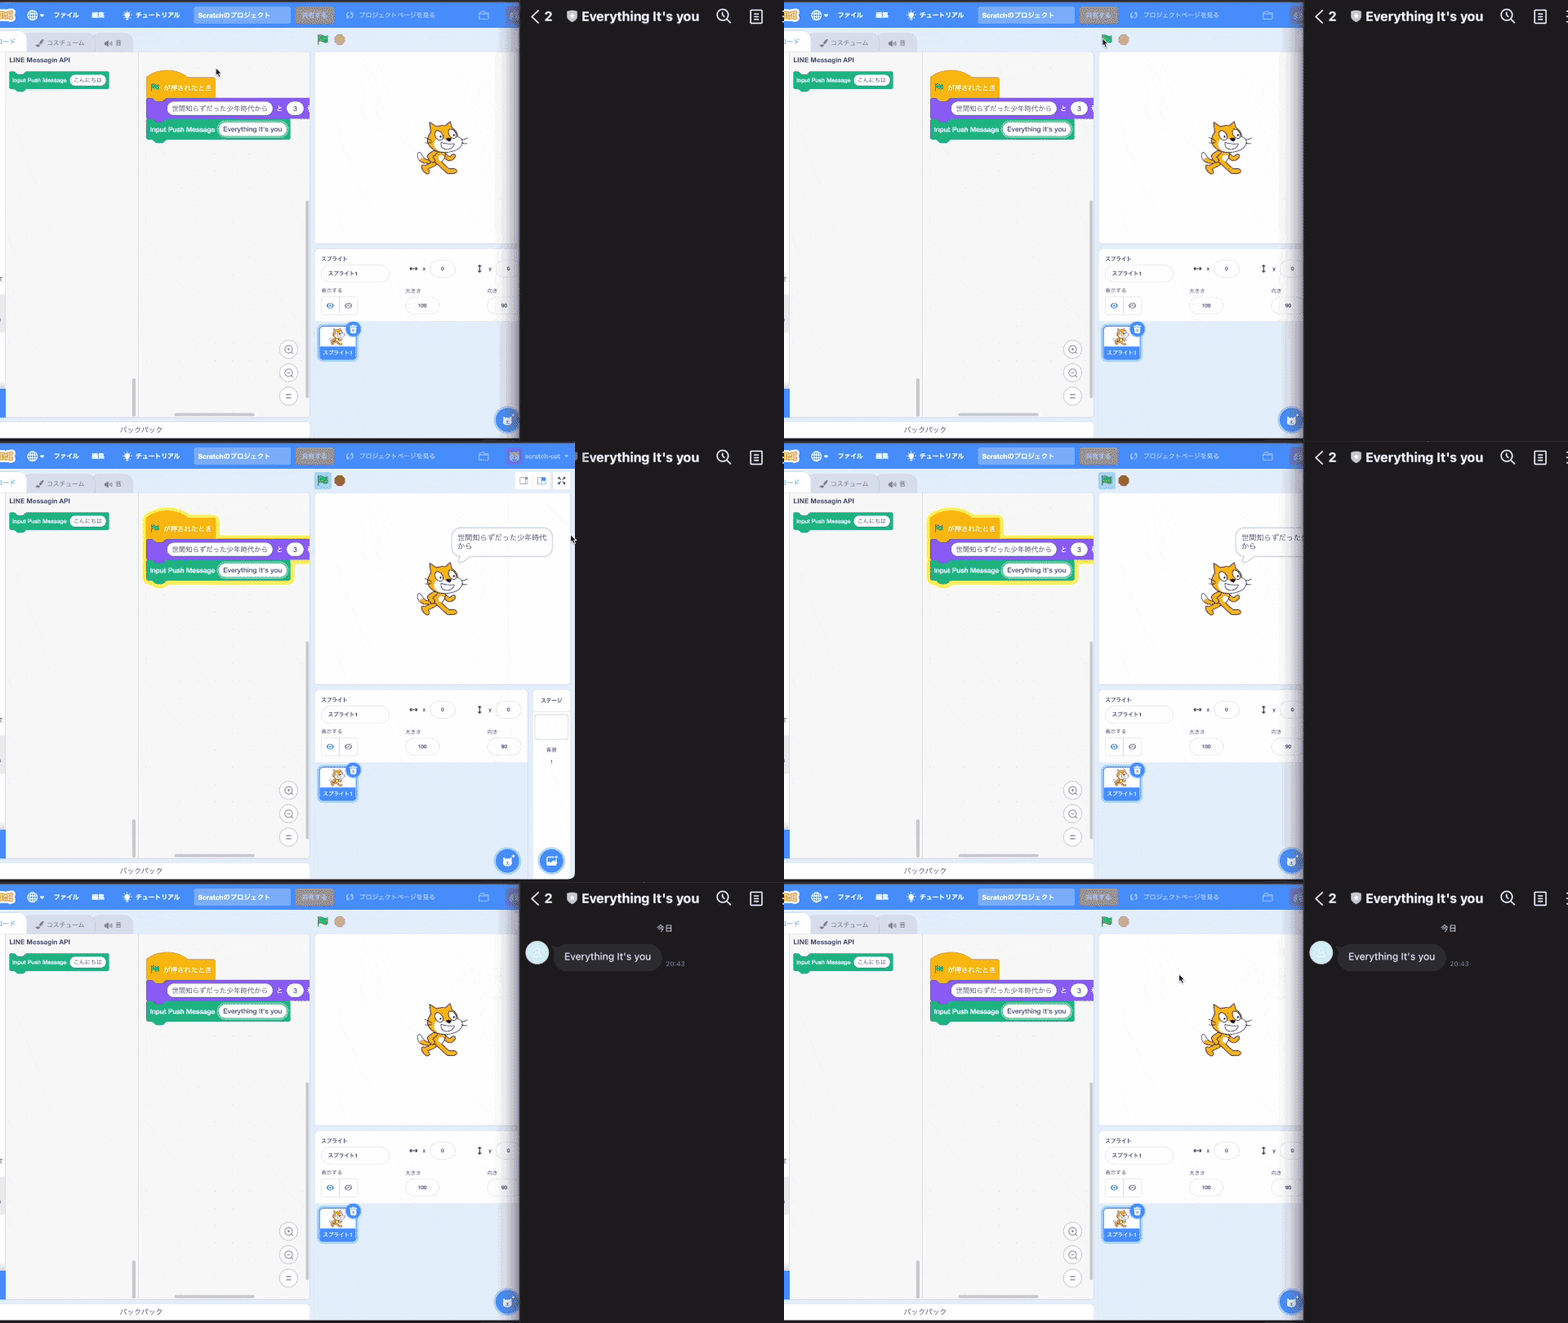
ということで、こんな感じに Scratch から プッシュメッセージが送信できました!
なんだかんだ苦戦しましたが、とりあえず動いて良かった・・・
以下を参考に GitHub Pages でデプロイすることもできるのでやってみようと思います。
