DynamoDBをローカルで動かすことができたので、メモ。
あとはチュートリアルを試しながらって感じで。
1. ローカル実行用にDynamoDBをダウンロード
2.解凍し当該フォルダで実行
java -Djava.library.path=./DynamoDBLocal_lib -jar DynamoDBLocal.jar -sharedDb
3.テーブルにアクセスしてみる
terminal$ aws dynamodb list-tables --endpoint-url http://localhost:8000
実行結果
{
    "TableNames": []
}
ブラウザでチュートリアル
下記URLにアクセスするとチュートリアルを試せる
http://localhost:8000/shell/
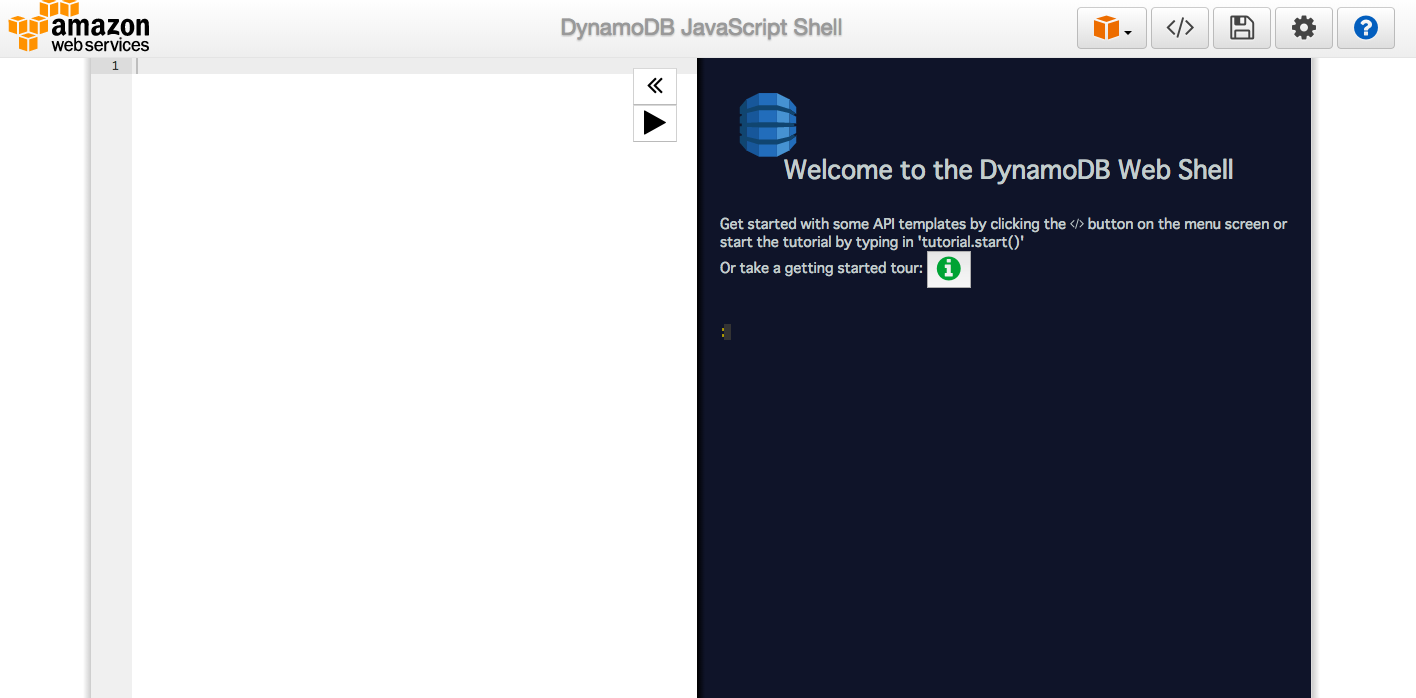
右側のコンソール上で、 tutorial.start() と入力するとチュートリアルが開始される。
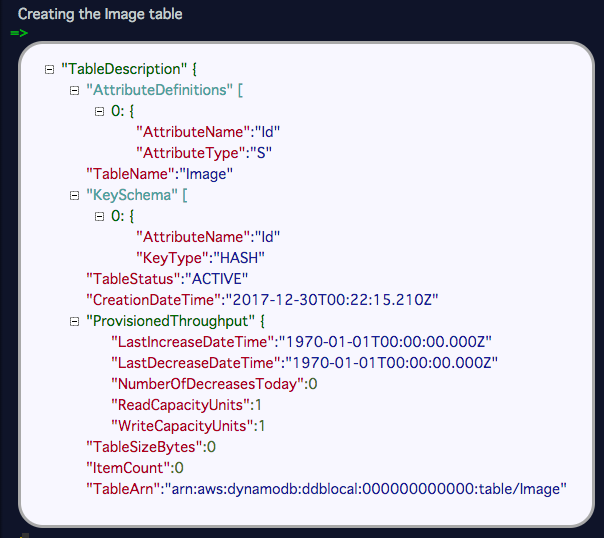
チュートリアルを進めていくと、最初にImageテーブルが作成される。
KeySchema が、primary key となり、ユニークなものとなる。
// This CreateTable request will create the Image table.
// With DynamoDB Local, tables are created right away. If you are calling
// a real DynamoDB endpoint, you will need to wait for the table to become
// ACTIVE before you can use it. See also dynamodb.waitFor().
var params = {
    TableName: 'Image',
    KeySchema: [
        {
            AttributeName: 'Id',
            KeyType: 'HASH'
        }
    ],
    AttributeDefinitions: [
        {
            AttributeName: 'Id',
            AttributeType: 'S'
        }
    ],
    ProvisionedThroughput:  {
        ReadCapacityUnits: 1,
        WriteCapacityUnits: 1
    }
};
console.log("Creating the Image table");
dynamodb.createTable(params, function(err, data) {
    if (err) ppJson(err); // an error occurred
    else ppJson(data); // successful response
});
ターミナルでもImageテーブルが作成されていることが確認できる。
terminal$ aws dynamodb list-tables --endpoint-url http://localhost:8000
{
    "TableNames": [
        "Image"
    ]
}