はじめに
この記事は、tratailのBluemixアドベントカレンダー15日目の記事になります。
この機会にBluemixに触れてみよう、nodeとpythonとjavaは公式に手順があるので、敢えて何もないGoでやったろう、という趣旨の内容です。
15日目ともなると、人と被らないようにするのがなかなか難しいですね(´・ω・`)
この中で作ったお試しアプリは一応githubに上げてあります
前提
Watson converastionのwebサイト上で辞書作る的なやつは、大量にwebにやり方転がってるので割愛します。
なので、この記事の内容は、そこはすでに作ってある前提です。
ざっくりやることまとめ
こんな感じでやっていこうと思います。
- Goからconversationを呼ぶロジックを作る
- BluemixのCloud Foundryアプリでgoのプロジェクトを作成
- スターターアプリに組み込む
- cfコマンド使ってデプロイしてみる
- 動作確認
ということで早速
1. Goからconversationを呼ぶロジックを作る
ざっくりまとめると、net/httpでjsonリクエスト投げる感じですね。
こんな内容の処理を作りました。(時間の都合で整形とかしてないので、ざ〜っとワンメソッドだったり、戻り値のjson形式が決め撃ちなのはごめんなさい)
package libraries

import (
	"bytes"
	"encoding/json"
	"fmt"
	"io/ioutil"
	"net/http"
)

const (
	BLUEMIX_CONVERSATION_URL  string = "https://gateway.watsonplatform.net/conversation/api/v1/workspaces/%s/message?version=%s"
	CONVERSATION_WORKSPACE_ID string = "<workspace id>" // この辺は適宜
	CONVERSATION_USERNAME     string = "<username>" // この辺は適宜
	CONVERSATION_PASSWORD     string = "<password>" // この辺は適宜
	VERSION                   string = "<yyyy-mm-dd>" // この辺は適宜
)

type Watson struct {
}

type resdata struct {
	Output struct {
		Text []string `json:"text"`
	} `json:"output"`
}

func NewWatson() *Watson {
	return new(Watson)
}

func (this *Watson) ConversationApi(send_message string) string {

	jsonParam := fmt.Sprintf("{\"input\": {\"text\": \"%s\"}}", send_message)

	client := &http.Client{}

	req, _ := http.NewRequest("POST", fmt.Sprintf(BLUEMIX_CONVERSATION_URL, CONVERSATION_WORKSPACE_ID, VERSION), bytes.NewBuffer([]byte(jsonParam)))

	req.Header.Set("Content-Type", "application/json")
	req.SetBasicAuth(CONVERSATION_USERNAME, CONVERSATION_PASSWORD)

	res, err := client.Do(req)

	if res != nil {
		defer res.Body.Close()
	}

	if err != nil {
		panic(err)
	}

	body, _ := ioutil.ReadAll(res.Body)

	if res.StatusCode != http.StatusOK {
		print("%v", res)
	}

	output := resdata{}
	json.Unmarshal(body, &output)

	return output.Output.Text[0]
}
2. BluemixのCloud Foundryアプリでgoのプロジェクトを作成
Bluemixのサイト上からgo用のCloud Foundryアプリを選択
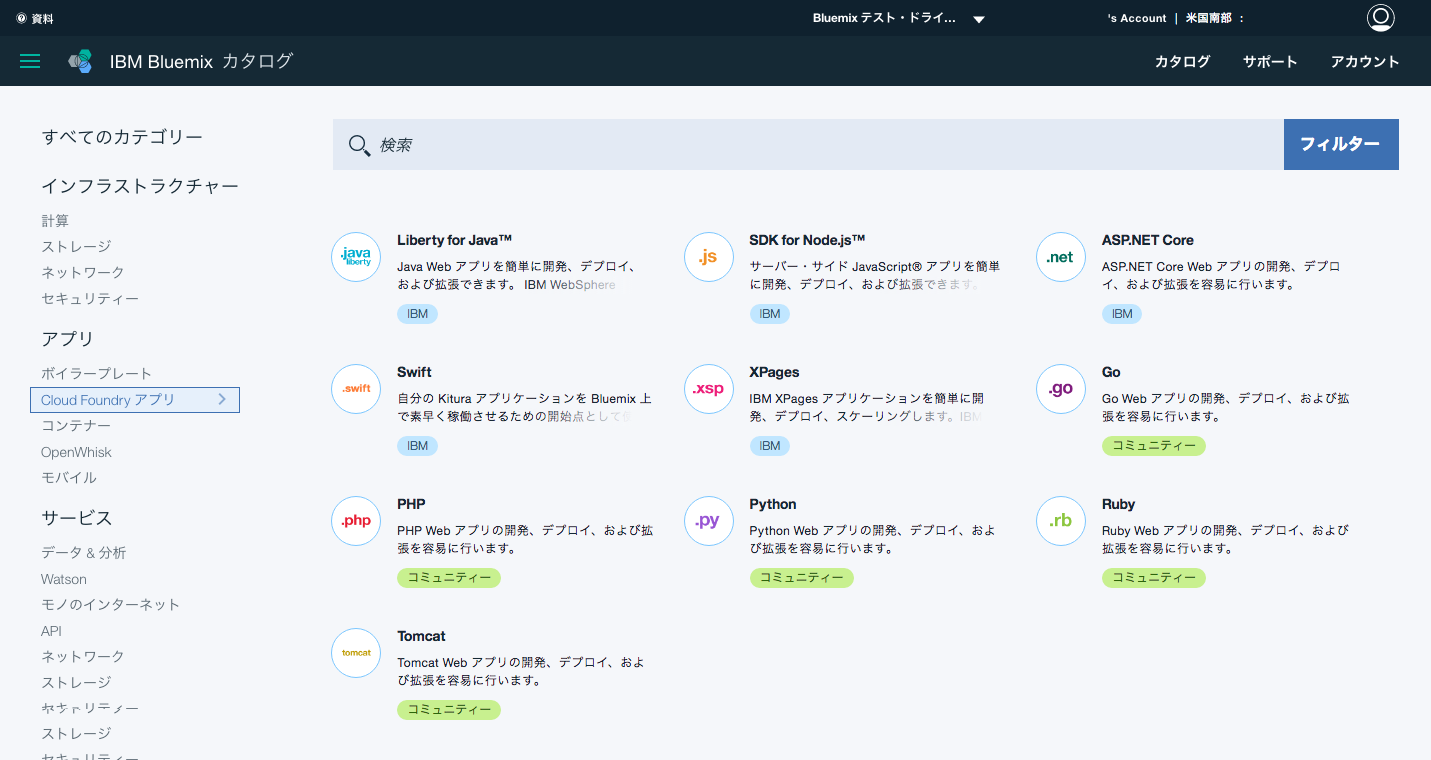
右端中段のやつですね。
そして次のページはホスト名とかアプリ名を設定するところなので、任意で。
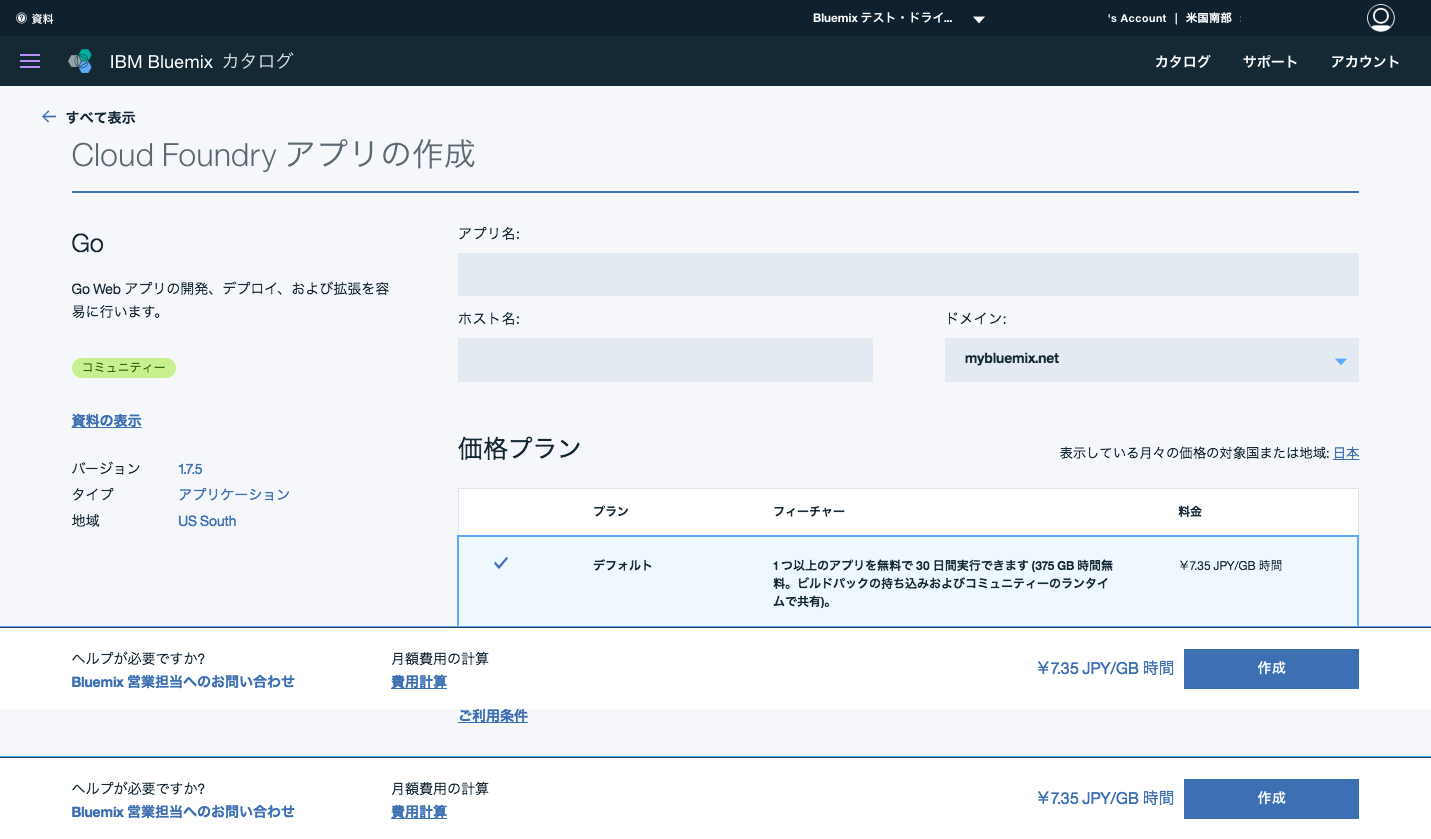
入力したら、金額に問題がなければ作成するだけで完了!
3. スターターアプリに組み込む
ここの手順を参考にスターターアプリをダウンロードしてきます。
1で作ったlibraries/watson.goをスターターアプリに持って行きます。
プロジェクトルートでlsするとこんな感じ(webpackは自前で入れてますが、あとはそのままです、ほぼ)
$ ls -ltr
-rwxr-xr-x   1 h-tko h-tko    34 Dec  8 08:15 CHANGELOG.md
-rwxr-xr-x   1 h-tko h-tko   146 Dec  8 08:15 manifest.yml
-rwxr-xr-x   1 h-tko h-tko   390 Dec  8 08:15 README.md
-rw-rw-r--   1 h-tko h-tko   404 Dec  8 08:26 webpack.config.js
drwxr-xr-x   6 h-tko h-tko  4096 Dec  8 08:26 static
drwxrwxr-x   2 h-tko h-tko  4096 Dec  8 08:30 libraries
-rwxr-xr-x   1 h-tko h-tko    21 Dec  8 08:31 Procfile
drwxr-xr-x   2 h-tko h-tko  4096 Dec  8 08:32 Godeps
-rw-rw-r--   1 h-tko h-tko   500 Dec  8 08:37 package.json
drwxrwxr-x 241 h-tko h-tko 12288 Dec  8 08:37 node_modules
-rwxr-xr-x   1 h-tko h-tko  1008 Dec  8 08:53 app.go
drwxr-xr-x   2 h-tko h-tko  4096 Dec  8 08:57 templates
app.goの呼び出し部分はこんな感じに(呼び出し部分以外は割愛)
package main

import (
    "shoutshoutshout/libraries"
)

func get(w http.ResponseWriter, req *http.Request) {
    req.ParseForm()
    shout := req.Form["Shout"][0]

    watson := libraries.NewWatson()
    data := watson.ConversationApi(shout)
}
4. cfコマンド使ってデプロイしてみる
デプロイ用ファイルを作る
デプロイするためには、以下のファイルが必要みたいです。
・ manifest.yml
・ Procfile
まず最初にmanifest.ymlを作って、プロジェクトのルートディレクトリに配置します。
applications:
    - path: .
      memory: 128M
      instances: 1
      domain: mybluemix.net
      name: shoutshoutshout
      host: shoutshoutshout
      disk_quota: 1024M
こんな感じで。
そしてProcfile
web: shoutshoutshout
コマンドラインツールをインストール
続いて、コマンドラインツールをインストールします。
僕の開発環境はubuntu16.04です。
まずbluemixcliのダウンロード
$ wget http://public.dhe.ibm.com/cloud/bluemix/cli/bluemix-cli/Bluemix_CLI_0.4.4_amd64.tar.gz

$ tar xvfz Bluemix_CLI_0.4.4_amd64.tar.gz
移動して、インストールします
$ cd Bluemix_CLI

$ sudo ./install_bluemix_cli
これでbluemixcliのインストールは完了です。
そのままCloud FoundryのCLIツールのインストールをします。
※apt-transport-httpsがインストールされていないとapt-get updateがこけるので、入ってない場合はインストールしておきます
$  wget -q -O - https://packages.cloudfoundry.org/debian/cli.cloudfoundry.org.key | sudo apt-key add -

$ echo "deb http://packages.cloudfoundry.org/debian stable main" | sudo tee /etc/apt/sources.list.d/cloudfoundry-cli.list

$ sudo apt-get update

$ sudo apt-get install cf-cli
こんな感じです。
これでツールの準備は完了、いよいよデプロイしてみます。
デプロイ
プロジェクトルートに移動して、bluemixコマンドでapiにアクセスします。
$ /path/to/my/app

$ bluemix api https://api.ng.bluemix.net
続いてログイン
$ bluemix login -u<bluemix ユーザー名> -o "<bluemix 組織名>" -s "<bluemix スペース名>"
パスワード聞かれるの入力します。
そしてcfコマンドでpush!
$ cf push "<アプリ名>" -b go_buildpack
これでデプロイできているはず、、、!
ということで、ブラウザで確認してみます。
5.動作確認
ブラウザでアクセスしてみました。
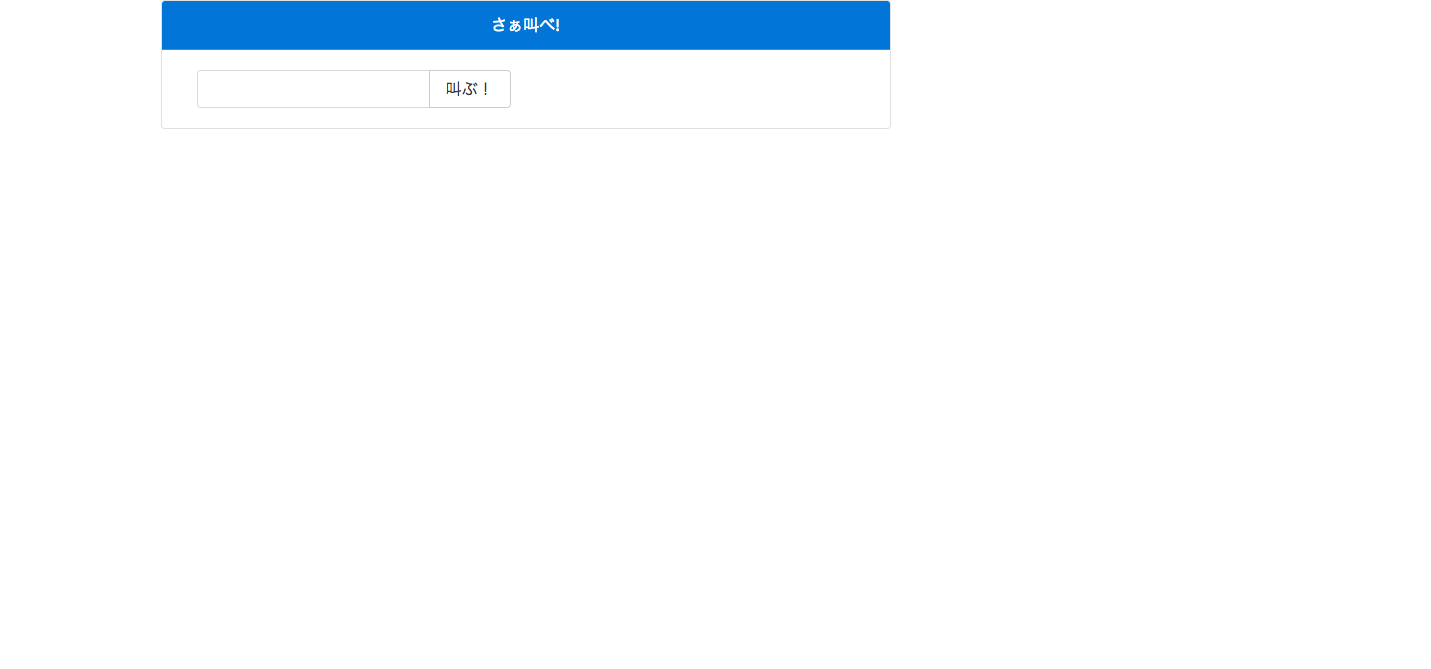
表示されましたね。
適当に叫びます。

ちゃんと応答しました!
api通信周りでドキュメントがいろんなやり方書いてて思いの外手間取りましたが、とりあえず無事完了です。
LanguageTranslatorとかAlchemyApiとかが日本語対応してくれたら、もうちょっと色々遊べそうなので、早く日本語対応してくれないかな〜