はじめに
久しぶりにVueを触る機会があり、復習してみようと思いました。
APIからデータを取得しVuexを通して画面に表示するまでをします。
APIはJSONPlaceholderを使います。
意外と環境構築に時間がかかりました。
特にVuexの箇所です。
VuexとTypeScriptの相性が悪いというのは聞いたことがありましたが環境構築も大変なのですね、
環境
typescript 4.5.5
vue 2.6.14
vuex 3.6.3
vuex-module-decorators 1.2.0
セットアップ
まずプロジェクトを作成しましょう。
vue create my-project
私の環境では以下のオプションにしました。
Vueは2系を使用し、TypeScriptとVuexを追加した感じです。
Vue CLI v5.0.8
? Please pick a preset: Manually select features
? Check the features needed for your project: Babel, TS, Vuex, Linter
? Choose a version of Vue.js that you want to start the project with 2.x
? Use class-style component syntax? Yes
? Use Babel alongside TypeScript (required for modern mode, auto-detected polyfills, transpiling JSX)? Yes
? Pick a linter / formatter config: Basic
? Pick additional lint features: Lint on save
? Where do you prefer placing config for Babel, ESLint, etc.? In dedicated config files
? Save this as a preset for future projects? (y/N)
モデル
次にAPIから取得するデータの型情報を定義します。
今回はJSONPlaceholderからPostの一覧を取得します。
src/types/post.ts
export interface Post {
  userId: number;
  id: number;
  title: string;
  body: string;
}
Vuex
次にAPIからデータを取得してVuexで状態管理できるようにします。
Vuexはすでに導入されてると思いますが、型情報を追加するのでvuex-module-decoratorsを追加しましょう。
しかし、今回はVue2系を使っているのでvuex-module-decoratorsのバージョンを少し下げます。
npm install vuex-module-decorators@1.x
インストールできたらVuexの実装をします。
src/store/modules/PostModule.ts
import { Post } from "@/types/post";
import { Action, Module, Mutation, VuexModule } from "vuex-module-decorators";

@Module({ namespaced: true, name: 'post' })
export default class PostModule extends VuexModule {
  public posts: Post[] = [];

  @Mutation
  private SET_POSTS(posts: Post[]) {
    this.posts = posts;
  }

  @Action
  public async fetchPosts() {
    const response = await fetch("https://jsonplaceholder.typicode.com/posts");
    const posts: Post[] = await response.data;
    this.SET_POSTS(posts);
  }

  get allPosts() {
    return this.posts;
  }
}
src/store/index.ts
import Vue from 'vue'
import Vuex from 'vuex'
import PostModule from './modules/PostModule'

Vue.use(Vuex)

export default new Vuex.Store({
  modules: {
    post: PostModule
  }
})
コンポーネント
以上でAPIからデータを取得できるところまでできました。
あとは取得したデータを画面に表示するだけです。
src/components/MyComponent.vue
<template>
  <div class="container">
    <button class="load-data-btn" @click="loadData">Load Data</button>
    <ul v-if="allPosts && allPosts.length">
      <li v-for="post in allPosts" :key="post.id" class="post-item">
        <h3 class="post-title">{{ post.title }}</h3>
        <p class="post-body">{{ post.body }}</p>
      </li>
    </ul>
  </div>
</template>

<script lang="ts">
import store from '@/store';
import PostModule from '@/store/modules/PostModule';
import { Component, Vue } from 'vue-property-decorator';
import { getModule } from 'vuex-module-decorators';

@Component
export default class MyComponent extends Vue {
  private postModule = getModule(PostModule, store)

  get allPosts() {
    return this.postModule.allPosts;
  }

  mounted() {
    if (!this.allPosts.length) {
      this.loadData();
    }
  }

  loadData() {
    this.postModule.fetchPosts();
  }
}
</script>
スタイリング
最後に最低限のスタイルを当ててあげましょう。
src/components/MyComponent.vue
<template>
  <div class="container">
    <button class="load-data-btn" @click="loadData">Load Data</button>
    <ul v-if="allPosts && allPosts.length">
      <li v-for="post in allPosts" :key="post.id" class="post-item">
        <h3 class="post-title">{{ post.title }}</h3>
        <p class="post-body">{{ post.body }}</p>
      </li>
    </ul>
  </div>
</template>

<script lang="ts">
import store from '@/store';
import PostModule from '@/store/modules/PostModule';
import { Component, Vue } from 'vue-property-decorator';
import { getModule } from 'vuex-module-decorators';

@Component
export default class MyComponent extends Vue {
  private postModule = getModule(PostModule, store)

  get allPosts() {
    return this.postModule.allPosts;
  }

  mounted() {
    if (!this.allPosts.length) {
      this.loadData();
    }
  }

  loadData() {
    this.postModule.fetchPosts();
  }
}
</script>

<style scoped>
.container {
  max-width: 800px;
  margin: 40px auto;
  padding: 0 20px;
  font-family: 'Arial', sans-serif;
}

.load-data-btn {
  display: block;
  margin: 20px 0;
  padding: 10px 20px;
  background-color: #3498db;
  color: #fff;
  border: none;
  border-radius: 5px;
  cursor: pointer;
  transition: background-color 0.3s;
}

.load-data-btn:hover {
  background-color: #2980b9;
}

ul {
  list-style-type: none;
  padding: 0;
}

.post-item {
  border-bottom: 1px solid #eaeaea;
  padding: 20px 0;
  margin: 20px 0;
}

.post-title {
  margin: 0 0 10px;
  font-size: 20px;
  color: #333;
}

.post-body {
  margin: 0;
  color: #777;
}
</style>
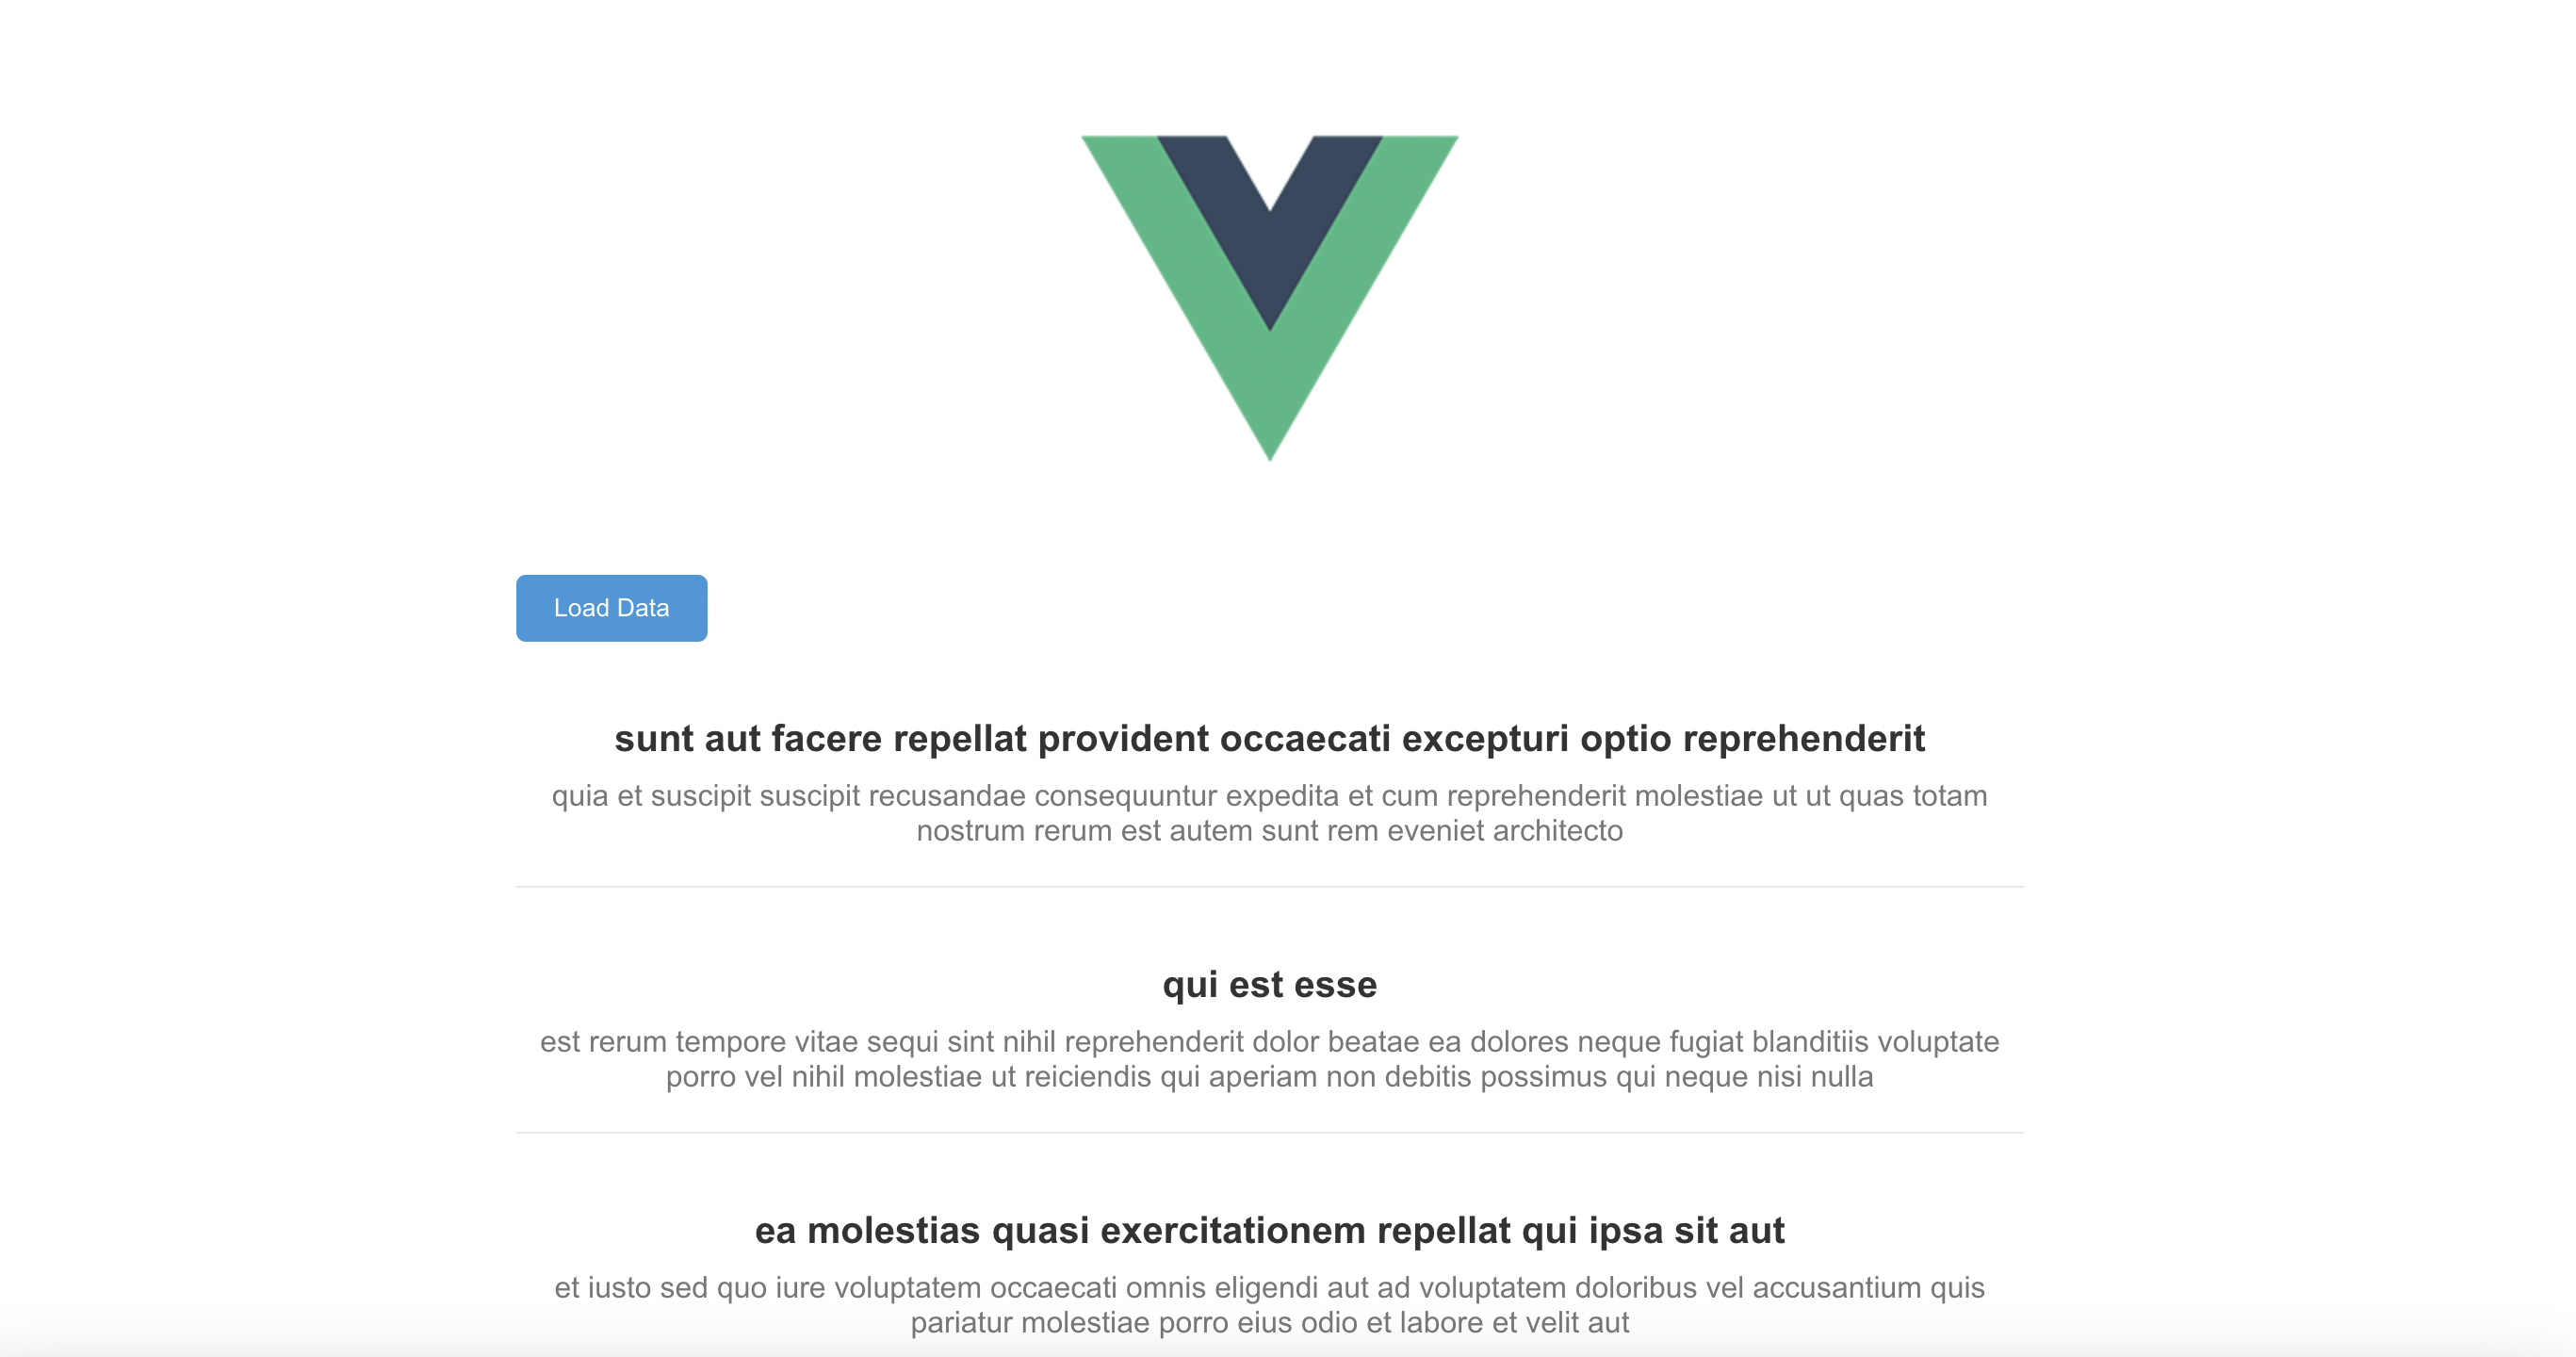
以下の画像のような表示になるはずです。