はじめに
原作者(元ネタ)様の記事:Javaで湯婆婆を実装してみる - Qiita
何番煎じか分かりませんが、
執筆時点(2020/11/13)でDialogflowで実装して記事にされている方がいなかったので、実装してみました。
1. Dialogflowの設定
1-1. Agentを作成する
https://dialogflow.cloud.google.com/ にアクセスしてください。
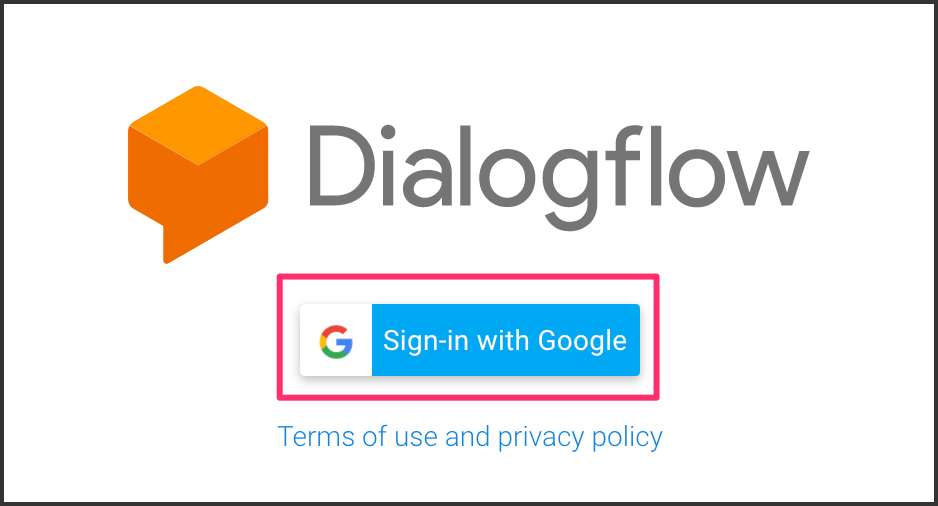
[Sign-in with Google]ボタンをクリックします。お持ちのGoogleアカウントでログインしてください。
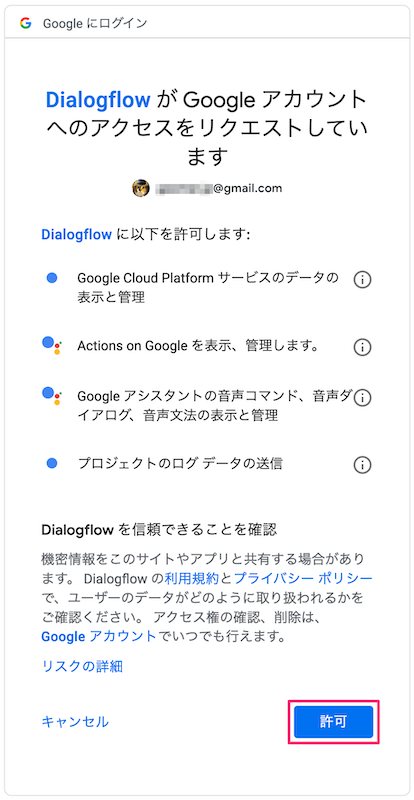
初めてDialogflowをお使いになる方は利用許可してください。
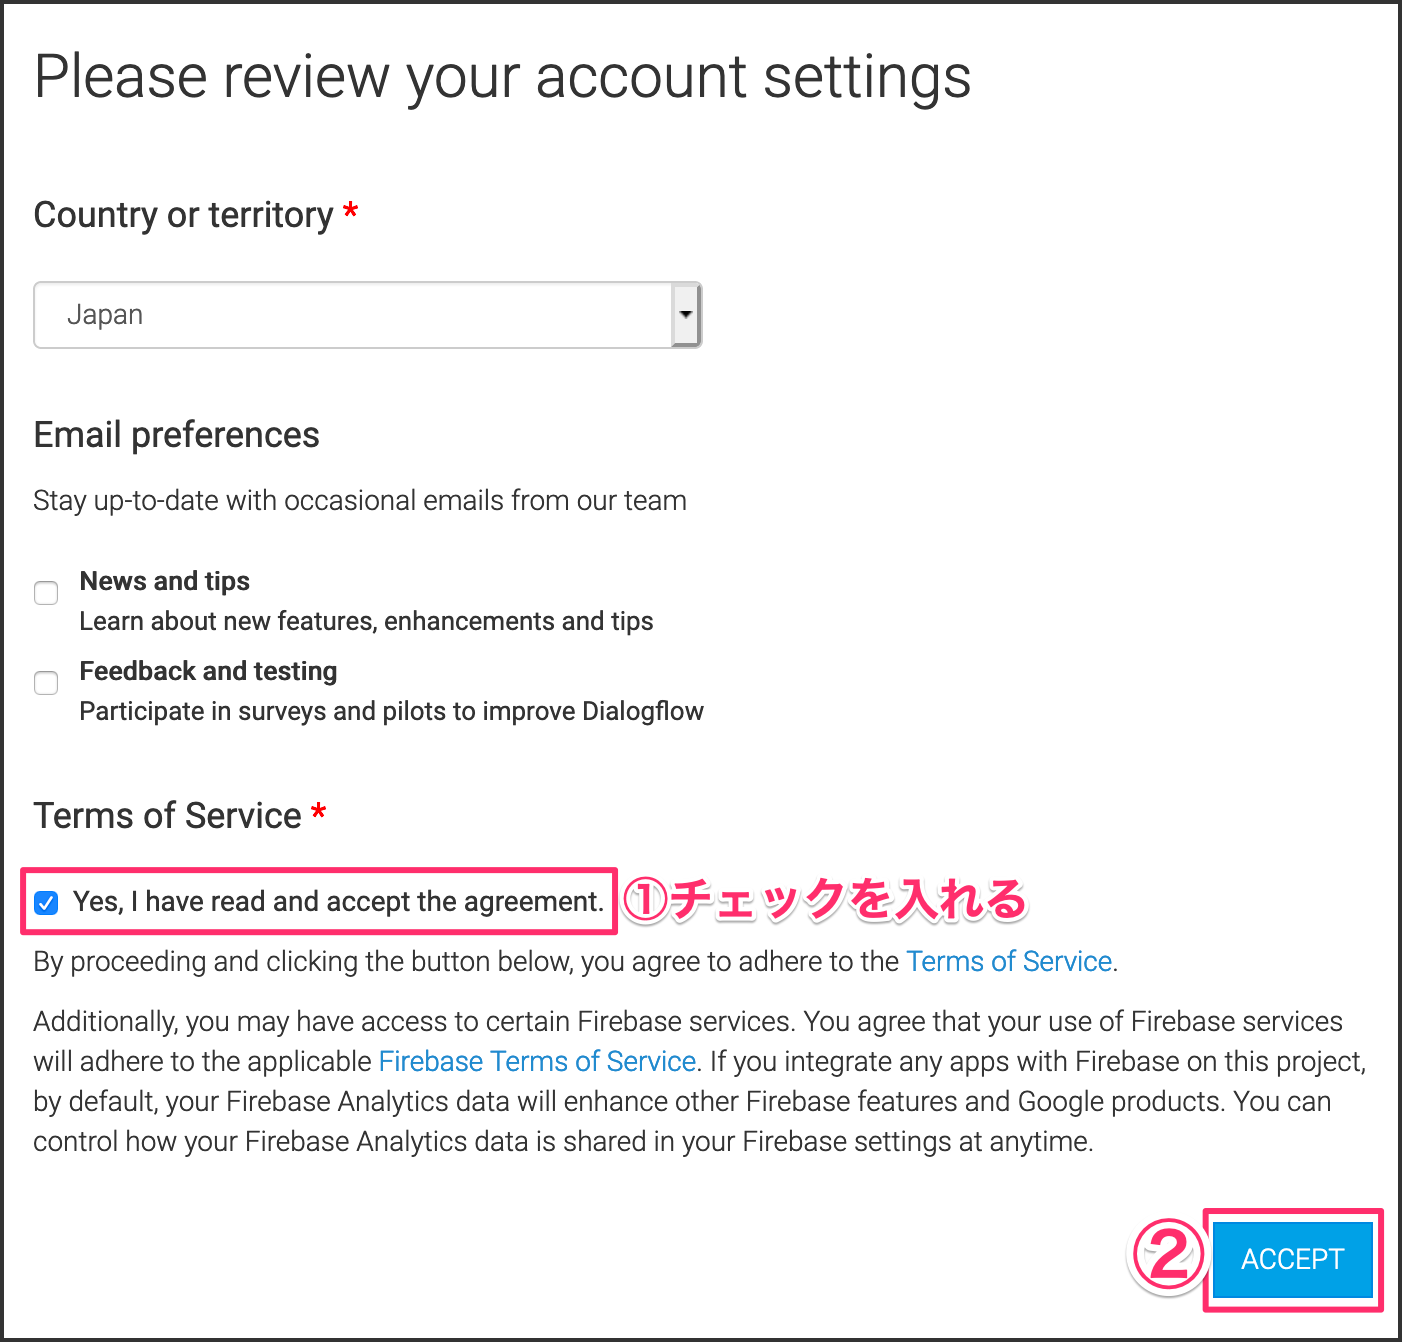
Terms of Service部分のチェックを入れてから[ACCEPT]ボタンをクリックします。
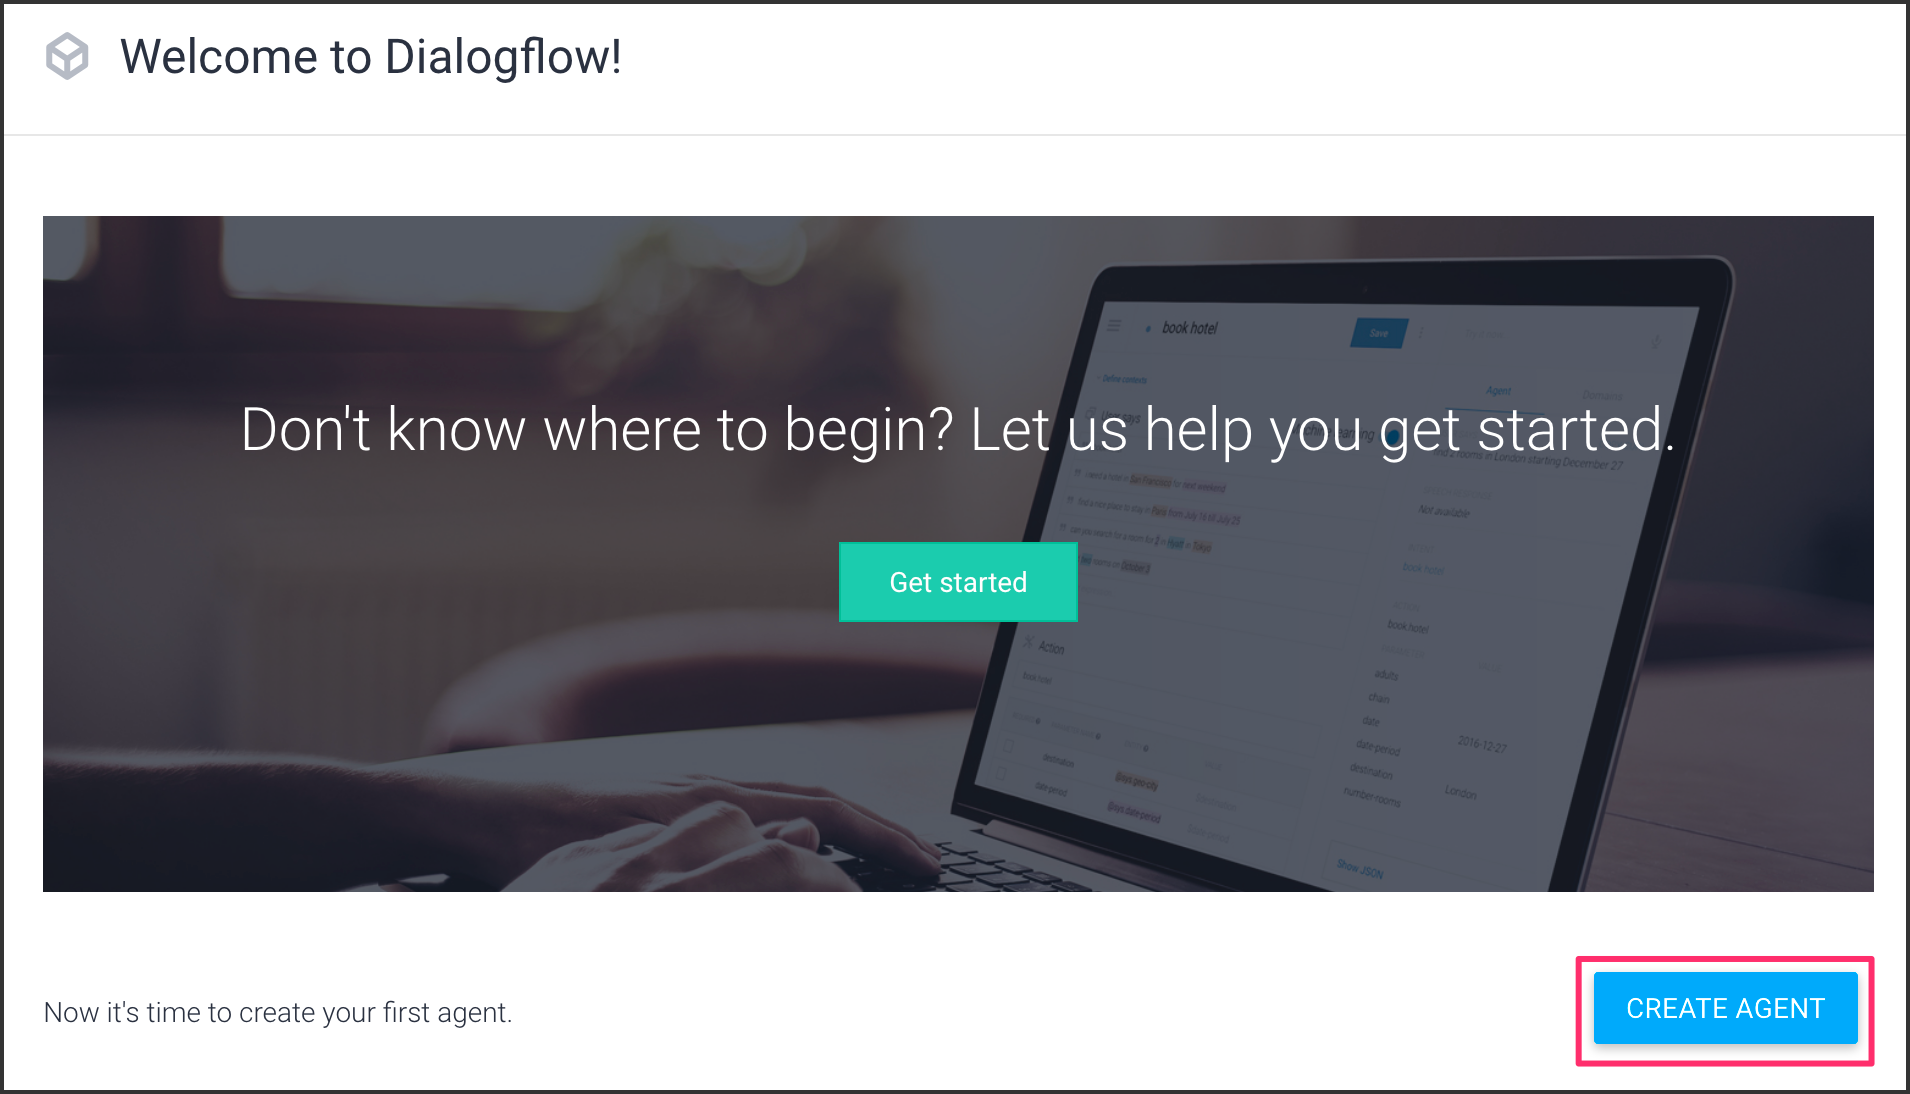
[CREATE AGENT]ボタンをクリックします。
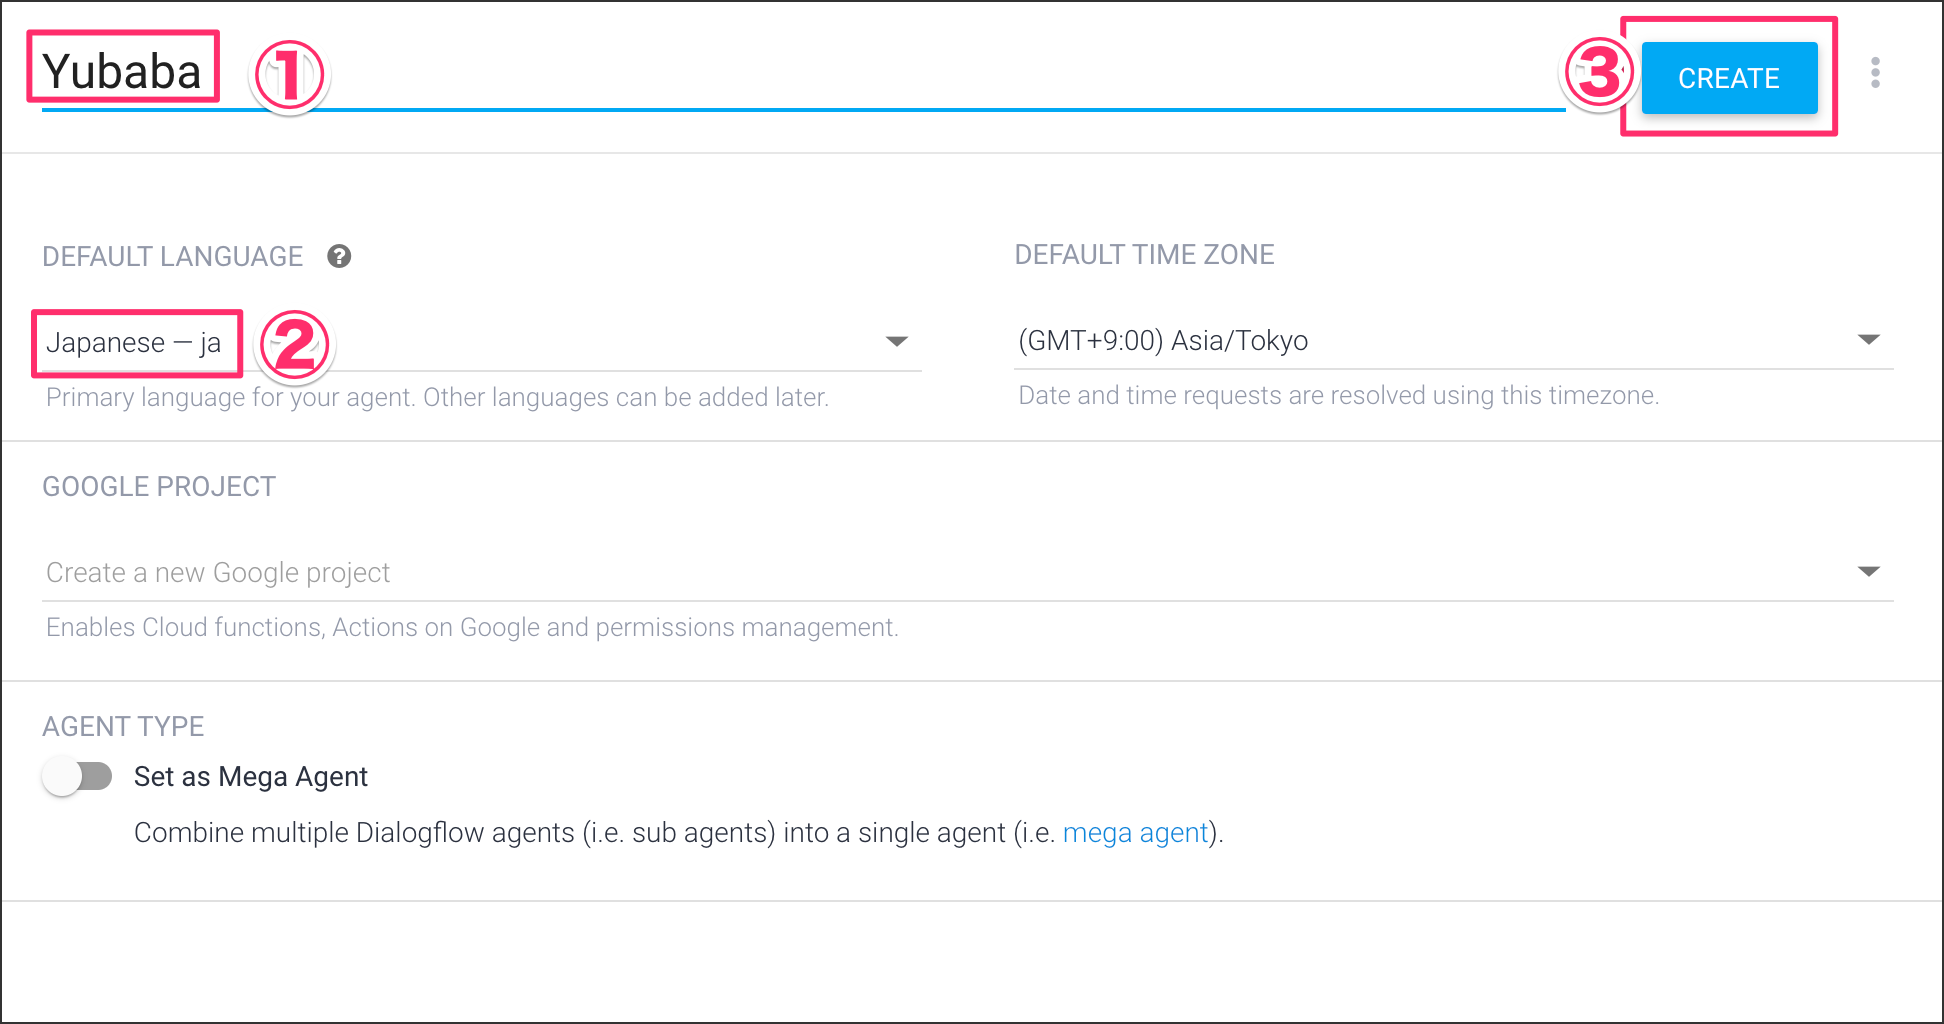
Yubaba と入力し、デフォルト言語を Japanese - ja に選択してから[CREATE]ボタンをクリックします。
1-2. Intent作成
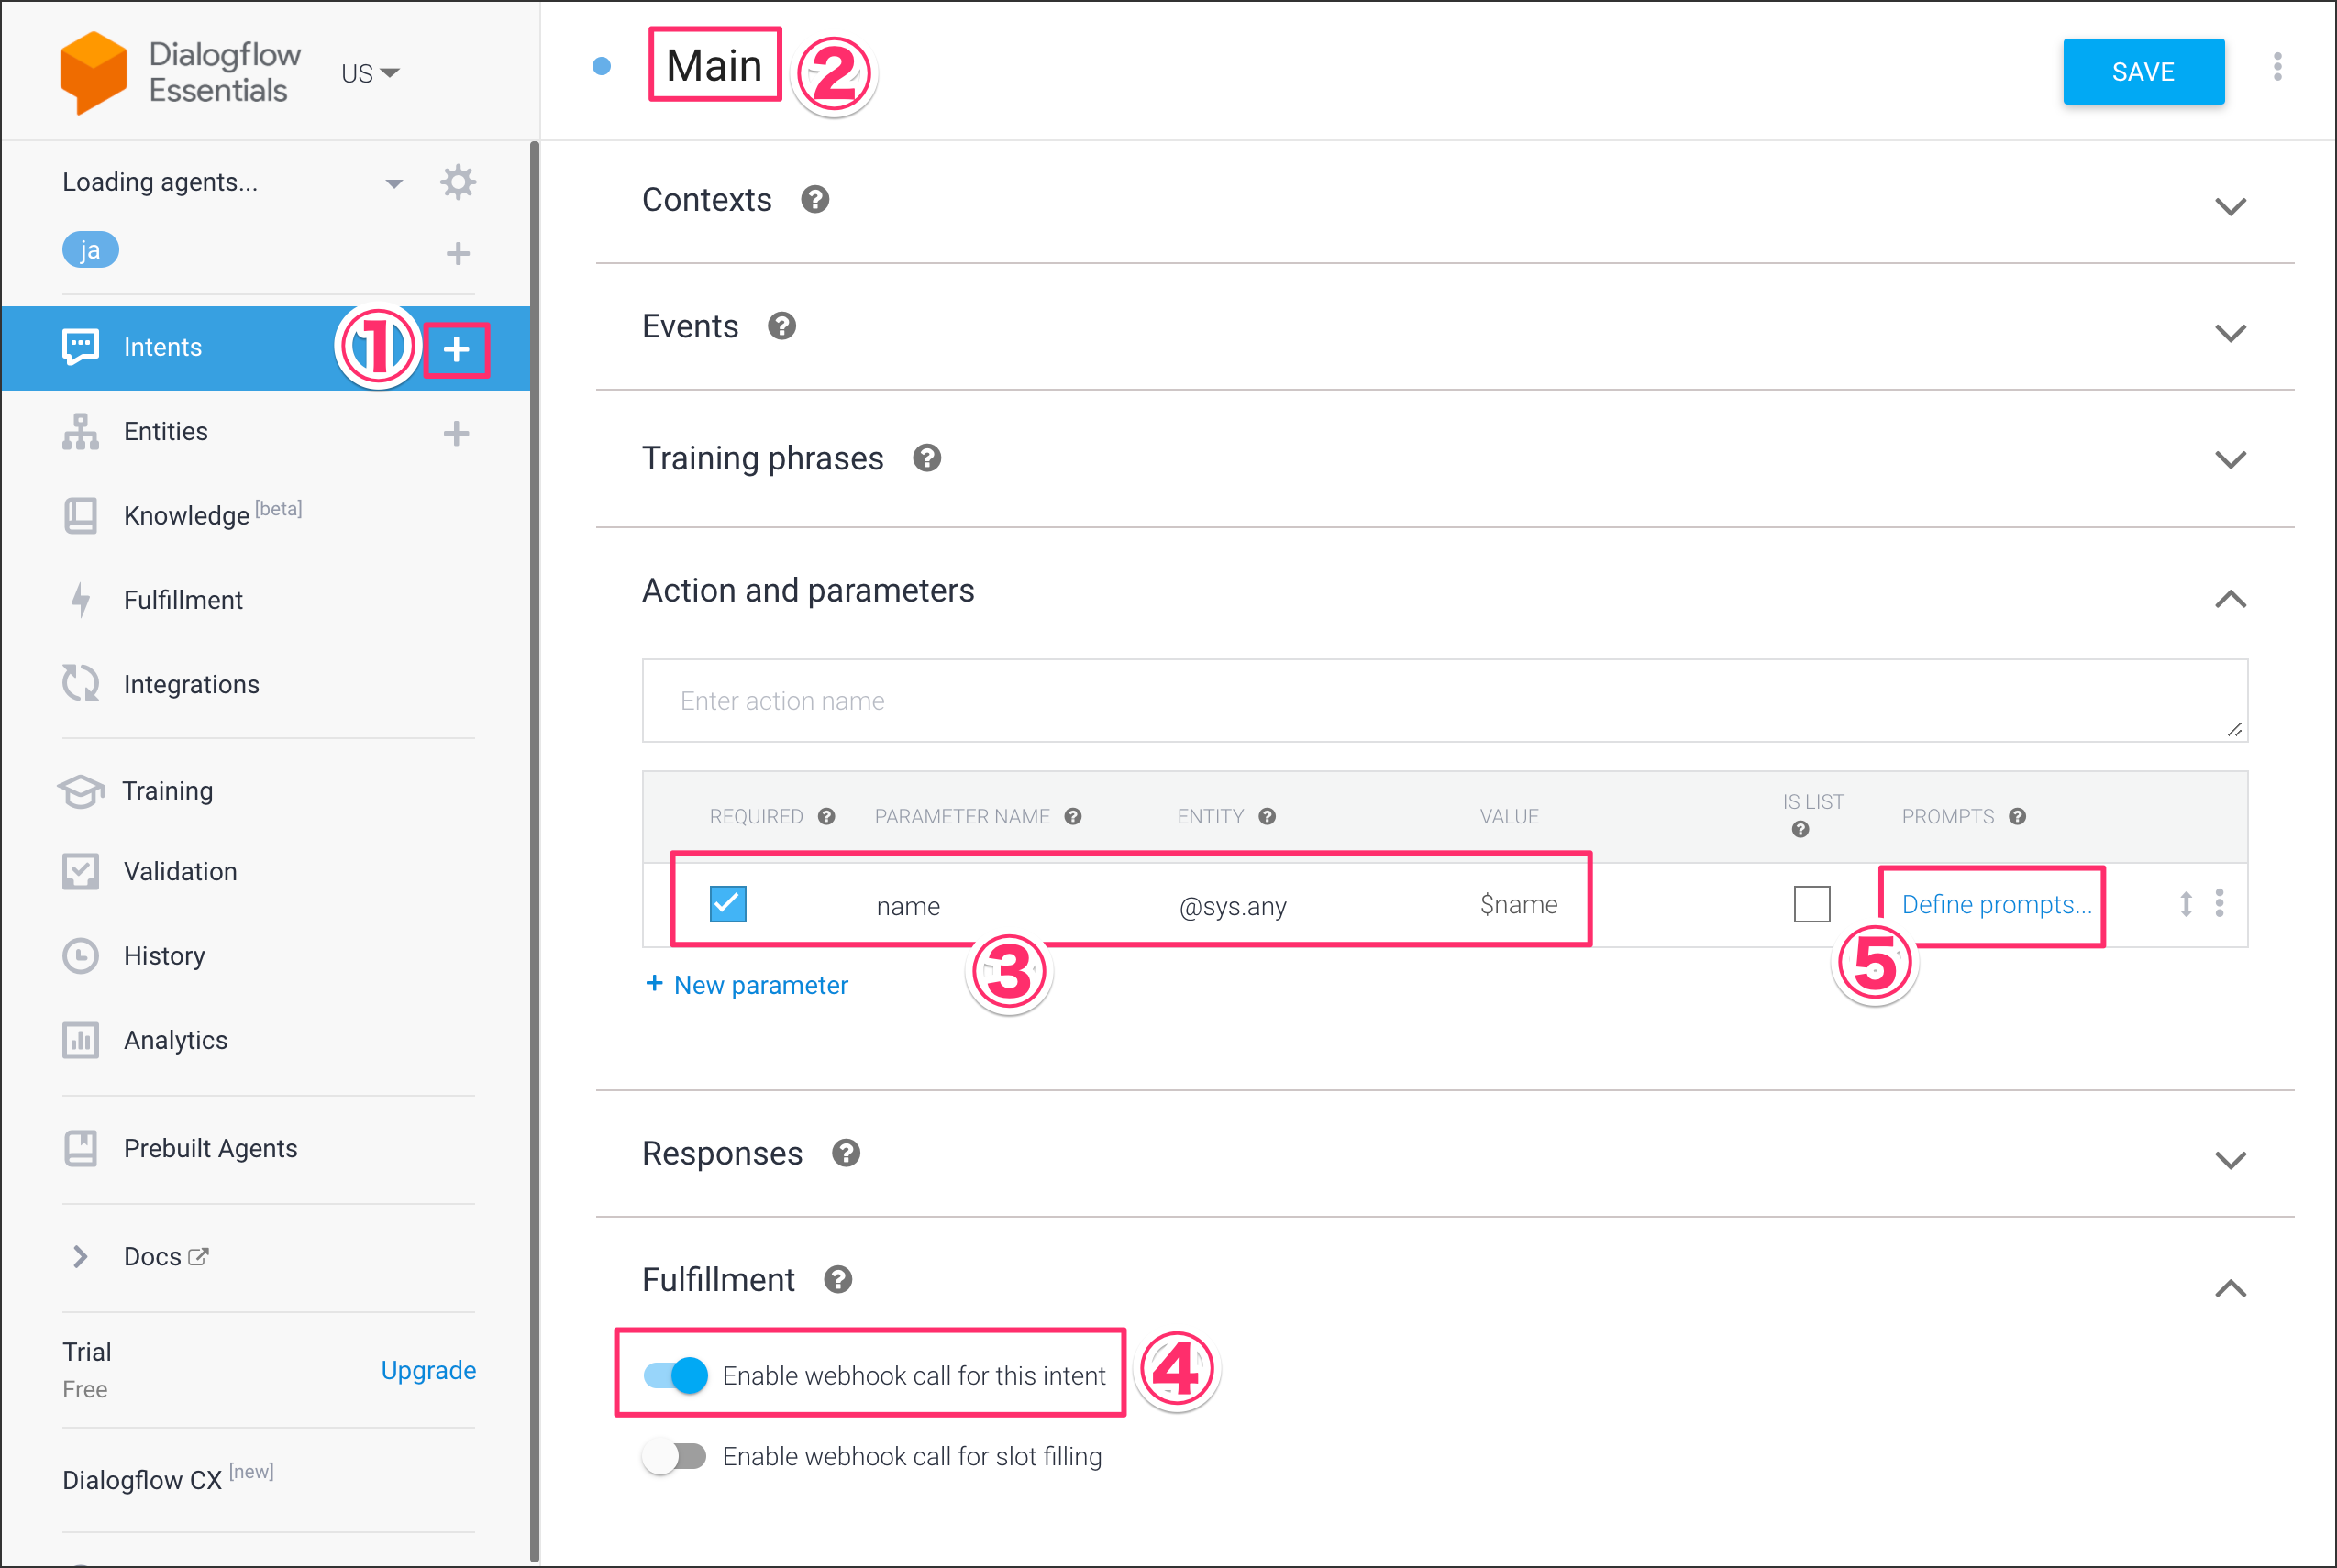
左側メニューのIntentsの右側にある①[+]をクリックして、新規Intentを作成します。
Intent名は ②Main にして、Action and parameters部分に③下記設定を行います。FulfillmentカテゴリのwebhookのチェックをONにして、最後にPROMPTSにある⑤Define promptsをクリックします。
| 項目 | 値 |
|---|---|
| REQUIRED | チェック入れる |
| PARAMETER NAME | name |
| ENTITY | @sys.any |
| VALUE | $name |
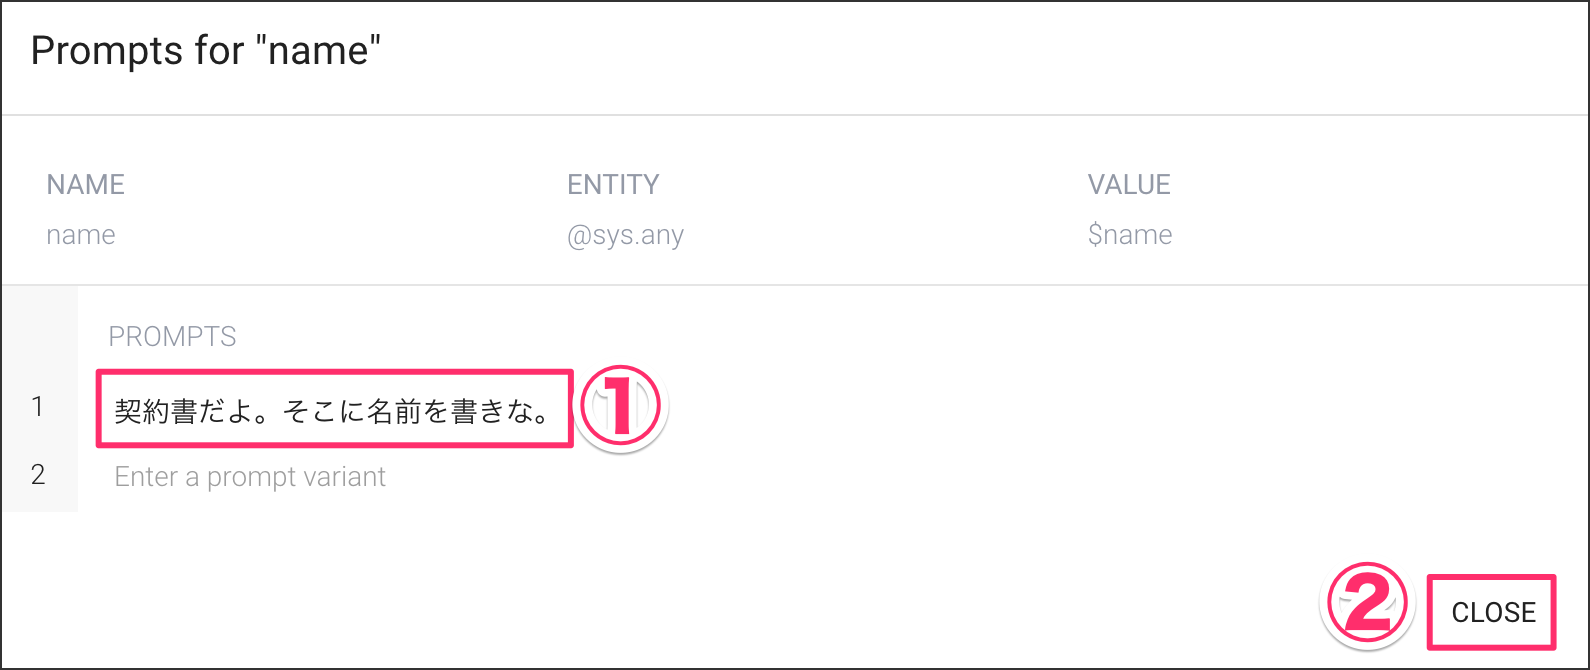
Define promptsをクリックするとポップアップが表示されます。ここで、湯婆婆のセリフを入力します。Closeボタンをクリックして、右上の[SAVE]ボタンをクリックします。
1-3. プログラムを作成する
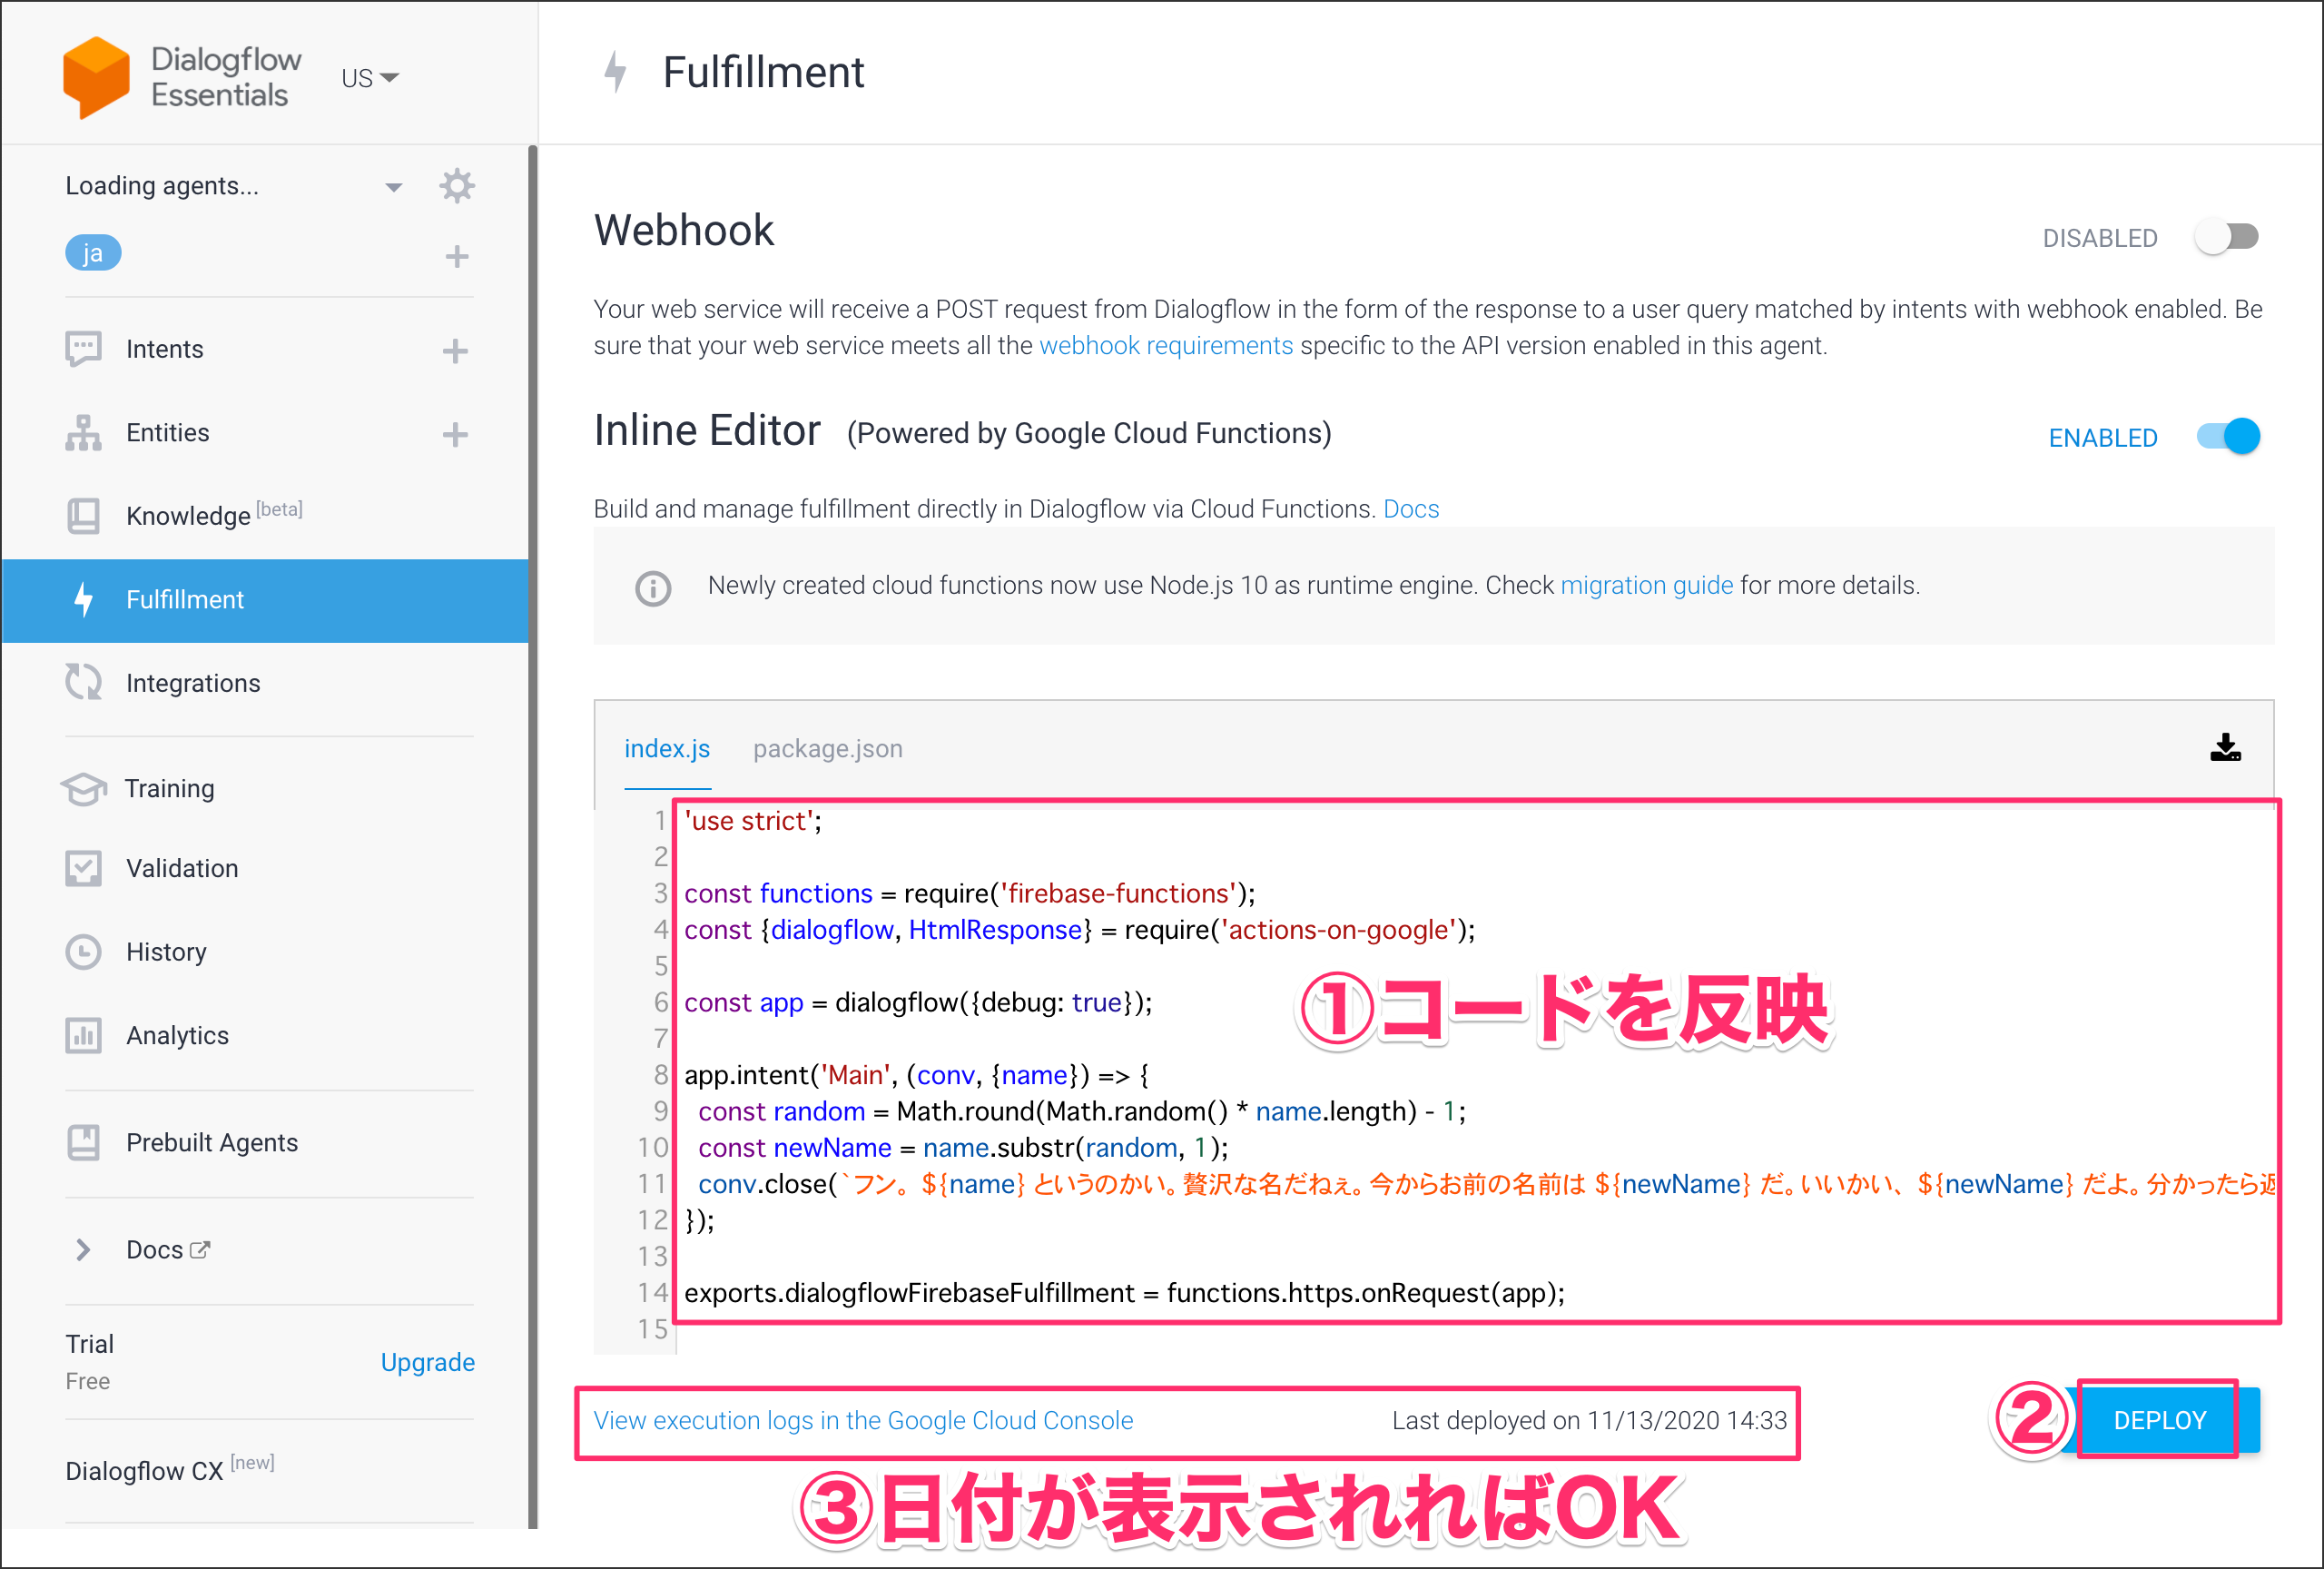
左側メニューの Fulfillment をクリックして、Inline Editorを有効化にします。
Google Cloud Platformの設定でどうしても課金を有効化にしないと使えませんが、お金を取られることはありません。
下記コードを適用してください。コードを反映したら、[DEPLOY]ボタンをクリックします。デプロイ日時が表示されればOKです。
'use strict';

const functions = require('firebase-functions');
const {dialogflow, HtmlResponse} = require('actions-on-google');

const app = dialogflow({debug: true});

app.intent('Main', (conv, {name}) => {
  const random = Math.round(Math.random() * name.length) - 1;
  const newName = name.substr(random, 1);
  conv.close(`フン。 ${name} というのかい。贅沢な名だねぇ。今からお前の名前は ${newName} だ。いいかい、 ${newName} だよ。分かったら返事をするんだ、 ${newName} !!`);
});

exports.dialogflowFirebaseFulfillment = functions.https.onRequest(app);
1-4. Google Assistantと連携する
Google Assistantと連携して、スマホやGoogleHome(Google Nest Hub)からでも確認できるようにしましょう。
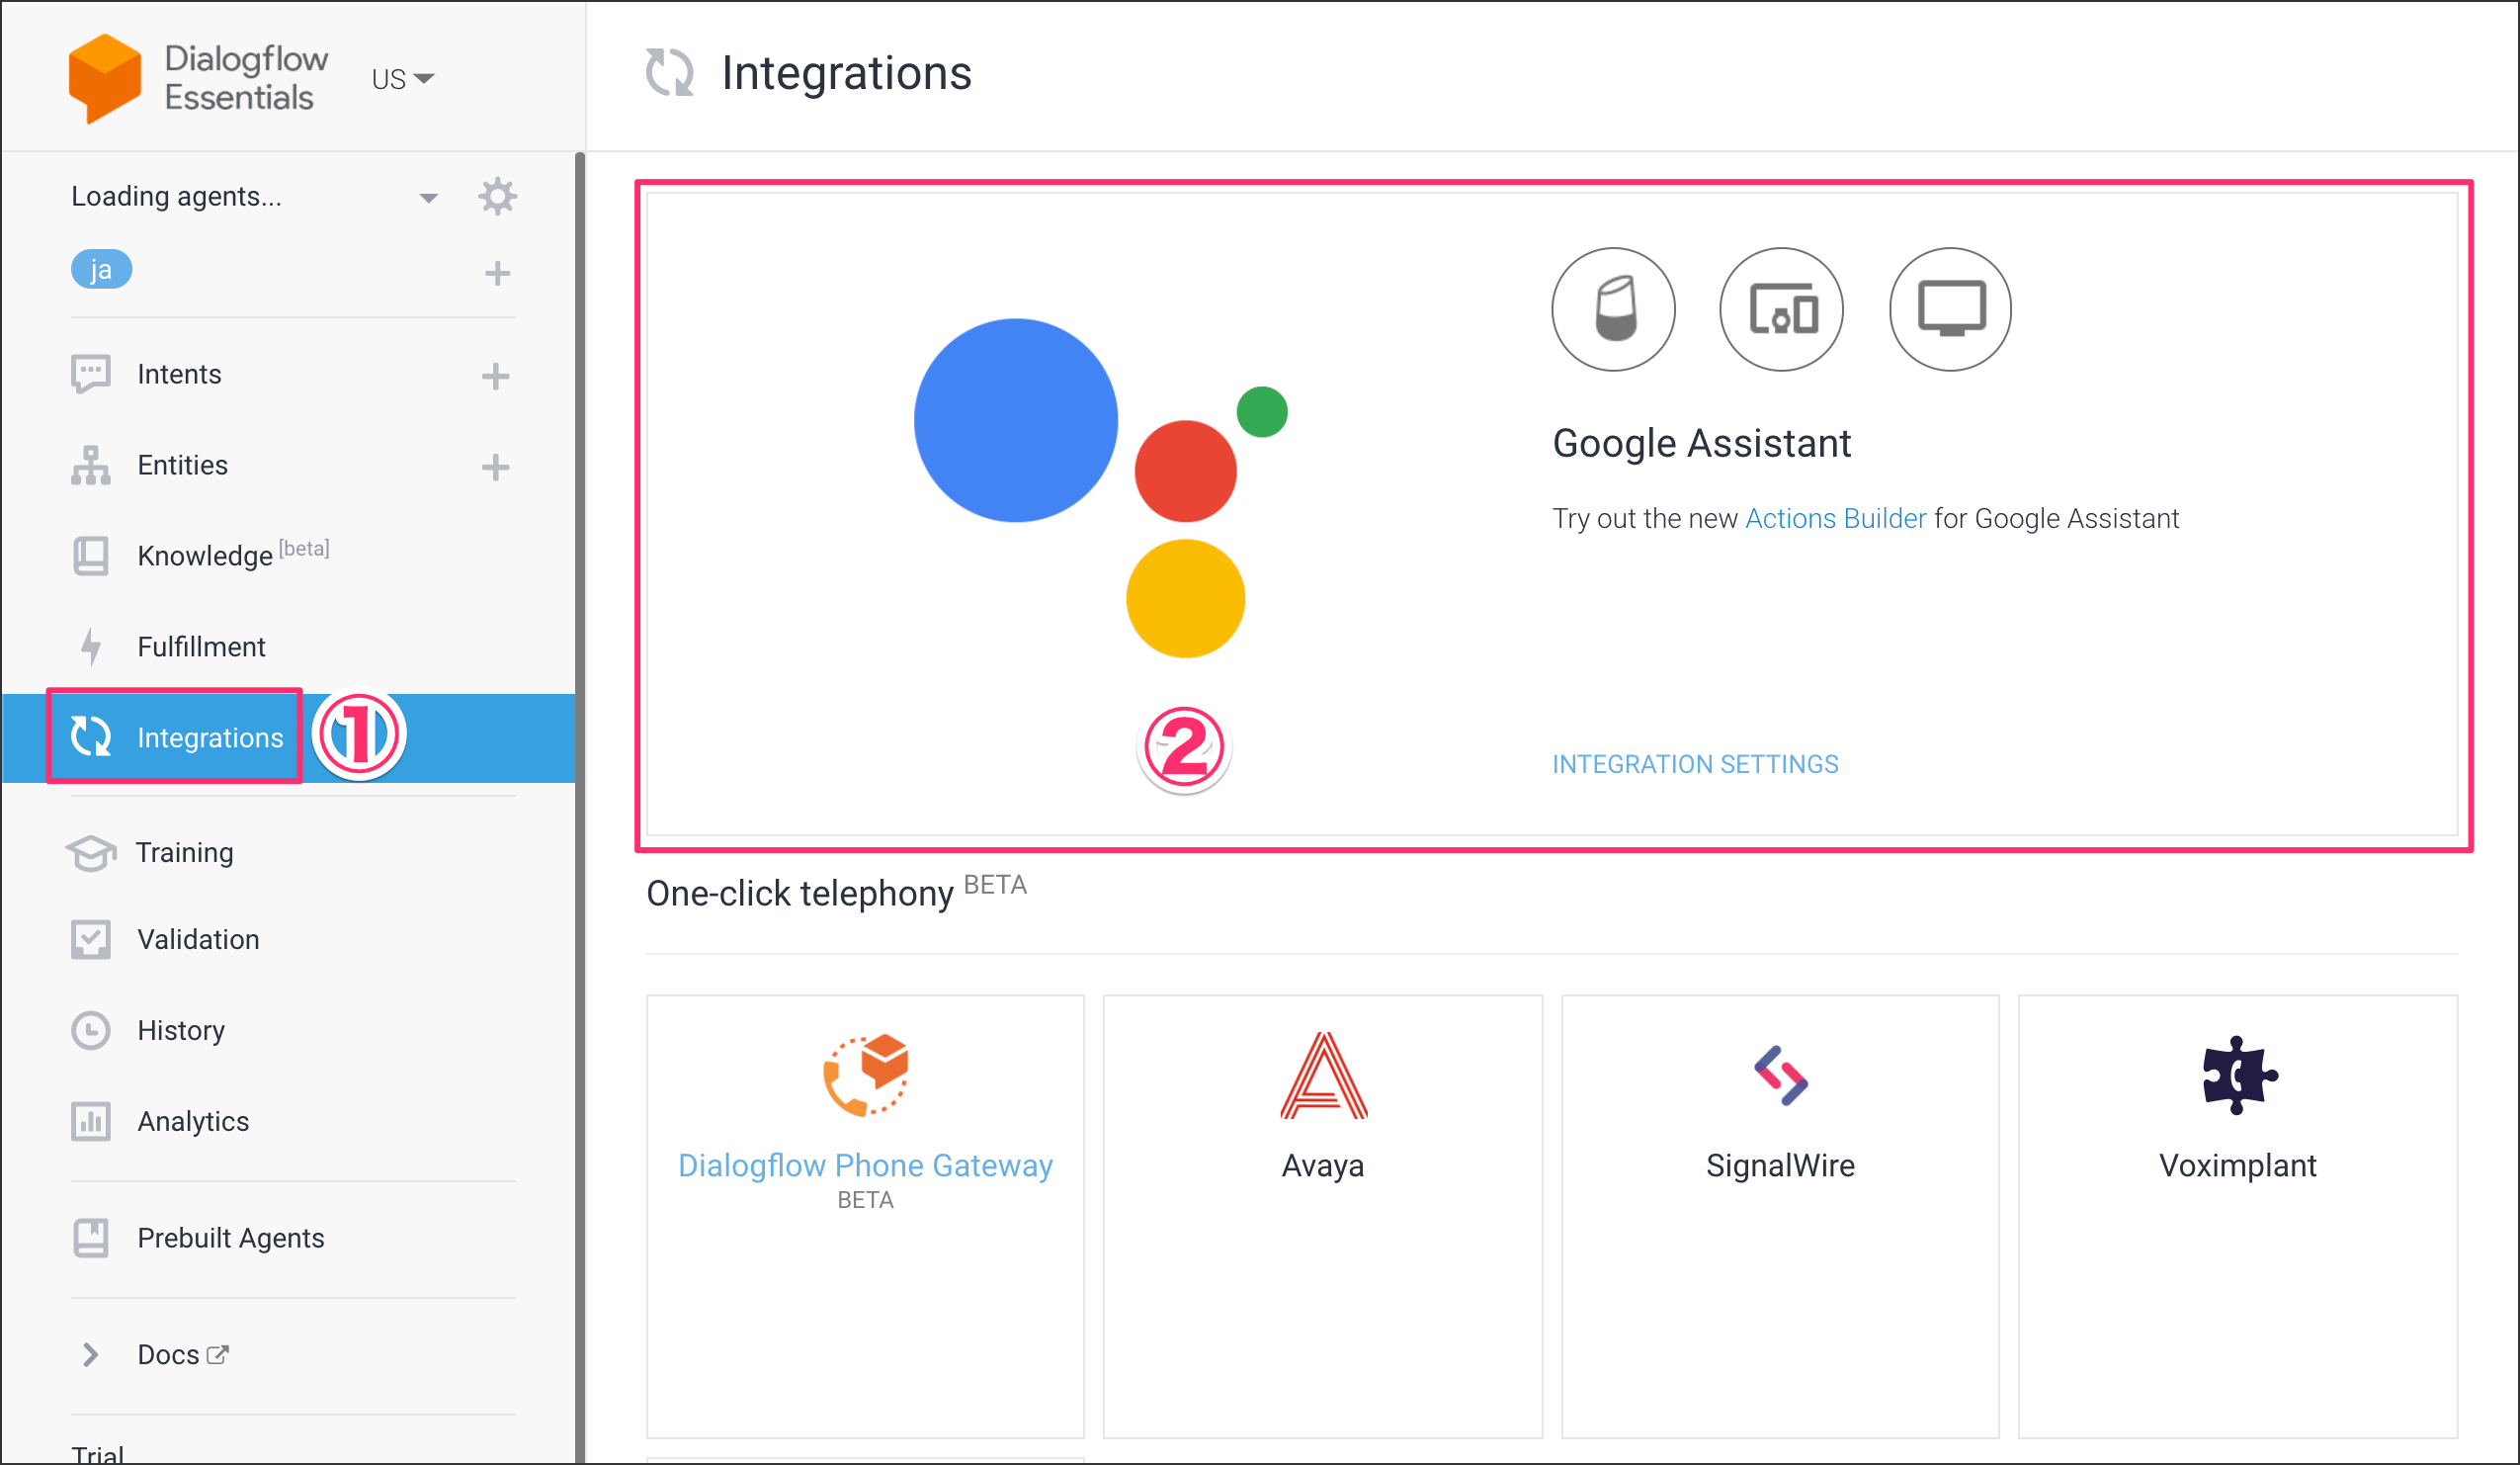
左側メニューにある Integrations をクリックして、 Google Assistat をクリックします。
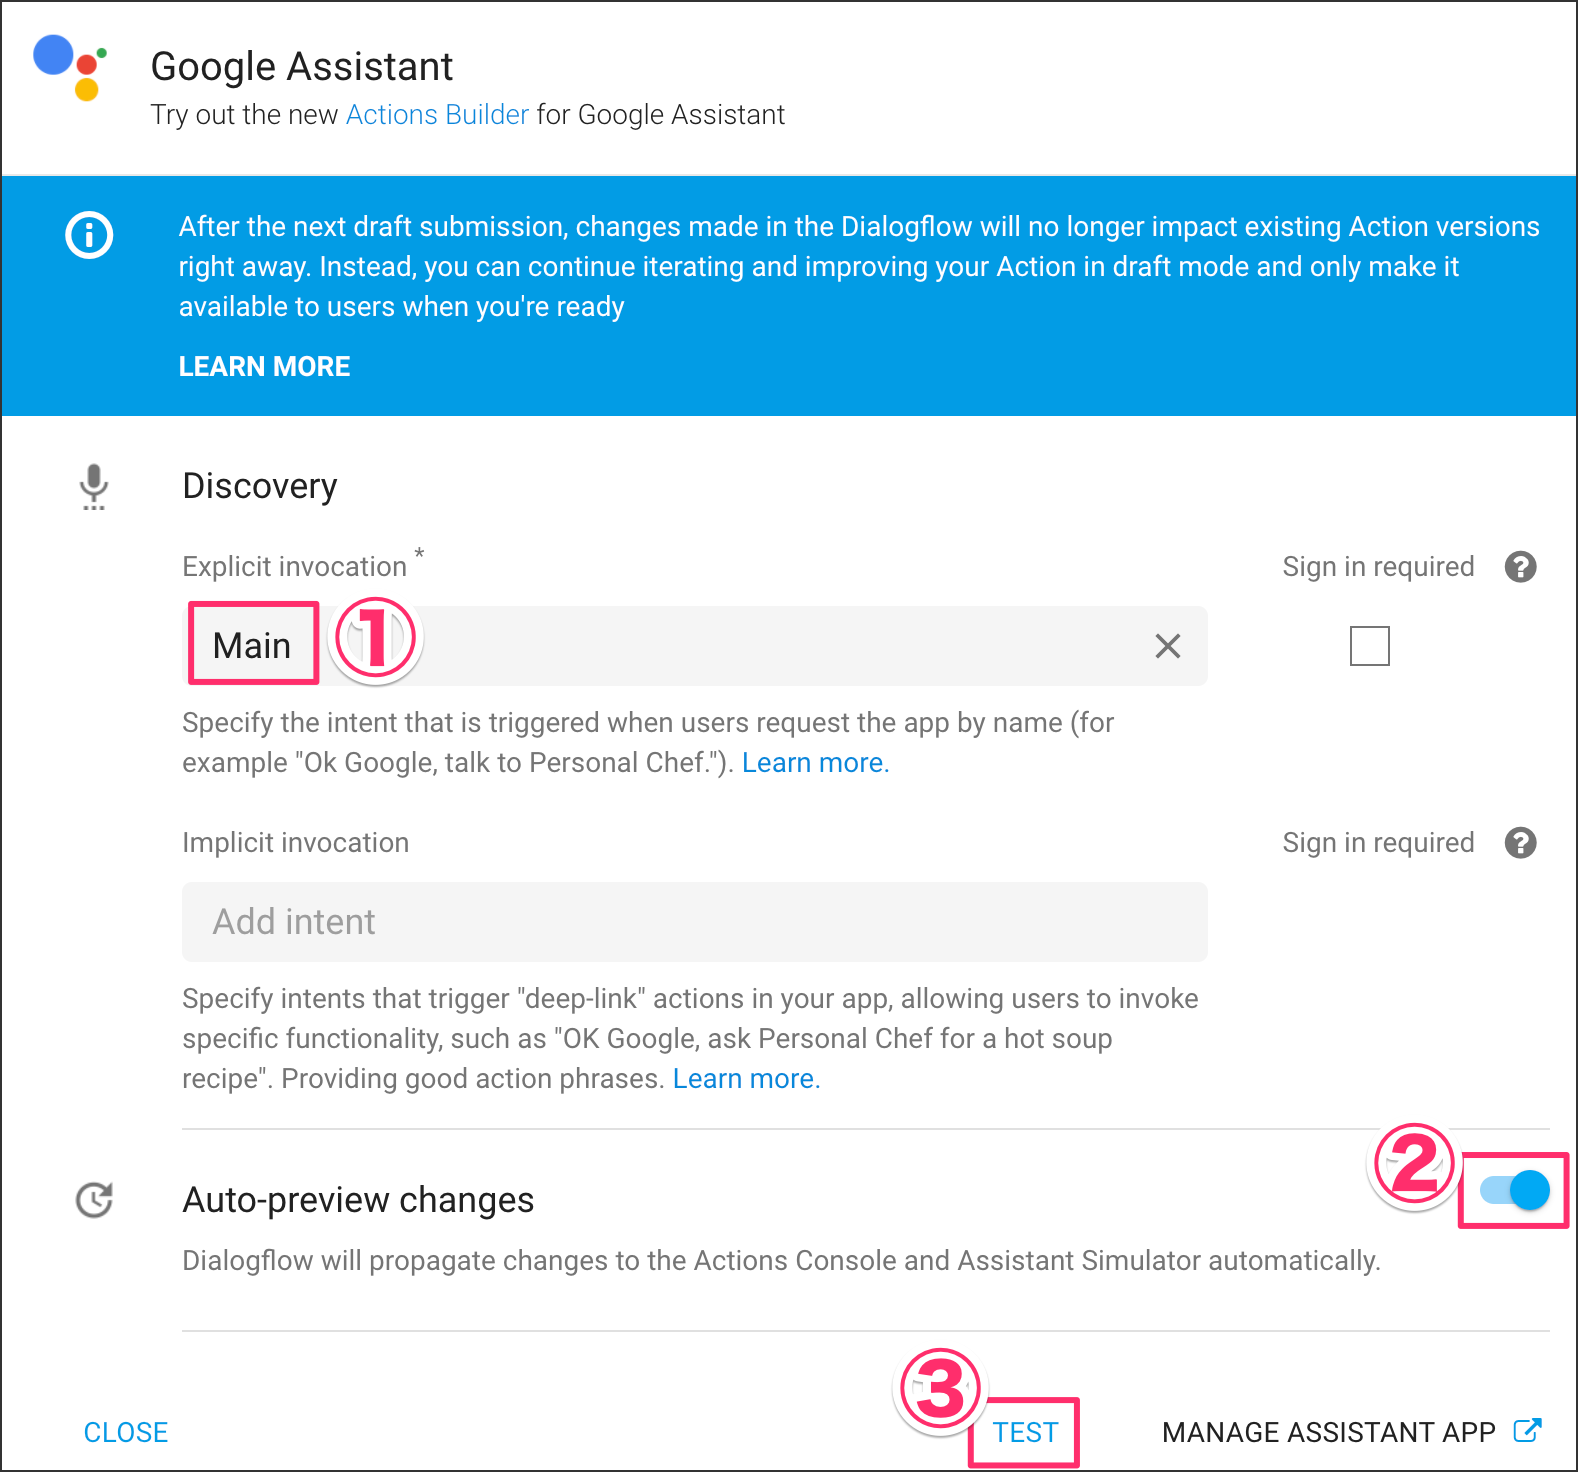
ポップアップが表示されるので、Explicit invocationは Main を選択して、 Auto-preview changesを有効化にしておきます。[TEST]リンクをクリックして、Google Assistantのページへ遷移します。
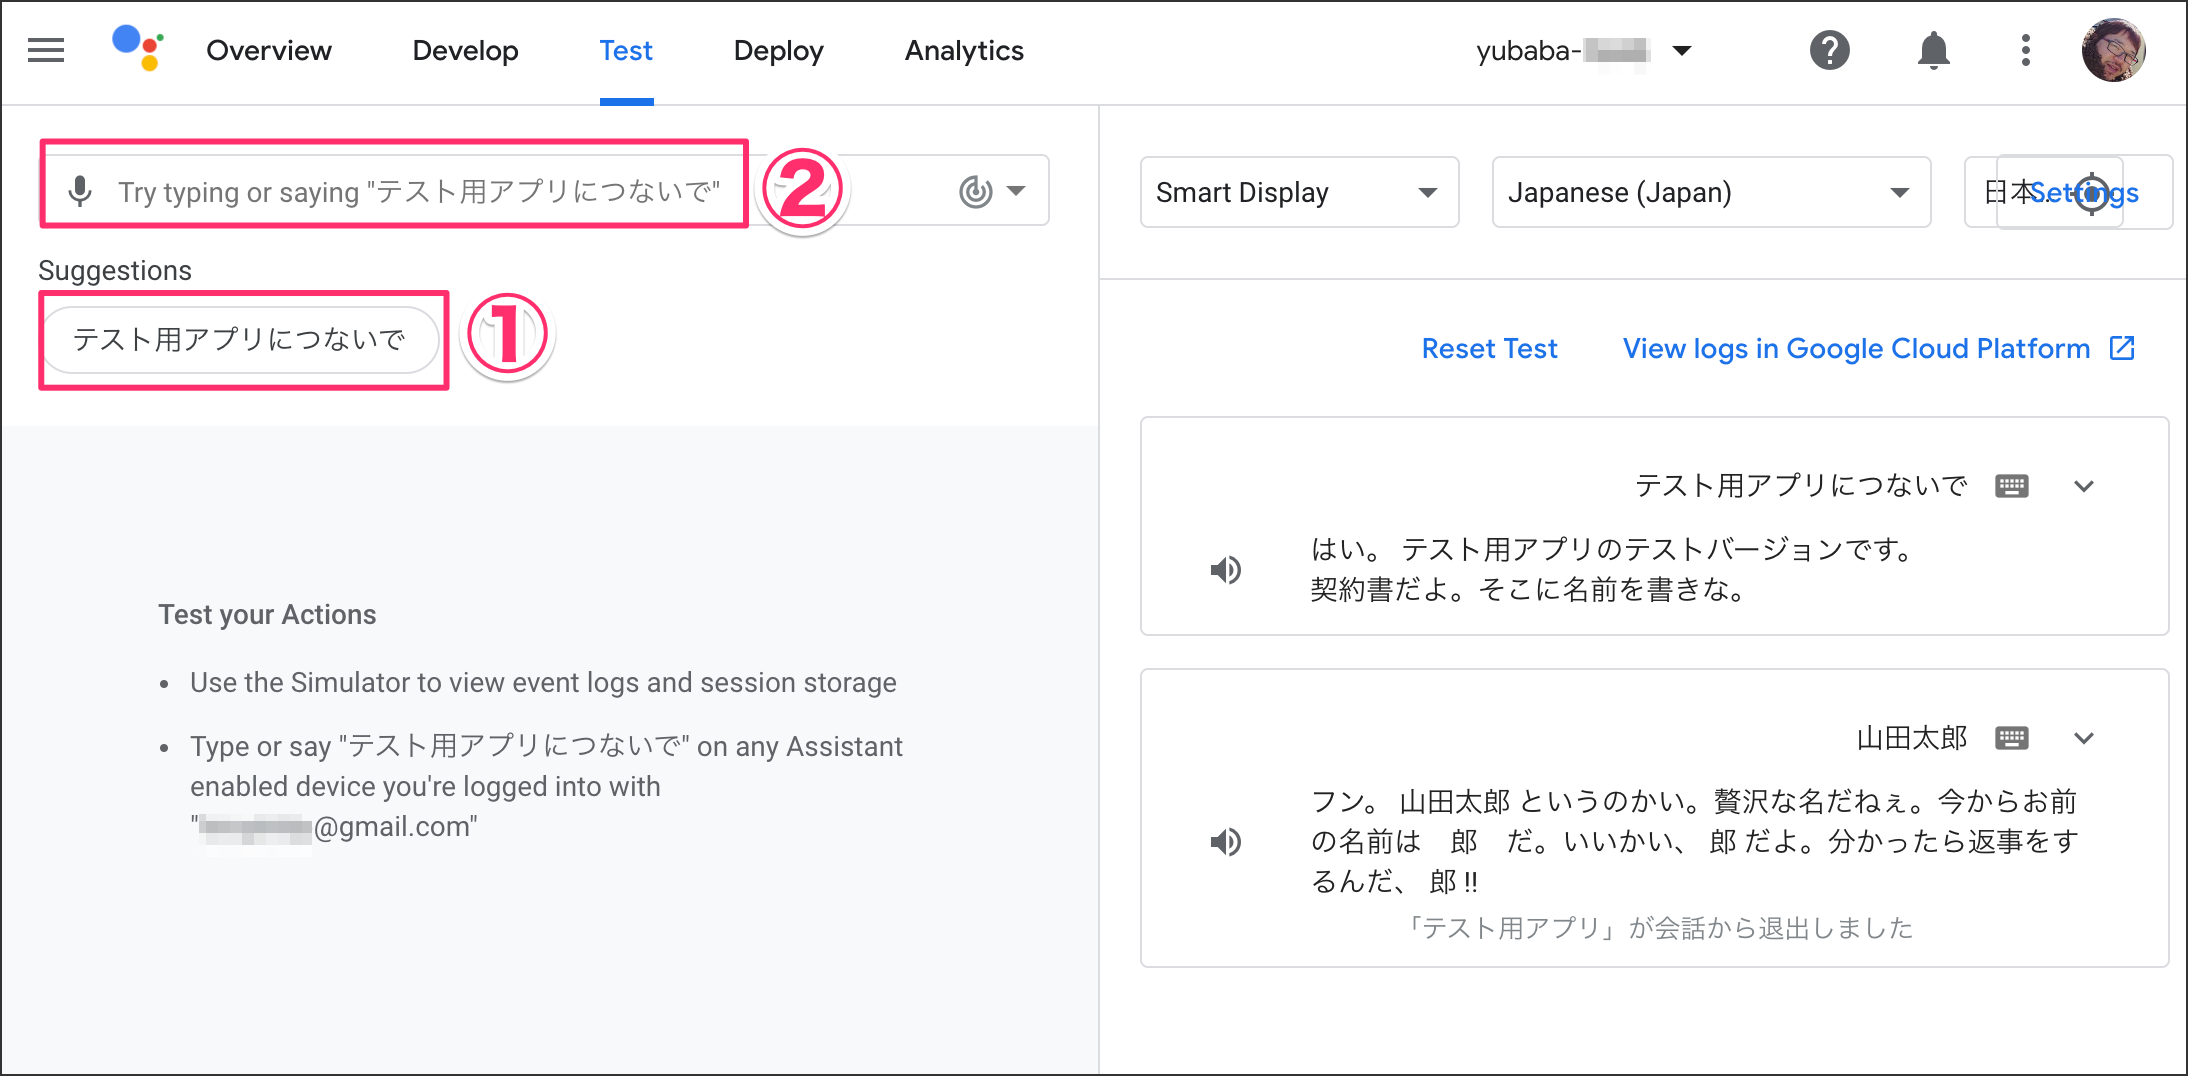
①「テスト用アプリにつないで」をクリックすると「契約書だよ。そこに名前を書きな。」と言われます。②の箇所に名前を入力してエンターキーを押下します。すると結果が返ってきます。
これでご自身のスマホのGoogle Assistantアプリで、「テスト用アプリにつないで」と言うと、アプリが起動するようになります。
もちろんスマートスピーカーも自動的にデプロイされて使えるようになります。
