必要なもの
- Arduino本体
- USBケーブル(Arduino側がType-Bなので注意)
-
Arduino IDE
- 2017/11/18日現在、バージョンは1.8.5
環境
| 項目 | 値 |
|---|---|
| OS | MacOS Siera |
| Arduino | Uno Rev3 |
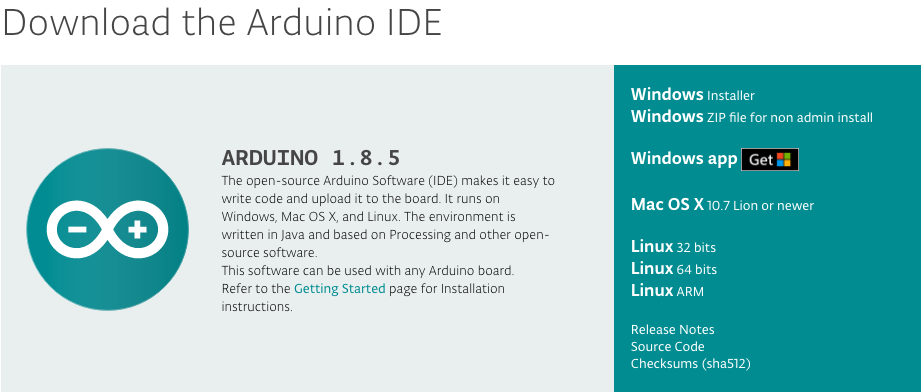
Arduino IDEのインストール
ダウンロードページで以下の箇所から自分の環境に合ったインストーラをダウンロードしてインストールする。
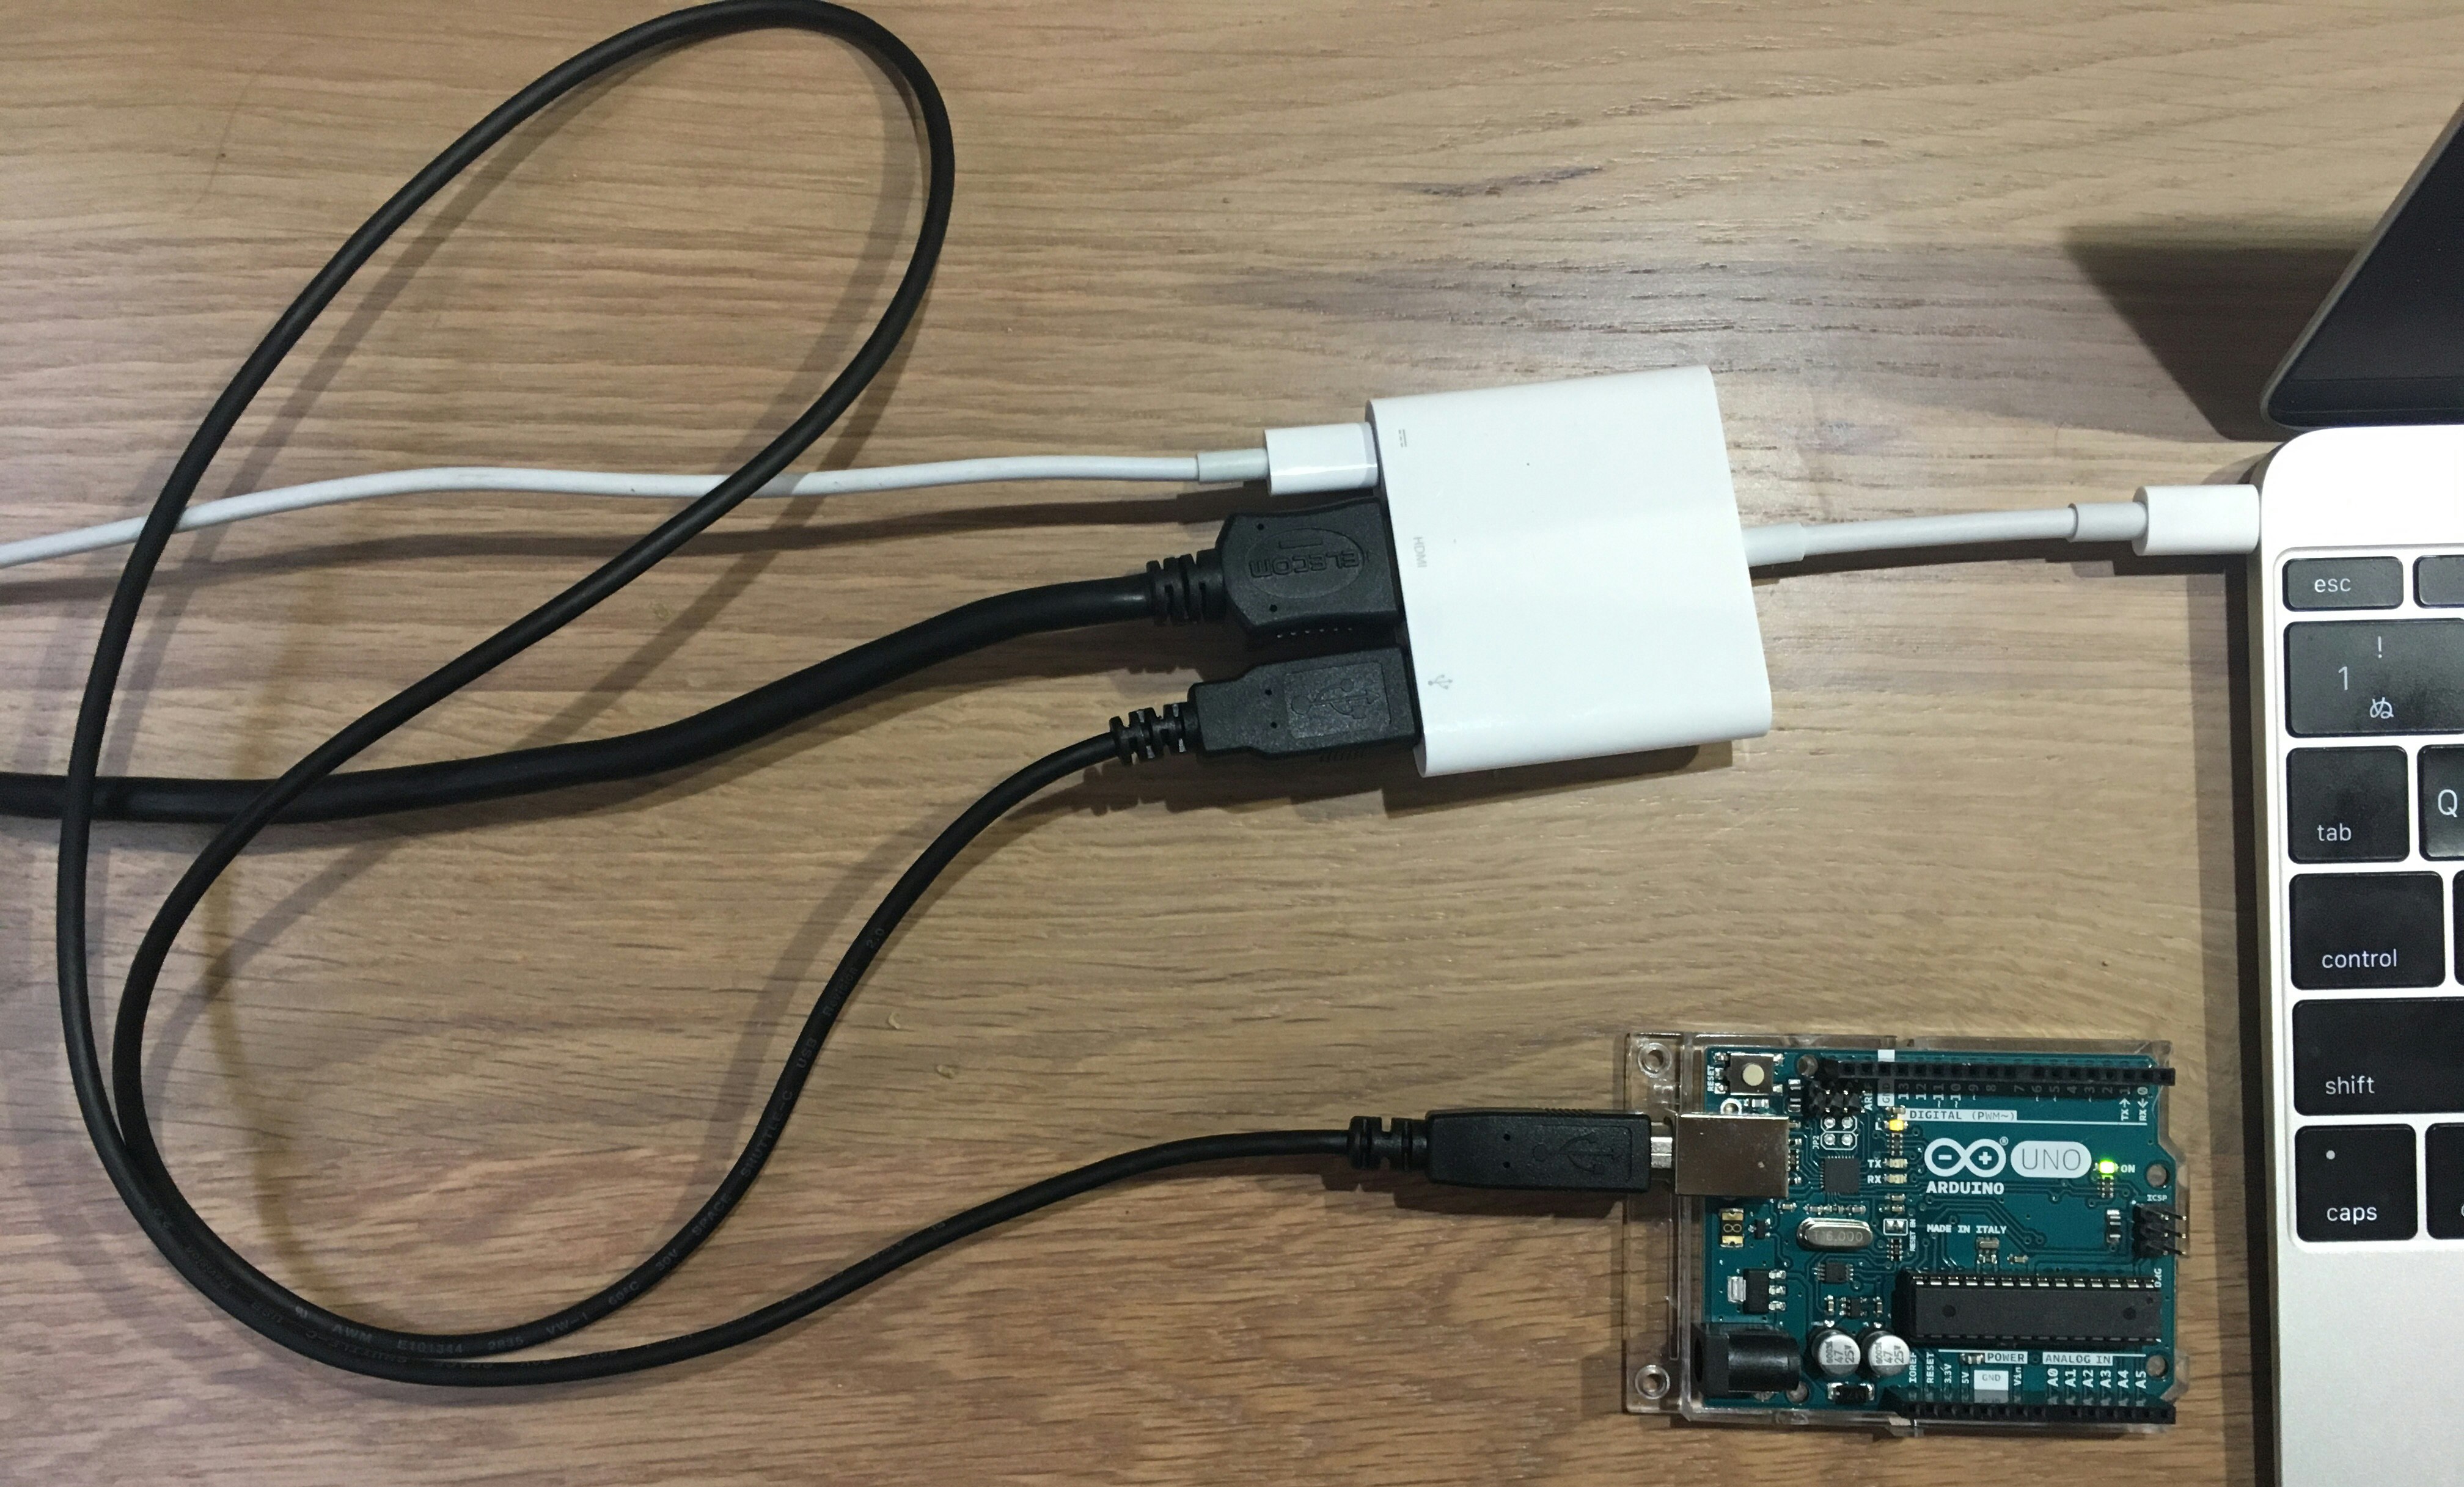
ArduinoとPCの接続
このような形で接続する。
Arduino IDEのセットアップ
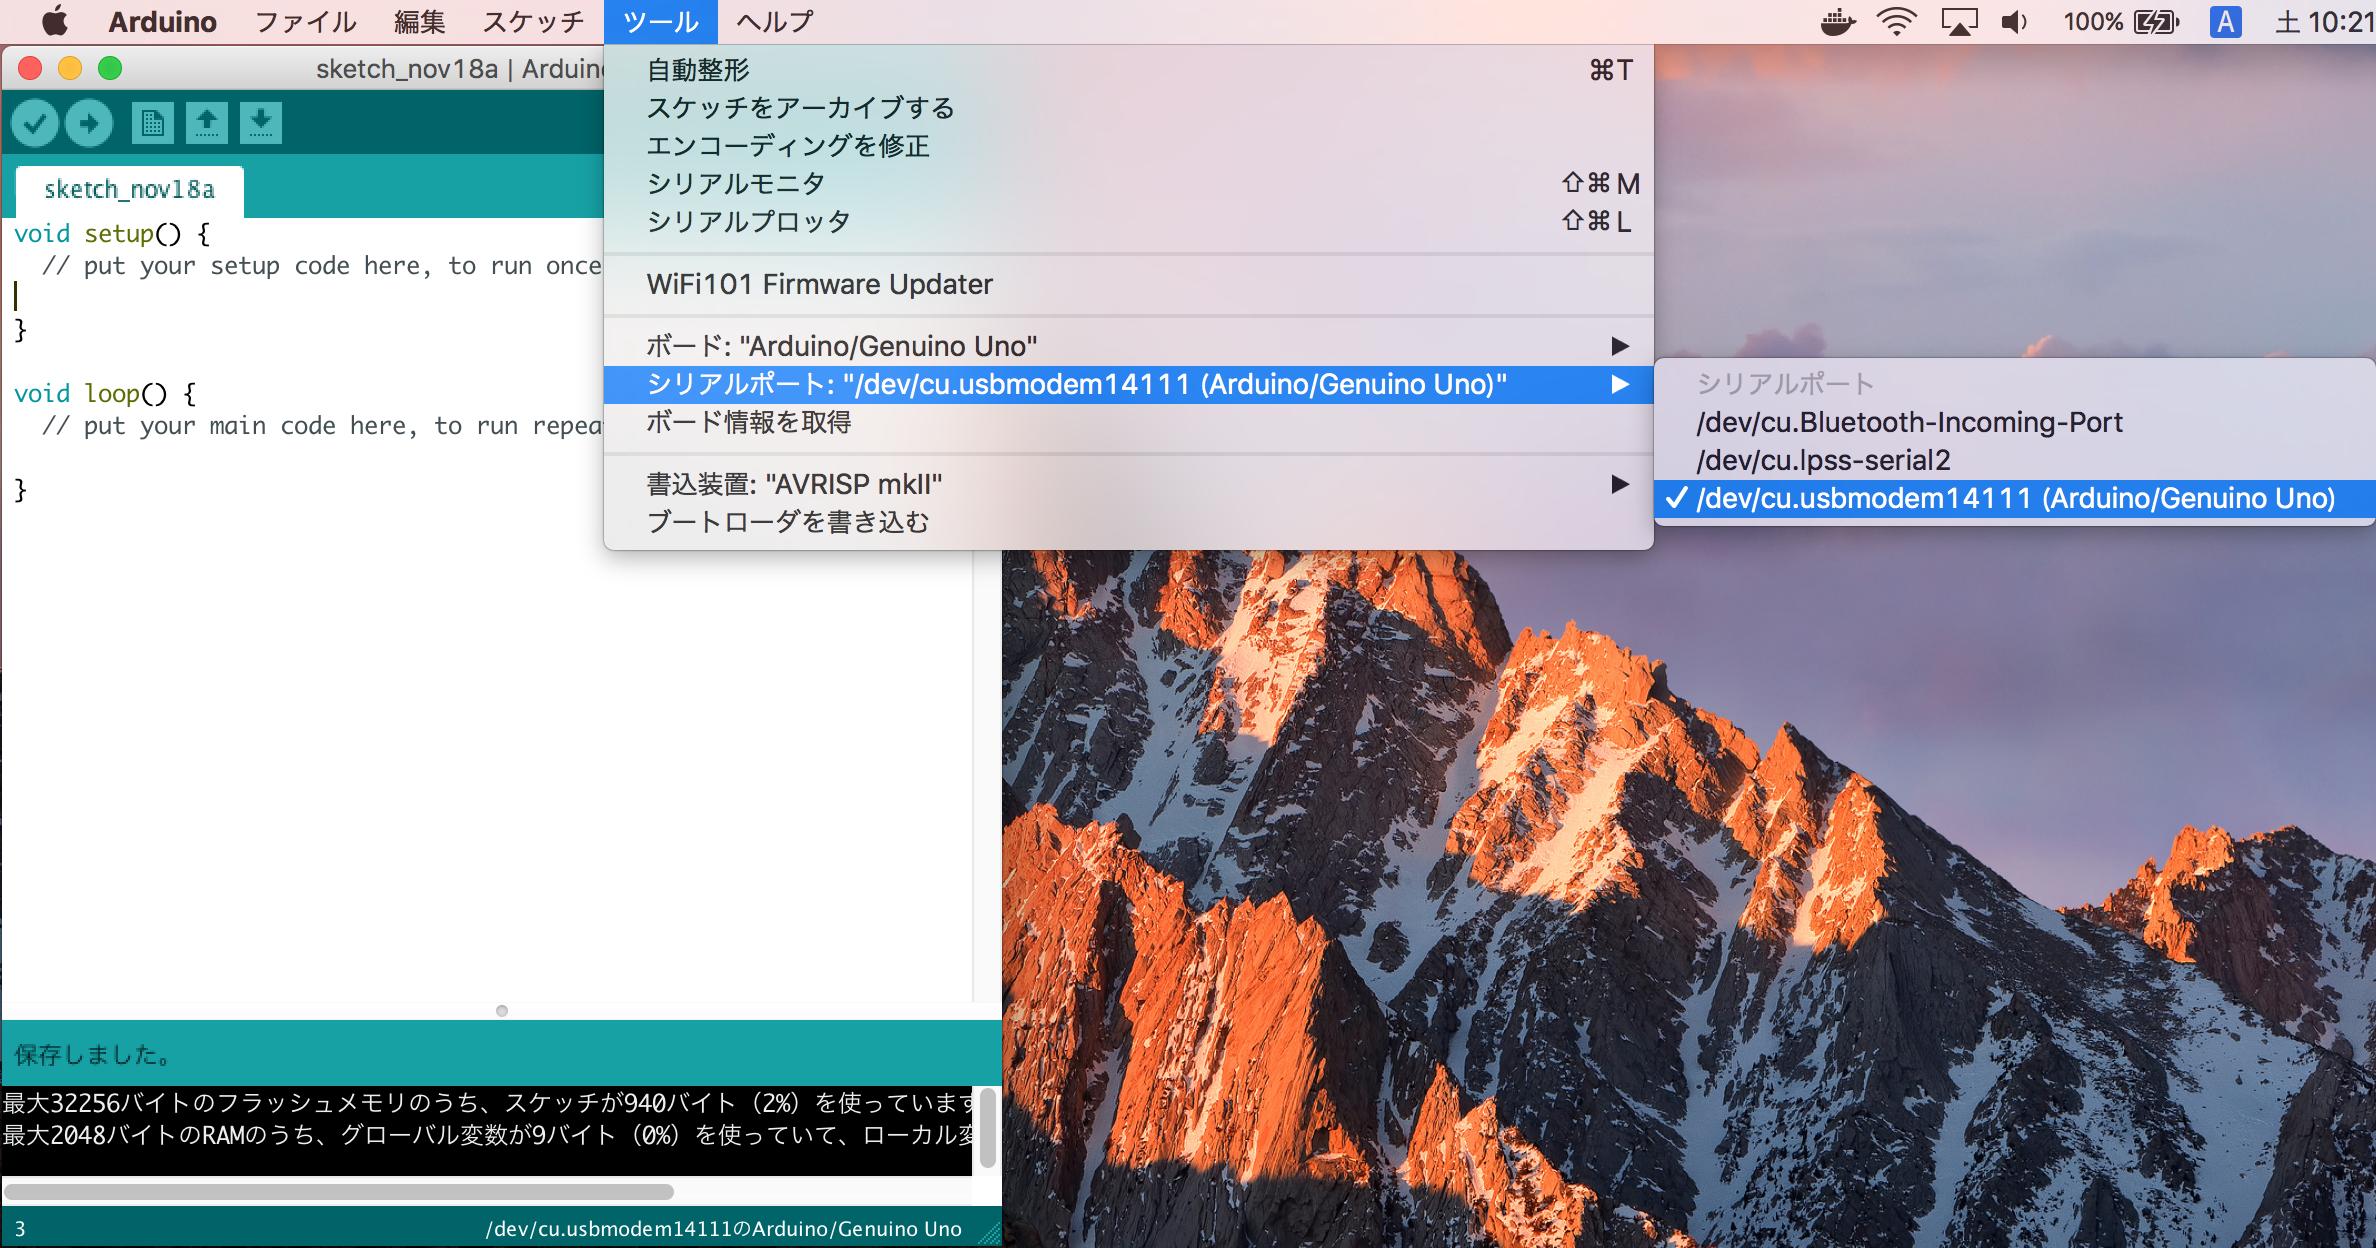
ツール => シリアルポートからArduinoが接続されているポートを選択。
コード記述
1秒ごとに13番ピンの電圧レベルを切り替える。
.c
int led = 13;

void setup() {
  // put your setup code here, to run once:
  pinMode(led, OUTPUT);
}

void loop() {
  // put your main code here, to run repeatedly:
  digitalWrite(led, HIGH);
  delay(1000);
  digitalWrite(led, LOW);
  delay(1000);
}
コード検証 + 書き込み

左上のチェックマークをクリックするとコードの検証を行うことができ、
右矢印のマークをクリックするとArduinoに書き込みを行うことができる。
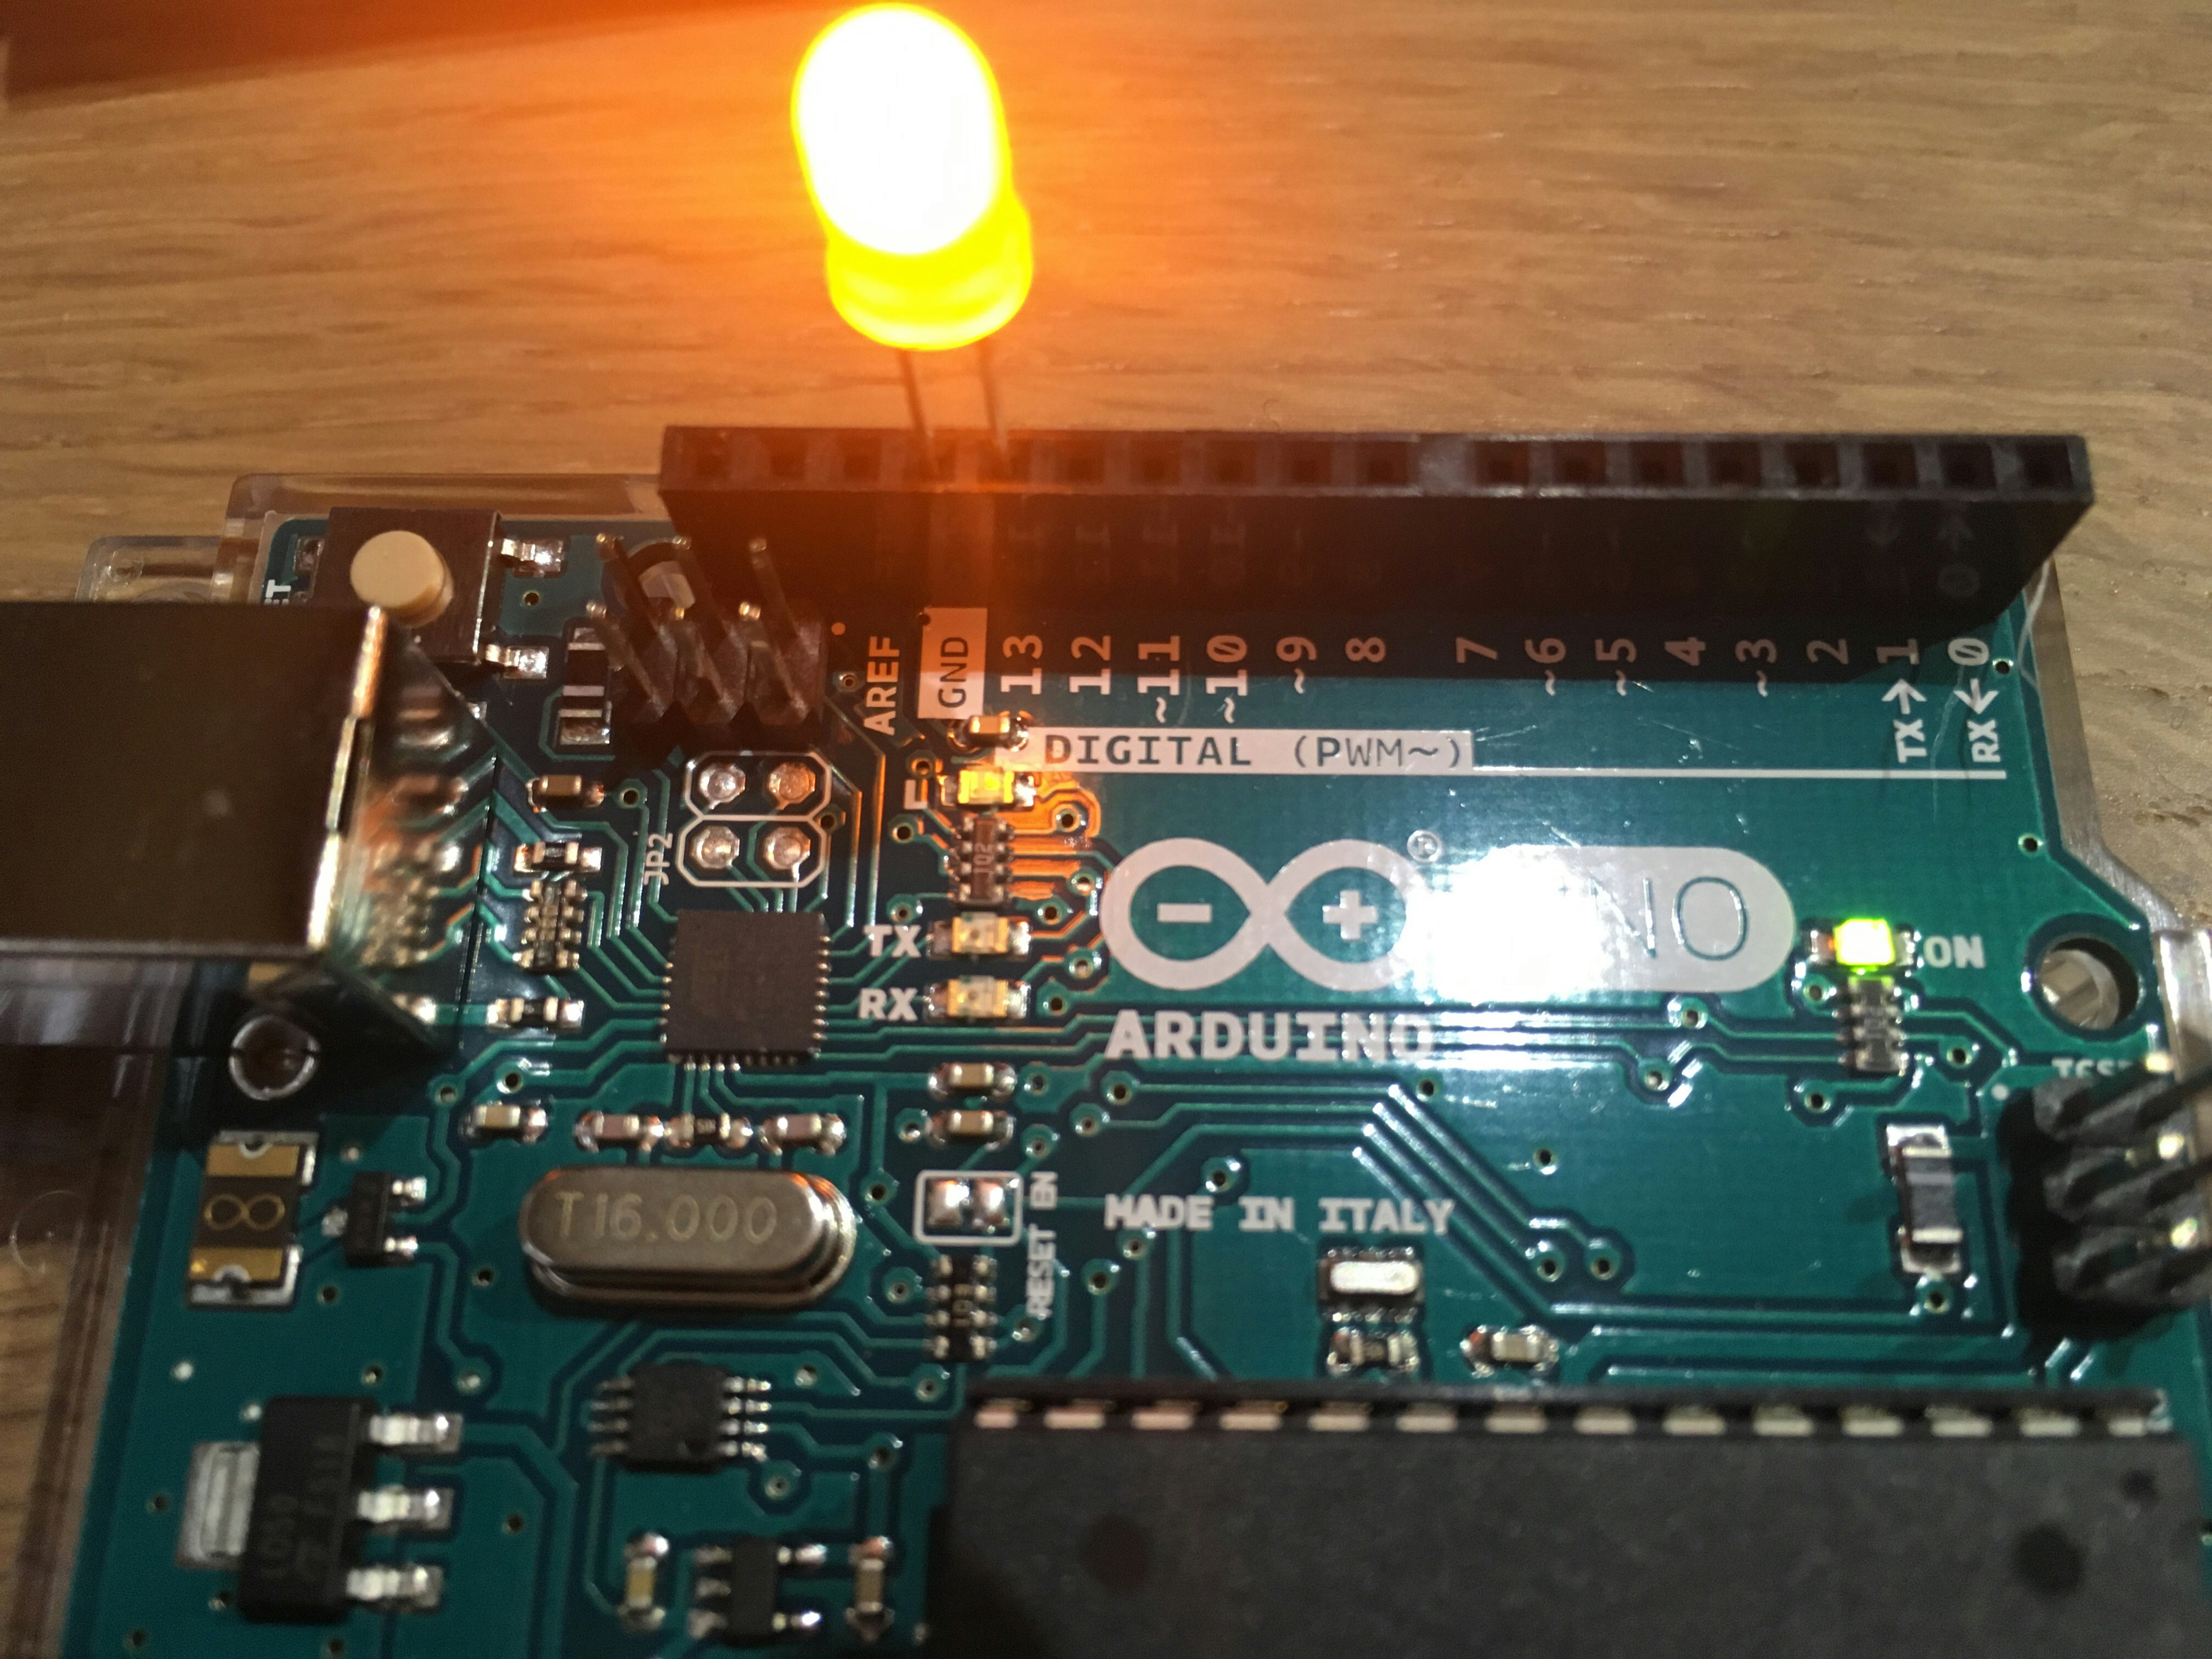
LEDを13番に接続
一秒ごとにLEDが点滅するようになる。
なお、LEDには向きがあるので注意。
長い足の方を13番ピンに差す。