Outline
INA219を用いて電流電圧電力を測定する。

Hardware setup
| Raspberry-pi | 配線 | INA219 |
|---|---|---|
| 01 3.3V | <-> | VIN |
| 03 SDA | <-> | SDA |
| 05 SCL | <-> | SCL |
| 09 GND | <-> | GND |
Vin+ : 電源側の+端子
Vin- : 負荷側の+端子
GNDの接続
ラズパイのGNDと計測したい負荷のGNDを接続しておく。
※コード内のゲイン調整等はOFFにしておく。


ディレクトリ構成
home/Current_measure_INA219
├ current_ina219_mp.py  #マルチプロセス化
├ current_ina219_mp2.py  #マルチプロセス化+グラフ化
├ ina219_simpletest.py #Adafruit_CircuitPython_INA219 サンプルコード
└iv_test.py #ブログ掲載のコード
install
sudo pip3 install pi-ina219
run
cd Current_measure_INA219
python3 current_ina219_mp.py
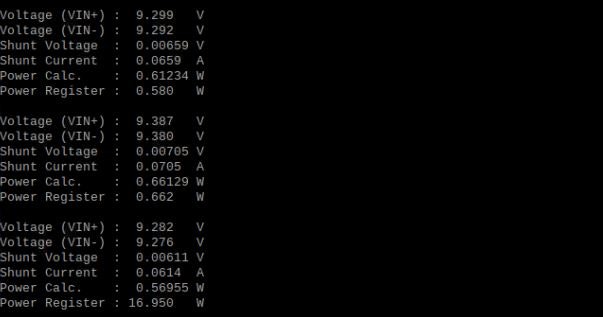
output sample
current_ina219_mp.pyの出力
Voltage (VIN+) :  9.229   V
Voltage (VIN-) :  9.224   V
Shunt Voltage  :  0.00535 V
Shunt Current  :  0.0535  A
Power Calc.    :  0.49348 W
Power Register :  0.538   W

Voltage (VIN+) :  9.253   V
Voltage (VIN-) :  9.248   V
Shunt Voltage  :  0.00539 V
Shunt Current  :  0.0539  A
Power Calc.    :  0.49847 W
Power Register :  0.498   W
以上
参考記事
- RaspberryPI + INA219 を使って電圧、電流を測定する
- Adafruit_CircuitPython_INA219
- 電圧測定 (1): ina219 を使う
- INA219 電流センサーモジュール
- M5StickCとINA219電流センサで太陽光パネルからバッテリへの充放電電流を測定する
- ゆっくりラズパイ解説2020.09.18 電流計測モジュール INA219
- RaspberryPI + INA219 を使って電圧、電流を測定する
- adafruit-ina219-current-sensor-breakout
- Adafruit_CircuitPython_INA219
- 回路図の例
-
Ina219 Raspberrypai4B i2c address
アドレスの指定 : ina219 = INA219(i2c_bus, addr=0x45) - INA219の使い方