はじめに
この記事は、HTML5のCanvas APIにfluentなインターフェースをかぶせて、使い勝手が良くなったかを試してみました。
fluentなインターフェースとは
C#のLINQではメソッドをドットで繋げてメソッドを連結させることができますが、そのようなメソッドチェーンが使えるAPIのことだと理解しています。
fluentには流暢なとか流れるようなとかいった意味があります。
従来のやり方でメソッドを作成し、その問題点をみてみる
まず、普通にCanvas APIをラップした時の問題点です。
例えば、Canvasクラスを定義し、そこに矩形を描く drawRectというメソッドを定義してみます。
export class Canvas {
    constructor (id) {
        this.canvas = document.getElementById(id);
        this.ctx = this.canvas.getContext('2d');
    }

    // 矩形を描く
    drawRect(x1, y1, width, height) {
        this.ctx.save();
        this.ctx.beginPath();
        this.ctx.strokeStyle = '#000';
        this.ctx.lineWidth = 1;
        this.ctx.strokeRect(x1, y1, width, height);
        this.ctx.restore();
    }
}
でも、色が固定だし、線の太さも固定です。やはり、色や線の太さも呼び出し側から指定したいですよね。
で、以下のように定義しなおします。
    // 矩形を描く
    drawRect(x1, y1, width, height, color, lineWidth) {
        this.ctx.save();
        this.ctx.beginPath();
        this.ctx.strokeStyle = color;
        this.ctx.lineWidth = lineWidth;
        this.ctx.strokeRect(x1, y1, width, height);
        this.ctx.restore();
    }
でも、そうすると、いちいちcolorとlineWidthを指定しないといけません。
JavaScriptでは省略可能引数が使えるので、
     // 矩形を描く
    drawRect(x1, y1, width, height, color = '#000', lineWidth = 1) {
        this.ctx.save();
        this.ctx.beginPath();
        this.ctx.strokeStyle = color;
        this.ctx.lineWidth = lineWidth;
        this.ctx.strokeRect(x1, y1, width, height);
        this.ctx.restore();
    }
これで、先ほどよりマシになりました。
でも、問題はあります。
lineWidthだけを4にして、colorはデフォルトのままにしたいという場合であってもcolor引数に値を渡さなくてはなりません。面倒です。
さらに塗りつぶしたいという要求が来たらどうしたらよいでしょう。
fill という変数を追加するのも一つの手ですね。あとは、drawFillRectというメソッドを定義するのも一つの手です。
さらにさらに、この後、この矩形を回転させたいとします。
回転する角度を引数に追加することになりそうです。
もし、drawFillRect というメソッドを追加していた場合は、drawRect、drawFillRect ともに、回転する角度を引数に追加するのでしょうか?
さらに、〇〇したい場合は、どうなるのでしょうか?
どんどん、drawRectやdrawFillRectが複雑化してしまいます。
そして、これを呼び出す側も、引数の順番を覚えておかないとダメですし、順番間違えば当然正しく動いてくれません。
僕のCanvasクラスはどうも使い勝手が悪いです。
Fluent インターフェースの出番だ
上記のような問題があるから、HTML5のCanvas APIは、あのようなインターフェースになってるんだよ、という声がどこからか聞こえてきそうです。
でも、素のCanvas APIの使い勝手が良いかというと、僕はそうは思いません。
そこで、Fluent インターフェースの出番です。
ということで、早速、Fluent インターフェースなCanvasクラスを実装してみます。
図形の基底クラスとなる Drawerクラスを定義する
最初は、Line, Rectangle, Circle といった図形の基底クラスとなる Drawerクラスを定義します。
var gw = gw || {}

export { gw }

gw.Drawer = class Drawer {
    constructor (ctx) {
        this.ctx = ctx;
        this.ctx.save();
        this.isfill = false;
        this.isStroke = false;
    }

    degToRad(degrees) {
        return degrees * Math.PI / 180;
    };

    fillStyle(color) {
        this.ctx.fillStyle = color;
        this.isfill = true;
        return this;
    }

    strokeStyle(color) {
        this.ctx.strokeStyle = color;
        this.isStroke = true;
        return this;
    }

    lineWidth(linewidth) {
        this.ctx.lineWidth = linewidth;
        this.isStroke = true;
        return this;
    }

    translate(width, height) {
        this.ctx.translate(width, height);
        return this;
    }

}
gwは名前空間のつもりです。
コンストラクタの引数は、Canvas.getContext APIで得られるContextオブジェクトです。
このクラスのメソッドは、最初からこうしようと決めたわけではなく、Line, Rectangle, Circle といった具象クラスを定義しながら、基底クラスも一緒に決めていったという感じです。
this を返しているのがこのメソッドの特徴です。
Drawerクラスから具象クラスを派生させる
次に、Rectangleクラスです。Drawerクラスから派生させます。
gw.Rectangle = class Rectangle extends gw.Drawer {
    constructor (ctx, x1, y1, width, height) {
        super(ctx);
        this.x1 = x1;
        this.y1 = y1;
        this.width = width;
        this.height = height;
    }

    draw() {
        this.ctx.beginPath();
        if (this.isRotate) {
            if (this.isStroke) {
                this.ctx.strokeRect(-this.width*this.ox, -this.height*this.oy, this.width, this.height);
            }
            if (this.isfill) {
                this.ctx.fillRect(-this.width*this.ox, -this.height*this.oy, this.width, this.height);
            }
        } else {
            if (this.isStroke) {
                this.ctx.strokeRect(this.x1, this.y1, this.width, this.height);
            }
            if (this.isfill) {
                this.ctx.fillRect(this.x1, this.y1, this.width, this.height);
            }
        }
        this.ctx.restore();
        return this;
    }

    rotate(deg, ox = 0.5, oy = 0.5) {
        this.ox = ox;
        this.oy = oy;
        //this.ctx.setTransform(1, 0, 0, 1, 0, 0);
        this.ctx.translate(this.x1+this.width*ox, this.y1+this.height*oy);
        this.ctx.rotate(this.degToRad(deg));
        this.isRotate = true;
        return this;
    }
}
drawメソッドが複雑化してしまいましたが、呼び出し側を簡単にするためのトレードオフですね。
同様にして、Circleクラスや Lineクラスも定義します。
Canvasクラスの定義する
そして、最後は、Canvasクラスの定義です。これまで作成してきた図形クラスの Factoryのような役目です。
gw.Canvas = class Canvas {
    constructor (id) {
        this.canvas = document.getElementById(id);
        this.ctx = this.canvas.getContext('2d');
        this.ctx.canvas.width = this.canvas.clientWidth;
        this.ctx.canvas.height = this.canvas.clientHeight;
    }

    rectangle(x1, y1, width, height) {
        return new gw.Rectangle(this.ctx, x1, y1, width, height);
    }

    circle(x, y, radius) {
        return new gw.Circle(this.ctx, x, y, radius);
    }

    roundRectanglet(l, t, w, h, r) {
        return new gw.RoundRectangle(this.ctx, l, t, w, h, r);
    }

    line(x1, y1, x2, y2) {
        return new gw.Line(this.ctx, x1, y1, x2, y2);
    }
}
fluentなインターフェースを使ってみる
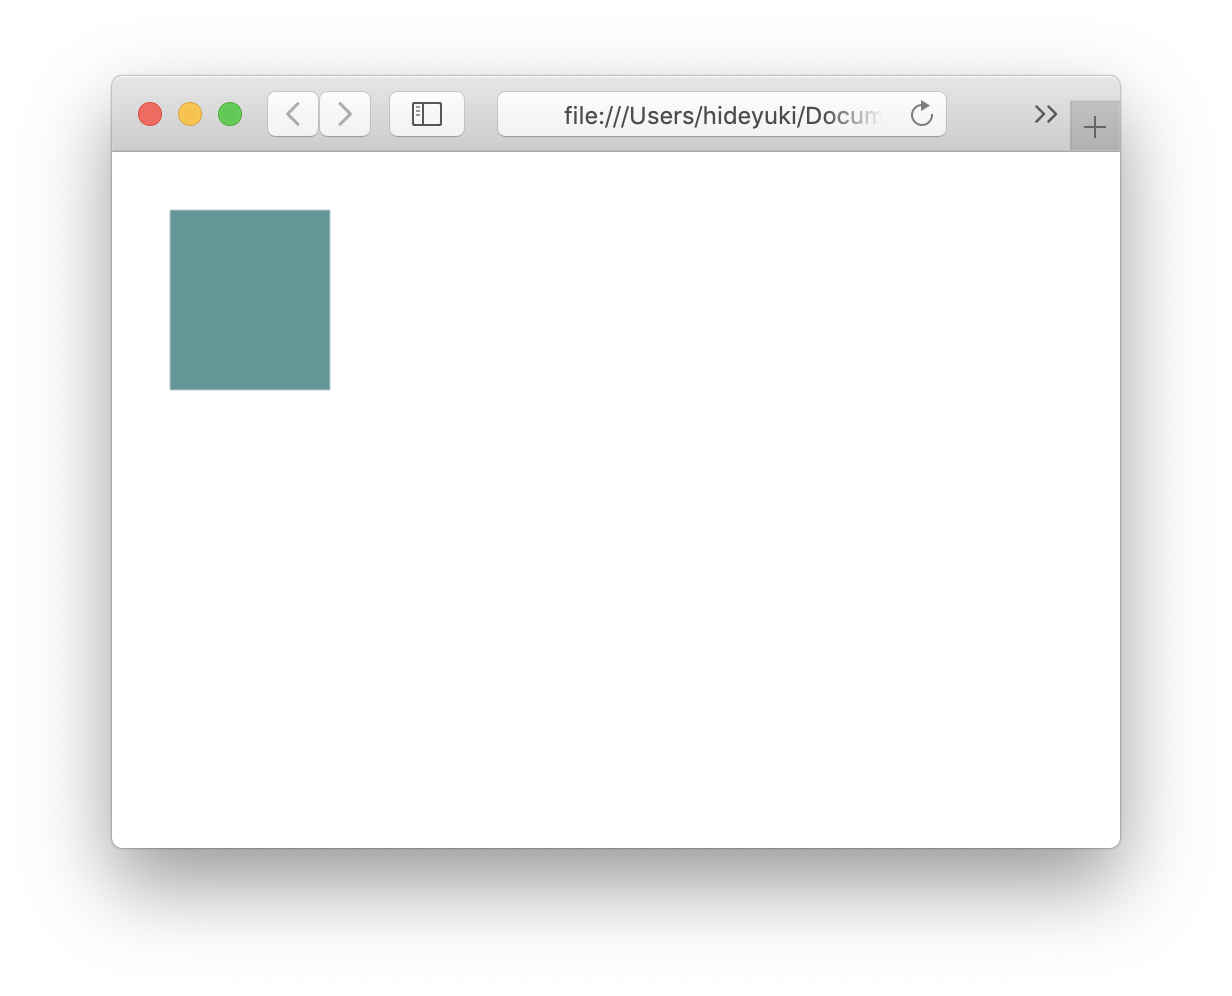
では、使ってみましょう。まずは、塗りつぶし矩形の呼び出し。
canvas.rectangle(10, 10, 80, 90)
    .fillStyle('#559999')
    .draw();
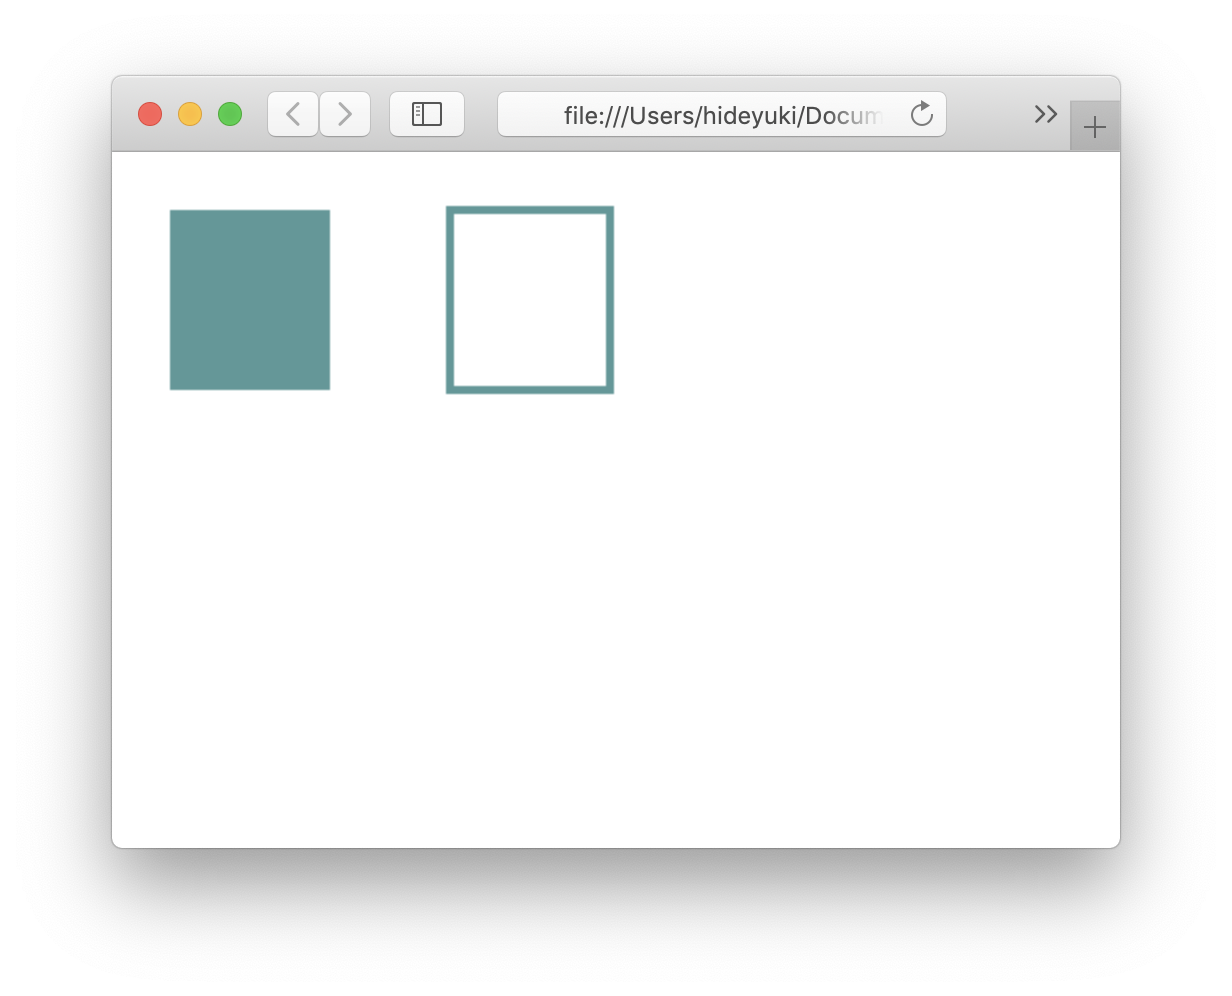
次は、先ほどのコードに加え、枠線の色と線の太さを指定して矩形を描くコードを追加しています。
canvas.rectangle(150, 10, 80, 90)
    .strokeStyle('#559999')
    .lineWidth(4)
    .draw();
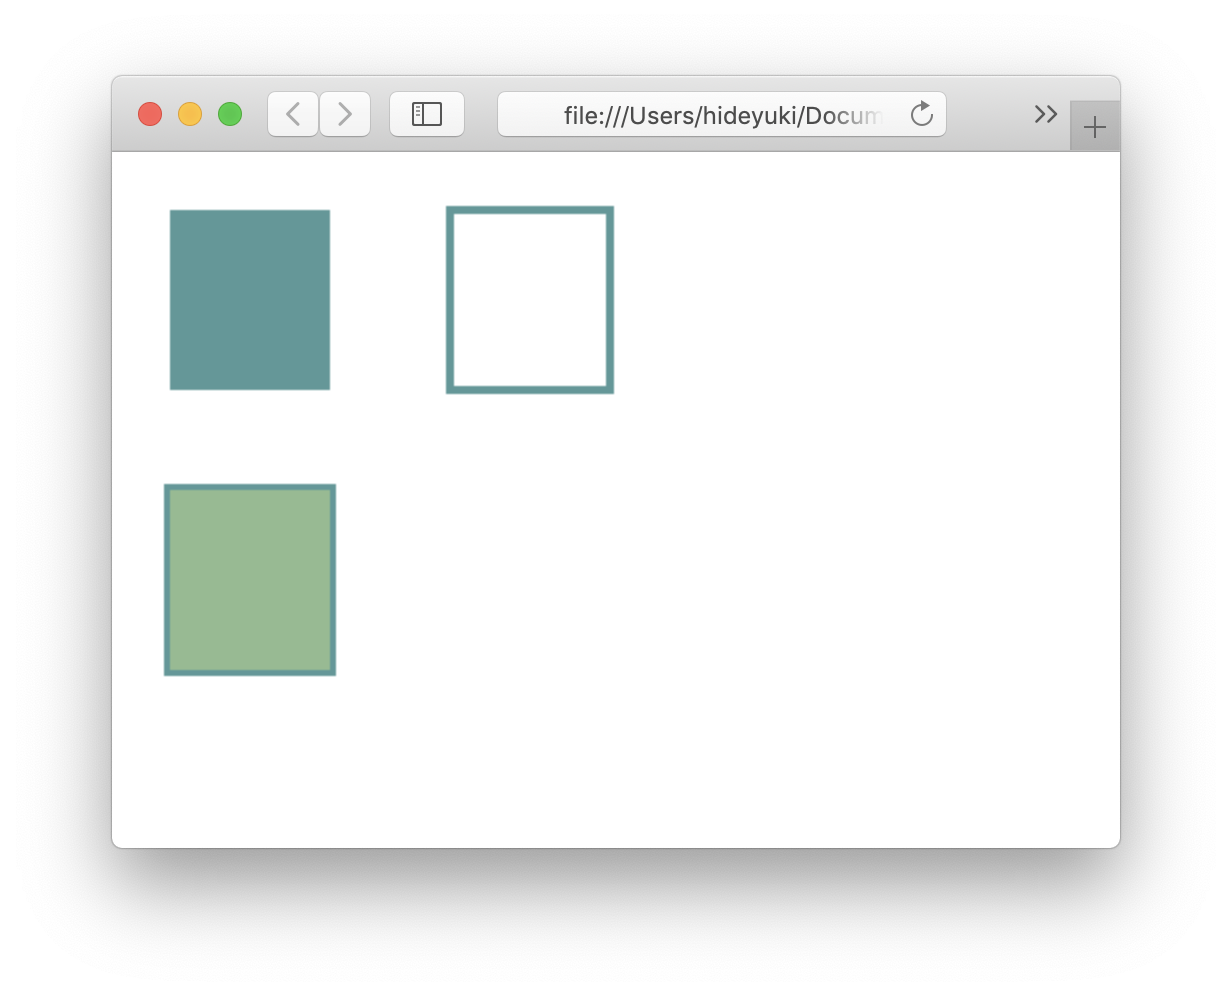
さらにm、塗りつぶしもやりたい場合は、以下のように書けばOK.
canvas.rectangle(10, 150, 80, 90)
     .strokeStyle('#559999')
     .lineWidth(6)
     .fillStyle('#8fbc8f')
     .draw();
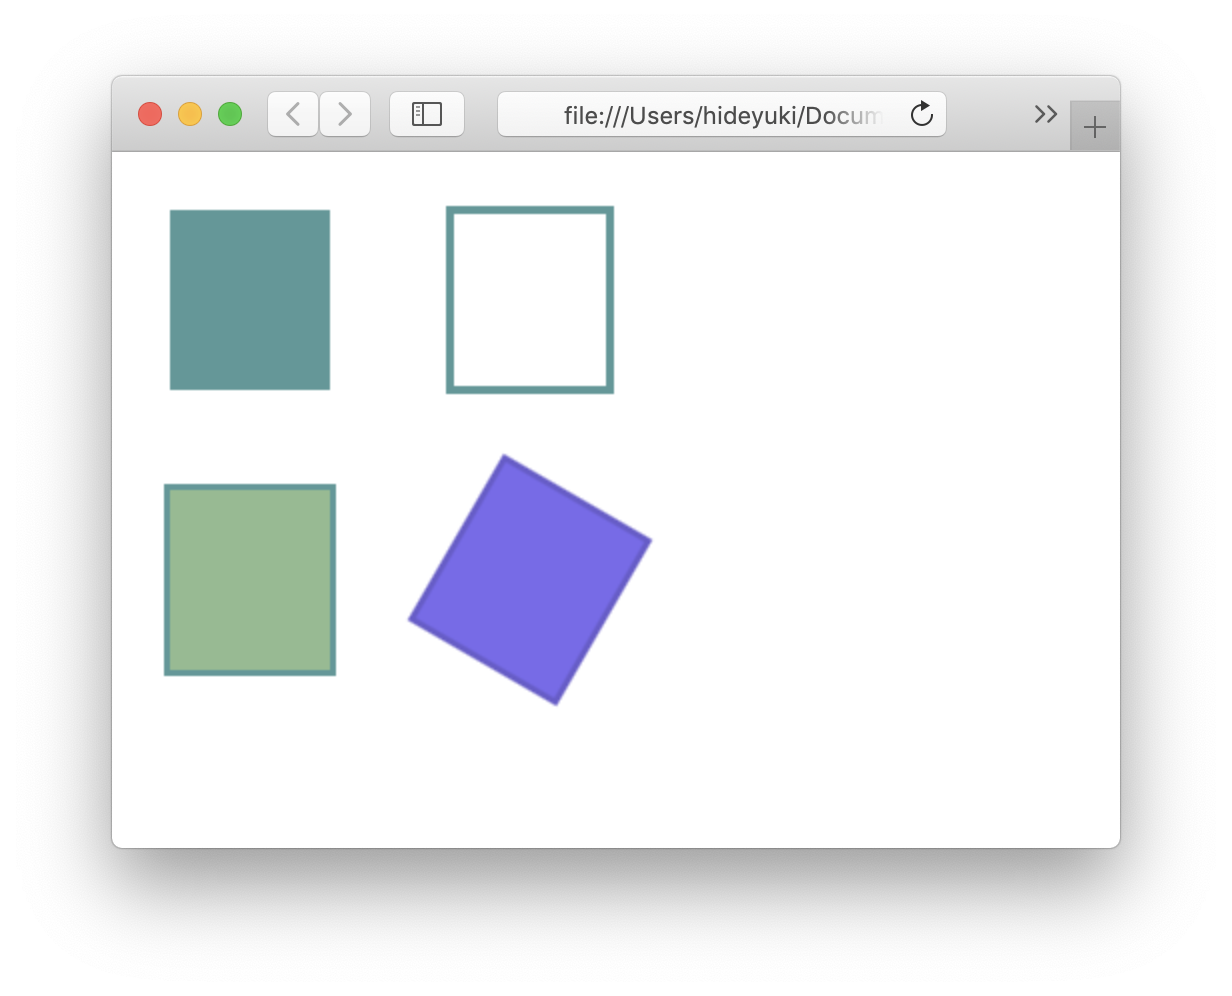
以下のように書けば、回転もできます。
canvas.rectangle(150, 150, 80, 90)
    .strokeStyle('#6a5acd')
    .lineWidth(6)
    .fillStyle('#7b68ee')
    .rotate(30)
    .draw();
Rectangleを例にしましたが、LineやCircle, RoundRectangleも同じような感覚で利用できます。
fluentなインターフェースの効果
fluentなインターフェースを採用したコードは、行数は増えますが、何をやっているのかがとても分かりやすいです。
もしも、以下のようなコードだったら、まったく意味がわかりません。
canvas.rectangle(160, 180, 50, 66, '#444', 6, '#FFbb66', 30);
それに、エディタのコード補完機能も使えますから、メソッド名を正確に覚えて置く必要もありません。
fluent インターフェースは、使う側はもちろん、そのライブラリを作る側にも恩恵があります。
引数の組み合わせを考えなくても済みますし、あれも、これもと過剰なインターフェースを作らなくて済みます。
引数の組み合わせ毎のテストコードを書く必要もありません。
Canvas APIに限らず、いろんな場面でこのようなFluent APIでメソッドを設計すれば、便利に使える場面がありそうです。
残りのソースコード
いちおう、Circle, Line と、RoundRectangle クラスのソースも含めたものを、掲載しておきます。
gw.Circle = class Circle extends gw.Drawer {
    constructor (ctx, x, y, radius) {
        super(ctx);
        this.x = x;
        this.y = y;
        this.radius = radius;
    }

    draw() {
        this.ctx.beginPath();
        this.ctx.arc(this.x, this.y, this.radius, 0, Math.PI*2, false);
        if (this.isStroke) {
            this.ctx.stroke();
        }
        if (this.isfill) {
            this.ctx.fill();
        }
        this.ctx.restore();
        return this;
    }
}

gw.Line = class Line extends gw.Drawer {
    constructor (ctx,x1, y1, x2, y2) {
        super(ctx);
        this.x1 = x1;
        this.y1 = y1;
        this.x2 = x2;
        this.y2 = y2;
    }

    draw() {
        this.ctx.beginPath();
        if (this.isRotate) {
            let w = this.x2 - this.x1;
            let h = this.y2 - this.y1;
            this.ctx.moveTo(-w*this.ox, -h*this.oy);
            this.ctx.lineTo(-w*this.ox+w, -h*this.oy+h);
        } else {
            this.ctx.moveTo(this.x1, this.y1);
            this.ctx.lineTo(this.x2, this.y2);
        }
        this.ctx.closePath();
        this.ctx.stroke();
        this.ctx.restore();
        return this;
    }

    rotate(deg, ox = 0.5, oy = 0) {
        this.ox = ox;
        this.oy = oy;
        let w = this.x2 - this.x1;
        let h = this.y2 - this.y1;
        //this.ctx.setTransform(1, 0, 0, 1, 0, 0);
        this.ctx.translate(this.x1+w*ox, this.y1+h*oy);
        this.ctx.rotate(this.degToRad(deg));
        this.isRotate = true;
        return this;
    }

}

gw.RoundRectangle = class RoundRectangle extends gw.Drawer {
    constructor (ctx, x1, y1, w, h, r) {
        super(ctx);
        this.x1 = x1;
        this.y1 = y1;
        this.w = w;
        this.h = h;
        this.r = r;
    }

    draw() {
        this.ctx.beginPath();
        this.ctx.arc(this.x1 + this.r, this.y1 + this.r, this.r,
            - Math.PI,  -Math.PI/2, false);
        this.ctx.arc(this.x1 + this.w - this.r, this.y1 + this.r,
            this.r, -Math.PI/2, 0, false);
        this.ctx.arc(this.x1 + this.w - this.r, this.y1 + this.h - this.r,
            this.r, 0, Math.PI/2, false);
        this.ctx.arc(this.x1 + this.r, this.y1 + this.h - this.r, this.r,
            Math.PI/2, Math.PI, false);
        this.ctx.closePath();
        if (this.isStroke) {
            this.ctx.stroke();
        }
        if (this.isfill) {
            this.ctx.fill();
        }
        this.ctx.restore();
        return this;
    }
}


