社内勉強会やLT発表などで発表資料が必要な際に、reveal.js + Markdownで作るのがとても便利なので、いつも自分が使う設定のメモを公開します(下書きで眠ってたのでこの機会に整理しました)。
reveal.js
HTMLを使って美しいプレゼンテーションを作成することができます。
設定で Markdown を使ってスライドを作成することができるようになります。
設定手順
GitHubからクローンしてきます。
$ git clone https://github.com/hakimel/reveal.js.git
フォルダの名前を変えます。
$ mv reveal.js sample-slide
index.htmlに設定追加 & Markdown が使えるように書き換えを行います。
<!DOCTYPE html>
<html>
  <head>
    <meta charset="utf-8" />
    <meta
      name="viewport"
      content="width=device-width, initial-scale=1.0, maximum-scale=1.0, user-scalable=no"
    />

    <title>reveal.js</title>

    <link rel="stylesheet" href="css/reset.css" />
    <link rel="stylesheet" href="css/reveal.css" />
    <link rel="stylesheet" href="css/theme/black.css" />

    <!-- Theme used for syntax highlighting of code -->
    <link rel="stylesheet" href="lib/css/monokai.css" />
    <style type="text/css">
      .reveal h1,
      .reveal h2,
      .reveal h3,
      .reveal h4,
      .reveal h5,
      .reveal h6 {
        text-transform: none;
      }
    </style>

    <!-- Printing and PDF exports -->
    <script>
      var link = document.createElement("link");
      link.rel = "stylesheet";
      link.type = "text/css";
      link.href = window.location.search.match(/print-pdf/gi)
        ? "css/print/pdf.css"
        : "css/print/paper.css";
      document.getElementsByTagName("head")[0].appendChild(link);
    </script>
  </head>
  <body>
    <div class="reveal">
      <div class="slides">
        <section
          data-markdown="index.md"
          data-separator="^\n---\n$"
          data-separator-vertical="^\n>>>\n$"
        ></section>
      </div>
    </div>

    <script src="js/reveal.js"></script>

    <script>
      // More info about config & dependencies:
      // - https://github.com/hakimel/reveal.js#configuration
      // - https://github.com/hakimel/reveal.js#dependencies
      Reveal.initialize({
        history: true,
        dependencies: [
          { src: "plugin/markdown/marked.js" },
          { src: "plugin/markdown/markdown.js" },
          { src: "plugin/notes/notes.js", async: true },
          { src: "plugin/highlight/highlight.js", async: true }
        ]
      });
    </script>
  </body>
</html>
書き換え箇所は、
<style type="text/css">
  .reveal h1,
  .reveal h2,
  .reveal h3,
  .reveal h4,
  .reveal h5,
  .reveal h6 {
    text-transform: none;
  }
</style>
と
<div class="reveal">
  <div class="slides">
    <section
      data-markdown="index.md"
      data-separator="^\n---\n$"
      data-separator-vertical="^\n>>>\n$"
    ></section>
  </div>
</div>
と
Reveal.initialize({
  history: true,
  dependencies: [
    { src: "plugin/markdown/marked.js" },
    { src: "plugin/markdown/markdown.js" },
    { src: "plugin/notes/notes.js", async: true },
    { src: "plugin/highlight/highlight.js", async: true }
  ]
});
のhistory: true,部分です。
1つ目の変更点では、ヘッダー要素の英字が自動的に大文字に変わってしまう設定を無効にしています。2つ目の変更箇所は Markdown ファイルを別ファイルで管理できるようにする設定と、ページ区切りの記号を設定しています。3つ目はファイルの変更を検知してスライドの更新を行う際に、初期設定だと一番最初のスライドに戻ってしまうため、更新時も現在の位置を保持するよう設定しています。
index.mdを用意してスライド内容を作っていくのですが、これだと mdファイルの更新を自動的に反映してくれないため、live-serverというライブラリを使用します。
$ cd sample-slide
$ yarn add -D live-server
package.jsonのscriptsを書き換えます。
  ...
  "scripts": {
    "test": "grunt test",
    "start": "grunt serve",
    "build": "./node_modules/.bin/live-server" // 追加部分
  },
  ...
スライドの起動は
$ yarn install # 初回のみ
$ yarn build
で行えます。ブラウザで開かれてmdファイルの保存時に自動で反映されたらOKです。
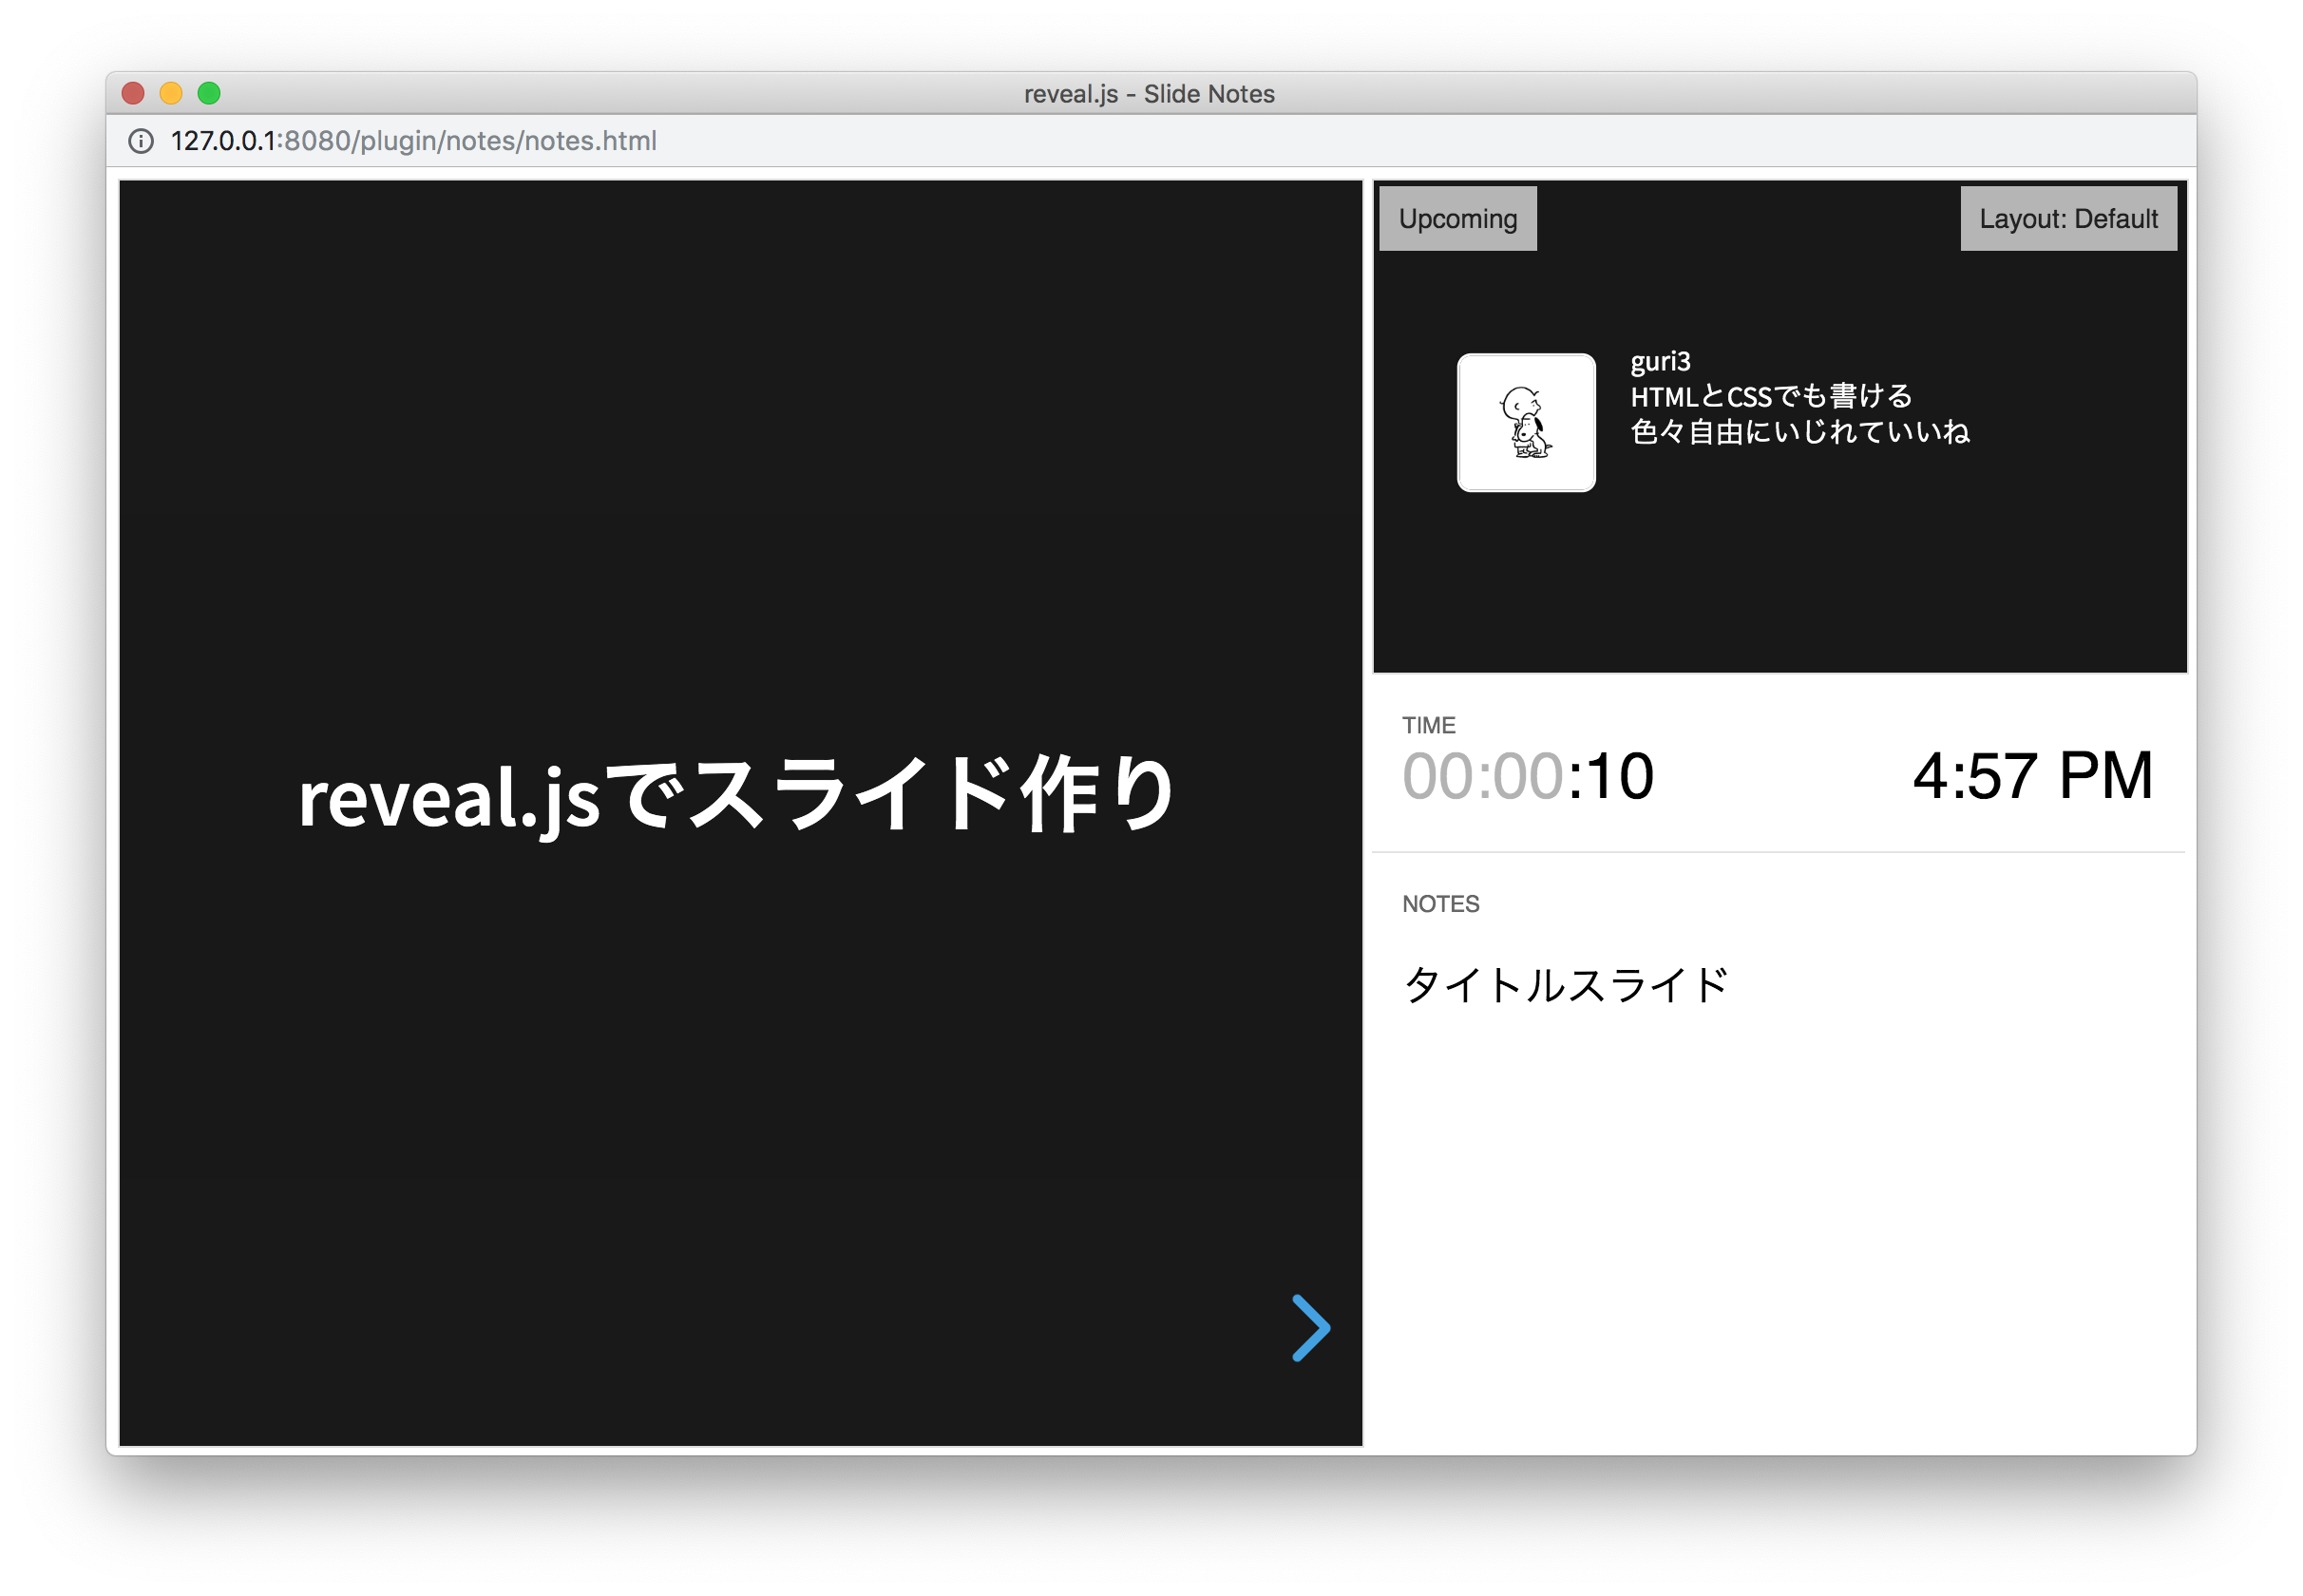
発表時にはブラウザ選択状態でfを押すと全画面に、またsを押すと下のような発表者用の画面が出ます。
index.mdの一例です。
## reveal.jsでスライド作り

Note:
タイトルスライド

---

<div style="display: flex; top: 90px;">
  <div style="margin-right: 50px;">
    <img style="border-radius: 10%;" src="./images/icon.jpg" width="200">
  </div>
  <div style="text-align: left;">
    <div>guri3</div>
    <div>HTMLとCSSでも書ける</div>
    <div>色々自由にいじれていいね</div>
  </div>
</div>

Note:
発表時の原稿とかはこんな風に書けるよ

---

コードスニペットも綺麗

``js // Qiitaの表示につき調整してます、本来は「```」です。
const a = 1;
const b = 2;

console.log(a + b);
// => 3
``

---

`>>>`で下方向にも移動できる

>>>

<b style="color: yellow">文字色</b>とか<b style="font-size: 120px;">文字サイズ</b>も自在

---

## ありがとうございました!
こんな感じのスライドになります。


最後に
reveal.jsでスライドを作るメリットとして、テキストで管理できるためスライドのアップデート差分が見やすかったり、コードのシンタックスハイライトを綺麗に表示できることなどがあります。逆に凝ったスライドを作りたいときにはHTMLとCSSで書く必要があるので不便かもしれません。さっとスライドを作りたいときやコードをベースとして説明するスライドを作りたいときにはとても便利なので、ぜひ使ってみてください。