公開方法の前に、簡単にAndroidライブラリ作成方法を書きます。
Androidライブラリ作成
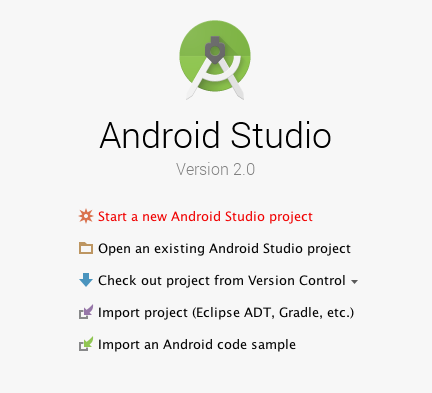
始めに、普通にプロジェクトを作成します。
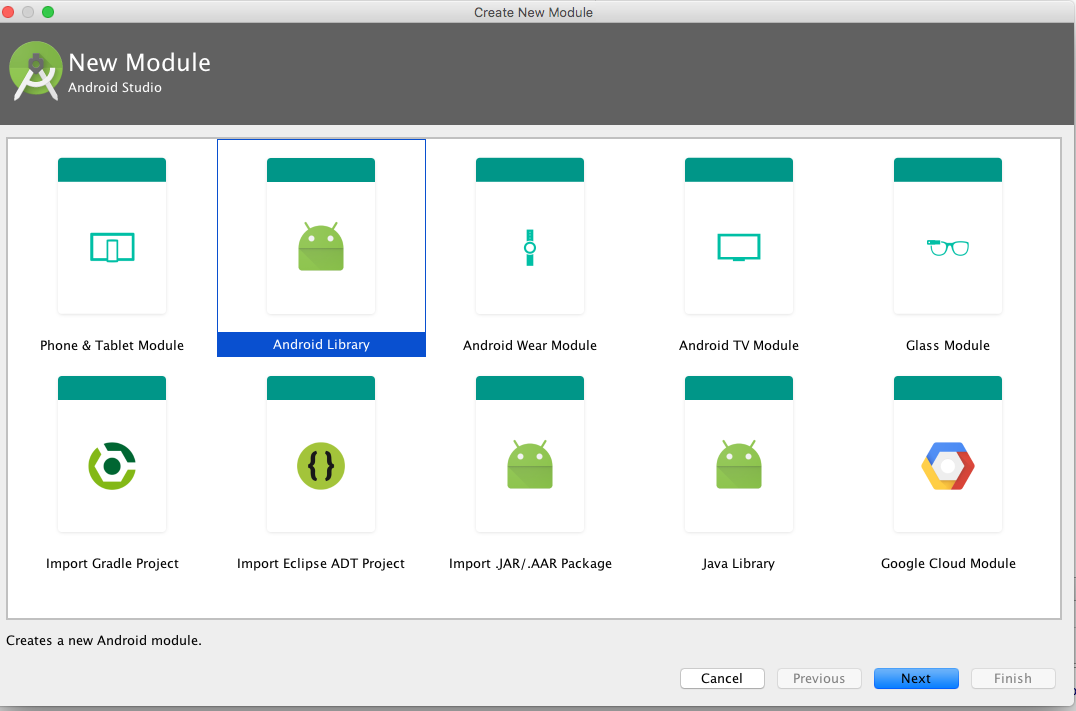
次に、File -> New -> New Moduleを選択します。
で、Android Libraryを選びます。
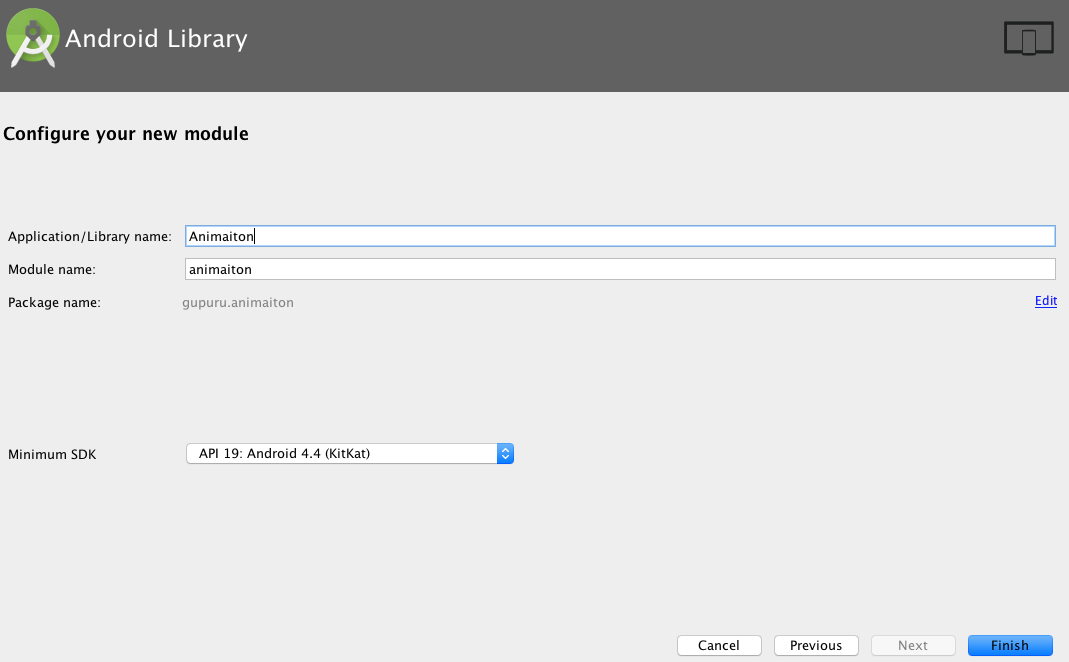
Libray nameなどを入力してFinishを押すと、ライブラリが追加されます。
最後に、本体の方のbuild.gradleに「compile project(path: ':ライブラリ名')」を追加すれば完了です。
頑張ってライブラリを作りましょうd(>_・ )
apply plugin: 'com.android.application'

android {
    compileSdkVersion 23
    buildToolsVersion "23.0.2"

    defaultConfig {
        applicationId "gupuru.libraysample"
        minSdkVersion 19
        targetSdkVersion 23
        versionCode 1
        versionName "1.0"
    }
    buildTypes {
        release {
            minifyEnabled false
            proguardFiles getDefaultProguardFile('proguard-android.txt'), 'proguard-rules.pro'
        }
    }
}

dependencies {
    compile fileTree(dir: 'libs', include: ['*.jar'])
    testCompile 'junit:junit:4.12'
    compile project(path: ':ライブラリ名')
    compile 'com.android.support:appcompat-v7:23.3.0'
}
ライブラリ公開
今回は、BintrayにアップしてjCenterに登録する方法で公開します。
ちなみに、Androidライブラリの公開方法には、JitPack等を使った方法もあります。
①GitHubに公開
始めに、作ったライブラリをGitHubにpushします。
②Bintray登録
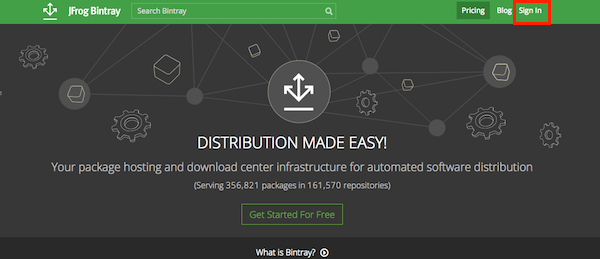
Bintrayで、アカウント登録します。右上らへんにSign Inがあるので、そこから登録します。
登録完了したら、ダッシュボード画面に行き、右上らへんにあるアカウント名から**「Your Profile」を選択**してください。
で、プロフィール画面に飛ぶと思うので、アイコンの隣にある**「Edit」ボタンを選択**してください。
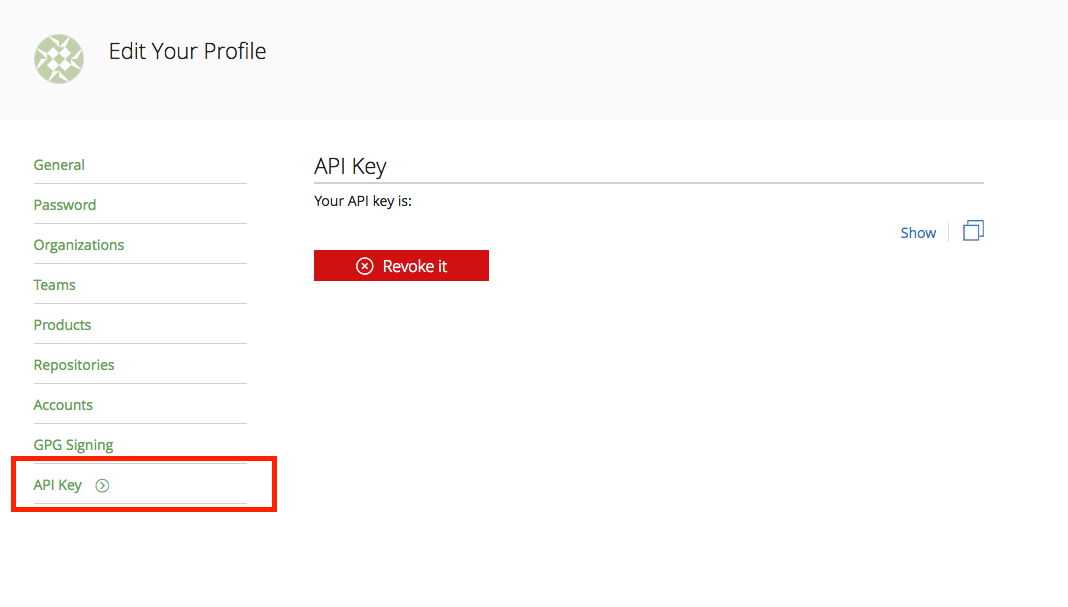
編集画面の左端に**「API Key」があるので、これをコピー**しておいてください。
③ライブラリのアップロード
ライブラリをBintrayにアップロードするにはbintray-releaseを使います。
ルートディレクトリにある build.gradle に「classpath 'com.novoda:bintray-release:'」を追加します。
※今回は、0.3.4を使用しています。
buildscript {
    repositories {
        jcenter()
    }
    dependencies {
        classpath 'com.android.tools.build:gradle:2.0.0'
        classpath 'com.novoda:bintray-release:0.3.4'
    }
}

allprojects {
    repositories {
        jcenter()
    }
}

task clean(type: Delete) {
    delete rootProject.buildDir
}
次に、ライブラリ側のbuild.gradleに「apply plugin: 'com.novoda.bintray-release'
」と「publish...」を追加します。
apply plugin: 'com.android.library'
apply plugin: 'com.novoda.bintray-release'

android {
    compileSdkVersion 23
    buildToolsVersion "23.0.2"

    defaultConfig {
        minSdkVersion 19
        targetSdkVersion 23
        versionCode 1
        versionName "1.0"
    }
    buildTypes {
        release {
            minifyEnabled false
            proguardFiles getDefaultProguardFile('proguard-android.txt'), 'proguard-rules.pro'
        }
    }
}

publish {
    userOrg = 'gupuru'
    groupId = 'com.gupuru.scaleanimation'
    artifactId = 'scaleanimation'
    publishVersion = '1.0.0'
    desc = 'scale animation'
    website = 'https://github.com/gupuru/AndroidOssLibrarySample'
}

dependencies {
    compile fileTree(dir: 'libs', include: ['*.jar'])
    testCompile 'junit:junit:4.12'
    compile 'com.android.support:appcompat-v7:23.3.0'
}
publishの中身の詳細は、この辺を見て下さい。
最後に、ターミナルで以下のコマンドを叩くとアップロードを開始します。
PbintrayUserにユーザ名、PbintrayKeyに先ほどコピーしておいたAPIキーを書いてください。
./gradlew clean build bintrayUpload -PbintrayUser=ユーザ名 -PbintrayKey=APIキー -PdryRun=false
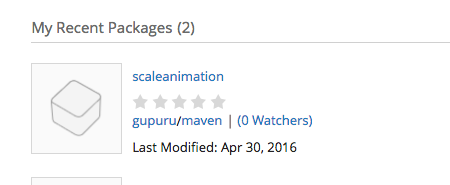
「BUILD SUCCESSFUL」と表示されたら、Bintrayを確認します。こんな感じにライブラリが追加されているはずです。
④jCenterに登録
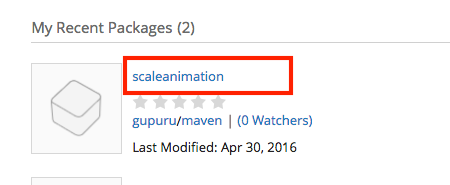
先ほど追加されたライブラリを選択してください。
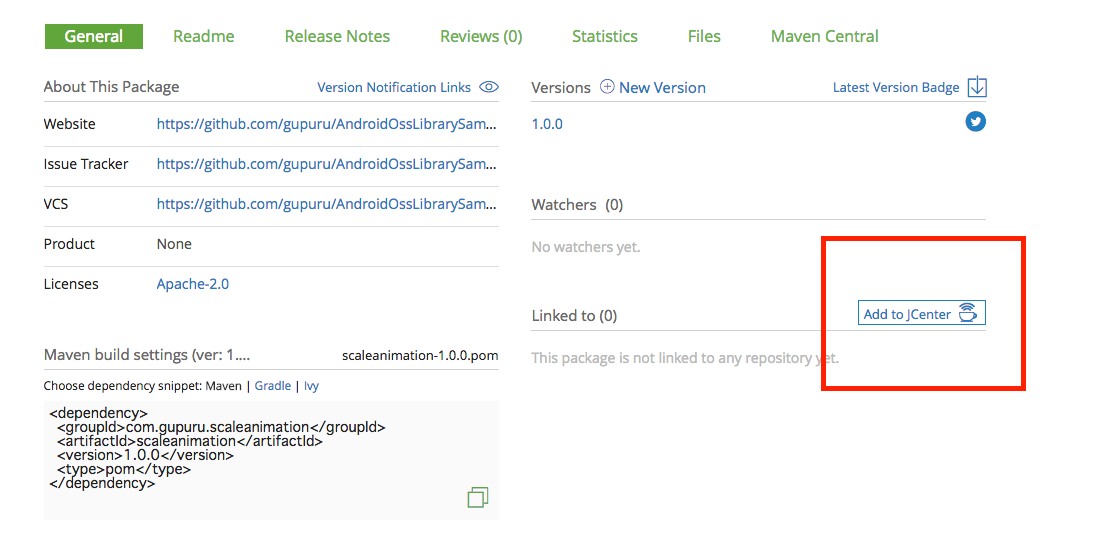
このような詳細画面が表示されるので、右下にある**「Add to jCenter」を選択**してください。
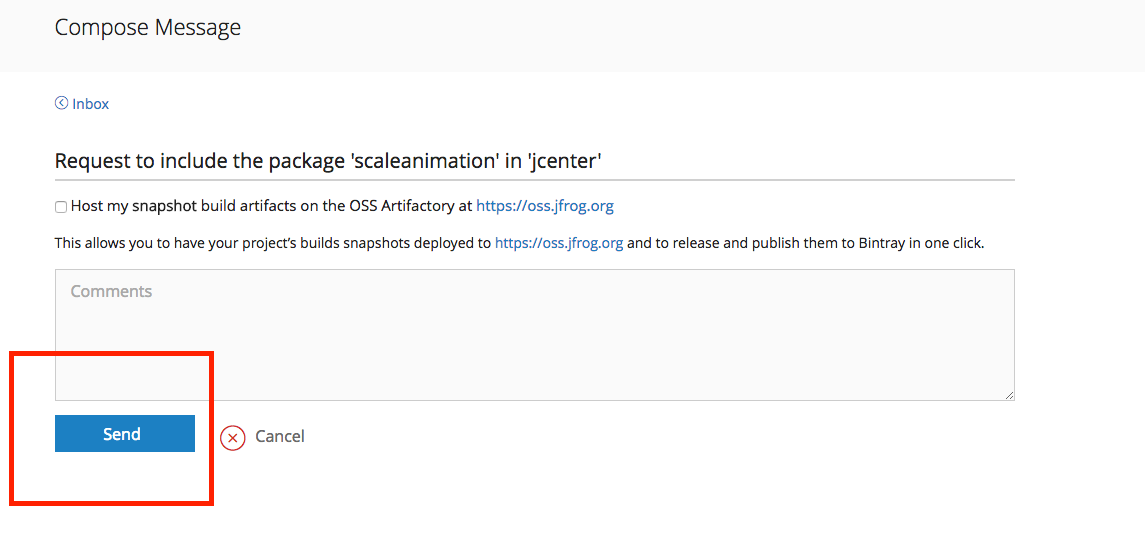
こんな感じの画面が表示されるので、「Send」を押して申請します。
あとは、申請が承認されるまで待つだけです。だいたい2〜10時間ほどで完了します。
で、jCenterに登録されると、ライブラリの詳細画面にこのようなマークが表示されます。
あとは、このように1行だけ追加すればライブラリが使えますO(≧▽≦)O
compile 'com.gupuru.scaleanimation:scaleanimation:1.0.0'
まとめ
以上が、ライブラリの公開方法です(๑˃̵ᴗ˂̵)و
